AllSee Technologies Slimline Manuale utente

Slimline High Definition Digital Advertising Display
User’s Manual
Manual Version PFHD2.0
Slimline High Definition Digital Advertising Display User’s Manual
Page 1
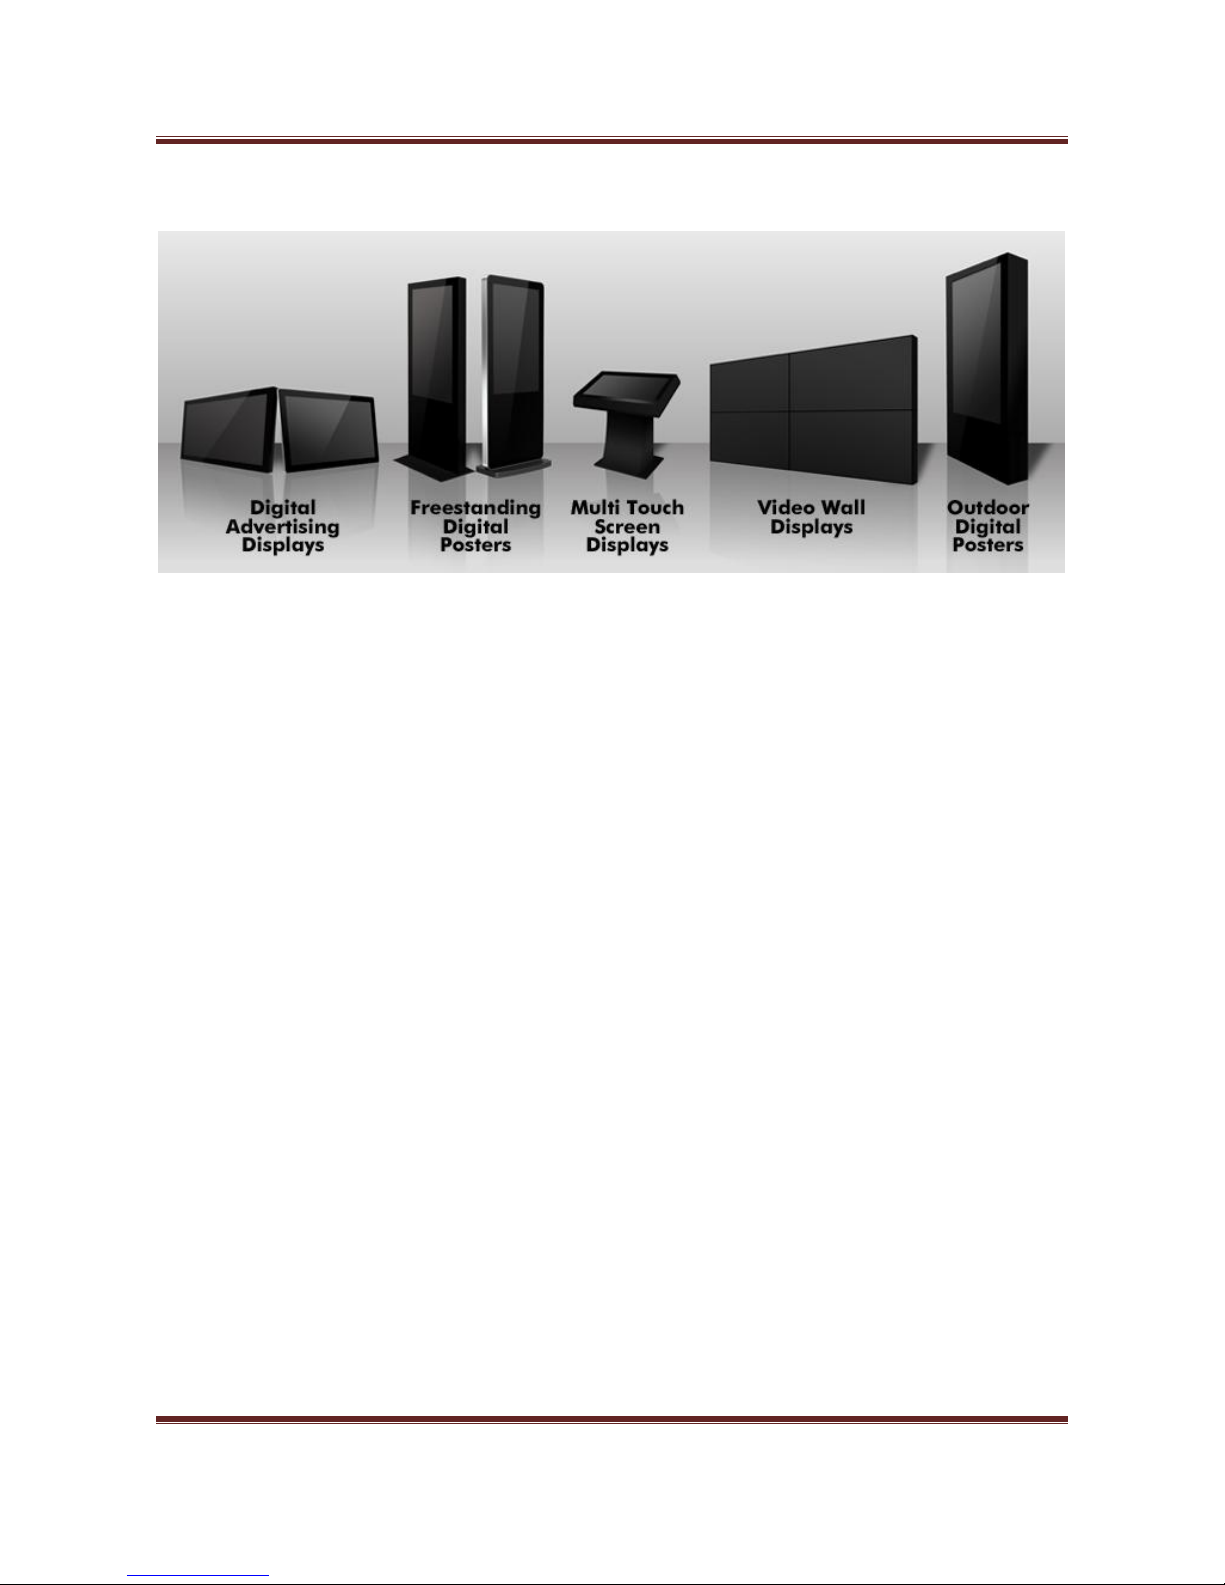
Our Full Product Range

Slimline High Definition Digital Advertising Display User’s Manual
Page 2
Safety Instructions
Please keep the display away from any heat sources. Place the display in a
stable and well-ventilated place.
Please handle with care as product contains glass.
The holes or openings on the display are designed for ventilation. Do not
cover or block the ventilation holes or openings with any objects.
Remove protective covering from the screen before you use the display.
Shut off the power supply before cleaning. Use a soft lint-free cloth
instead of a tissue to wipe the screen.
You may use a glass cleaner to clean the product as required. However,
never spray the cleaner directly onto the display surface.
Do not attempt to repair this product yourself! Improper disassembly of
the product may invalidate the warranty and lead to possible danger
If you have a problem that cannot be solved using the "Troubleshooting"
guidelines, please contact your supplier.

Slimline High Definition Digital Advertising Display User’s Manual
Page 3
Quick Start Guide
This section of the guide is to allow swift set up and use of the unit. Please refer to the main part of
the User Guide for full information on use of the unit.
Please follow the steps detailed below:
1. Unpack unit and place in desired location
2. Take the power lead from the accessories bag, connect power lead and plug into mains outlet.
The unit will power ON automatically. After powering up you will be greeted by the home
screen.
3. Collect the files you wish to display and make sure they are supported by the unit (see Section
2.1)
4. On a PC copy the files you want to play onto an empty USB drive. These should be in the root
directory (without putting them into a folder). Remove USB from PC.
5. Insert USB drive into the one of the USB ports located inside the locker of the unit (see Figure
1).
The screen should indicate that it is copying the files onto the unit. Please note that all files
currently stored in the unit will be deleted. Once completed, the screen will display a message
to remove the USB drive.
6. Remove the USB drive and the unit will reboot and play the stored files in a loop.
Figure 1 Position of screen inputs

Slimline High Definition Digital Advertising Display User’s Manual
Page 4
Contents:
1. Introduction ................................................................................................................................6
1.1 Box Contents ...................................................................................................................6
1.2 Product Overview............................................................................................................6
1.3 Remote Control ...............................................................................................................7
1.4 Replacing the Remote Control Battery ...........................................................................8
1.5 System Menu Operation .................................................................................................9
1.5.1 System Settings ......................................................................................................10
1.5.2 Playback Control.....................................................................................................13
1.5.3 Date & Time ...........................................................................................................15
1.5.4 On/Off Timer..........................................................................................................15
1.5.5 Local ID ...................................................................................................................17
1.5.6 Screen Mode ..........................................................................................................17
1.5.7 File Management ...................................................................................................18
1.5.8 Exit..........................................................................................................................19
1.6 Display Settings .............................................................................................................20
2. System Operation .....................................................................................................................23
2.1 Supported Media Files ..................................................................................................23
2.2 Steps to Load Media Files .............................................................................................24
2.3 Inputs ............................................................................................................................24
3. Installation ................................................................................................................................25
3.1 Wall Mounting...............................................................................................................25
4. Advanced Guide........................................................................................................................30
4.1 Main Menu....................................................................................................................30
4.2 Creating Playlists ...........................................................................................................30
4.2.1 Add Schedule..........................................................................................................31
4.2.2 Add Selected Items.................................................................................................31
4.2.3 Saving .....................................................................................................................34
4.3 Editing Playlists..............................................................................................................35
4.3.1 Deleting Items ........................................................................................................35

Slimline High Definition Digital Advertising Display User’s Manual
Page 5
5. F.A.Qs and Troubleshooting Guide ...........................................................................................36
5.1 My scrolling text message does not appear on my screen ...........................................36
5.2 How do I play PowerPoint presentations on my display?.............................................37
5.2.1 Option 1 (for plain slides with no animation): .......................................................37
5.2.2 Options 2 (for presentations with animation): ......................................................37
5.3 Wireless connection......................................................................................................38
5.4 Video Format Conversion .............................................................................................38
5.4.1 Format Factory .......................................................................................................38
5.4.2 HD Video Converter Deluxe ...................................................................................40
5.5 Connecting screen to PC ...............................................................................................41
5.6 My media file does not fit properly on the screen .......................................................41
5.7 My media file will not display or is missing from the playlist .......................................42
5.8 My media files will not update......................................................................................42
5.9 My moving GIF files will not move................................................................................42
5.10 My screen is stuck on the “Copy Complete” message..................................................42
Table of Figures
Figure 1 Position of screen inputs........................................................................................................3
Figure 2 Product Overview...................................................................................................................6
Figure 3 Home Screen..........................................................................................................................9
Figure 4 Screen inputs........................................................................................................................24
Figure 4 Security Screw......................................................................................................................29

Slimline High Definition Digital Advertising Display User’s Manual
Page 6
1. Introduction
Congratulations on your purchase of our product. Please read carefully and follow all instructions
in the manual before first use.
The product should not be exposed to liquids dripping or splashing and no objects filled with
liquids, such as vases, should be placed on the product.
For user convenience, a number of operations can be performed through the remote control.
Attention:
1. Do not change any default setting when it is unnecessary.
2. Keep the product far away from water during installation and use.
1.1Box Contents
1 x Slimline Digital Advertising Display.
1 x Mounting Plate (with Security Screw).
1 x Power Cable.
1 x CD (User Manual and Software).
1 x Remote Control (with 2xAAA batteries).
1 x Key.
1.2Product Overview
Figure 2 Product Overview

Slimline High Definition Digital Advertising Display User’s Manual
Page 7
1.3Remote Control

Slimline High Definition Digital Advertising Display User’s Manual
Page 8
1.4Replacing the Remote Control Battery
1. Slide the battery cover off, as shown below.
2. Remove the used batteries.
4. Insert the two new AAA batteries with their terminals corresponding to the indicators.
5. Put the cover back on.

Slimline High Definition Digital Advertising Display User’s Manual
Page 9
1.5System Menu Operation
In order to access the Setup Menu you must first press “STOP” button to go back to the home
screen (pictured below). You can then bring up the Main Menu by pressing “SETUP”.
Figure 3 Home Screen
Main Menu includes following sub-menus: System Settings, Playback Control, Date & Time,
ON/OFF Timer, Local ID, Screen Mode, File Management and Exit.
Press ↑ & ↓to select the right item, press “PLAY” to confirm selection. Choose Exit to exit the
Main Menu.
Indice
Altri manuali AllSee Technologies Monitor

AllSee Technologies
AllSee Technologies FR8A Manuale utente

AllSee Technologies
AllSee Technologies PCAP Multi Touch Screen Display Manuale utente

AllSee Technologies
AllSee Technologies DV-LED Manuale utente

AllSee Technologies
AllSee Technologies PF46HD-B Manuale utente

AllSee Technologies
AllSee Technologies TL H7 Series Manuale utente

AllSee Technologies
AllSee Technologies 32" High Definition Digital Advertising... Manuale utente

AllSee Technologies
AllSee Technologies P2-B Manuale utente


