Alware Lensman-X Manuale utente

Lensman-X Camera 3-Axis Gimbal
Instruction Manual
V1.0
Page 1

Contents
1. Disclaimer & Warning............................................................................................................3
2. Check List...............................................................................................................................4
3. Equipment Required or 360 Panning Operation...................................................................6
4. Assembly Steps – Gimbal.......................................................................................................7
5.0 Assembly Steps – Mounting onto Streak 800Pro................................................................10
5.1 Assembly Steps – Mounting onto DJI S800.......................................................................12
5.2 Assembly Steps – Carbon Battery Mount or DJI S800....................................................14
5.3 Assembly Steps – Mounting onto Streak 1000...................................................................15
5.4 Assembly Steps – O-Ring Damping System.......................................................................18
6. Electronic Installation...........................................................................................................19
7. Camera CG Adjustment........................................................................................................20
8. Specifications........................................................................................................................24
End of Manual...........................................................................................................................25
Page 2

1. Disclaimer & Warning
Thank you for purchasing this Alware product. Please visit our website www.alwarerc.com
regularly for update information. Any technical updates and manual corrections will be
available on the web page of specific product. Due to unexpected changes or upgrades, the
information contained in this manual is subject to change without notice.
Please strictly follow the manual to assemble and use the Lensman-X Camera 3-Axis Gimbal.
Since Alware has no control over use, setup, final assembly, modification or misuse, no
liability shall be assumed nor accepted for any resulting damage or injury. By the act of use,
setup or assembly, the user accepts all resulting liability. Alware accepts no liability for
damage(s) or injuries incurred directly or indirectly from the use of this product.
Make sure you have applied certain amount of Thread Locker when installing Screw to metal
parts. This is the key to allow the application of this product be safe and reliable.
Page 3
2. Check List
Please Check the Follow parts.
Tilt-Roll Assembly
1 Pcs
Pan Axis Assembly
1 Pcs
Boom Connection Assembly
1 Pcs
Tripod Landing Gear
Assembly
3 pcs
Damping System ( or Streak
800Pro) 2 pcs
(Included with ALLENS-
XA800 only.)
Damping System Screw Set
( or Strek 800Pro) 4 Sets
(Included with ALLENS-
XA800 only.)
O-ring Damping System ( or
DJI S800)
1 Set
(Included with ALLENS-
XDJI only.)
Carbon iber Battery Mount
or DJI S800
(Included with ALLENS-
XDJI only.)
Spare O-ring Damper
8 Pcs
(Included with ALLENS-
XDJI and ALLENS-XA1000
only.)
O-ring Damping System ( or
Streak 1000) 1 Set
(Included with ALLENS-
A1000 only.)
Spare and Screw Pack
1 Pcs
Page 4
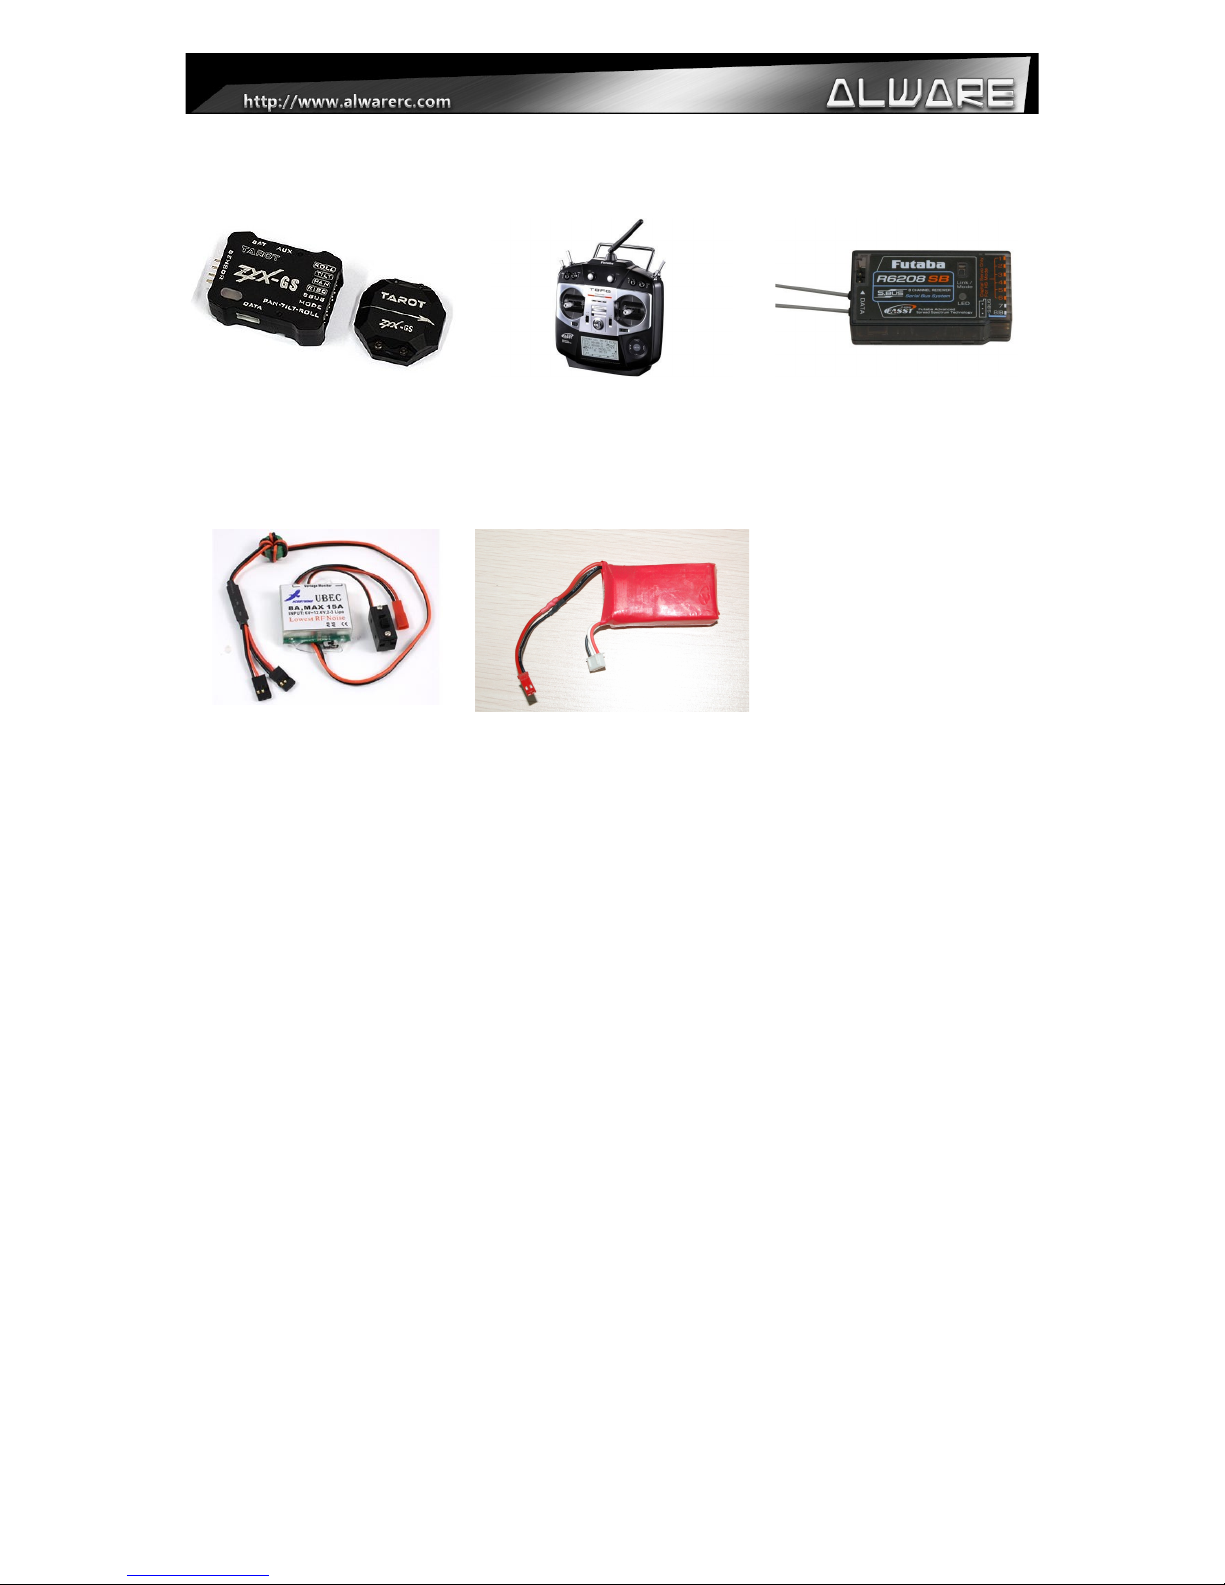
3. Equipment equired For 360 Panning Operation
2-Axis Gimbal Stabilizer
System
1 Pcs
(e.g. ZYX-GS Gimbal
Stabilization System)
Transmitter (2CH or above)
1 Pcs
Receiver (2Ch or above)
1 Pcs
UBEC (Output 4.8-6V, 5A or
above, Input 12V or above )
1 Pcs
3S 11.1V Lipo Battery
(800mAh or above)
1 Pcs
Page 5
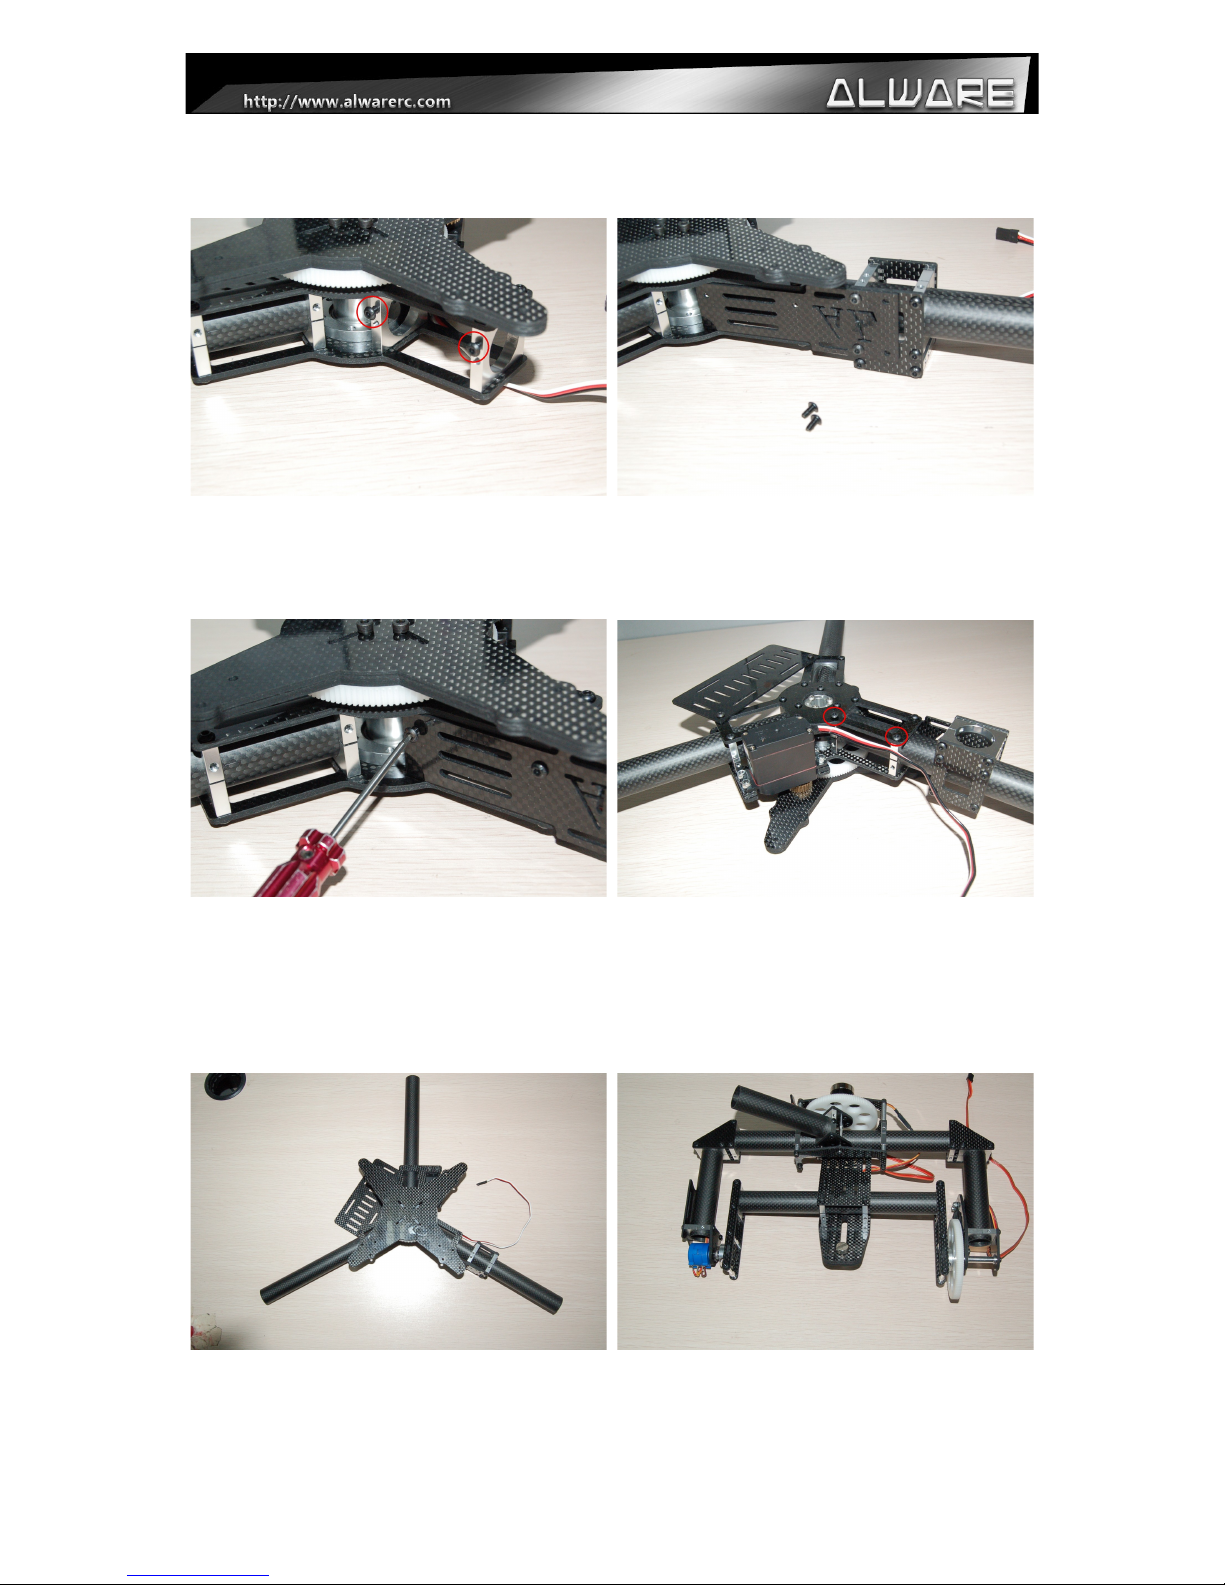
4. Assembly Steps – Gimbal
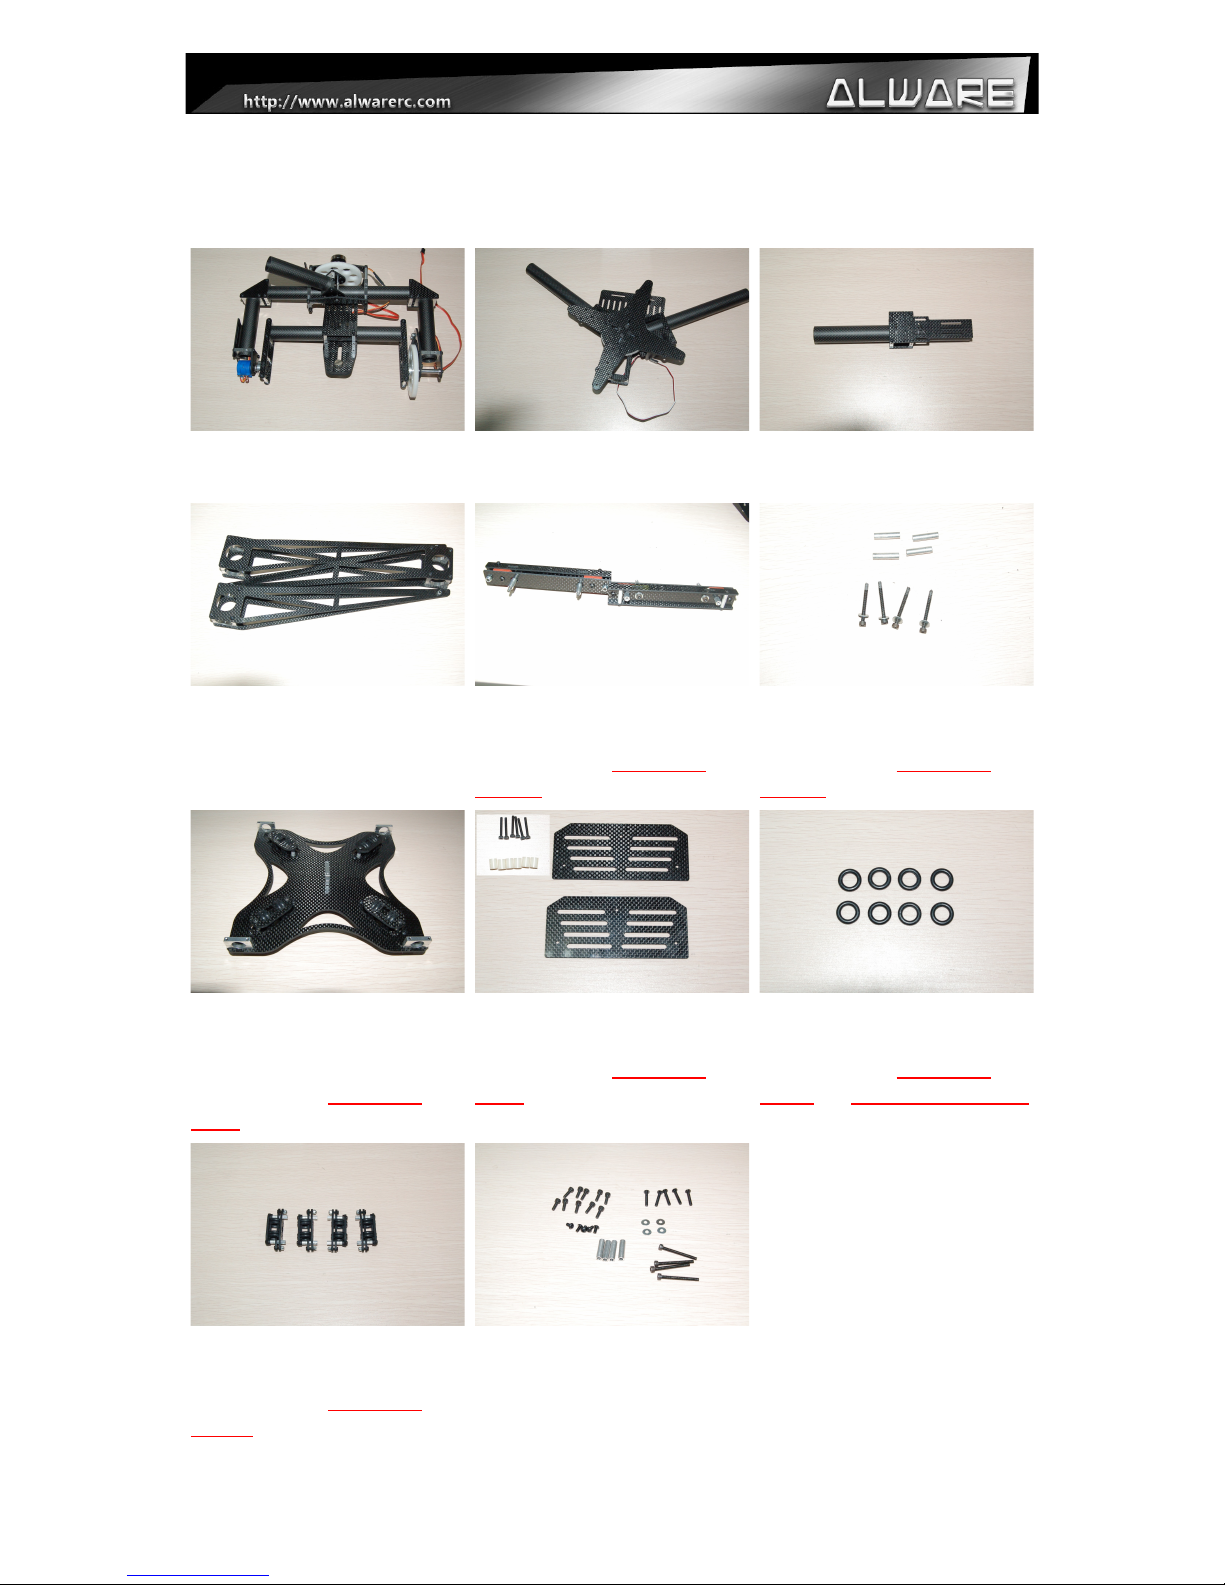
Step 1.
Loosen two M3x6mm Screw from the Pan
Axis Assembly for the installation of next
step.
Step 2.
Insert the Boom Connection Assembly into
the Pan Axis Assembly.
Step 3.
Adjust the position of the Boom Connetion
Assembly and secure with 2pcs M3x6mm
Screws. (Apply little amount of Thread
Locker when assembly metal to metal parts.)
Step 4.
Secure the Boom Connection Assembly onto
the Pan Axis Assembly completely using
2pcs M3x18 Screws. (Apply little amount of
Thread Locker when assembly metal to metal
parts.)
Step 5.
Complete Assembly of Pan Axis Mechanism.
Step 6.
Prepare the Tilt- oll Assembly.
Page 6

Step 7.
Insert the Tilt- oll Assembly into the Boom
Connection Assembly.
Step 8.
Adjust the position of the Tilt- oll-
Assembly and seucre it with a M3x6mm
Screw. (Apply little amount of Thread Locker
when assembly metal to metal parts.)
Step 9.
Secure the Tilt- oll Assembly onto the
Boom Connection Assembly completely
using 2pcs M3x20mm Screws. (Apply little
amount of Thread Locker when assembly
metal to metal parts.)
Step 10.
Prepare the Tripod Landing Gear Assembly.
Step 11.
Insert the Tripod Landing Gear Assembly to
the booms on the Pan Asix Mechanism.
Step 12.
Adjust the position of the Tripod Landing
Gear Assembly as to parallel to the Panning
Gear.
Page 7
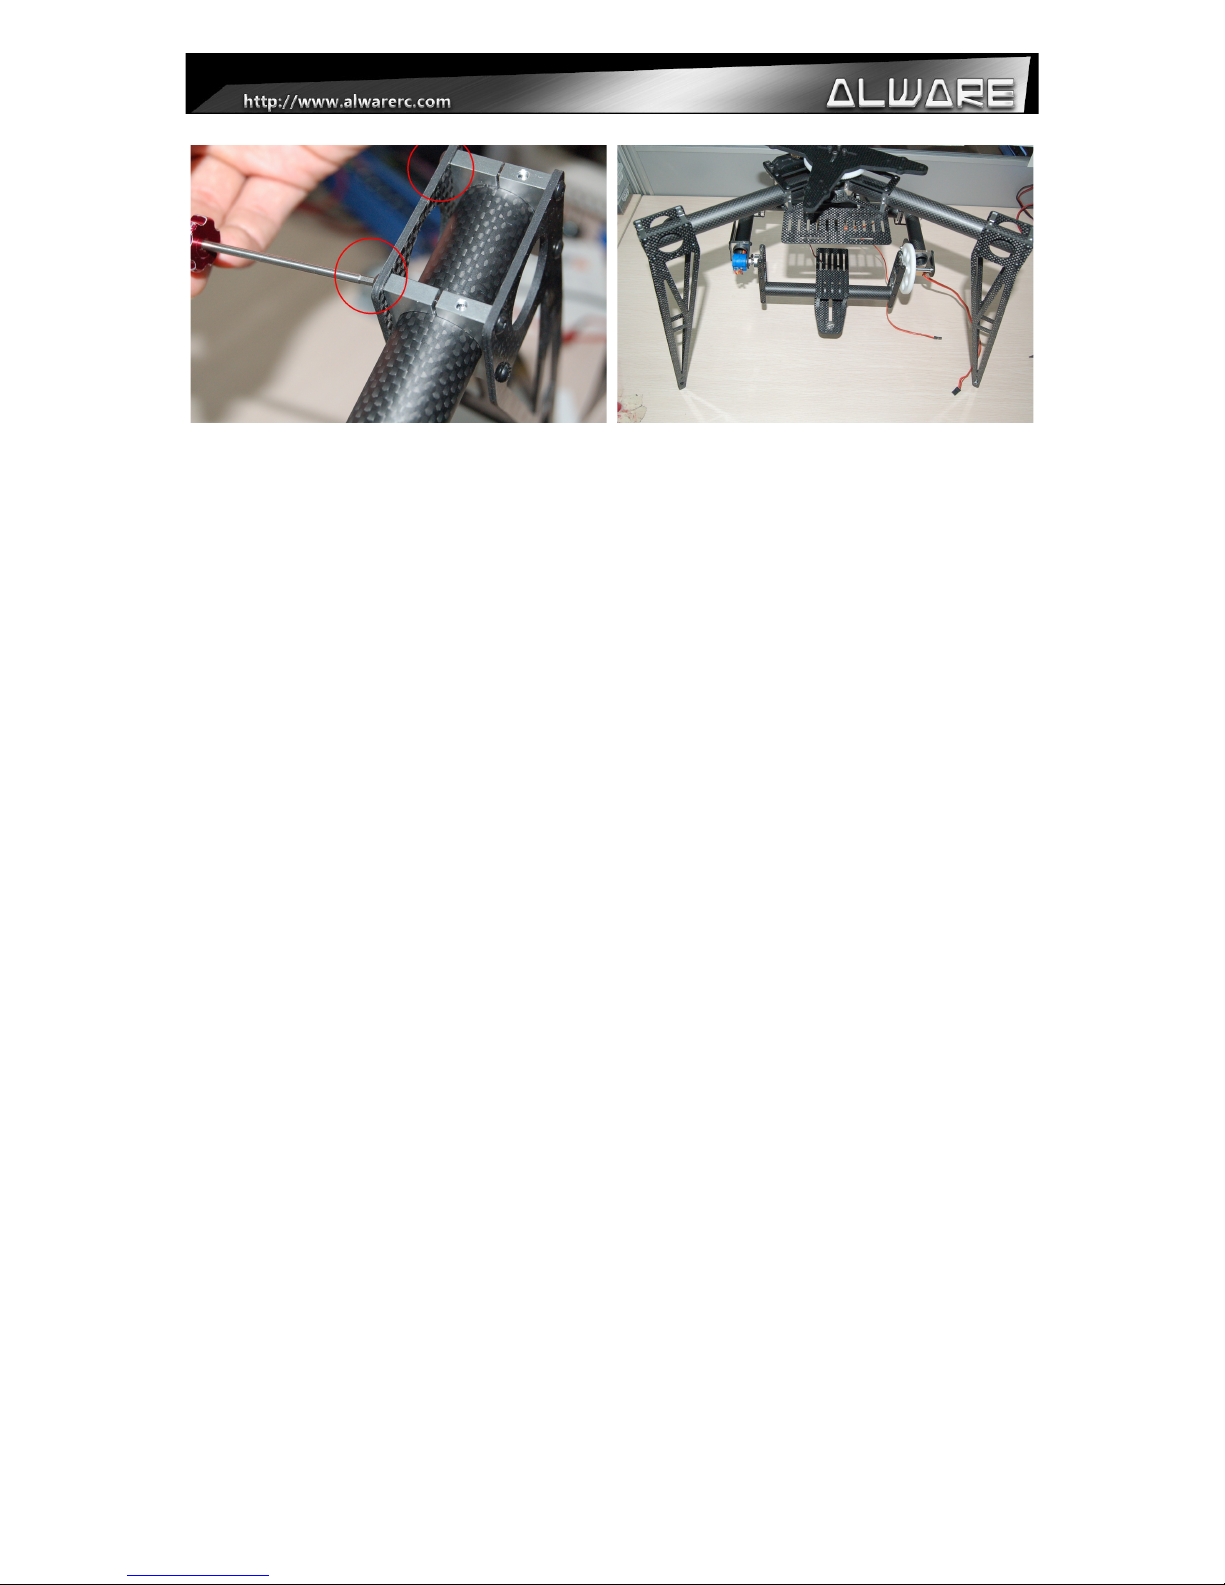
Step 13.
Secure the Tripod Landing Gear Assembly
using 2pcs M3x18mm Screws. (Apply little
amount of Thread Locker when assembly
metal to metal parts.)
Step 14.
Repeat step 11-13 to install the other two
Tripod Landing Gear Assembly.
Page 8
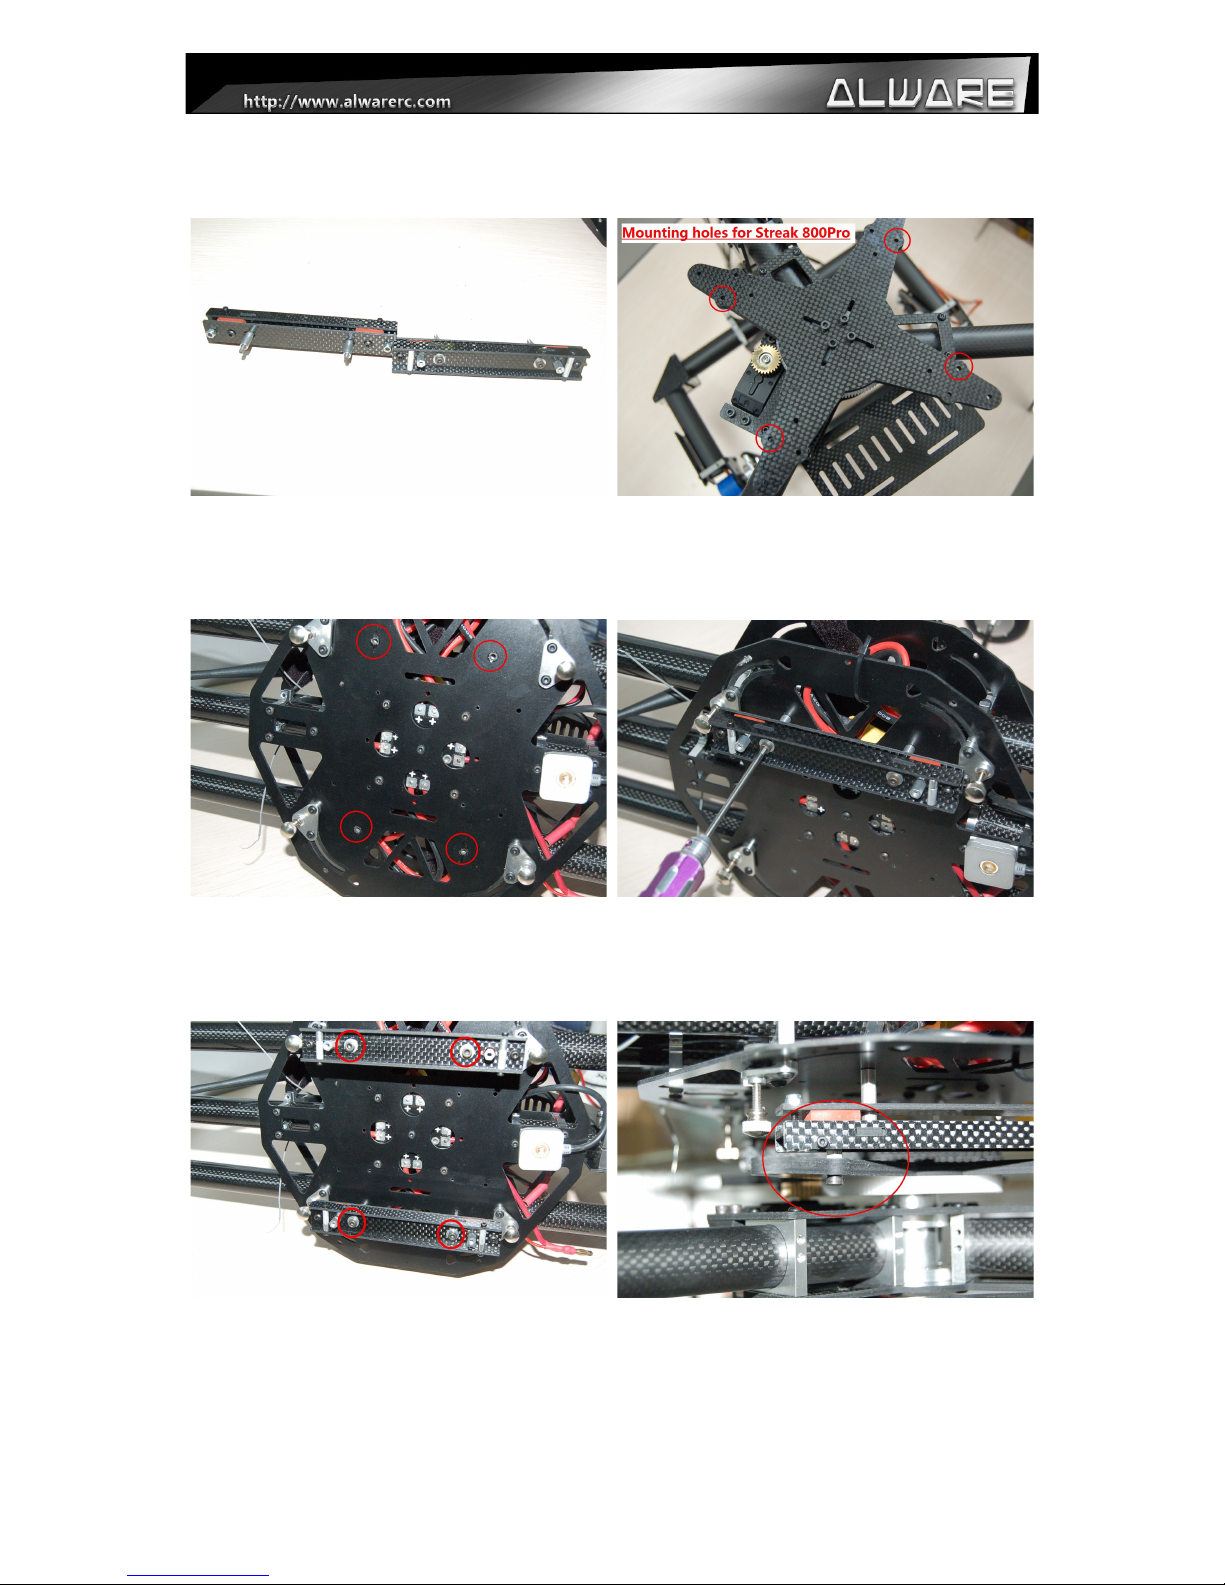
5.0 Assembly Steps – Mounting onto Streak 800Pro
Step 1.
Prepare the Damping System (For Streak
800Pro).
Step 2.
Notice the mounting holes on the X-
Mounting Frame which will be connected to
the Damping System.
Step 3.
Notice the mounting holes on the Streak
800Pro buttom Main rame to mount the
Damping System.
Step 4.
Install the Damping System onto Strealk
800Pro using 2pcs M3x30mm Screws with
3x5x20mm Collars.
Step 5.
Repeat step 4 to install the other Damping
System onto Strealk 800Pro.
Step 6.
Install the X-Mounting rame of Lensman-X
Gimbal to the Damping System on the Streak
800Pro using M3x10mm Screws. (Apply
little amount of Thread Locker when
assembly metal to metal parts.)
Page 9
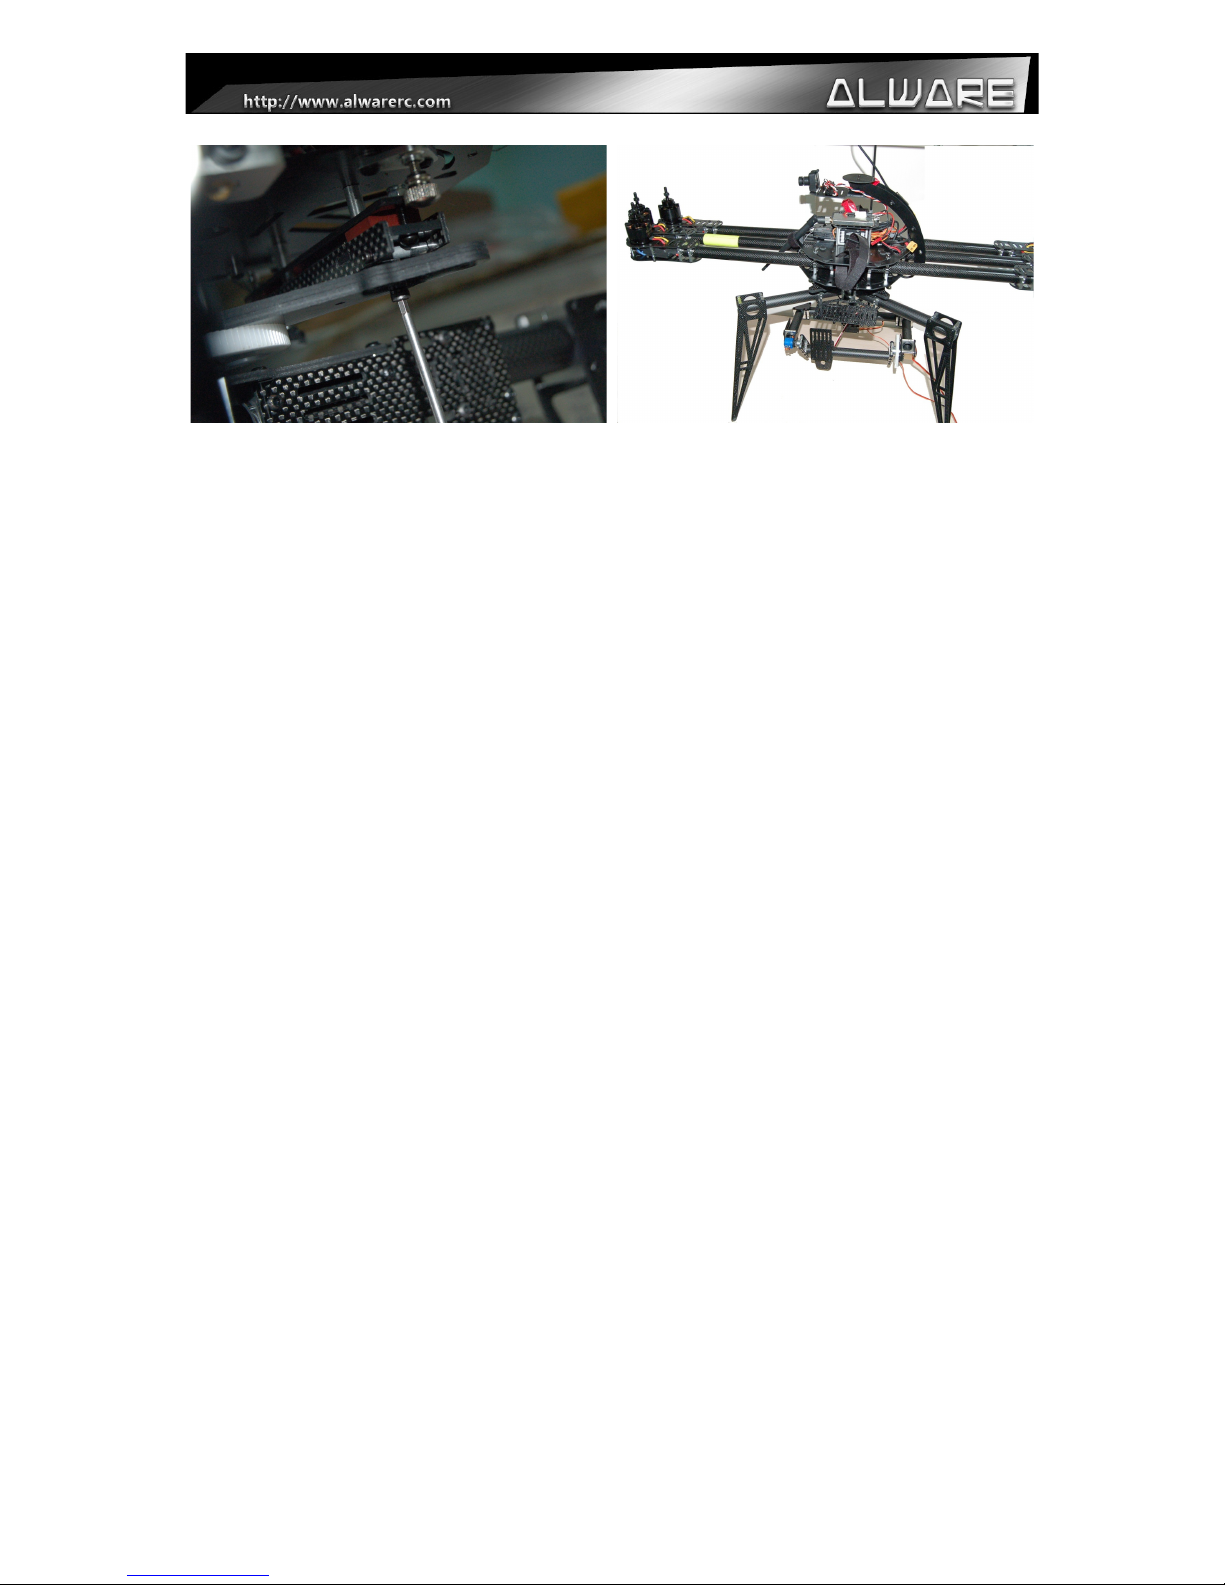
Step 7.
Close view of step 6.
Step 8.
Lensman-X is now installed with Streak
800Pro.
Page 10
Indice
Altri manuali Alware Accessori per fotocamere


