AV Costar ConteraIP MicroDome Duo LX Manuale utente

+1.818.937.0700 www.avcostar.com avsales@arecontvision.com
ConteraIP®MicroDome®Duo LX
Installation Manual
4MP 10MP 16MP
AV4856DN-28 AV4856DN-NL AV10856DN-28 AV10856DN-NL AV16856DN-28 AV16856DN-NL

Page 1of 45
Table of Contents
About Our Warranty ...................................................................................................................................... 2
Global (3 Year) Limited Warranty ....................................................................................................................2
Camera Overview ................................................................................................................................................3
Package Contents................................................................................................................................................4
Installation ............................................................................................................................................................5
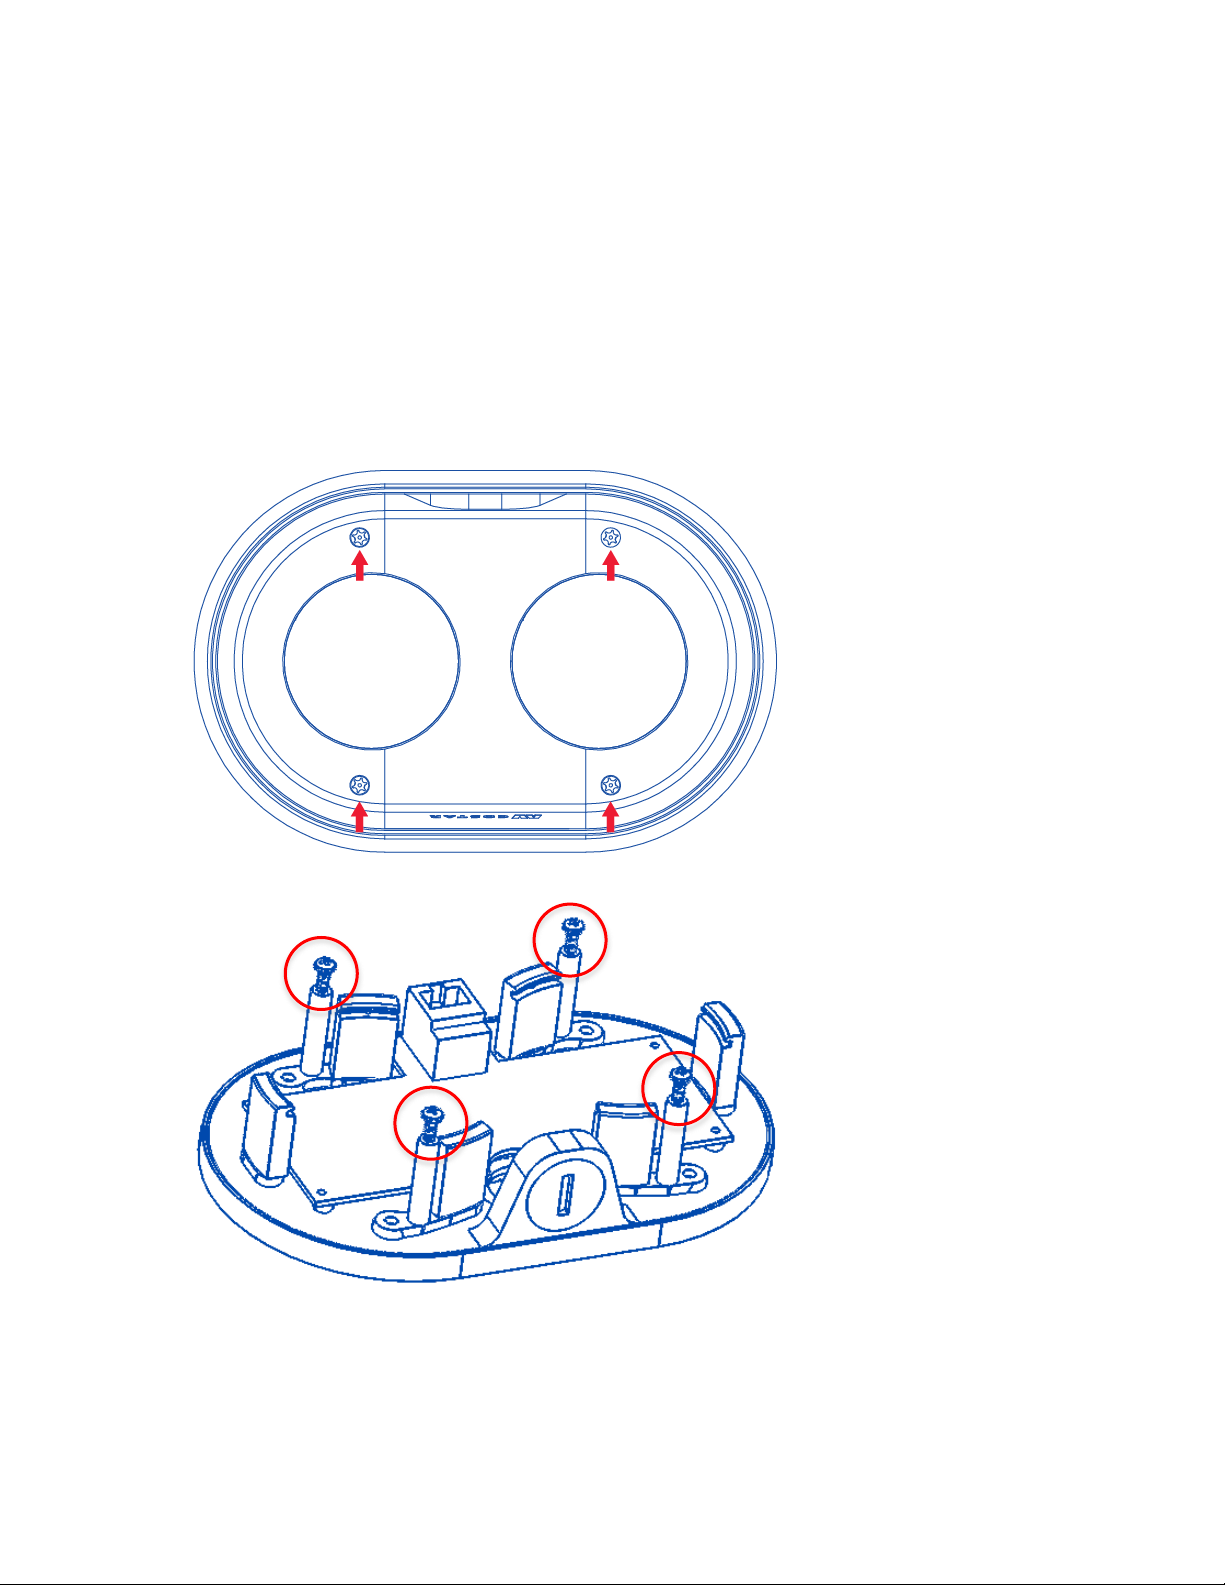
Surface Mounting .............................................................................................................................................5
Drop Ceiling Mount Adapter Plate Installation .................................................................................................7
Cap Installation ................................................................................................................................................8
Flush Mount Installation .................................................................................................................................10
Pan and Tilt Adjustment.................................................................................................................................12
Lens Replacement .........................................................................................................................................13
Lens Options ............................................................................................................................................13
Camera Power Up..............................................................................................................................................14
Reset to Factory Default ....................................................................................................................................17
Audio/SD Card Info ............................................................................................................................................18
Camera Discovery, Setup, and Configuration ...................................................................................................19
Camera Discovery..........................................................................................................................................20
Web Interface Navigation...............................................................................................................................21
Focus.........................................................................................................................................................24
Image .........................................................................................................................................................25
Video & Audio...........................................................................................................................................29
Network .....................................................................................................................................................31
Privacy Mask ............................................................................................................................................35
Event .........................................................................................................................................................36
System ......................................................................................................................................................41
Administration..........................................................................................................................................43
Support .....................................................................................................................................................44

Page 2of 45
About Our Warranty
Global (3 Year) Limited Warranty
AV COSTAR warrants to Purchaser (and only Purchaser) (the “Limited Warranty”), that: (a) each Product
shall be free from material defects in material and workmanship for a period of thirty-six (36) months from the
date of shipment (the “Warranty Period”); (b) during the Warranty Period, the Products will materially conform
with the specification in the applicable documentation; (c) all licensed programs accompanying the Product
(the “Licensed Programs”) will materially conform with applicable specifications. Notwithstanding the
preceding provisions, AV COSTAR shall have no obligation or responsibility with respect to any Product that
(i) has been modified or altered without AV COSTAR’s written authorization; (ii) has not been used in
accordance with applicable documentation; (iii) has been subjected to unusual stress, neglect, misuse, abuse,
improper storage, testing or connection; or unauthorized repair; or (iv) is no longer covered under the
Warranty Period. AV COSTAR MAKE NO WARRANTIES OR CONDITIONS, EXPRESS, IMPLIED,
STATUTORY OR OTHERWISE, OTHER THAN THE EXPRESS LIMITED WARRANTIES MADE BY AV
COSTAR ABOVE, AND AV COSTAR HEREBY SPECIFICALLY DISCLAIMS ALL OTHER EXPRESS,
STATUTORY AND IMPLIED WARRANTIES AND CONDITIONS, INCLUDING THE IMPLIED WARRANTIES
OF MERCHANTABILITY, FITNESS FOR A PARTICULAR PURPOSE, NON-INFRINGEMENT AND THE
IMPLIED CONDITION OF SATISFACTORY QUALITY. ALL LICENSED PROGRAMS ARE LICENSED ON
AN “AS IS” BASIS WITHOUT WARRANTY. AV COSTAR DOES NOT WARRANT THAT (I) THE
OPERATION OF THE PRODUCTS OR PARTS WILL BE UNINTERRUPTED OR ERROR FREE; (II) THE
PRODUCTS OR PARTS AND DOCUMENTATION WILL MEET THE END USERS’ REQUIREMENTS; (III)
THE PRODUCTS OR PARTS WILL OPERATE IN COMBINATIONS AND CONFIGURATIONS SELECTED
BY THE END USER; OTHER THAN COMBINATIONS AND CONFIGURATIONS WITH PARTS OR OTHER
PRODUCTS AUTHORIZED BY AV COSTAR OR (IV) THAT ALL LICENSED PROGRAM ERRORS WILL BE
CORRECTED.
For RMA and Advance Replacement information visit http://www.avcostar.com

Page 3of 45
Camera Overview
The ConteraIP®MicroDome®Duo LX features twin multi-megapixel cameras in a compact housing, and is
ideal for a variety of professional indoor/outdoor surveillance requirements. Applications include coverage of a
hallway or walkway, monitoring POS terminals or ATMs, or for viewing of a single wide area or two distinct
regions.
ConteraIP®MicroDome®Duo LX is available with a choice of 4-, 10-, or 16-megapixel (MP) resolutions. These
cameras provide an all-in-one solution for capturing wide area video surveillance while maximizing the field-
of-view and reducing the total number of cameras required saving installers time and end users money.
The ConteraIP®MicroDome®Duo LX is ideal for applications with challenging lighting conditions regardless
the time of day, supported by dual day/night mechanical IR cut filters. For clear color images in low-light,
NightView™ offers strong low-light sensitivity for capturing details in extremely poor-lit scenes. Power can be
supplied via a single PoE (IEEE 802.3af) compliant network cable or via an 12–48V DC/24V AC power
supply.
The installer-friendly ConteraIP®MicroDome®Duo LX enclosure shortens the installation process. ConteraIP®
MicroDome ® Duo LX is designed for demanding environments. Certified to rigorous dust and water tests, the
camera carries an IP66 rating. The rugged dome housing is IK-10 rated to withstand the equivalent of 55 kg
(120 lbs) of force for vandal-prone applications.
AV Costar™ was the first to bring H.264 to the mainstream market and recently developed SNAPstream™
(Smart Noise Adaptation and Processing) technology for reducing bandwidth without impacting image quality.
Today we are proud to offer our next generation H.265 with SNAPstream+™ smart codec capable of
delivering high quality video while saving over 50% of the data rate to reduce or prevent strain on the network.
The ConteraIP®MicroDome®Duo LX is ONVIF (Open Network Video Interface Forum) Profile S, G, and T
compliant, providing interoperability between network video products regardless of manufacturer.

Page 4of 45
Package Contents
•AV4856DN / AV10856DN / AV16856DN
Description
QTY
AV4856DN / AV10856DN / AV16856DN IP camera
1
Mounting Template
1
Mounting Plate
1
Accessory Pack
1

Page 5of 45
Installation
Surface Mounting
1. Determine a secure location to mount the camera.
2. Use the supplied security L-key, to loosen the four (4) screws which secure the cover.
3. Remove the cover. Do not remove screws from the dome cover.
4. Use Phillips screwdriver to loosen the four (4) screws securing the camera to adapter plate.
(some parts removed for clarity)
5. Separate Camera from Adapter Plate. Do not remove the screws.
6. Use Mounting template to create mounting provisions for the camera.
7. Mount Adapter Plate by installing mounting hardware in 4 slots “B” in adapter plate

Page 6of 45
8. Re-attach camera to adapter plate (Reverse step 4 and 5)
9. Re-attach cover to camera (Reverse step 2 and 3)

Page 7of 45
Drop Ceiling Mount Adapter Plate Installation
1. Repeat step 1-5 of Surface Installation (See Pic. 1-3)
2. Use template and cable location to create mounting provisions for the Plate. Use 3/16” drill bits for four
mounting holes in Drop Ceiling Panel.
3. Using enclosed #6-32 screws attach enclosed Drop Ceiling Mount Plate Adapter and Adapter Plate onto
opposite sides of Drop Ceiling Panel, so the panel is “sandwiched” between Adapter Plate and Drop
Ceiling Mount Plate Adapter. Use 4 slots “B” in Adapter Plate.
4. Re-attach camera to adapter plate (Reverse step 4 and 5)
5. Re-attach cover to camera (Reverse step 2 and 3)

Page 8of 45
6. Re-install the Drop Ceiling Panel and plug Customer Ethernet cable into female end of Camera Ethernet
cable.
Cap Installation
1. Repeat step 1-5 of Surface Installation
2. Insert Adapter Plate into the Cap and attach it to the cap, using the 4 screws through 4 “A” holes
using enclosed #6-32 screws.
3. Re-attach camera to adapter plate (Reverse step 4 and 5)
4. Re-attach cover to camera (Reverse step 2 and 3)

Page 9of 45
PIC. 7
5. Assembly (Pic. 7) can be used with wall mount or ceiling mount
PIC 8
Questo manuale è adatto per i seguenti modelli
6
Indice
Manuali Sistema di sicurezza popolari di altre marche

EDM
EDM Solution 6+6 Wireless-AE Manuale utente

Highway Safety Group
Highway Safety Group EA401 Manuale utente

Siren
Siren LED GSM Manuale utente

Detection Systems
Detection Systems 7090i Istruzioni per il montaggio

Se-Kure Controls
Se-Kure Controls MicroMini SK-4841 Manuale utente

Siemens
Siemens FDM273 Manuale utente


