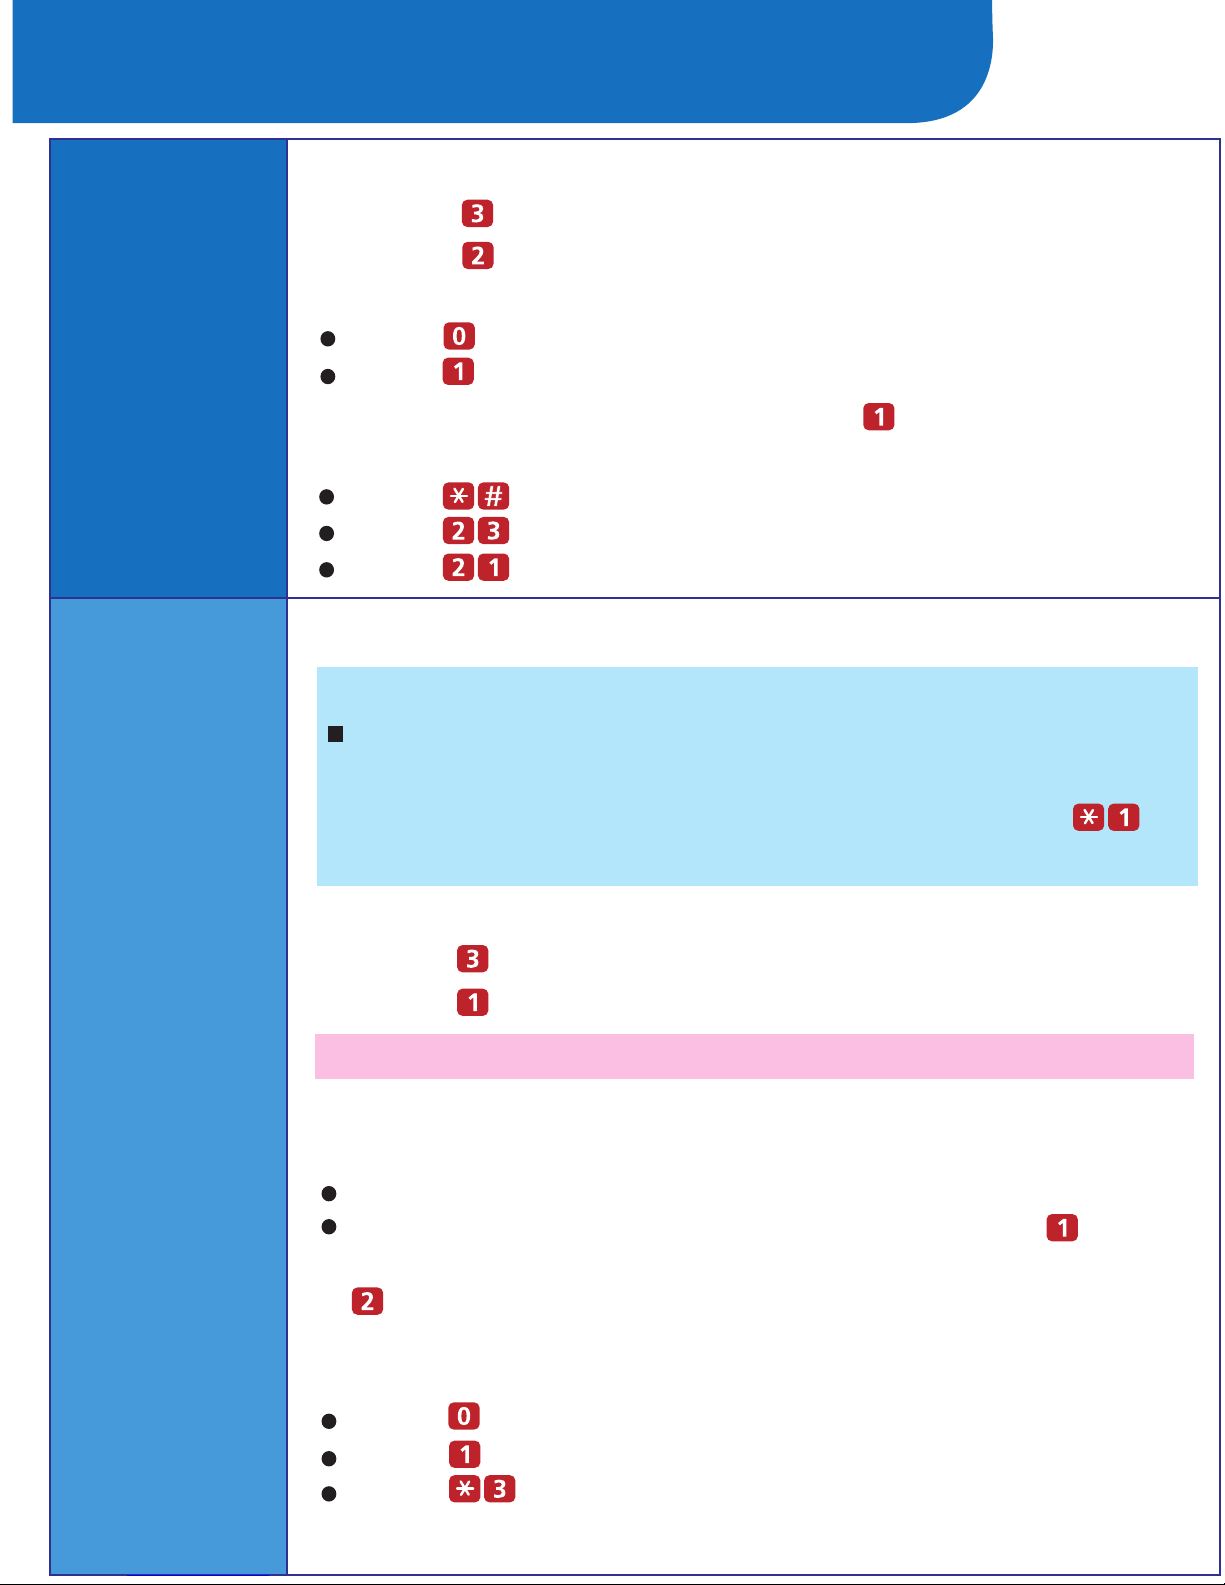
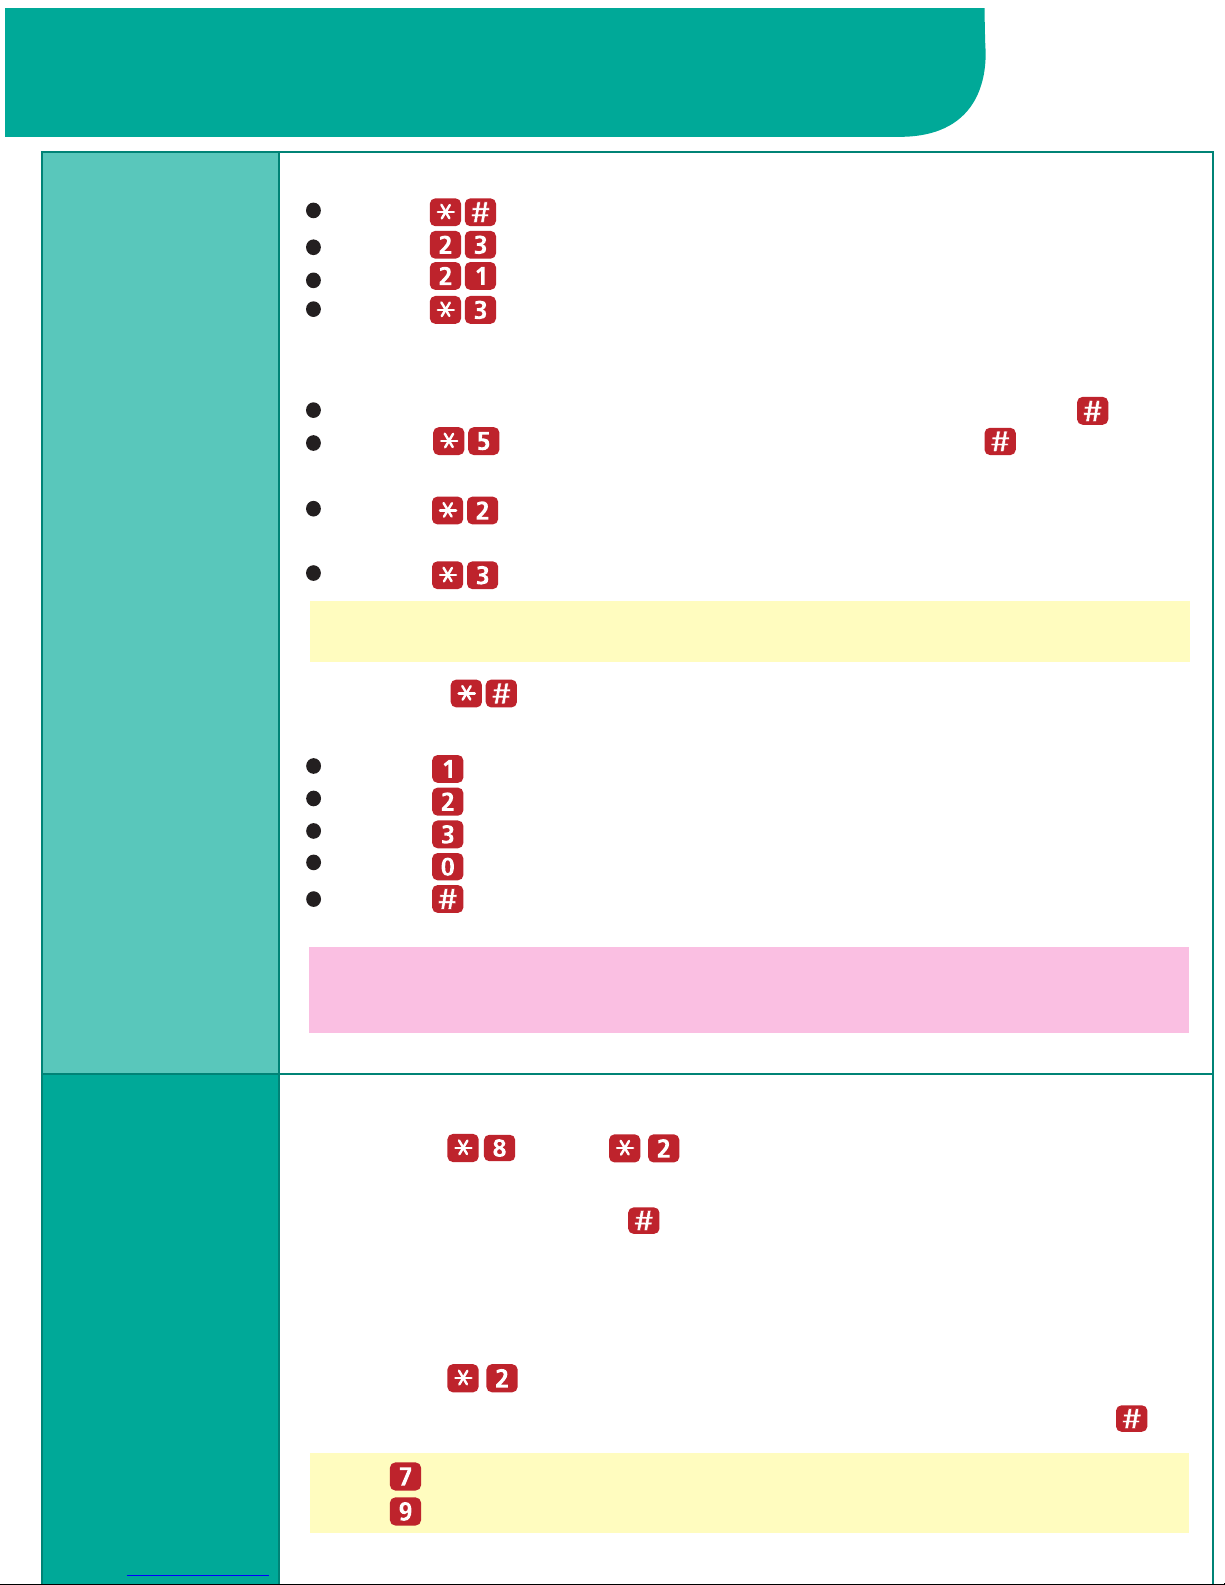
2: Press to get messages.
1:
Log in to Voice Messaging.
Press to listen to the message body.
Press to skip the message. (The message will
remain as "new" until you listen to the body.)
3:Choose an option:
4:After the message plays, choose an option:
Press to save (skip) the message.
Press to replay the message.
Press to replay the header only.
Press to change the message status back to new,
then press to go to the next message.
The next time you
log in for messages, you will hear this as a new message.
(Release 6.0 or later.)
Press to return to the previous message. Repeatedly
press to
backup to the desired message.
(Release 6.0 or later.)
Press to respond to the message (see next section).
You can assign Priority, Private, and/or Return Receipt categories to
messages you send. New Priority messages are heard first when
listening to new messages. Private messages cannot be forwarded.
Return Receipt messages notify you when the message is listened
to by the recipient. You can assign one, two, or all three categories
to a message. In Release 6.0 or later, you can receive an Auto-Copy
message, which is sent to you by an originating mailbox that has
designated your mailbox as an Auto-Copy destination. The message
header indicates the mailbox where the message originated and that
the message is an Auto-Copy.
The system plays the message header.
HINTS:
While the message plays, you can choose additional options:
Press to pause and again to resume.
Press to rewind four seconds and play.
Press to skip forward four seconds and play.
Press to increase volume or to decrease volume.
Press to increase speed or to decrease. Change in speed lasts
for current Voice Messaging connection. (Release 6.0 or later.)
Press to delete the message.
Listening
to
Messages
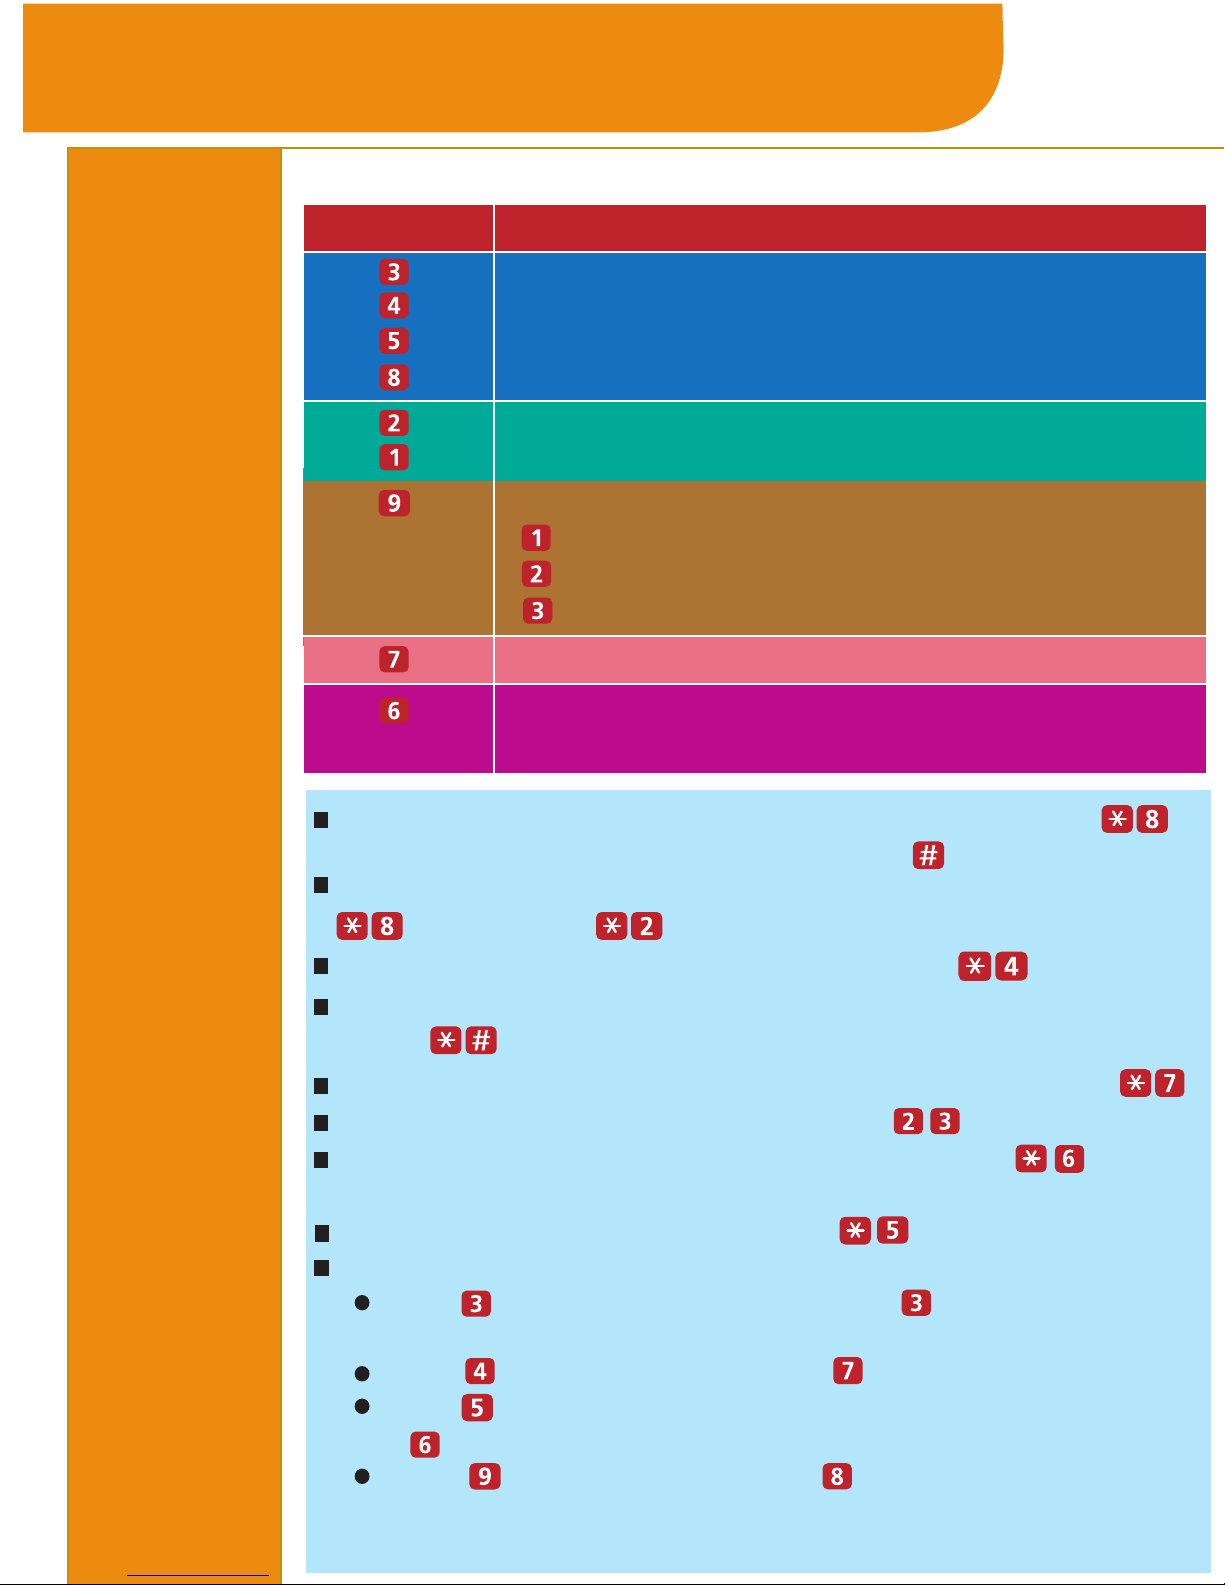
About
Message
Categories
Your Messages