DR040_Quick_V1.0
6) ?+ / ?-/ ?/ ?
Press one of these direction buttons to move the cursor up/down/left/right.
Under the DVR menu mode, these direction buttons can use for the following operation:
??: Make the selection / Change the settings
??: Make the selection
7) MENU
Press this button to enter / exit the DVR menu mode.
In the sub-layer of the DVR menu, press this button to confirm the settings and go back to the upper layer.
8) ENTER
Confirm the password entering.
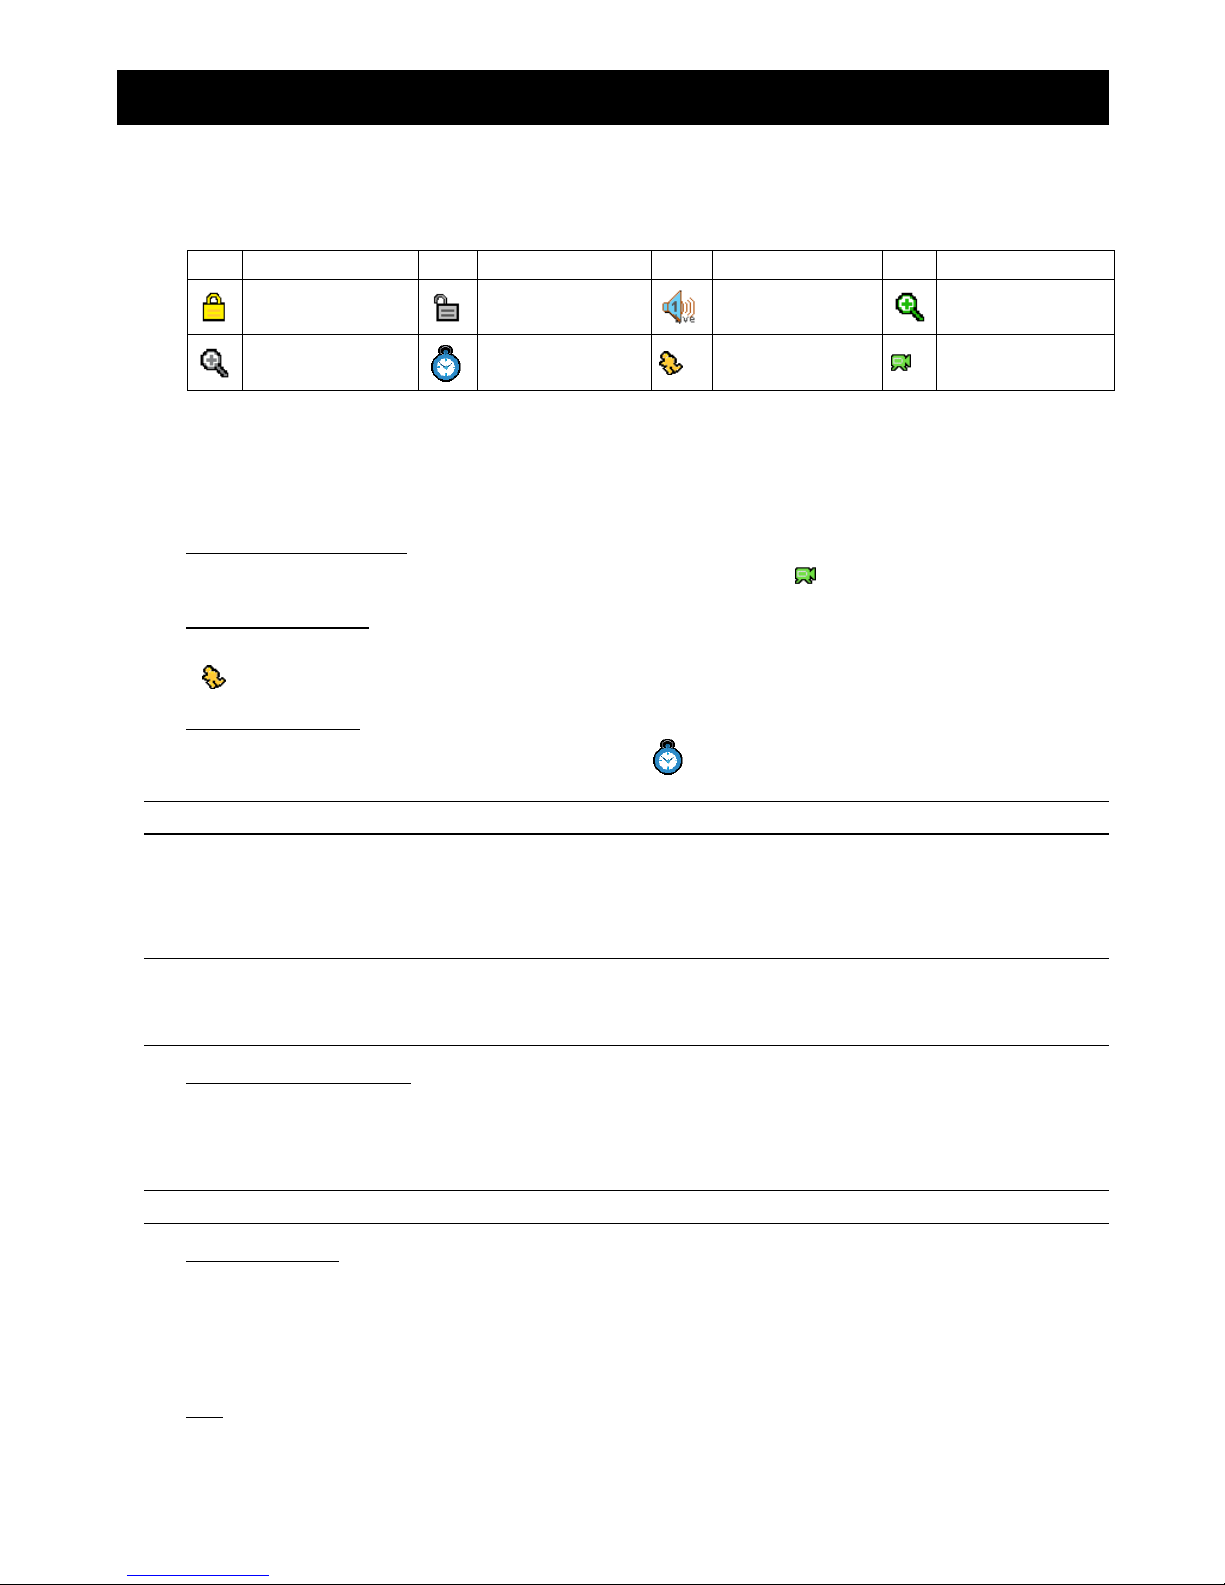
9) LIST (Event List Search)
To quick search the recorded files by event list, press this button to show all types of theevent lists.
Select one of the event list and press “ENTER”button to playback the selected file.
MANUAL: List the information of the manual-recorded files. The DVR will save one recorded file once any recording setting is changed
SYSTEM: List the information of the system-recorded files. The DVR system will save one recorded file every one hour.
MOTION: List the information of the motion-trigger-recorded files.
TIMER: List the information of the timer-recorded files.
10) SLOW
Under the playback mode, press this button to slowly playback the recorded file (by 1/4 speed or 1/8 speed).
11) ZOOM
In the live mode of the DVR, press this button to enlarge the image of the selected channel.
12) (Quad Display)
Press this button to show the quad display mode on themonitor.
Note: If you want to make a video backup with audio, please connect audio camera to the CH1 which
support the audio function
13) “MENU”+ “ENTER”(Key lock)
Press these two buttons at the same time to lock keys on the DVR front panel.
2.2Rear Panel
1 2 3 4 OUTOUTIN
LINK
ACT.
LANDC 19V
RISKOFELECTRICSHOCK
DONOTOPEN
WARNING:TORED UCETHERISKOFELECTRICSHOCK,
DONOTREMOVE COVER (O RBACK).
NO USER -SERVICEABLE PA RTSINSIDE.
REFER SERVICINGTO Q UALIFIED
SERVICE PERSONN EL.
USB
1) USB Port
To quickly backup or upgrade firmware/OSD, you can insert a compatible USB flash drive into this USB port.
Before using the USB flash drive, please use your PC to format the USB flash drive as “FAT32”first.
2) VIDEO INPUT (1 ~ 4CH)
Connect to video sources, such as cameras.
Note: If you want to make a video backup with audio, please connect audio camera to CH1 which