Caple CM103 Manuale utente
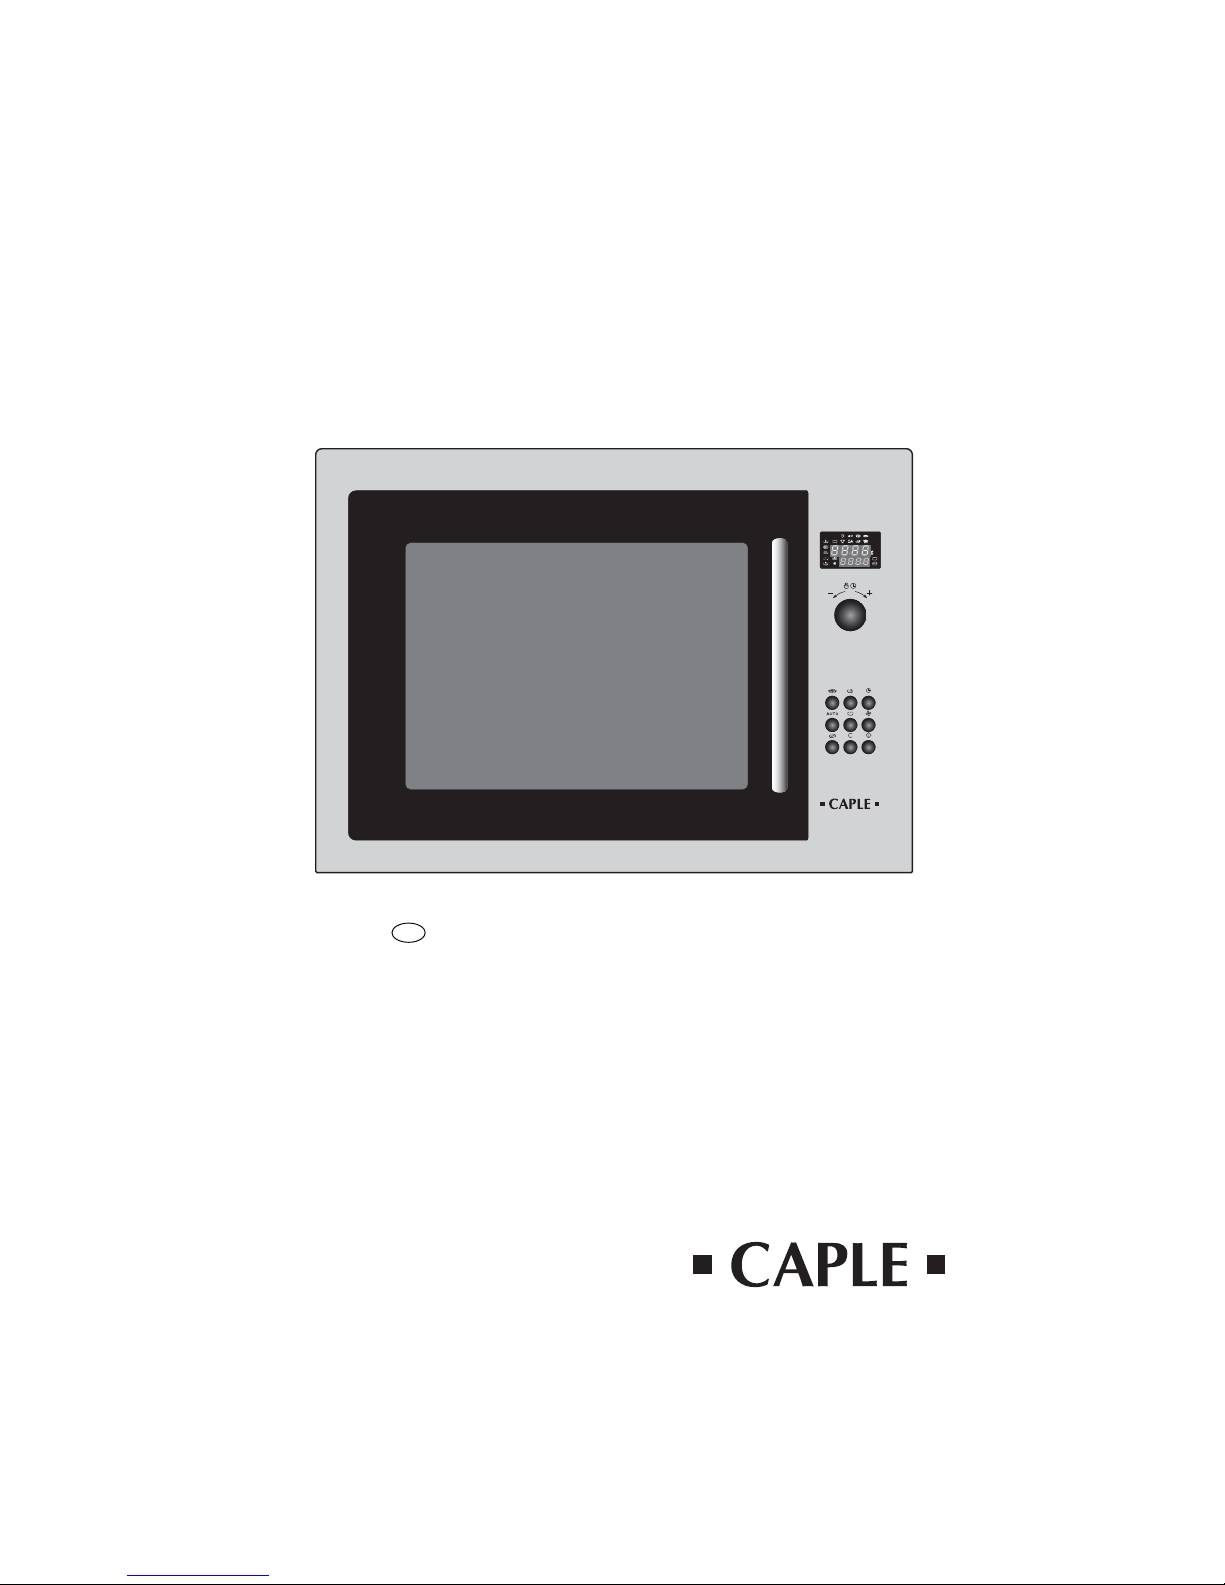
Operating instructions
Microwave Oven
UK

2
Table of contents
Installation . . . . . . . . . . . . . . . . . . . . . . . . . . . . . . . .3
Warning . . . . . . . . . . . . . . . . . . . . . . . . . . . . . . . . . .4
General description . . . . . . . . . . . . . . . . . . . . . . . . . .5
The control panel . . . . . . . . . . . . . . . . . . . . . . . . . . . .6
Setting the clock / Microwave power settings . . . . . . . . . . . .7
The display & the selector knob . . . . . . . . . . . . . . . . . .8
The folding rack / Programming . . . . . . . . . . . . . . . . . .9
Programming . . . . . . . . . . . . . . . . . . . . . . . . . . . . . .10
AUTO Programming / The grill function . . . . . . . . . . . .11
Microwave + grill function . . . . . . . . . . . . . . . . . . . . .12
The fan functions . . . . . . . . . . . . . . . . . . . . . . . . . . .13
Programming the fan function . . . . . . . . . . . . . . . . . .14
Programming the fan + microwave function . . . . . . . . .15
Recommendations . . . . . . . . . . . . . . . . . . . . . . . . . . .16
Care & cleaning . . . . . . . . . . . . . . . . . . . . . . . . . . . .17
Troubleshooting guide . . . . . . . . . . . . . . . . . . . . . . .18
After-sales service . . . . . . . . . . . . . . . . . . . . . . . . . . .19
Important safety instructions. Read careffully
and keep for future reference

•
Your installation must be protected by a 13 Amp thermal fuse.
•
It is mandatory to use a power point with a ground terminal, connected in accordance with
current safety regulations.
•
In your electrical installation, provide a device that is accessible to the installer, capable of
separating the appliance from the mains power and whose contact opening is at least 3 mm
at all of the poles.
•
Never operate the oven if the supply cord and/ or its plug are damaged. In case of damage,
call in a specialised technician trained by the manufacturer.
3
LOCATION
BEFORE CONNECTION
Installation
•
Check whether your oven has not suffered any damage during transport (deformed door
or door seal, etc.). If you see any signs of damage, contact your dealer before use.
•
Verify the power voltage. If there is a PERMANENT undervoltage (200-210 volts), consult your
electrical installer.
ELECTRICAL CONNECTION
•
Place the oven on a flat and horizontal surface, away from any source of heat or steam.
•
The oven should be set at least 85 cm above floor level.
•
Leave sufficient space around the oven : 5 cm between the sides of the oven and any walls or
objects, 14 cm above the oven and 10 cm behind the oven to ensure that air may circulate freely
around the oven.
•
Make sure that nothing obstructs the ventilation louvres at the back of the appliance and that the
electrical plug will be accessible after installation.
•
Please refer to the installation manual included with your oven for further instructions.

4
Warning
• Your appliance is designed exclusively for the domestic purposes of defrosting, heating or
cooking foods. The manufacturer bears no responsibility in the case of improper usage.
• Only use ustensils that are suitable for use in microwave ovens.
• To avoid deterioration of your microwave oven, never operate it empty or without the
turntable.
• Never tamper with the lock mechanism of your microwave oven; you could cause damage
requiring repair by an authorised technician.
• When heating food in plastic or paper containers, keep an eye on the oven due to the
possibility of ignition.
• It is not advisable to use metal recipients, forks, spoons, knives, metal ties or staples for
deep-freeze bags.
• The contents of feeding bottles are baby food jars shall be stirred or shaken and the
temperature checked before consumption in order to avoid burns.
• Only allow children to use the oven without supervision when adequate instructions
have been given so that the child is able to use the oven in a safe way and understands
the hazards of improper use.
• Liquids and other foods must not be heated in sealed containers they are liable to explode.
• Eggs in their shell and whole hard-boiled eggs should not be heated in microwave ovens
since they may explode, even after microwave heating has ended.
• Microwave heating of beverages can result in delayed eruptive boiling, therefore care
must be taken when handling the container.
• For small amounts (one sausage, a single croissant, etc.), place a glass of water along-
side the food item.
• Time settings that are too long may dry out and burn the food. To avoid such incidents,
never use the same cooking times as those recommended for traditional ovens.
• If smoke is observed, switch off or unplug the appliance and keep the door closed in
order to stifle any flames.
• In order to evacuate moisture, your appliance is fiited with a delayed ventilation func-
tion. Depending on the applied cooking mode (solo / grill / combination), the oven ven-
tilation will continue to operate after the cokking end.

5
General description
• THE TURNTABLE :
ensures equal cooking of food throughout with no need to stir or turn the dish.
- It may be used as a cooking platter.
- Rotation is controlled by the drive shaft and the wheel support.
- The turntable revolves in both directions.
- If it does not turn, verify that all components are properly positioned.
- For easy removal, wells are provided on either side.
The turntable may be stopped (STOP TURNTABLE key ) in order to use platters
which require the entire surface of the oven floor. When off, remember to turn the
recipient or stir the contents.
• THE WHEEL SUPPORT :
Do not try to rotate the roller ring manually, as this could damage the drive system. If it
does not turn smoothly, make sure that there is nothing in the well beneath the
turntable.
TurntableDrive shaft Wheel supportIdentification label Grill
6
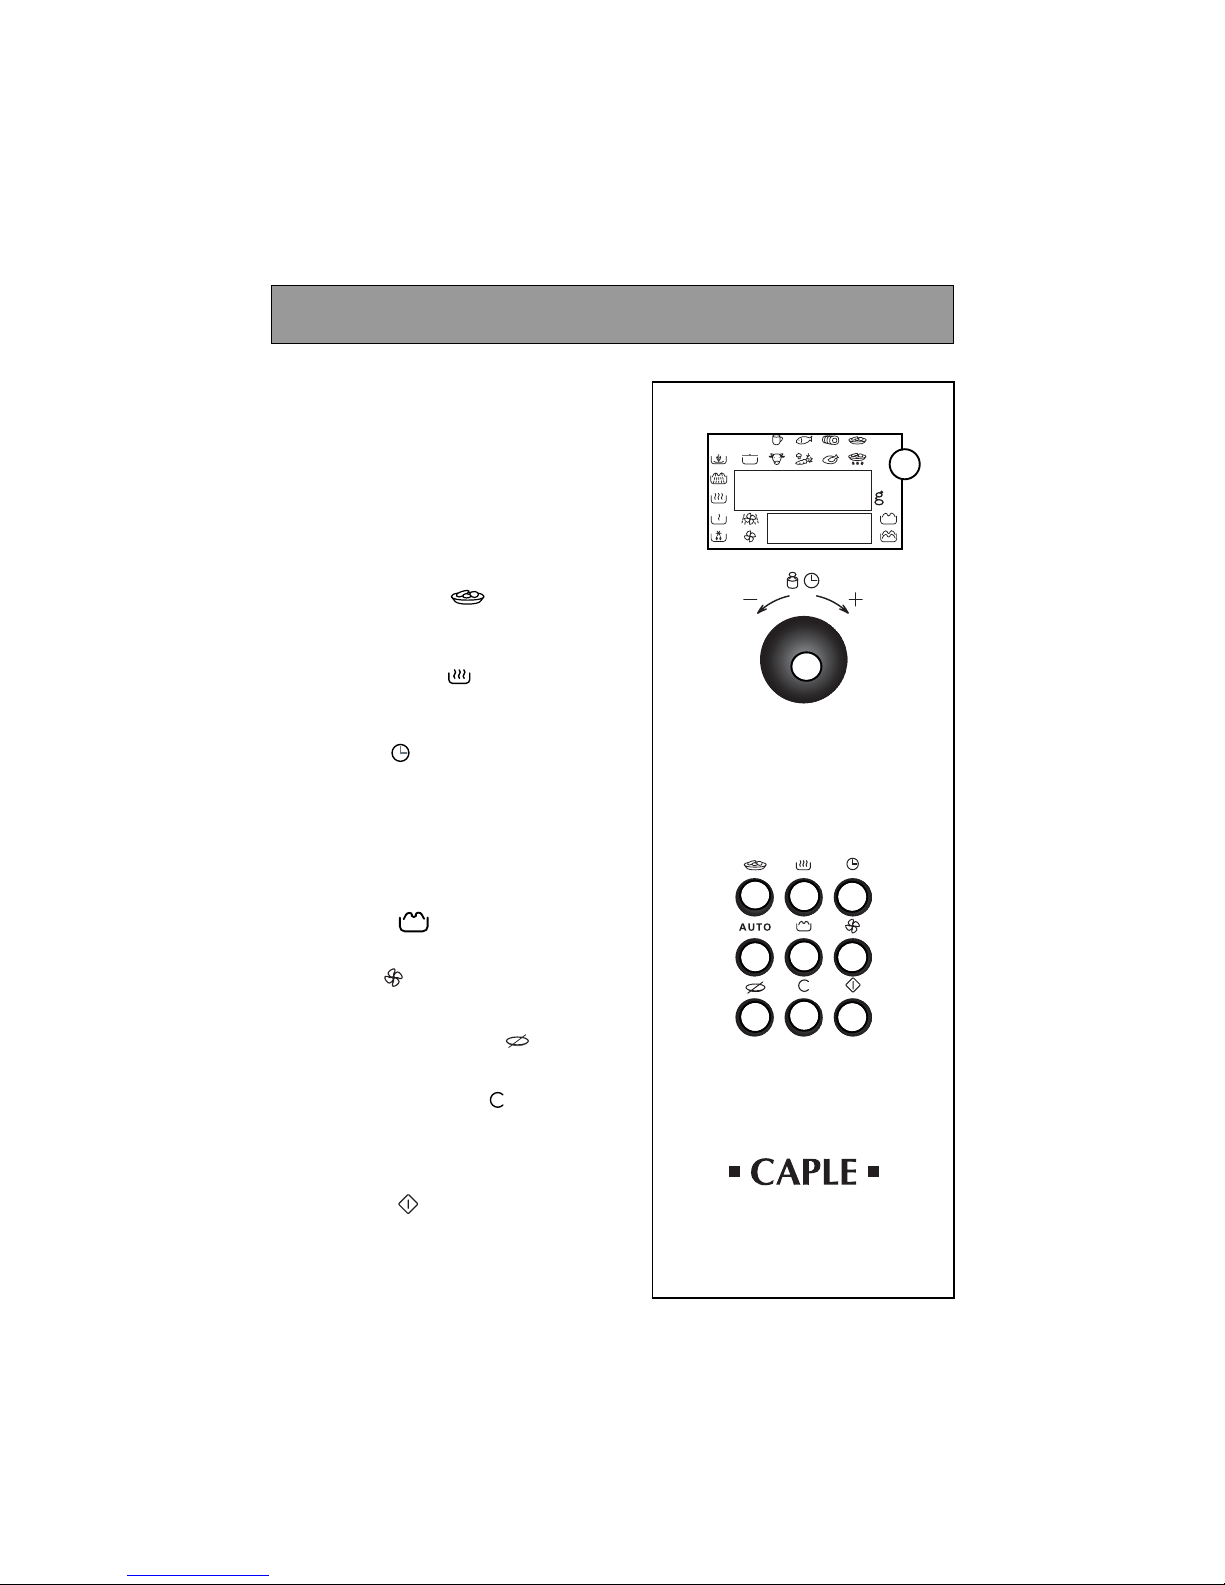
The control panel
ADisplay window :
to simplify programming, the display indi-
cates : the time of day, the types of food
and functions, the minutes / seconds or
weight programmed.
BThe selector knob :
to choose the food type, function, pro-
gramme time or weight.
CFOOD TYPE key :
to choose the food type, with the selector
knob.
DFUNCTION key :
to choose the appropriate function, with
the selector knob.
ETIME key :
used to set the programme time, with the
selector knob.
F“AUTO” key :
automatically sets the correct programme
time according to a specified food type and
weight.
GGRILL key :
to select low or high grill.
HFAN key
:
to cook as if with a traditional oven.
ISTOP-TURNTABLE key :
to stop the turntable from revolving.
JPAUSE/CANCEL key :
to interrupt (press once) or cancel a pro-
gramme (press twice). Also used to set the
clock.
KSTART key :
to start all programmes.
B
G
F
K
DE
C
H
J
I
4 0 : 0 0
2 2 0 ° C
A

7
POWER SETTING APPLICATION
Microwave power settings
DEFROST 150W To defrost all frozen food or to top off cooking
of delicate dishes or to cook very slowly.
SIMMER 500W
HEAT 700W To heat up all liquids and all fresh or frozen
pre-cooked dishes.
HIGH COOK 900W To cook vegetables and soup.
When you select the type of food, the appropriate
power setting is automatically programmed.
Microwave output power : 900 W
After first plugging in your microwave oven or after a power outage,
00:00 appears in the display and the two dots flash.
To set the clock :
- Press the PAUSE / CANCEL key for 5 seconds.
The 4 numbers flash, and a tone sounds inviting you to set the time.
- Turn the selector knob to the correct time (ex. twelve o’clock).
- Validate by pressing the PAUSE / CANCEL key .
Your clock is set.
0 0 : 0 0
1 2 : 0 0
0 0 : 0 0
Setting the clock
To cook fish and poultry.
To finish programmes begun on the HIGH COOK
power setting, for instance beans, lentils, or
dairy products. (This power setting is available
when you programme with the function key
.)
8
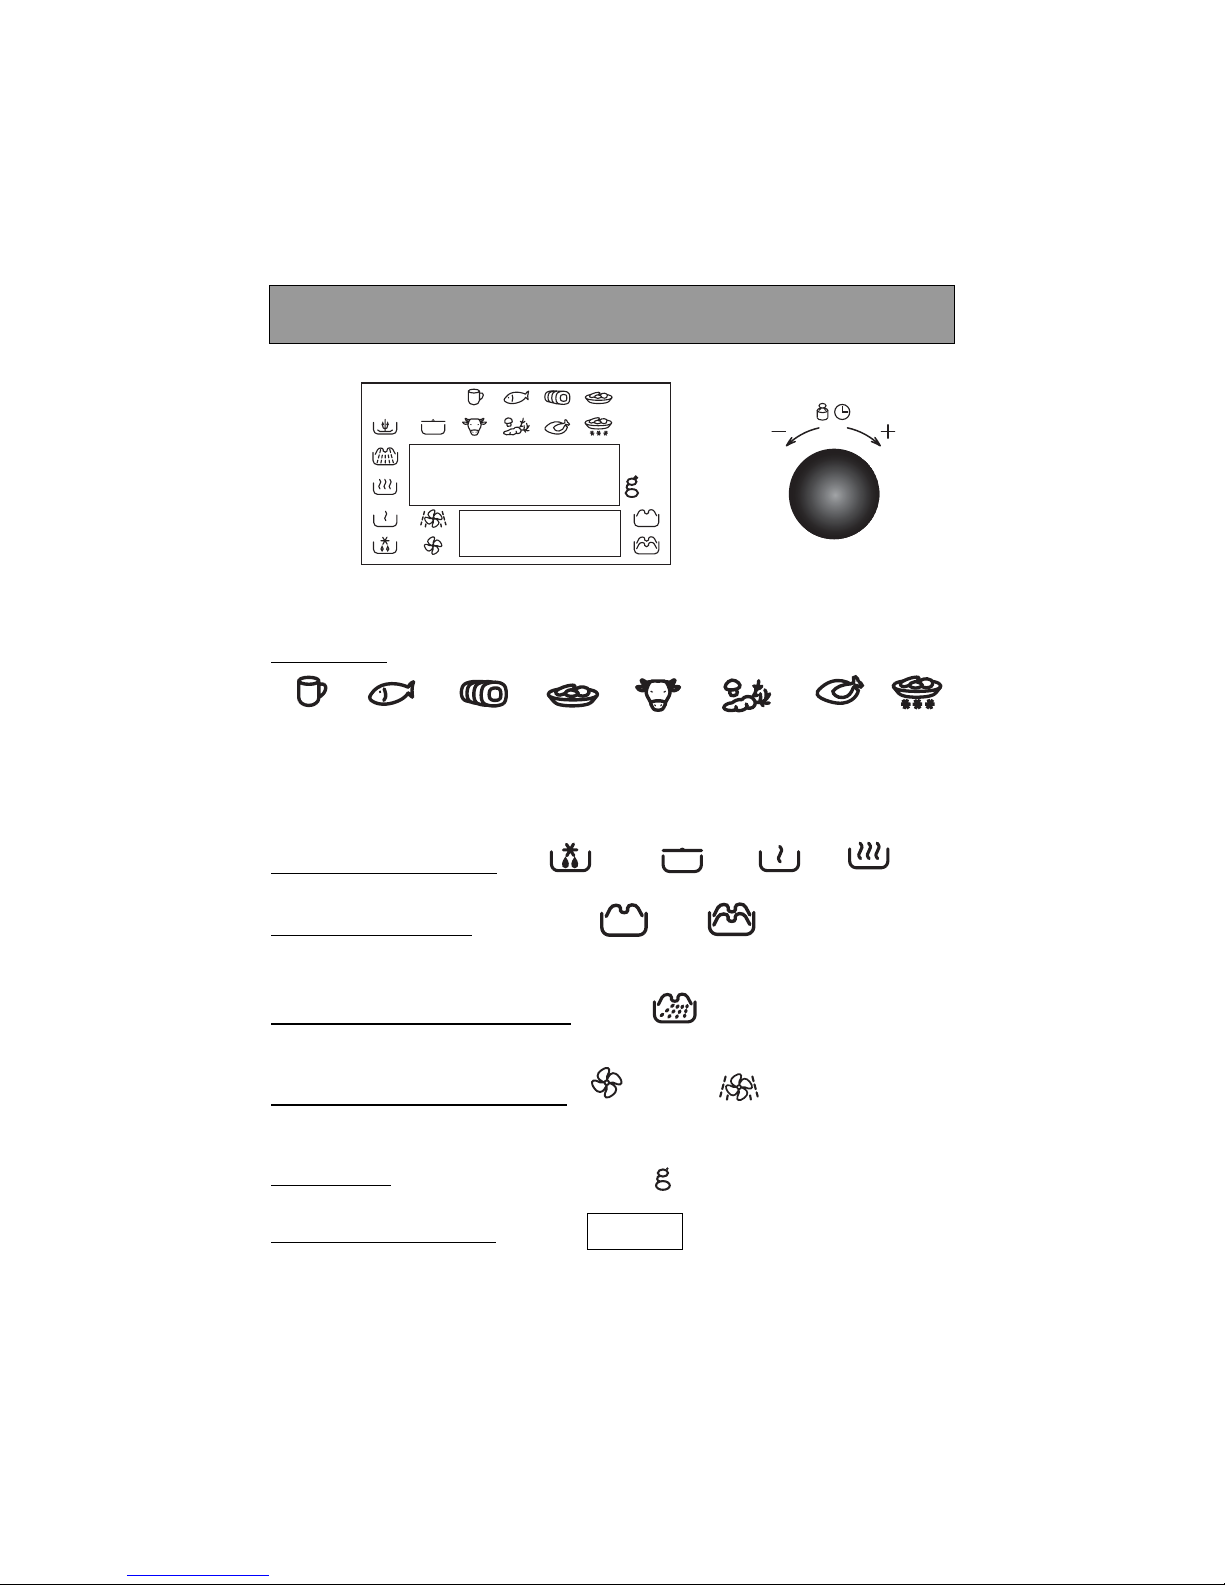
The display & the selector knob
The display and the selector knob guide you in your choice of :
food types
Microwave functions
DEFROST SIMMER HEAT COOK
the 2-position grill
LOW GRILL HIGH GRILL
Grill + Microwave functions
MICROWAVE
+ GRILL
Fan + Microwave functions
FAN FAN +
MICROWAVE
the weight for Automatic programming
the programme time (or clock)
The food type or function being selected will blink in the display.
12:00
beverages beef,
lamb vegetables poultry frozen
ready-
made
dishes
fresh
ready-
made
dishes
pork,
veal
fish
turkey
12:30
200°C
9
Programming
Your microwave oven is now plugged in and the clock is set.
Open the door. Set the dish inside, close the door. If the door is not properly shut, the appliance will
not operate.
The following keys are used for
the various programmes :
•
3 beeps announce the end of a programme. The beeps are repeated every minute for 10 minutes
until you open the door.
•
If the dish is too large to turn freely inside the oven, press the STOP TURNTABLE key before
or during the programme.
•
If there is an error in the programming, press the CANCEL key twice.
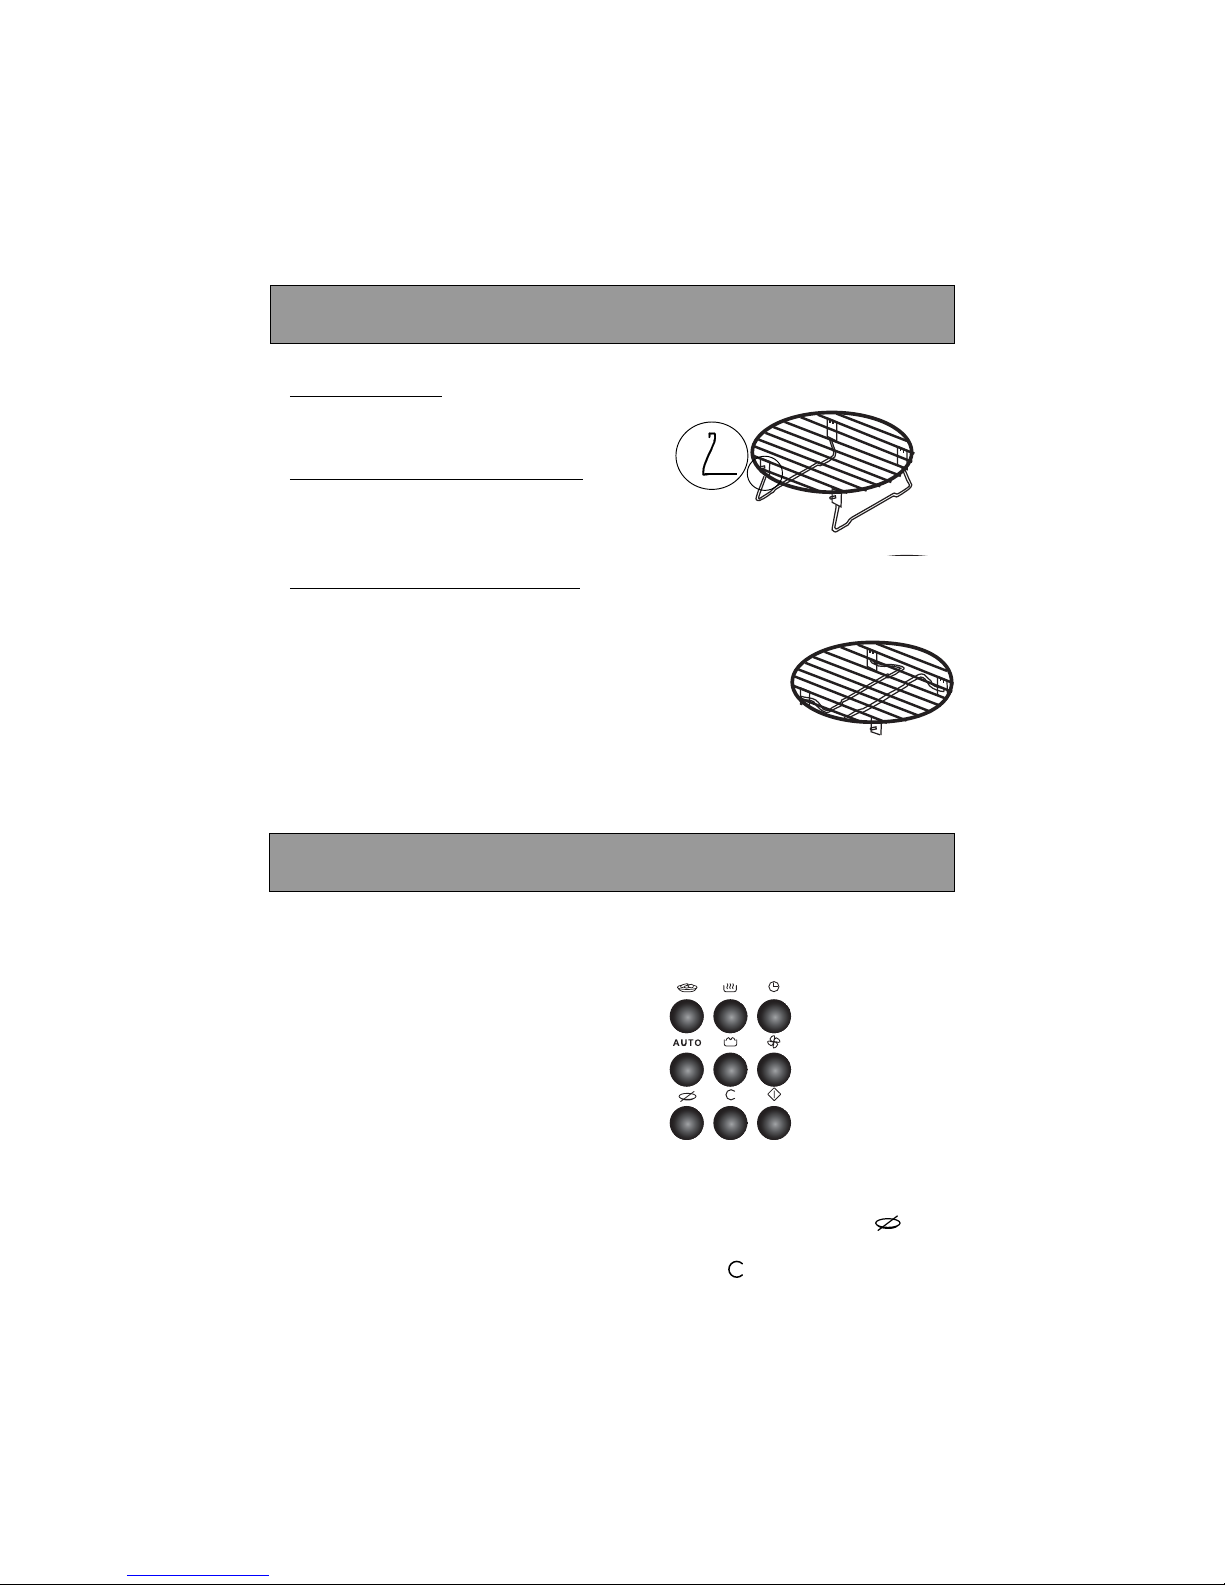
To fold down the rack :
Push in on the hooked ends and fold the bars
in towards the center.
with the grill or grill + mcrowave functions :
choose the rack level according to the dish you wish to grill :
- high position to brown shallow dishes, such as pies
- low position as required for other dishes, ex. roasts.
with the fan or fan + microwave functions :
always set your dishes on the rack folded down
to the low position.
Make sure that the rack is well centered on the turntable.
Never set any metal dish on the rack when using the
microwave, grill + microwave or fan + microwave functions.
Nevertheless you may heat up food in an aluminium tray
provided you place a plate between the tray and the rack.
➥The rack :
high
position
➡
➡
low
position
(folded)
➨
➥
➥
The folding rack

10
Programming
Programming with the function key
▼▼Press the FUNCTION key, select the function with the selector knob.
With this key, the SIMMER setting is available.
▼▼Press the TIME key, programme the time with the selector knob.
▼▼Press START .
Programming with the food type key
▼▼Press the FOOD TYPE key, select the food type with the
selector knob.
▼▼Press the FUNCTION key, select the function with the selector knob;
the correct microwave power setting will be programmed
according to the food type selected.
▼▼Press the TIME key, programme the time with the selector knob.
▼▼Press START .
5 : 0 0
7 : 0 0
You may choose amongst the following programmes :
Express programme
▼▼Set the programme time (ex. 2 minutes) with the selector knob.
The functions & blink alternatively to indicate that
the express programme (900 W) is set.
▼▼Press START .
2 : 0 0
Indice
Altri manuali Caple Forno a microonde

Caple
Caple CM109 Manuale utente

Caple
Caple CM126 Manuale utente

Caple
Caple CM123 Manuale utente

Caple
Caple CM210SS Manuale utente

Caple
Caple CM101 Manuale utente

Caple
Caple CM108SS Manuale utente

Caple
Caple CM126 Manuale utente

Caple
Caple CM108SS Manuale utente

Caple
Caple CM118 Manuale utente

Caple
Caple CM108 Manuale utente

Caple
Caple CM110GM Manuale utente

Caple
Caple CM123 Manuale utente

Caple
Caple CM106 Manuale

Caple
Caple CM126 Manuale utente

Caple
Caple CM111 Manuale utente

Caple
Caple CMS260 Manuale utente

Caple
Caple CM112 Manuale utente

Caple
Caple CM120 Manuale utente

Caple
Caple CM120 Manuale utente

Caple
Caple CM140 Manuale utente


M Manuale utente")


