Circuitmess Jay-D Manuale utente

Introduction
The beginning
Prefer video instructions?We got you covered! You can follow along with our Jay-
D video build guideat this link.
Welcome to CircuitMess Jay-D build guide!
By following this build guide, you'll learn how to assemble your own mini DJ
mixtable.With Jay-D, you’ll learn how microcomputers and other electronic
components are used for sound production. You'll also get a bit closer to becoming
a DJ superstar!
Check out the anatomy guide before you start to learn more
about the components you're about to assemble.
A great addition to this guide that leads you through all the steps of the build is the
anatomy guide that explains the components on the main board in more depth.
You can check it outhere!
Get ready to have some fun!<br>
Age group
Jay-D is designed for everyone that's at least 11 years old - like it says on the box.
Some of the assembly steps should be approached carefully, so make sure to have
an adult jump in if you need some help with soldering or tightening the bolts later
in the process. It's okay to ask for help.
Don't worry though! We'll go through the assembly step by step and provide some
useful tips along the way. We'll give you a heads-up if there's something important
to keep in mind while assembling.
i
Jay-D Build Guide

Assembly time
It should take you approximately4 hours to fully assemble your Jay-D.
Of course, the assembly time depends on your previous knowledge and
experience. If you don't have any experience yet, don't worry! It just might take you
a little longer to get into the groove and overcome the challenges in the beginning.
Skills
You don't need to have any specific skills before getting your hands dirty with this
DIY project.
The main objective here is to have fun and learn something new.
So hold on tight, read all the instructions, and get ready to have fun! This is a great
opportunity and your first step in your big engineering career.
Learning with Jay-D
As previously mentioned, Jay-D will teach you a few useful things in the following 4
hours or so.
Here's what you will learn:
What components are needed for digital sound production
What are the sound waves and how can they be produced using computers
and various electronic components
What is a DAC and how it can be controlled for simultaneous playback of
multiple sound files
How a DJ mixtable works
How to code custom light shows for your Jay-D mixtable
How to code a custom sound effect into your Jay-D turntable
What's in the box?
Let's meet all the components that arrived in
the box!
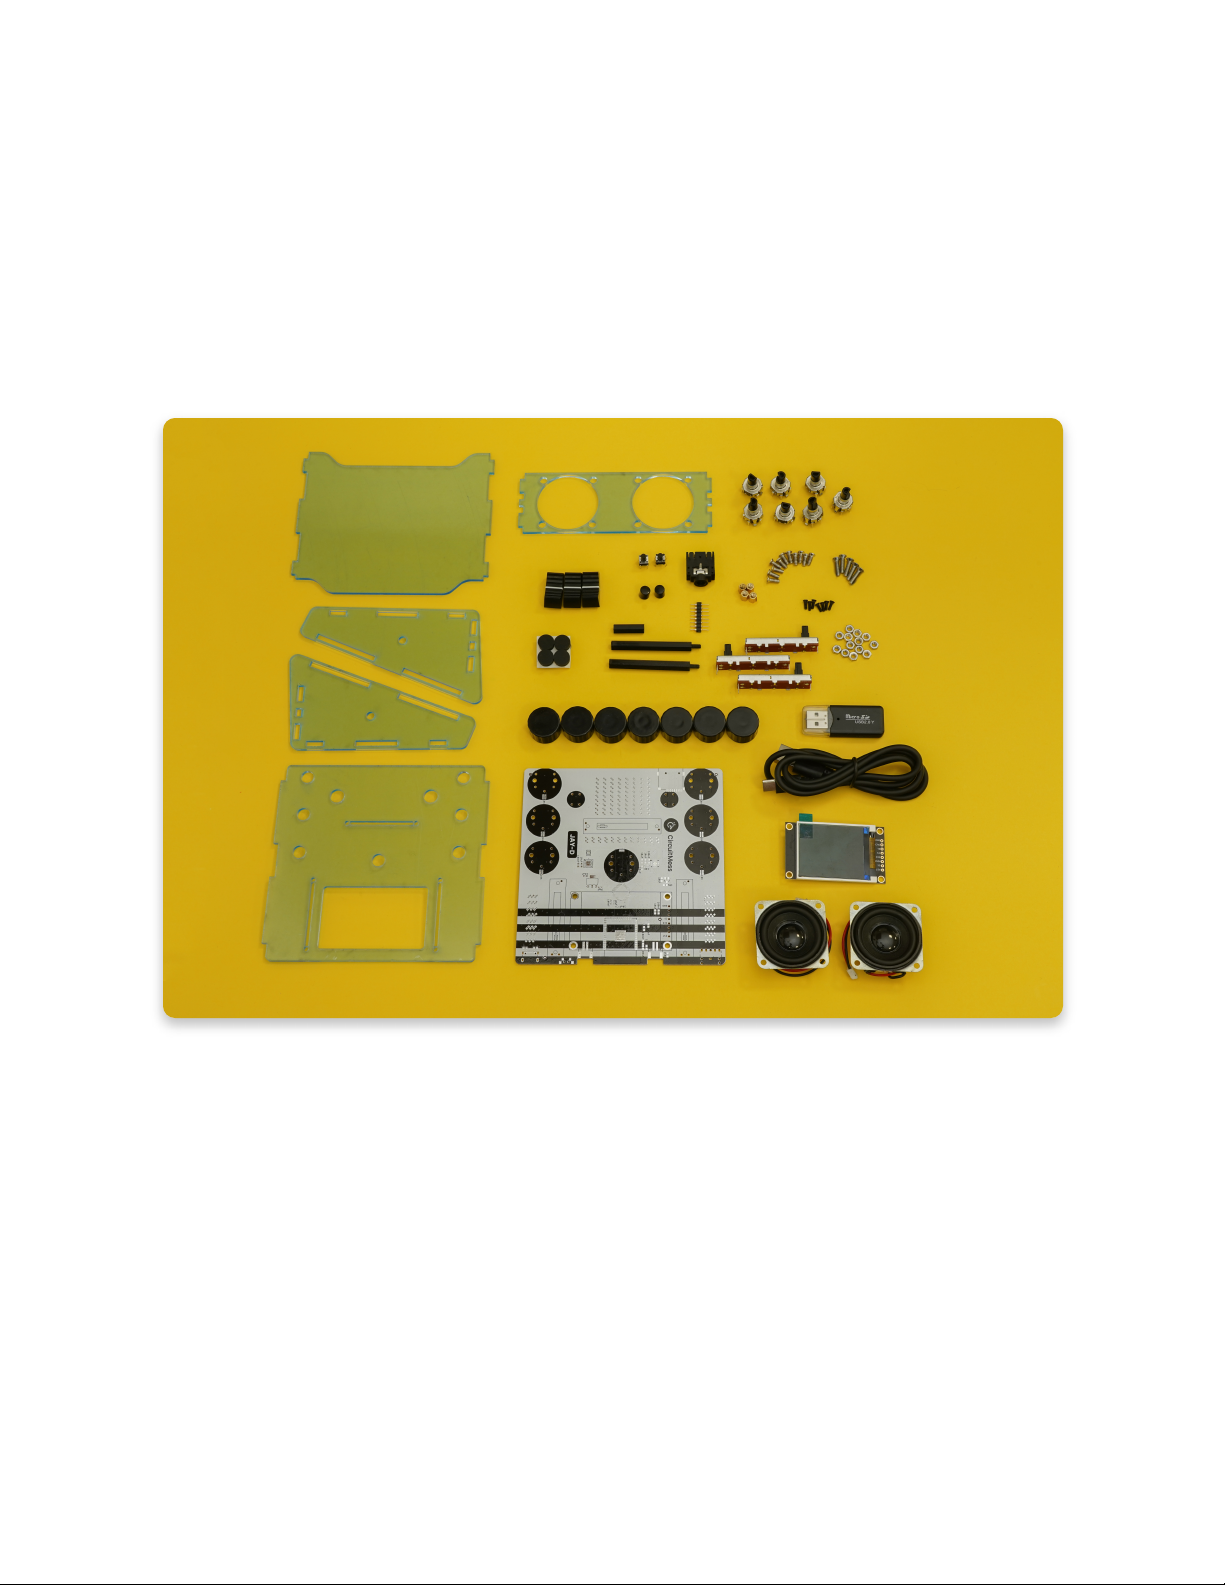
Open your Jay-D box and check if you have all the components. Make sure to lay it
all on a clean surface where you'll inspect if everything is there according to the
photo and the list below.
In case something is missing, please contact us at [email protected].
Send us a photo of everything that came in the box, and we'll get back to you as
soon as possible to resolve the issue.
Here is the list of components:
1. Main circuit board – connects all the chips together
2. Display board – 128*160 TFT color display
3. Acrylic casing
4. A bag of other small components such as resistors, pushbuttons, nuts, and
bolts (we'll go over that in the next step)
5. Two 5W speakers
6. Custom-made plastic knobs
7. USB-C cable for charging and programming the device
8. 4GB Micro SD card with a bunch of royalty-free beats preloaded

Check all the small components
1. Rotary encoders (x7)
2. Plastic caps for sliders (x3)
3. Small black pushbuttons (x2)
4. Small black button caps (x2)
5. Male pin header
6. Headphone jack
7. Brass spacers (x4)
8. Medium metal bolts (x11)
9. Big metal bolts (x5)
10. Adhesive rubber feet (x6)
11. Black nylon spacers (x2 long, x1 short)
12. Slider potentiometers (x3)
13. Metal nuts (x13)
14. The smallest metal bolts (x7) (we used the black ones in the photos, but
yours should be silverish like the rest of the bolts)
Meet the tools
Mandatory tools
In this chapter, we'll explain what tools you'll need to assemble your Jay-D.
If you have your CircuitMess Tools pack in front of you, you should be all set!
In case you got the Jay-D kit without the Tools pack, this is a good time to borrow
some of the tools or purchase them.
The SD card is already inserted into Jay-D's SD card slot!

The tools required are essential whenever you are assembling, fixing, or modifying
electronic devices and are the tools of the trade for every maker/hardware
hacker/modder/electrician.
All the tools from the box
1. Soldering iron
2. Desoldering vacuum tool (solder sucker)
3. Soldering iron stand
4. A small reel of rosin-cored solder
5. Cleaning sponge
6. Phillips screwdriver
7. Diagonal cutter pliers
8. Needle-nose pliers
Soldering iron
This is the most important tool in a maker’s arsenal.
For Jay-D's assembly, any entry-level soldering iron will suffice.
If you plan to dive into the world of DIY projects, you should consider getting a more
expensive one with more features. There are also many soldering irons with
interchangeable tips that can be particularly useful when working with much
smaller components.
There are two types of soldering irons you could have received in your tools pack.
The first one is white with a temperature regulator, and the second one is blue with
a small metal button. Both of them will do the job of soldering the components in
place and there is no big difference between them.
You will find the instructions on how to properly solder and take care of both
soldering irons in the next chapter.
The soldering iron from the Tools pack
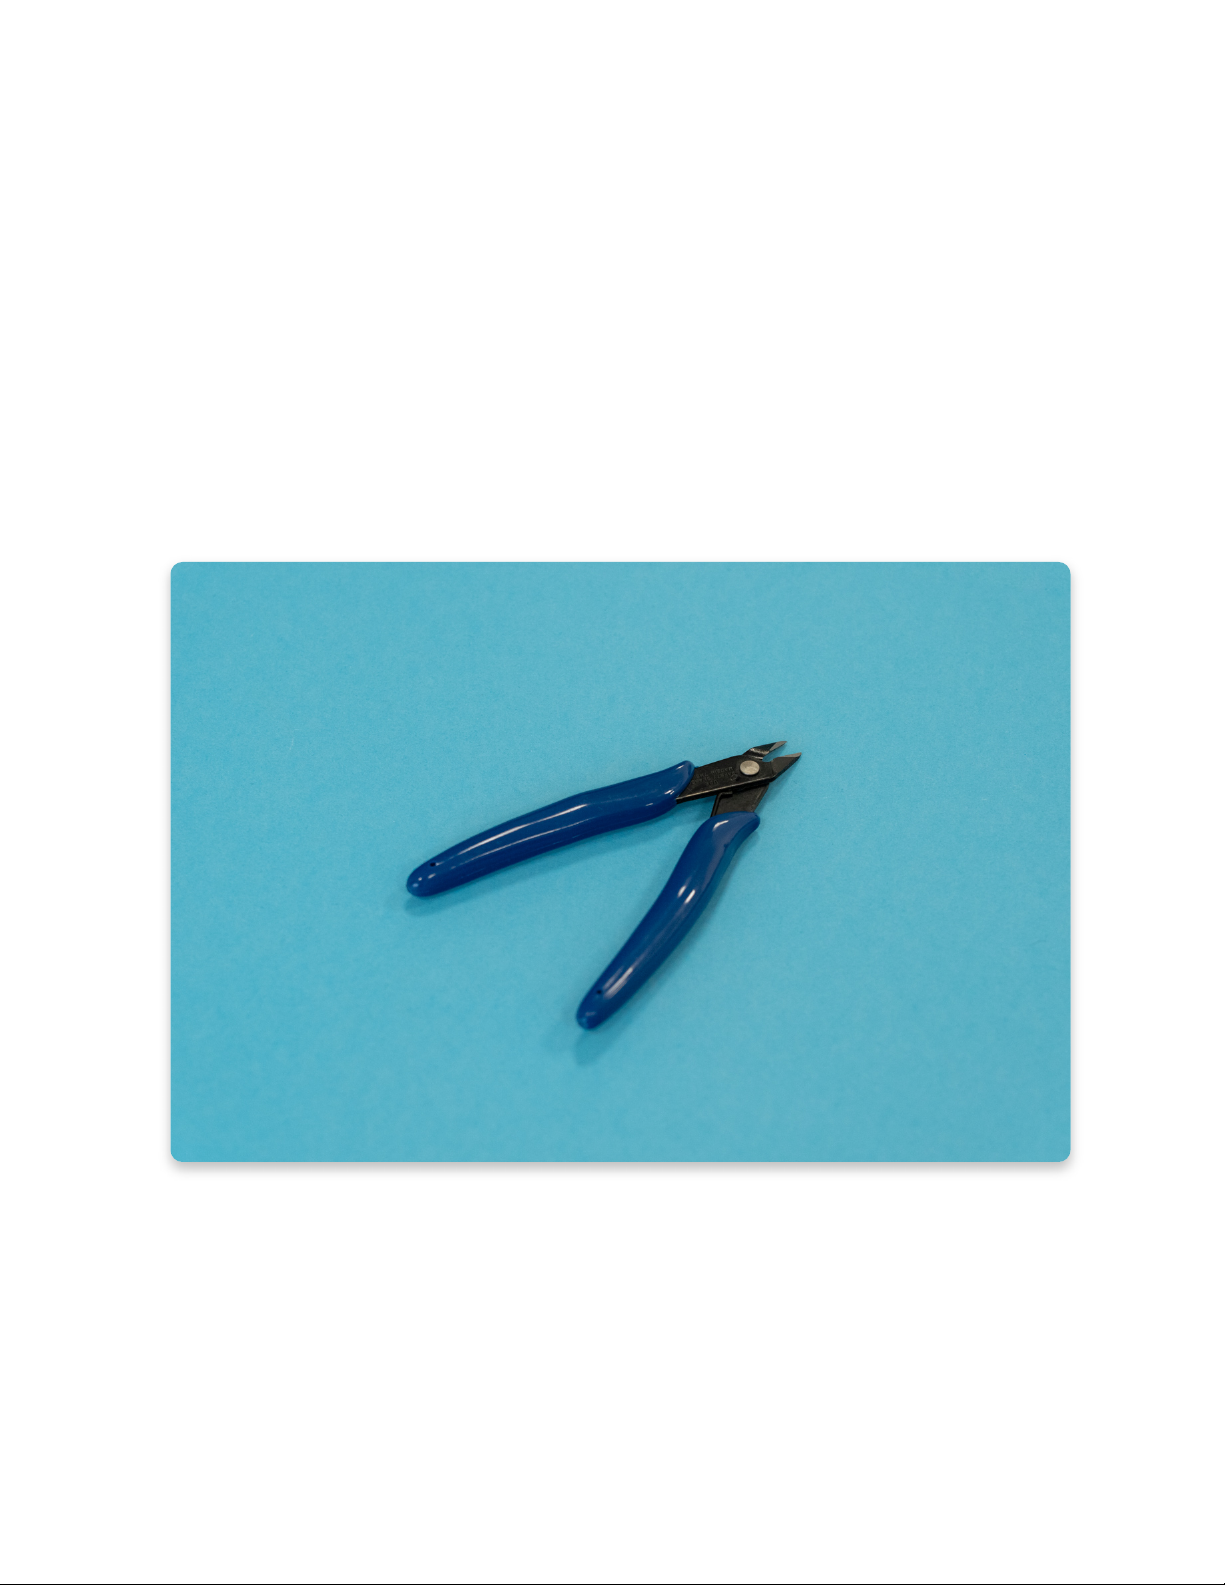
Diagonal cutter pliers
With pliers like these, you’ll be able to trim the legs of soldered components and
cut wires!
We prefer this type shown in the picture (Plato, model 170), but any other type will
do.
Diagonal cutter pliers
Needle-nose pliers
You’re going to need pliers like these when assembling the casing, or when
plugging in some tricky connectors!
They’re generally useful when doing some fine mechanical work.
Soldering sponge
This small piece doesn't seem like much until you soak it in some water. It then
turns into a super solder-cleaning sponge! Use it after soldering a couple of
joints to remove the excess solder from the tip of your iron. Make sure that the
sponge isn't dripping wet or bone dry - it should be damp.
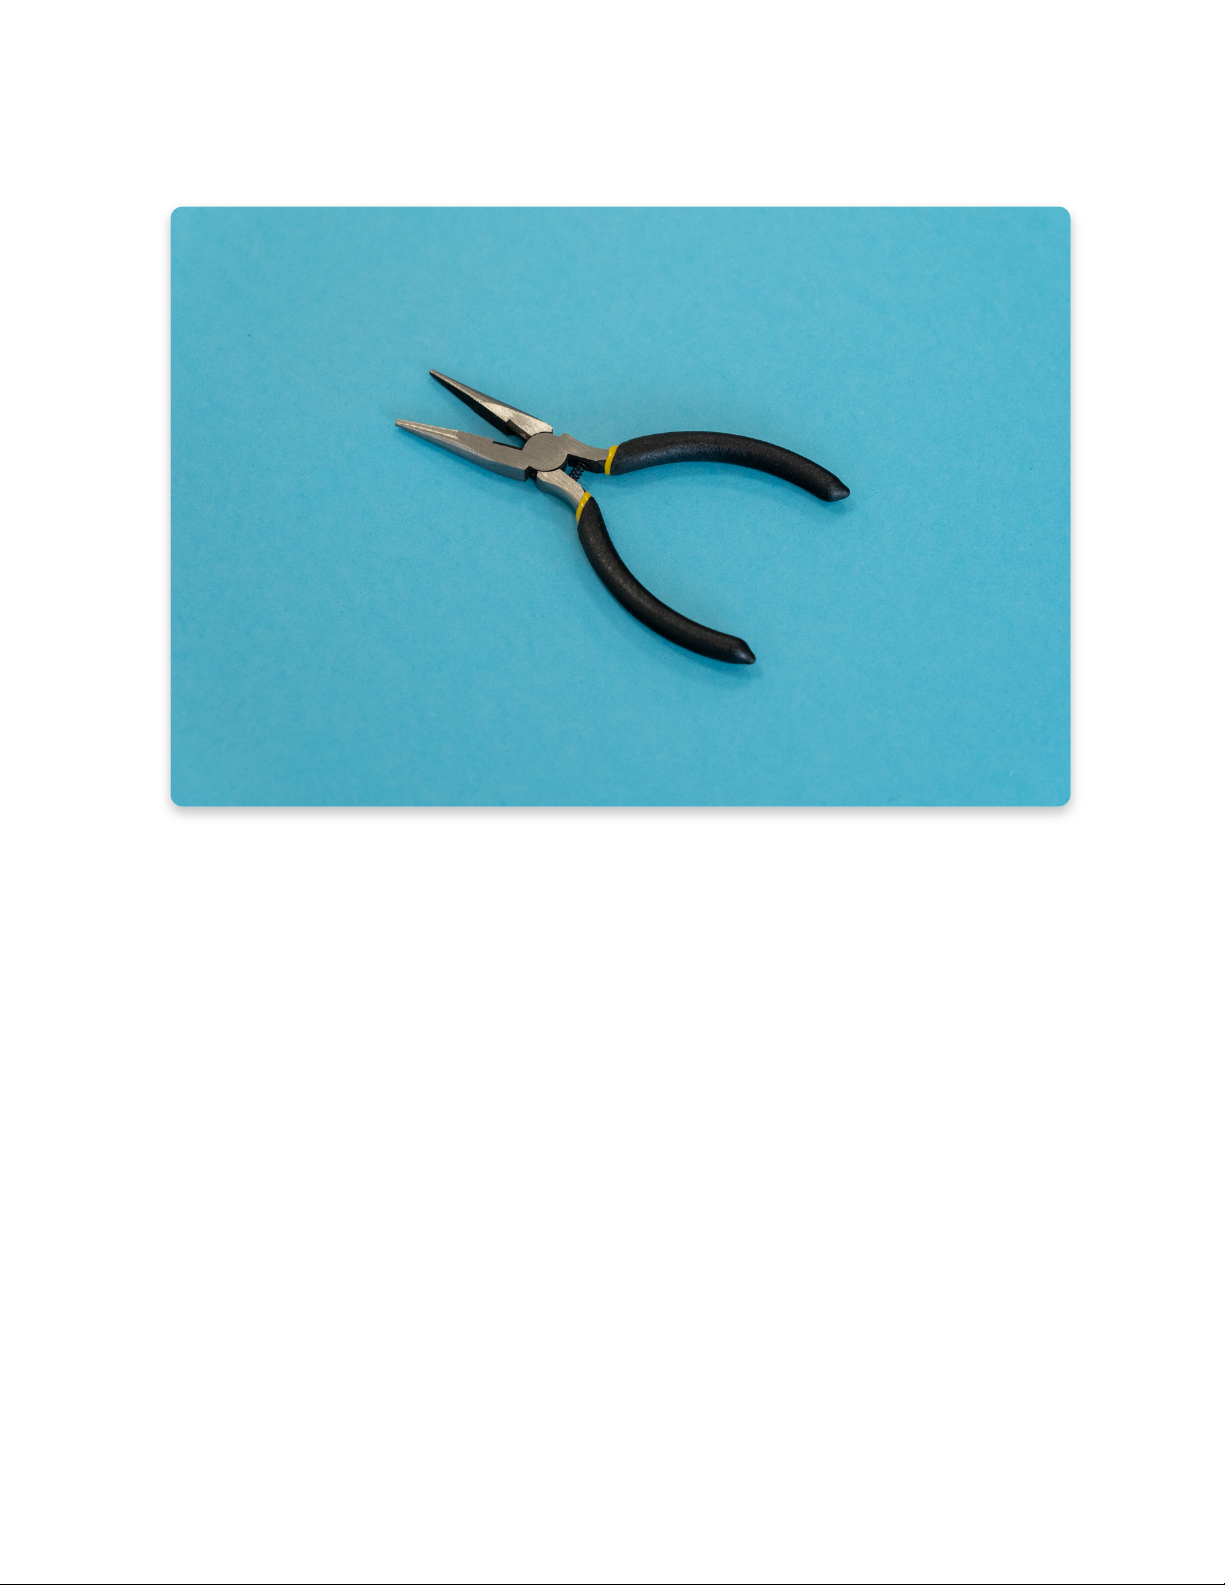
Needle-nose pliers
Standard cross screwdriver
You’ll need this cross (Phillips) screwdriver to assemble the casing together.
A standard 2.0mm cross screwdriver should do the trick.

Standard cross screwdriver
Desoldering vacuum tool (solder sucker)
This tool is useful when cleaning up soldering mistakes, but it isn’t necessary for
assembly.
If you plan on doing some hacking, modding, or hardware repairs in the future,
having this is always a good idea.
Desoldering vacuum tool
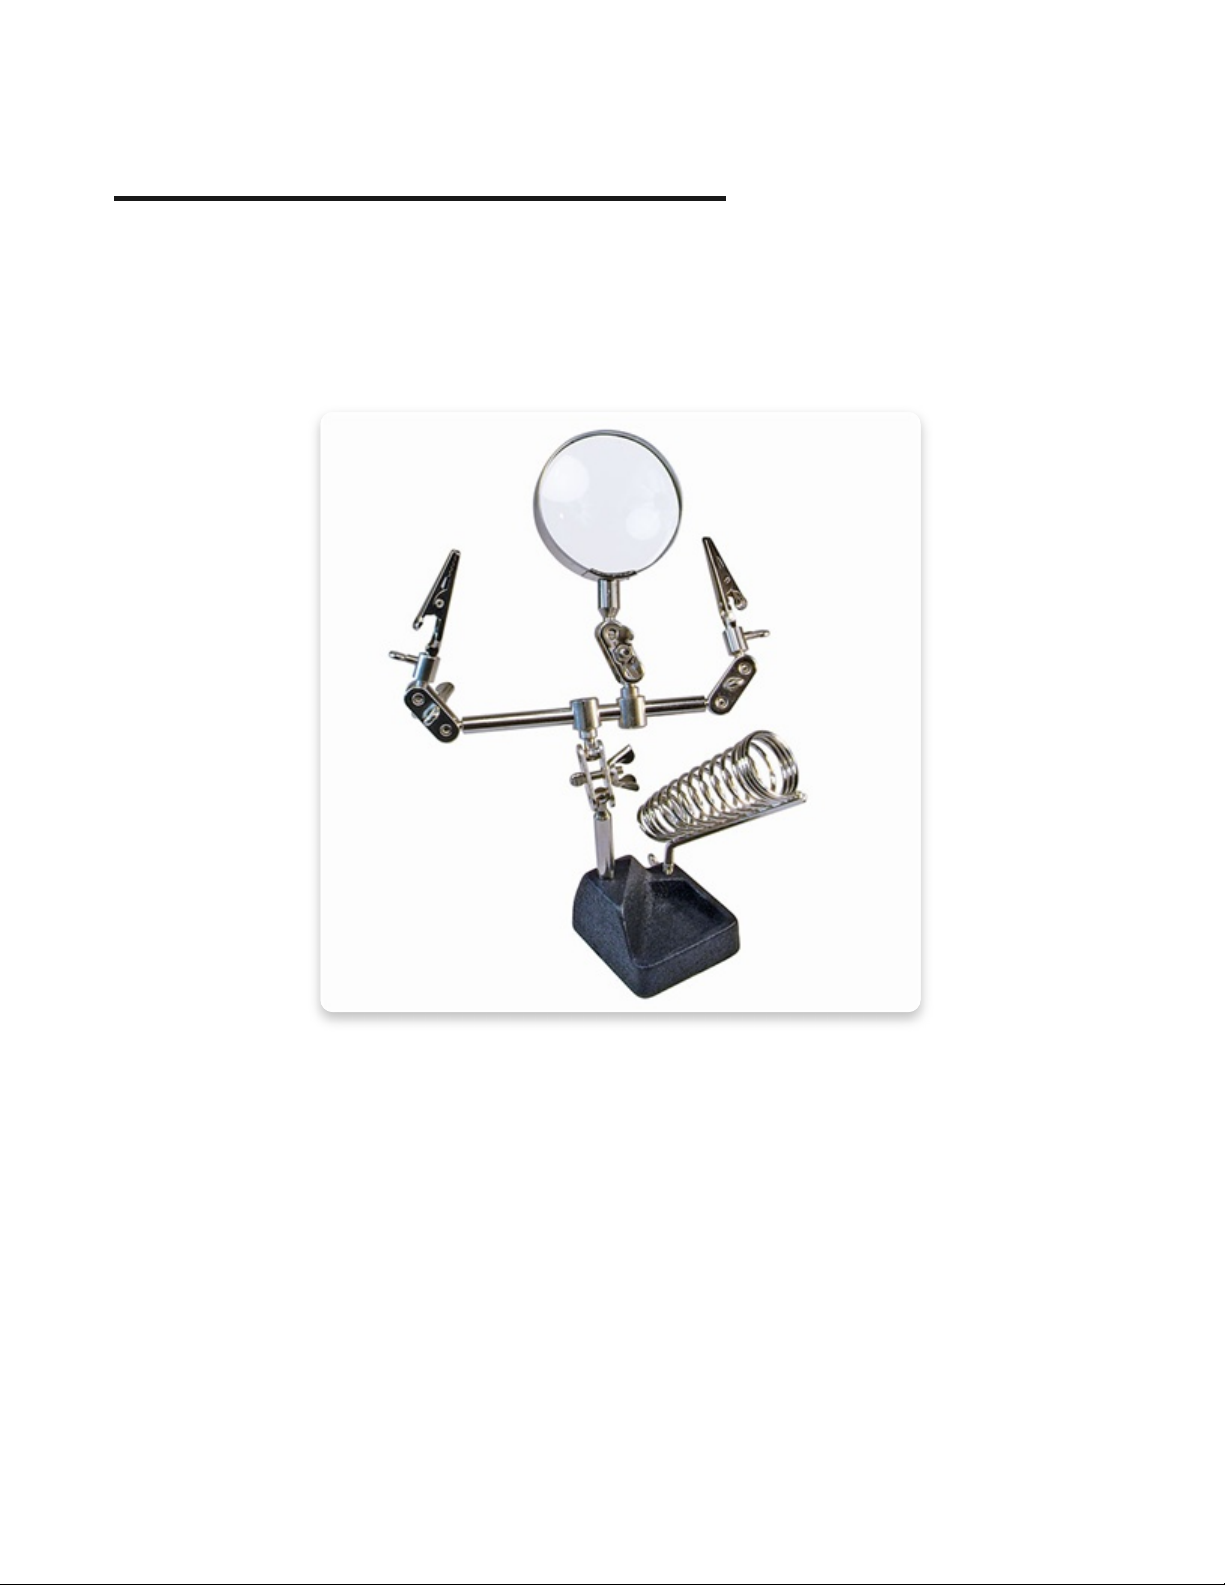
Additional useful tools
Helping third hand with magnifier
This could make your soldering experience a little more enjoyable, especially
when doing some more complicated projects.
Helping hand with a lot of additional tools
Multimeter
A multimeter can be used for many things: testing tricky connections, measuring
battery voltage, testing resistors & capacitors, measuring the current
consumption, and more.
It’s a useful tool when you’re trying to figure out what went wrong with any
electronics kit.
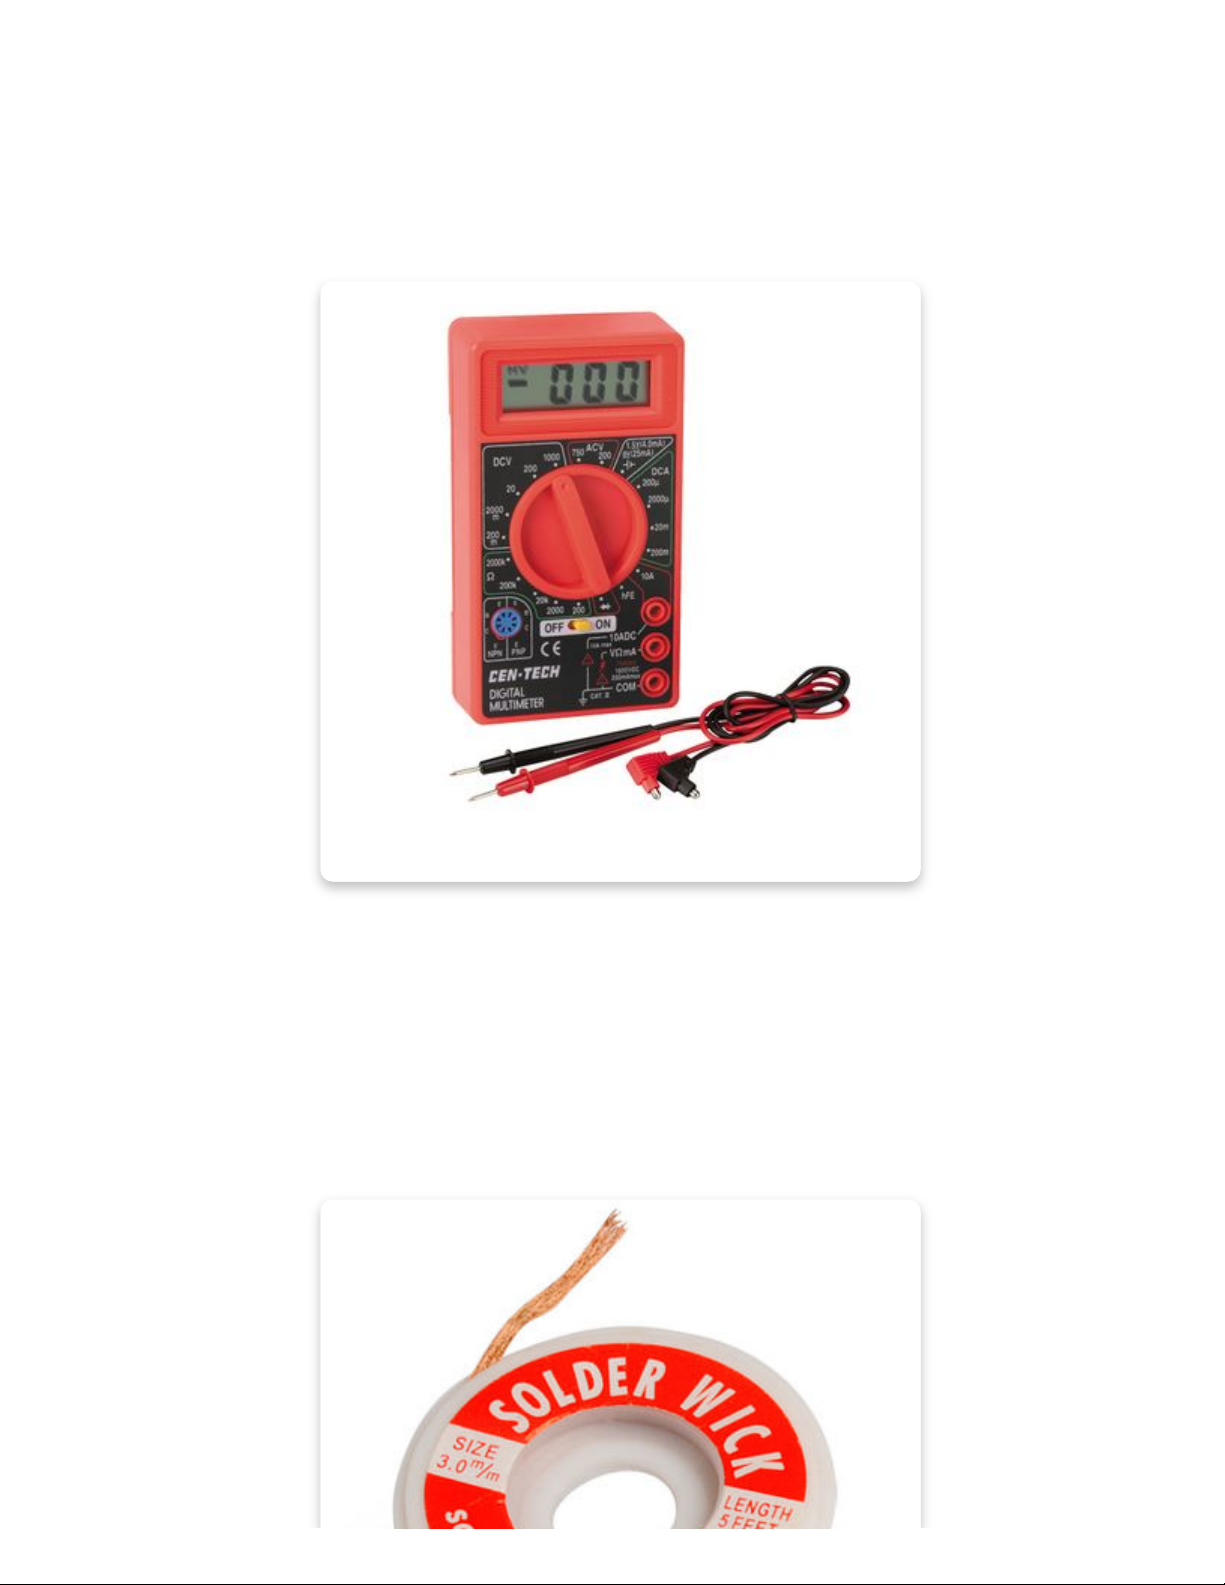
Multimeter
Solder wick
You can use solder wick along with the desoldering vacuum tool to clean up any
soldering mistakes. Just put it on the wrongly soldered joint and press on it with a
hot soldering iron, then it will soak up the excess solder like a sponge!
Useful for fixing solder joints when they cannot be easily reached with a solder
sucker.
Indice


