Concept Smoke Screen Rapid Deploy Manuale utente

Using a Smoke Screen Deploy
(12 April 2020)
End user guide

Thank you for purchasing a Concept Smoke Screen system. Your choice to protect your property and
premises with this equipment has given you the use of one of the most effective security systems
currently available. Concept Smoke Screen systems have been in service for over 35 years and have
protected many millions of pounds worth of property, defeating criminals and securing premises on an
almost daily basis.
Please take the time to read and understand this guide to ensure you achieve the maximum performance
from your Smoke Screen. If you have any questions that remain unanswered, please call our experts at
Concept Smoke Screen and we will help. Once again, thank you for your decision; we hope that it’s one
that never needs to be tested.
Matt Gilmartin, Managing Director
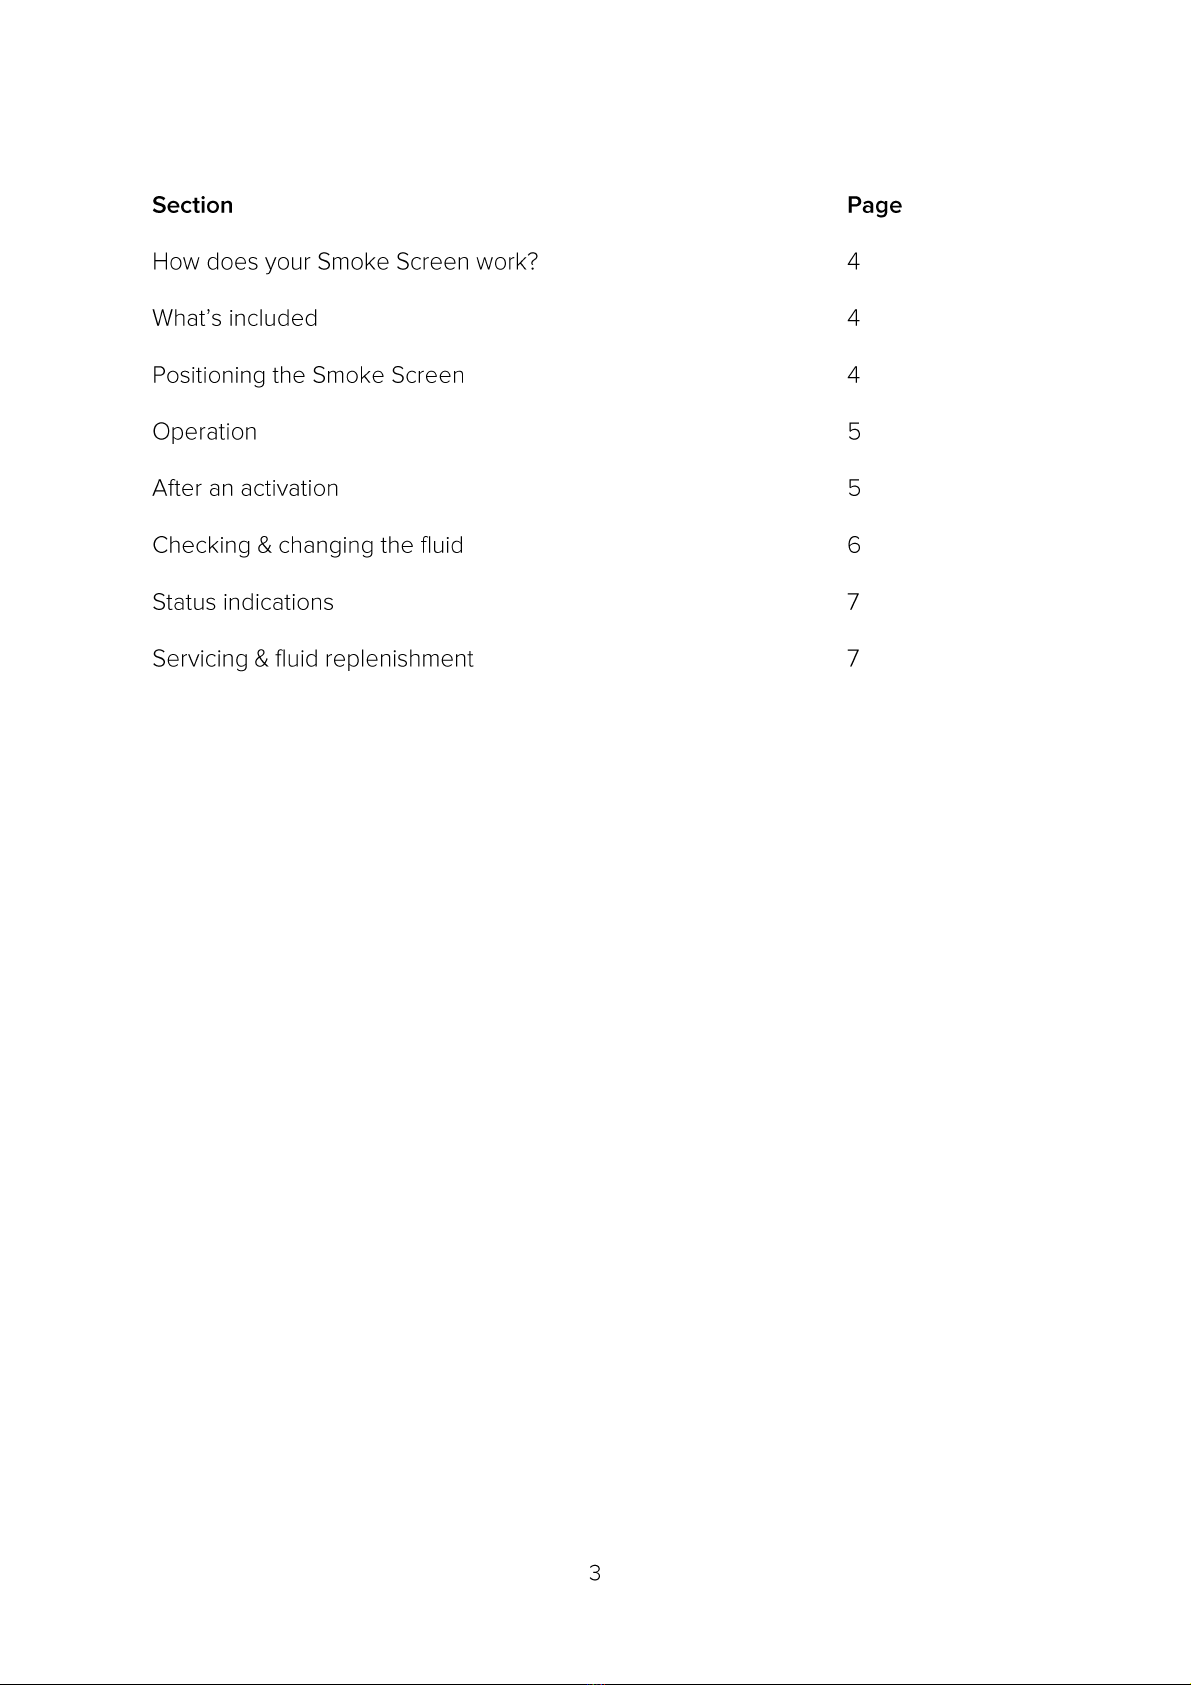
CONTENTS

HOW DOES YOUR SMOKE SCREEN WORK?
Your Smoke Screen passes a non-toxic fluid through an efficient heat exchanger to create smoke, or more
accurately a thermally generated fog that obscures visibility, discouraging intruders from entering your
premises.
This fog is very persistent and will stay suspended in the room for a significant length of time until it is
vented by opening the doors and windows.
The Smoke Screen uses a sophisticated electronic control system to ensure it heats up to, and maintains,
its ideal operating temperature using a minimal amount of electricity.
The system uses a Passive Infra-Red (PIR) detector to sense a person moving around within its coverage
area up to approximately 10m from the sensor.
WHAT'S INCLUDED
Before placing the Smoke Screen in the area to protect ensure that you have all the following equipment
supplied in the box:
•1 x Smoke Screen.
•2 x Operating fobs
POSITIONING THE SMOKE SCREEN
The aim is to use the Smoke Screen to deter an intruder from entering your premises; therefore, position it
to push them back out of the building the way they entered. You should not try to trap the intruder.
To achieve maximum effect, position the Smoke Screen facing the likely intruder entry point and/or away
from the location of valuables.
To ensure the best PIR detection range place the Smoke Screen in a high position i.e. on a desk or a
shelf, up to 2m above ground.
DO NOT PLACE THE SMOKE SCREEN ON THE FLOOR.
OPERATION
Preparing the Smoke Screen
1. Plug the Smoke Screen into a suitable socket and wait for 20 minutes for the machine to heat up to
temperature. The “Status” LED will light up GREEN when the Smoke Screen is ready.
2. Check the fluid level (see page 6).
To arm the Smoke Screen
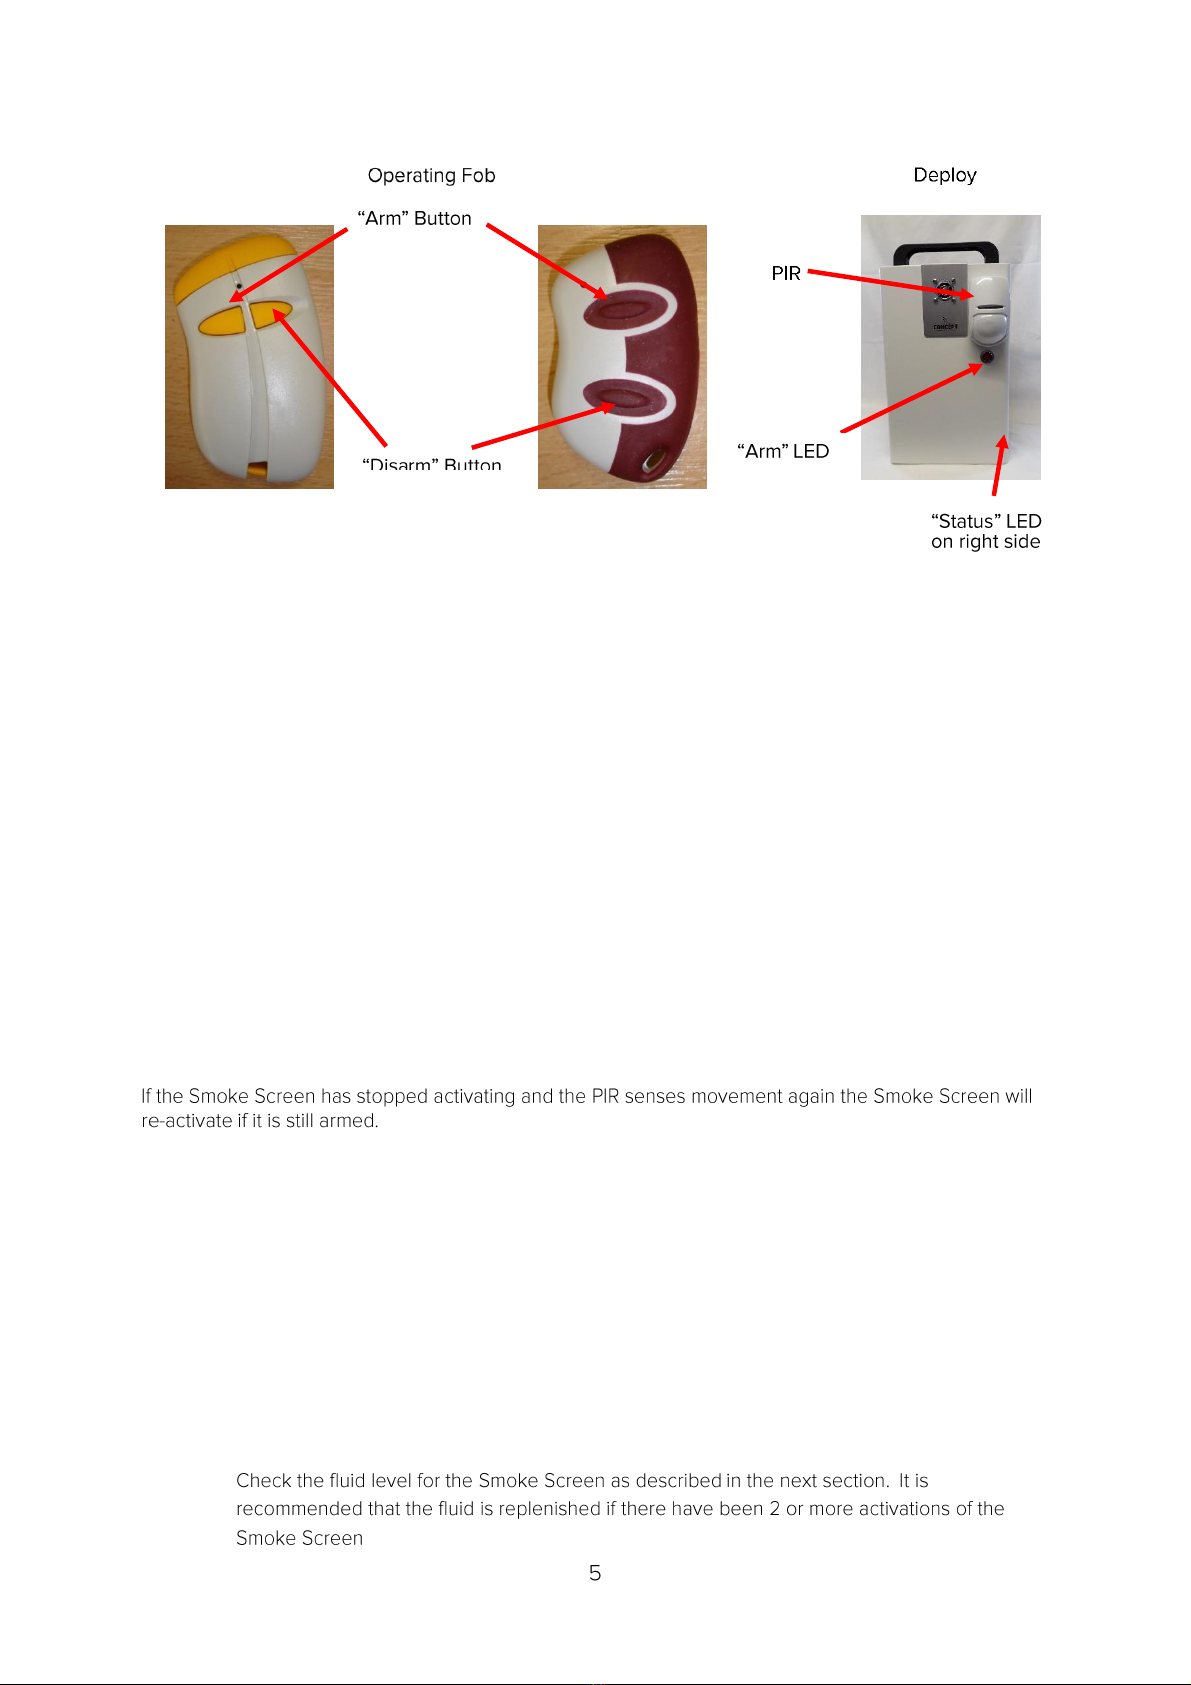
1. Press and release the “Arm” button on the Operating Fob:
-The Smoke Screen will make a buzzing sound for a second.
-The “Arm” LED on the front will light up RED.
2. The Smoke Screen is now armed and will activate for 60 seconds when it detects movement.
To disarm the Smoke Screen or stop an activation
1. Press and release the ”Disarm” button on the Operating Fob:
-The Smoke Screen will make a buzzing sound for a second.
-The “Arm” LED on the front will turn off.
2. The Smoke Screen is now disarmed and will not activate.
Re-activating
AFTER AN ACTIVATION
•Wait until the smoke production has ceased. Do not try to enter the affected area as you will
not be able to see through the fog.
•Look for signs of forced entry. If you find any, or you believe that intruders are on the
premises, call the Police and wait for them to arrive. Take no further action.
•Where there are no signs of forced entry, open all external doors and wait for the fog to start
clearing – this may take 10 to 15 minutes. Keep watch for intruders that may have been screened by
the fog.
•As visibility returns open more doors or windows to speed up the venting process.
•
.

CHECKING & CHANGING THE FLUID
Checking the fluid
The Smoke Screen has a replaceable 1 litre Swift-Fit fluid bottle that is accessed by removing the
cover on the right-hand side of the machine. The fluid level is monitored using sensors in the fluid
reservoir to give the following indications on the “Status” LED light on the right side of the Smoke
Screen:
•Low Fluid. When the fluid bottle is approximately 50% full the “Status” LED light will flash
alternate yellow and green every 5 seconds and there will be a short beep every 5 minutes.
•Empty Fluid. When the fluid bottle is empty the “Status” LED light will flash alternate red and
green every 5 seconds and there will be a long beep every 3 minutes.
NB: The Smoke Screen will not produce fog when there is an “Empty Fluid” indication.
Be aware of high voltage
in the Smoke Screen. The
mains electrical supply
should be switched off
before changing the fluid
consumable.
If the generator has been
in service the heater block
and connected parts will
be extremely hot and will
cause injury if touched.
Switch off and allow the
heater block to cool.
Changing the fluid
Get a replacement Swift-Fit fluid bottle from your Smoke Screen supplier. Open the right-hand access
panel (Phillips No2 screwdriver). Lift the bottle out of the compartment by removing the upper end first.
Disconnect the fluid monitoring cable.
Disconnect the fluid feed pipe (pull collar to release)
Connect the monitoring cable and feed pipe
(push fit) to a new fluid reservoir; ensure both
are secure.
Insert the reservoir into the fluid compartment
base first feeding the pipe into the lower
space.
Make sure the notch in the reservoir is on the
outside of the Smoke Screen or the
compartment door will not shut.
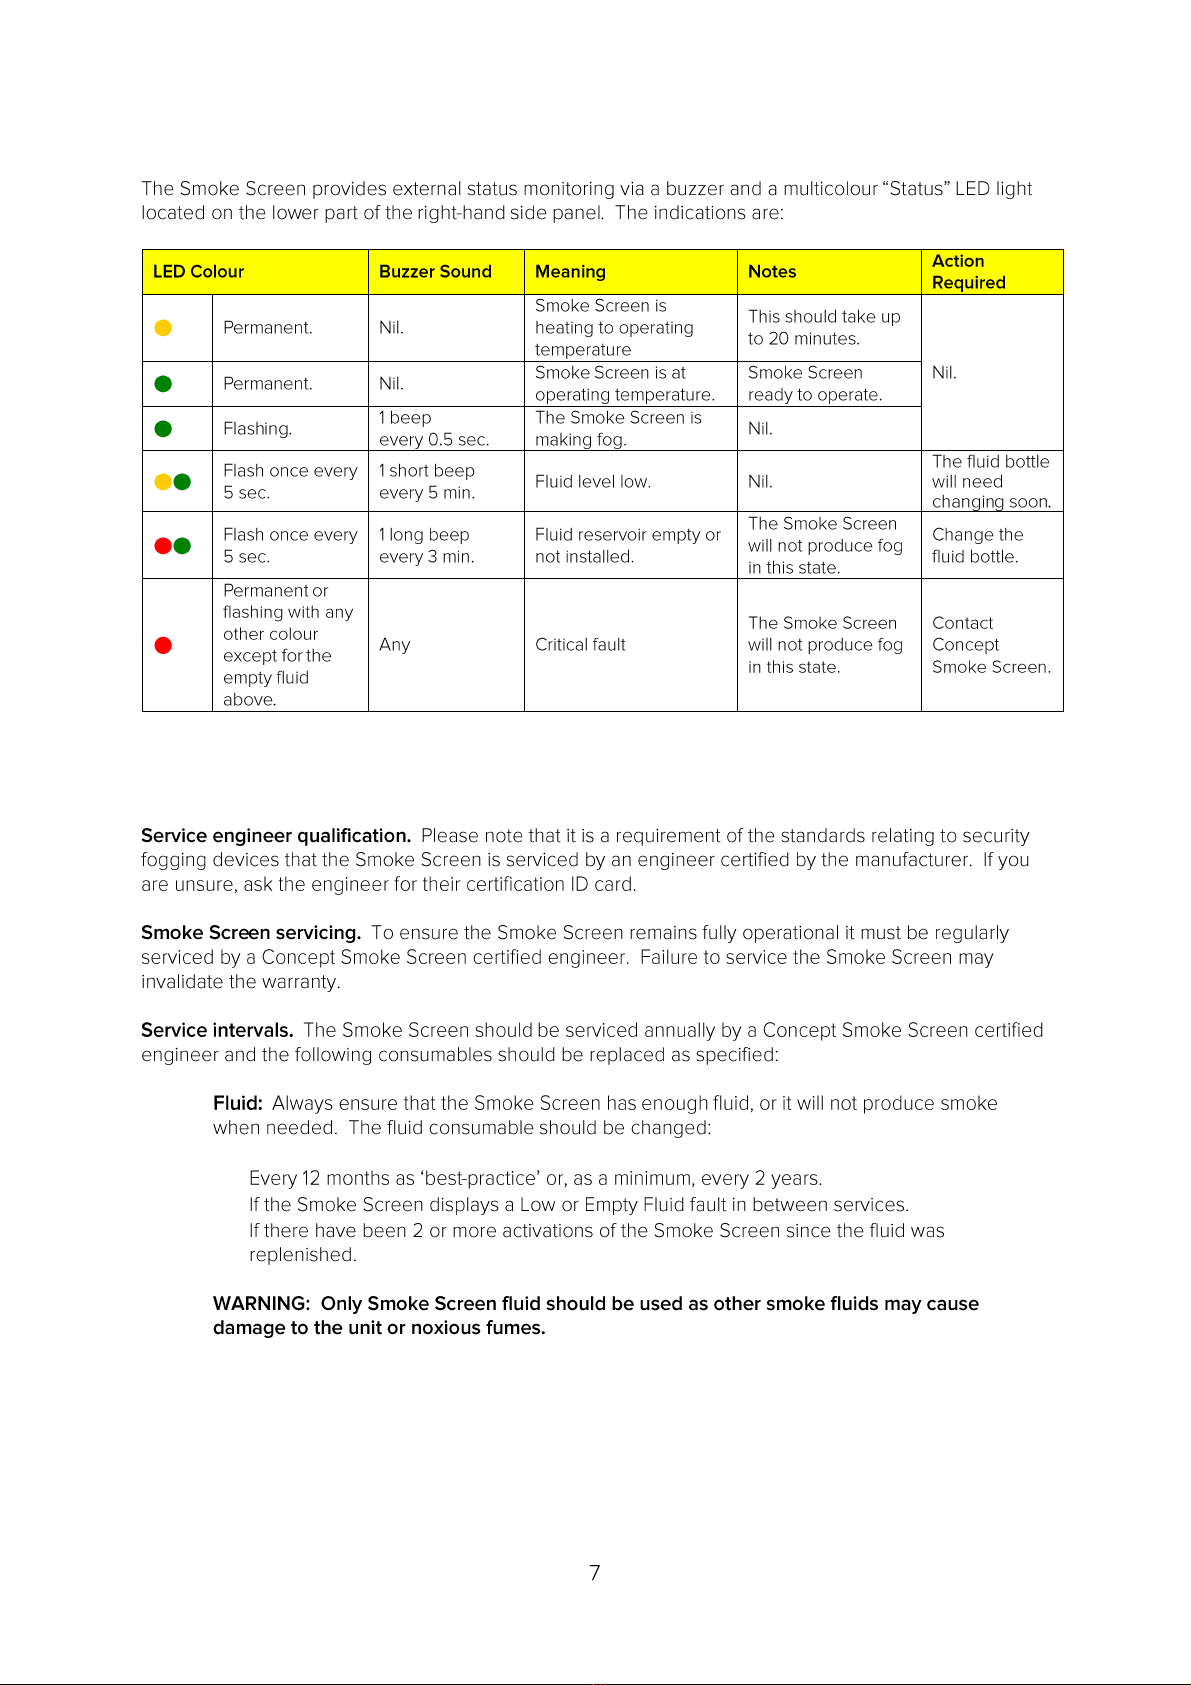
STATUS INDICATIONS
SERVICING & FLUID REPLENISHMENT
•
•
•

Indice
Manuali Rilevatore di fumo popolari di altre marche


System Sensor
System Sensor DH500ACDC Manuale utente

Resolution Products
Resolution Products RE612 CryptiX Manuale utente

First Alert
First Alert PC900V Manuale utente

Eminent
Eminent EM6590 E-Domotica Manuale utente

Ei Electronics
Ei Electronics Ei Ei168RC Manuale utente

Carrier
Carrier Kidde Quell Q301 Manuale utente


