Crystalio VPS-2300 Manuale utente

QUICK GUIDE
Installation and Setup

Hardware
Installation
Power
Before turning on the power of Crystalio®, ensure that the voltage is
set to that of your mains voltage.
With the power cable provided, connect Crystalio® to a power point.
Video Input
Connect input device(s) (e.g. DVD player, VHS Player, game console, etc.) to the terminals at the back of
Crystalio.
Crystalio supports a great variety of video devices as input sources. Basically, there are two broad types of
input formats, namely Standard Definition Video (SDTV) and High Definition Video (HDTV) inputs. Some
devices have both formats available while others may have either one only. The corresponding terminals for
various video source types are illustrated in the diagram below.
Video Output
Connect output terminals of Crystalio to output device(s), such as
Plasma TV, LCD monitor, projector, etc.
Crystalio supports both digital and analog display devices. There are
three ways to connect Crystalio to display devices, i.e. Analog
Component (YPbPr), Analog RGB (RGBHV) and DVI outputs.
TIPS
Again, for devices
with more than one
video format, always
choose digital
connection wherever
possible for m
output quality
aximum
TIPS
As a rule of thumb,
always connect the
highest quality output
that the video source
provides to Crystalio
3
2
1
CRT Projector Plasma TV / LCD TV
/ Digital Projector
HDTV Inputs
(DVHS/HD Cable etc.)
DVD Player/VHS/LD/Game
Console etc. DVD Player with
SDI Output
Rear Panel
You may now turn on the power
and proceed to System Setup

System
Setup
Input Setup
Select Input Terminal
Using remote control
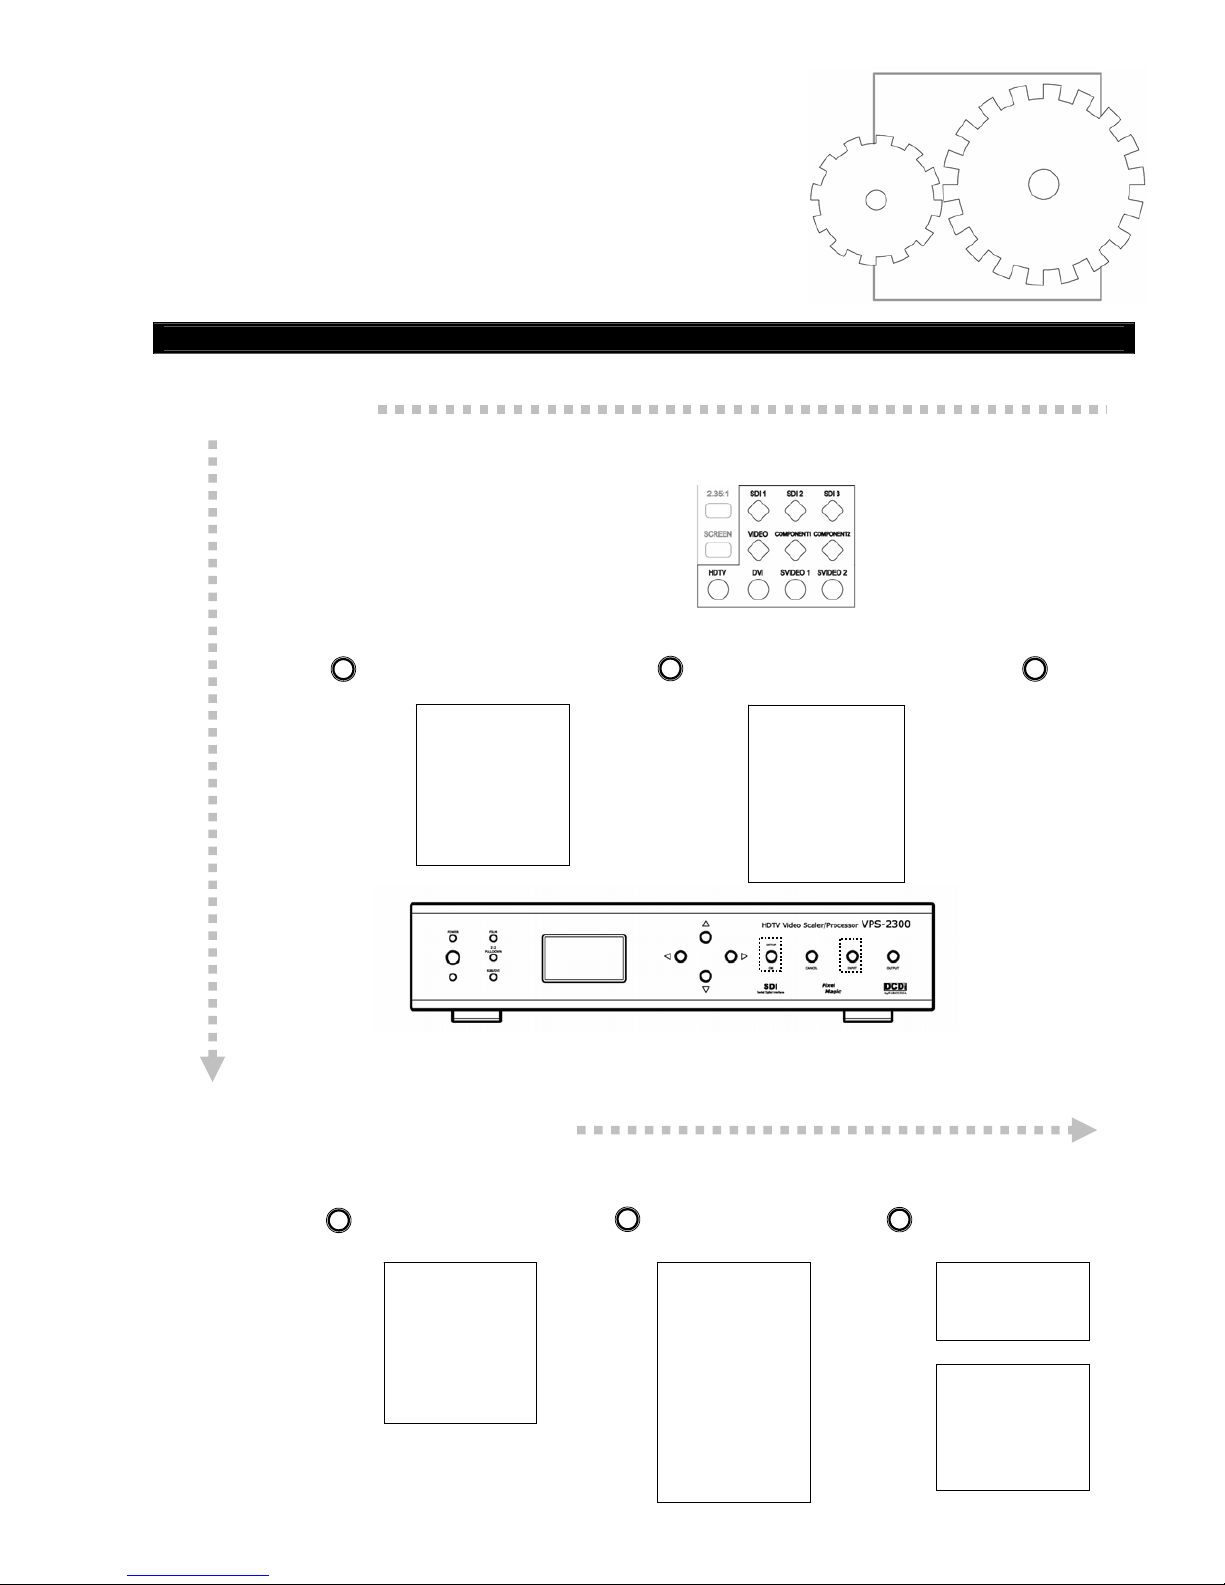
Press the key of the type of input terminal via which your
input device has been connected (For HDTV analog
input, repeat to press the HDTV key to cycle through the
HDTV Component, RGB and RGBHV options)
OR
Using front panel control
> Press > Choose Input Select > Press > Choose input terminal via which
your input device is connected > Press
OR
Press INPUT button to cycle through the various input terminals
> stop at the one via which your input device is connected
Set Input Format for the terminal being selected
On the front panel
> Press > Choose System Config > Press > Choose Input Format > Press > Choose SDTV or HDTV
for auto detection
1
SETUP
OK
SETUP
OK
SETUP
OK
VP SET UP
> Input Select
Aspect Ratio
Video Settings
Advanced
System Config
AR Profile
Video Profile
Pixel Magic
INPUT SELECT
HDTV Compnt
HDTV RGBHV
HDTV RGB
> HDTV DVI
SDI 1
SDI 2
SDI 3
Component 1
……
2
SETUP
OK
SETUP
OK
SETUP
OK
VP SET UP
Input Select
Aspect Ratio
Video Settings
Advanced
> System Config
AR Profile
Video Profile
Pixel Magic
INPUT FORMAT
576p
480p
800x600p
1024x768p
1280x1024p
> HDTV
for SDTV input
for HDTV in
p
ut
INPUT FORMAT
480i (NTSC)
576i (PAL)
> SDTV
SYSTEM CONFIG
> Input Format
HD Active Wnd
Output Select
Resolution
Output Format
H sync /V sync
Pre Y/C Delay
Post Y/C Delay
Screen A.R.
SDI Polarity
Port Arrange
Hardware Reset
Factory Setting

Output Setup
Select Output Terminal
On the front panel
> Press > Choose System
Config > Press > Choose Output
Select > Press > Choose DVI for digital device /
RGBHV or YPbPr for analog device
for digital device
OR
Press OUTPUT button to cycle through the various output terminals
> stop at the one via which your display device is connected
for analog device
Set Output Format for analog device (i.e. CRT Projector)
> Press > Choose System
Config > Press > Choose Output
Format > Press > Choose output format of the display
device being connected
Set Resolution for digital device (i.e. digital projector, Plasma and LCD TV.)
> Press > Choose
System
Config
> Press > Choose
Resolution > Press > Choose
Preset
Models *
> Press > Select the display device
being connected
3
VP SET UP
Input Select
Aspect Ratio
Video Settings
Advanced
> System Config
AR Profile
Video Profile
Pixel Magic
OUTPUT SELECT
RGBHV
> DVI
YPbPr
YCbCr
RGB(Cs)
SYSTEM CONFIG
Input Format
HD Active Wnd
> Output Select
Resolution
Output Format
H sync /V sync
Pre Y/C Delay
……
SETUP
OK
SETUP
OK
SETUP
OK
OUTPUT SELECT
> RGBHV
DVI
YPbPr
YCbCr
RGB(Cs)
4
SETUP
OK
SETUP
OK
SETUP
OK
OUTPUT FORMAT
480p @59.94Hz
> 480p @60Hz
540p @60Hz
576p @60Hz
……
VP SET UP
Input Select
Aspect Ratio
Video Settings
Advanced
> System Config
AR Profile
Video Profile
Pixel Magic
SYSTEM CONFIG
Input Format
HD Active Wnd
Output Select
Resolution
> Output Format
H sync /V sync
Pre Y/C Delay
……
5
VP SET UP
Input Select
Aspect Ratio
Video Settings
Advanced
> System Config
AR Profile
Video Profile
Pixel Magic
SETUP
OK
SETUP
OK
SETUP
OK
SETUP
OK
PRESET MODELS
> Epson TW100
Fuj 1024x1024
Hitachi 40 Alis
InFocus 7205
……
SYSTEM CONFIG
Input Format
HD Active Wnd
Output Select
> Resolution
Output Format
H sync /V sync
Pre Y/C Delay
……
RESOLUTION
> Preset Models
800 x 600
848 x 480
856 x 480
……
* or other resolution settings
as listed in the menu
Setup completed!
Please refer to User Manual for details on advanced setup, and
visit www.crystalio.com to upgrade the firmware for best performance
Altri manuali per VPS-2300
3
Indice
Manuali Hardware per computer popolari di altre marche

EMC2
EMC2 VNX Series Manuale del proprietario

Panasonic
Panasonic DV0PM20105 Manuale utente

Mitsubishi Electric
Mitsubishi Electric Q81BD-J61BT11 Manuale utente

Gigabyte
Gigabyte B660M DS3H AX DDR4 Manuale utente

Raidon
Raidon iT2300 Manuale utente

National Instruments
National Instruments PXI-8186 Manuale utente