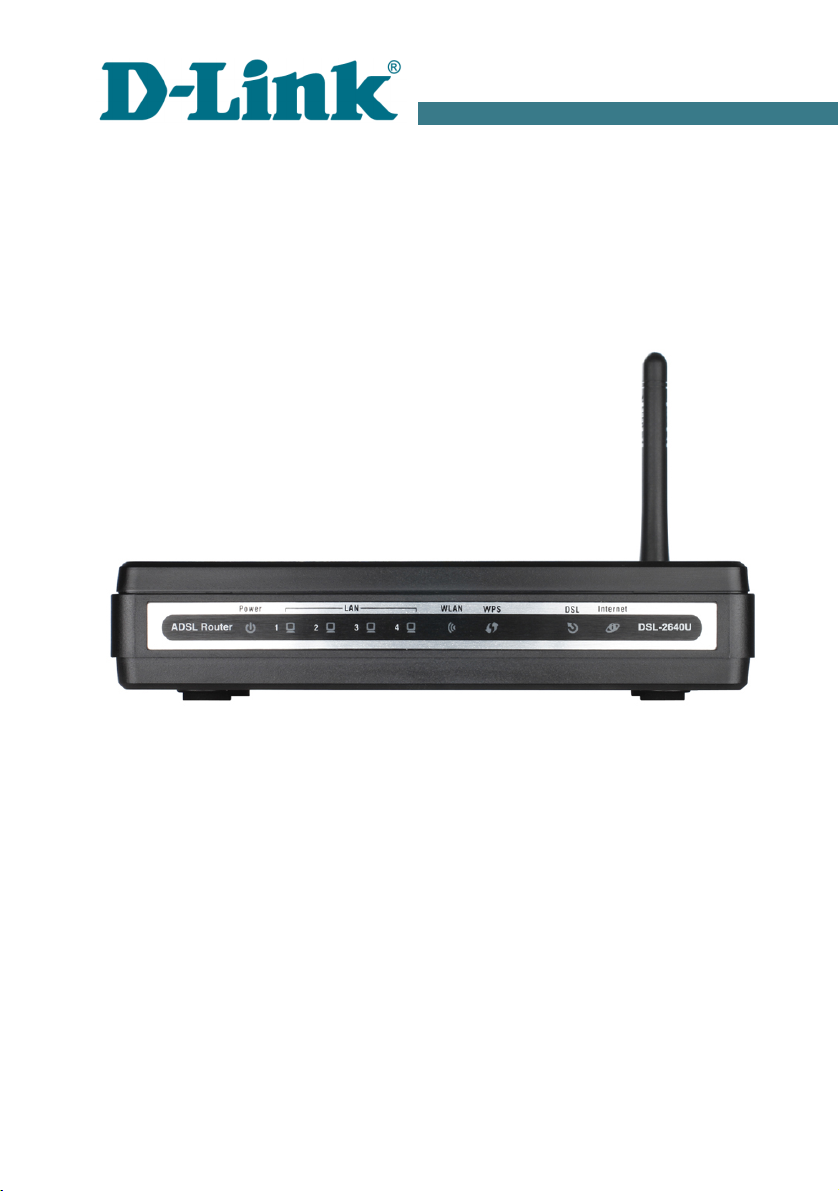
DSL-2640U/NRU Quick Installation Guide
C NFIGURING R UTER
Connecting to Web-based Interface
1. Start a web browser.
2. In the address bar of the web browser, enter the IP address of the router
(by default, the following IP address is spe ified: 192.168.1.1). Press
the Enter key.
3. On the opened page, enter the username (login) and password for the
administrator a ount (by default, the following username and password
are spe ified: admin, admin). Then li k the Enter button.
!
If the error “ The page cannot be displayed ” (or “ Unable to display the
page ”/“ Could not connect to remote server ”) o urs upon onne ting to
the web-based interfa e of the router, make sure that you have properly
onne ted the router to your omputer.
After su essful registration the system statisti s page opens. The page
displays general information on the router and its software.
!It is strongly re ommended to hange the administrator password upon
initial onfiguration of the router. To do this, go to the System /
Administrator password page.
7