Deister electronic maxx 6U Manuale utente

maxx-6u_manual_en_896453_v230131
www.deister.com
maxx 6U
Wiring and installation instructions
2
maxx-6u_manual_en_896453_v230131
Regulatory notices
Hereby, deister electronic declares that the device type maxx 6U is in compliance with directive 2014/30/EU.
The full text of the EU declaration of conformity is available at the following internet address:
http://go.deister.com/ce
Approved for use in all European countries.
Disclaimer
All rights reserved. No part of this publication may be reproduced, stored in a retrieval system, or transmit-
ted, in any form or by any means, electronic, mechanical, photocopying, recording, or otherwise, without
prior written permission of deister electronic GmbH.
deister electronic GmbH reserves the right to make changes to any and all parts of this documentation with-
out obligation to notify any person or entity of such changes.
deister electronic GmbH is not able to supervise the observance of the instructions given in this manual as
well as the conditions and methods used during installation, operation, and maintenance of the devices.
Therefore, we disclaim liability and reject responsibility for any losses, damages or costs that are caused by
misapplication, installation, handling errors or faulty operation or related to the above in any other way.
deister electronic GmbH
Hermann-Bahlsen Str. 11
30890 Barsinghausen
Germany
Phone: +49 (0) 51 05 - 51 61 11
Fax: +49 (0) 51 05 - 51 62 17
E-Mail: [email protected]
Web: www.deister.com
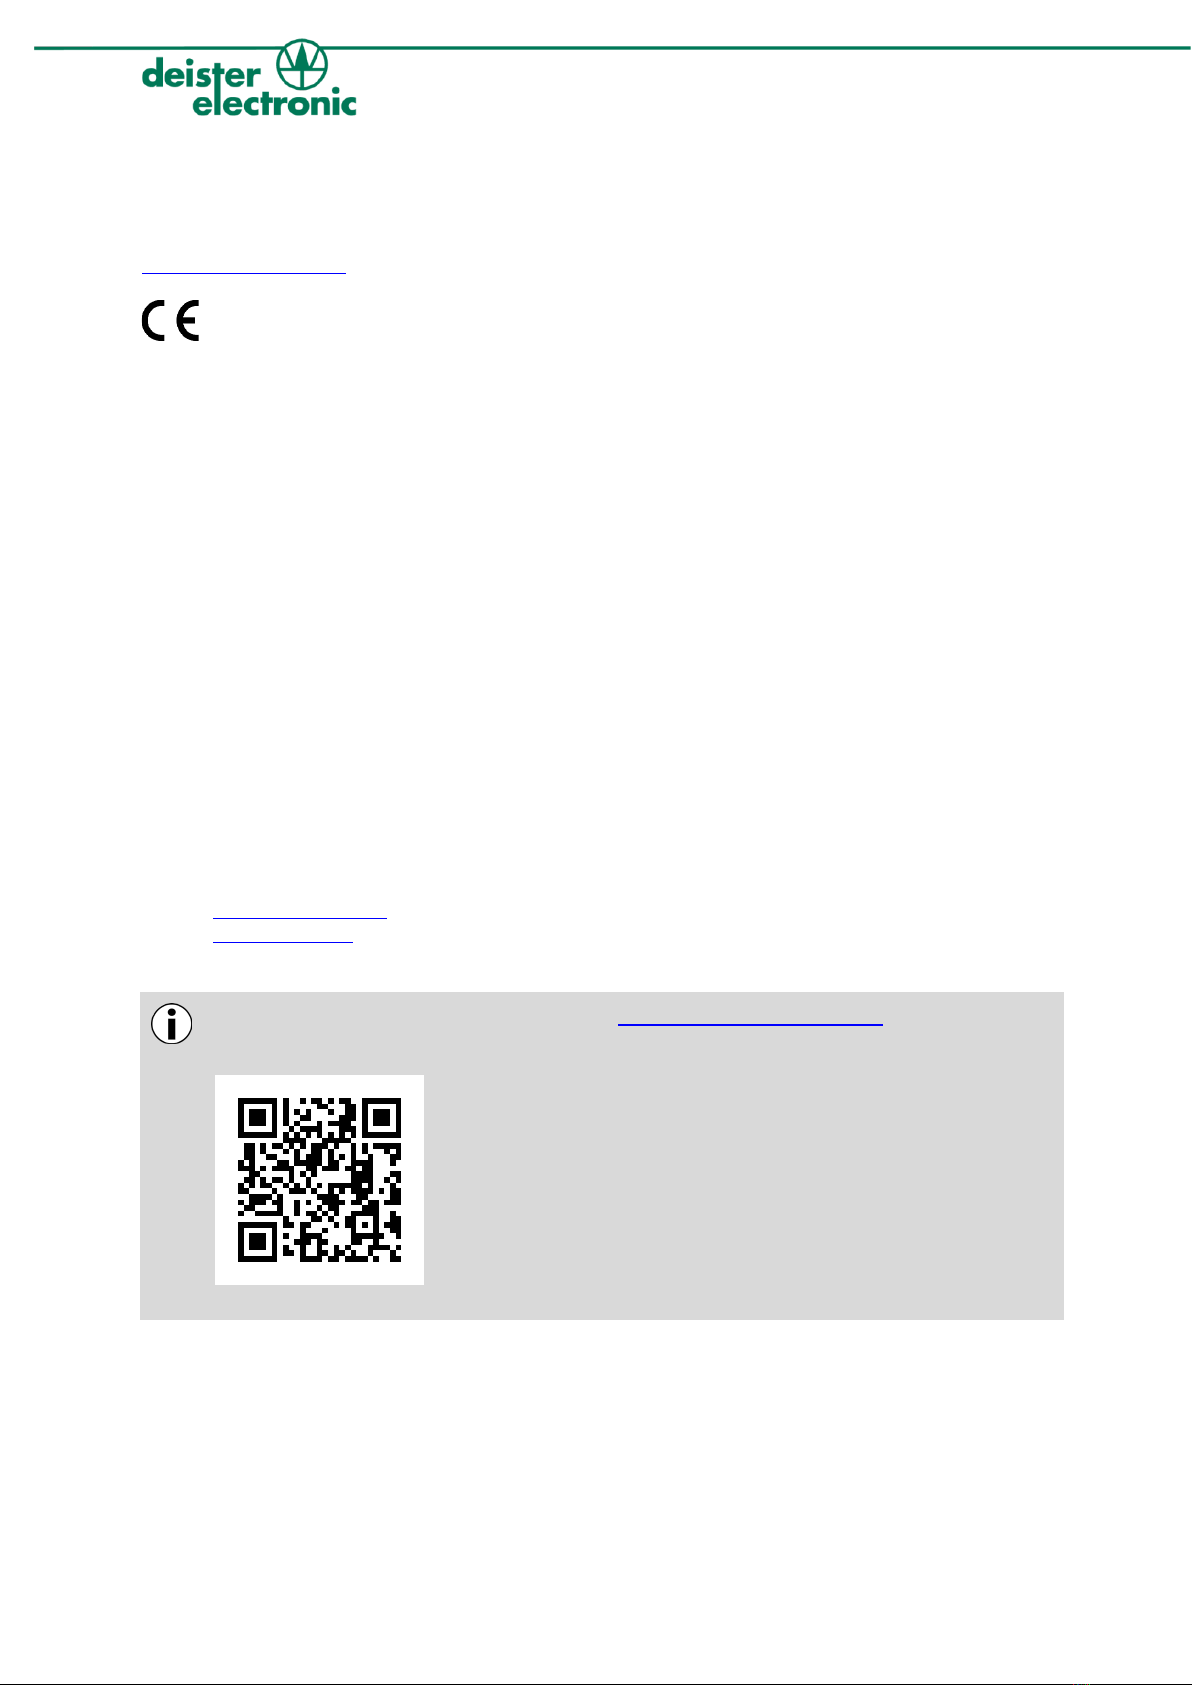
These instructions are available as a video at: https://dashboard.deister.com.
Log in with your access data. Alternatively, scan the QR code to go to the website:

3
maxx-6u_manual_en_896453_v230131
Content
1. General information...................................................................................... 4
2. Technical data............................................................................................... 4
3. Mechanical dimensions ................................................................................. 4
4. Required tools ............................................................................................... 6
5. Reader installation using the C4 terminal as an example ............................... 6
6. Installing the terminal bracket ....................................................................... 9
7. Unpacking the keys ..................................................................................... 11
8. Opening the roller shutter ........................................................................... 12
9. Power supply installation ............................................................................. 13
10. Wall mounting / Terminal mounting maxx 6U.............................................. 17
11. DEA Ethernet Adapter Installation (C4 Terminal only)................................... 21
12. Final assembly and wiring ........................................................................... 21
13. keyPanel installation ................................................................................... 28
14. System initialisation..................................................................................... 31
15. Compatible Terminals ................................................................................. 36
16. Sealing / Unsealing a keyTag ...................................................................... 36
16.1 Sealing ............................................................................................................................ 36
16.2 Unsealing ........................................................................................................................ 37
17. Spare parts list ............................................................................................ 38

4
maxx-6u_manual_en_896453_v230131
1. General information
proxSafe maxx 6U is a configurable key management system with up to 64 slots that combines the ad-
vantages of superior electronics with an elegant appearance. An unobtrusive, appealing exterior allows you
to use it wherever design is a priority alongside reliable technology.
2. Technical data
Dimensions WxHxD / Weight:546 x 600 x 203 mm / 28 kg
Housing material:sheet steel, powder coated,
ASA, PC
Colour: similar to RAL 9006
Operating temperature:+5...+50 °C
Relative humidity:5...95 %, non-condensing
Power requirement:110...240 VAC
keyTag frequency:125 kHz
Backup battery:12 VDC / 2,3 Ah
Digital output:4x 30 VDC / 1 A
for up to 16 alarms
3. Mechanical dimensions
All dimensions in mm.

5
maxx-6u_manual_en_896453_v230131

6
maxx-6u_manual_en_896453_v230131
4. Required tools
1x Cordless screwdriver or drill
1x 8 mm masonry drill (recommended)
1x Pen for marking
1x Spirit level
1x Side cutter
1x Cutter knife
1x Phillips screwdriver PH0
1x Phillips screwdriver PH1
1x Allen key 4 mm
1x Torx screwdriver TX10
1x Torx screwdriver TX20 (optimal with ball head)
1x Socket wrench 8 mm
5. Reader installation using the C4 terminal as an example
Remove these two screws with a Phillips screwdriver.

7
maxx-6u_manual_en_896453_v230131
Gently lift the front of the terminal and disconnect both the "master" and "slave" cables from the mother-
board.
Connect the reader's ribbon cable to the connector provided on the motherboard.

8
maxx-6u_manual_en_896453_v230131
The reader is inserted into the opening on the motherboard and then fastened with two screws and washers.
Reconnect the "Master" and "Slave" cables to the motherboard.

9
maxx-6u_manual_en_896453_v230131
Re-fix the front of the terminal with the previously removed screws and attach the supplied cover caps for the
screw holes.
6. Installing the terminal bracket
The connecting cables coming from the terminal are pushed through the cable guide of the terminal bracket
provided for this purpose.

10
maxx-6u_manual_en_896453_v230131
After the connecting cables have been pushed completely through the cable guide, the terminal bracket can
be connected to the terminal. The fixation takes place in the next step.
The terminal and the bracket are connected to each other with the supplied connecting screw and an Allen
key. To do this, insert the connecting screw on the terminal side.
Indice


