Obis aut et pe nisin pre nonectius ipis ipicit eum
dem nos net etur modipissi alit in eumet ipsunto te
nobitatur sunt, et, sandae ratur sincimus.
4.
Obis aut et pe nisin pre nonectius ipis ipicit eum
dem nos net etur modipissi alit in eumet ipsunto te
nobitatur sunt, et, sandae ratur sincimus.
4.
Obis aut et pe nisin pre nonectius ipis ipicit eum
dem nos net etur modipissi alit in eumet ipsunto te
nobitatur sunt, et, sandae ratur sincimus.
4.
Obis aut et pe nisin pre nonectius ipis ipicit eum
dem nos net etur modipissi alit in eumet ipsunto te
nobitatur sunt, et, sandae ratur sincimus.
4.
Page 05Please read the instructions carefully prior to installation
Ensure that the Audio/Video and Remote Relay
Channel switches on the back of the DG258-2RX
Transmitter are set to 1.
3.
Connect the IR Emitter to the socket labelled ‘IR’
on the back of the Transmitter. See Page 07 for
more information on installing the IR Systeme
Technik™.
4.
Connect DigiConnector™ 1 to your Satellite, Cable
or Freeview box. Use the SCART socket labelled
‘TV’ or ‘OUT’. Connect any existing SCART lead
into the rear of the DigiConnector™.
1.
Connect DigiConnector™ 2 to your DVD Player,
HDD Recorder or VCR. Use the SCART socket la-
belled ‘TV’ or ‘OUT’. Connect any existing SCART
lead into the rear of the DigiConnector™.
2.
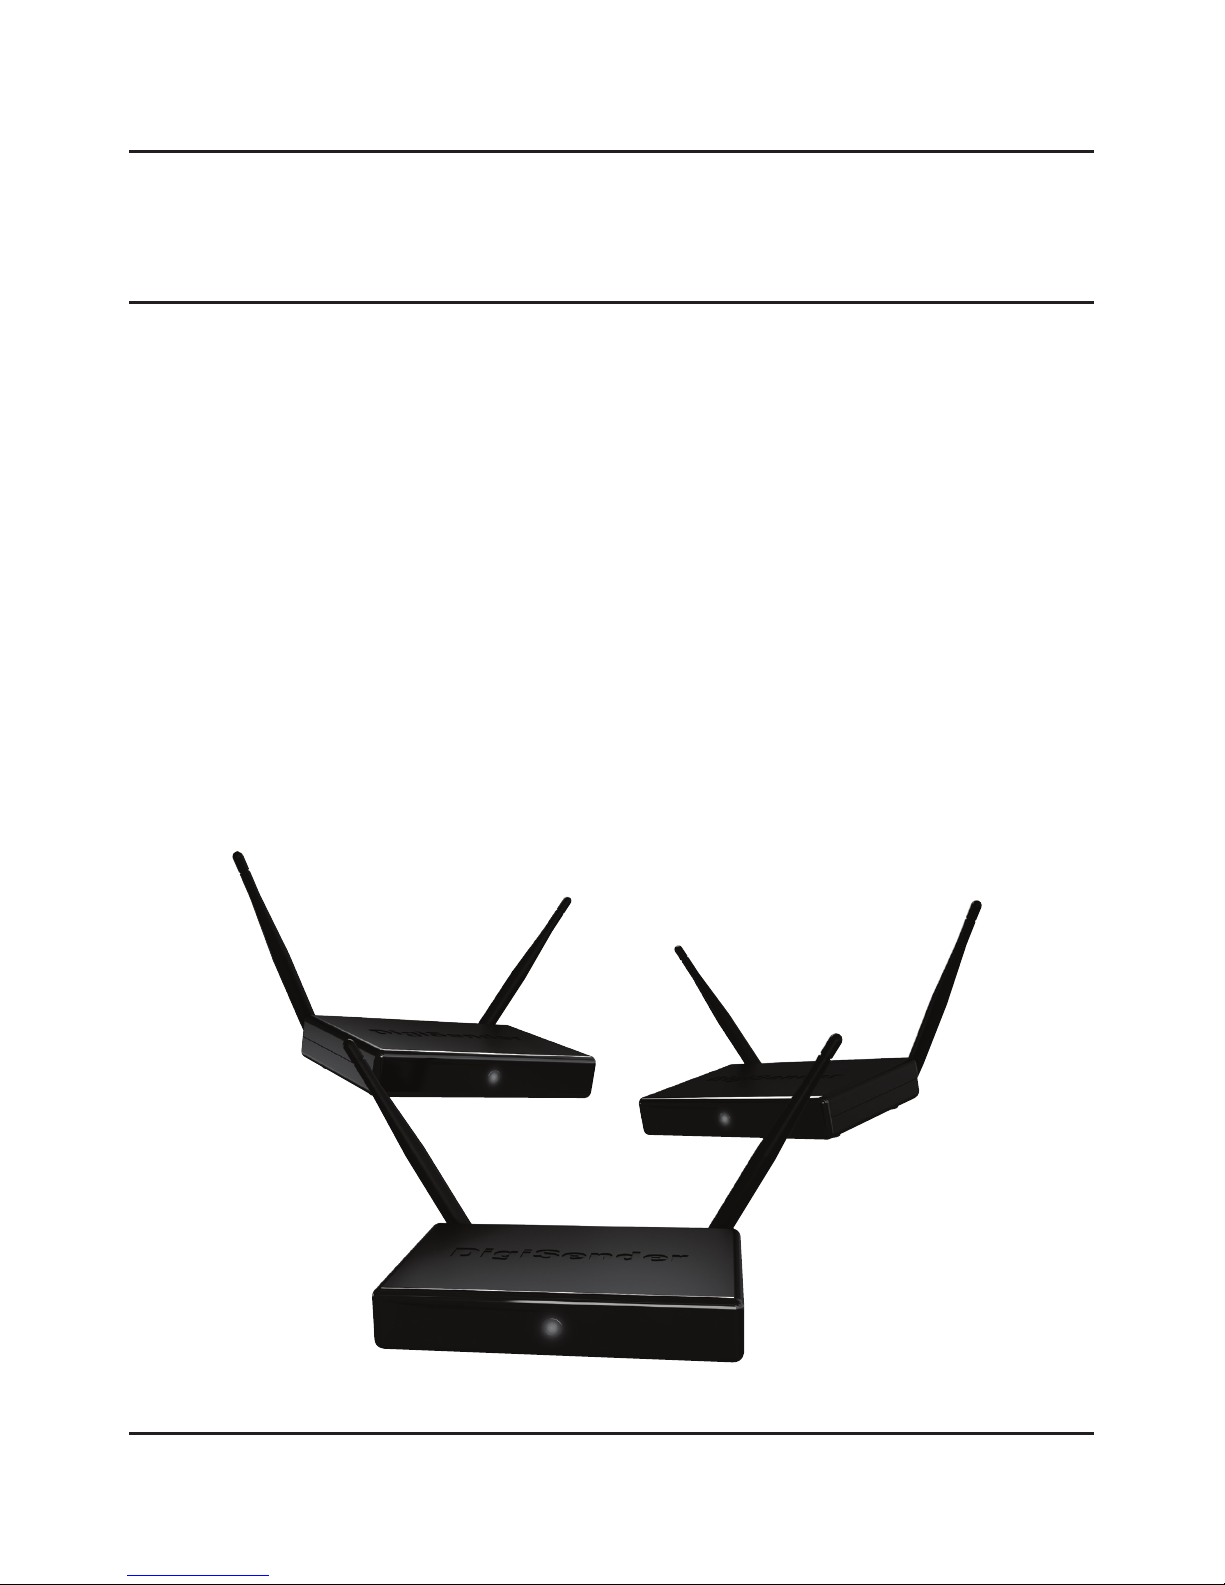
Installing your DigiSender®
Step 2 - Install the Transmitter
The Transmitter will send the audio and video from two connected sources (your Satellite receiver
and DVD Player for example) to the Receiver, located in another room in your home.
DG258-2RX - DigiSender HQ2RX - Twin Input 5.8GHz Wireless AV Sender System with 2 Receivers