Dulux PaintPod Manuale utente

USER GUIDE
Please read this user guide
for important health & safety
instructions and to get the best
results every time. Retain it for
future reference.

IMPORTANT INFORMATION – please read before you start
• Carefully read the complete user guide before use and
always follow instructions including those on the paint
pack packaging.
• Keep user guide in a safe place for future reference.
• Dispose of all waste packaging properly.
• The PaintPod is for indoor use only.
• Only use PaintPod paint packs, parts, products
and accessories.
• Always wear protective clothing and as with all
decorating, cover furnishings, ooring etc.
• Keep area around your work place clean and tidy to
help avoid accidents.
• Ensure children and animals are kept away at all times
whilst operating the PaintPod.
• Always place and use the PaintPod on a at, stable
and horizontal surface.
• Always unplug the PaintPod after use.
• Keep power lead away from water, heat, oil, sharp
edges and moving parts.
• Keep the PaintPod away from sources of heat, naked
ames or ignition.
• Only use clean warm water to clean the PaintPod.
• Clean the PaintPod thoroughly after each use to
ensure it works effectively next time.
• Only store the PaintPod when clean and dry.
• Dispose of waste water by pouring down the sink.
• DO take care not to trip over the power lead or
delivery tube.
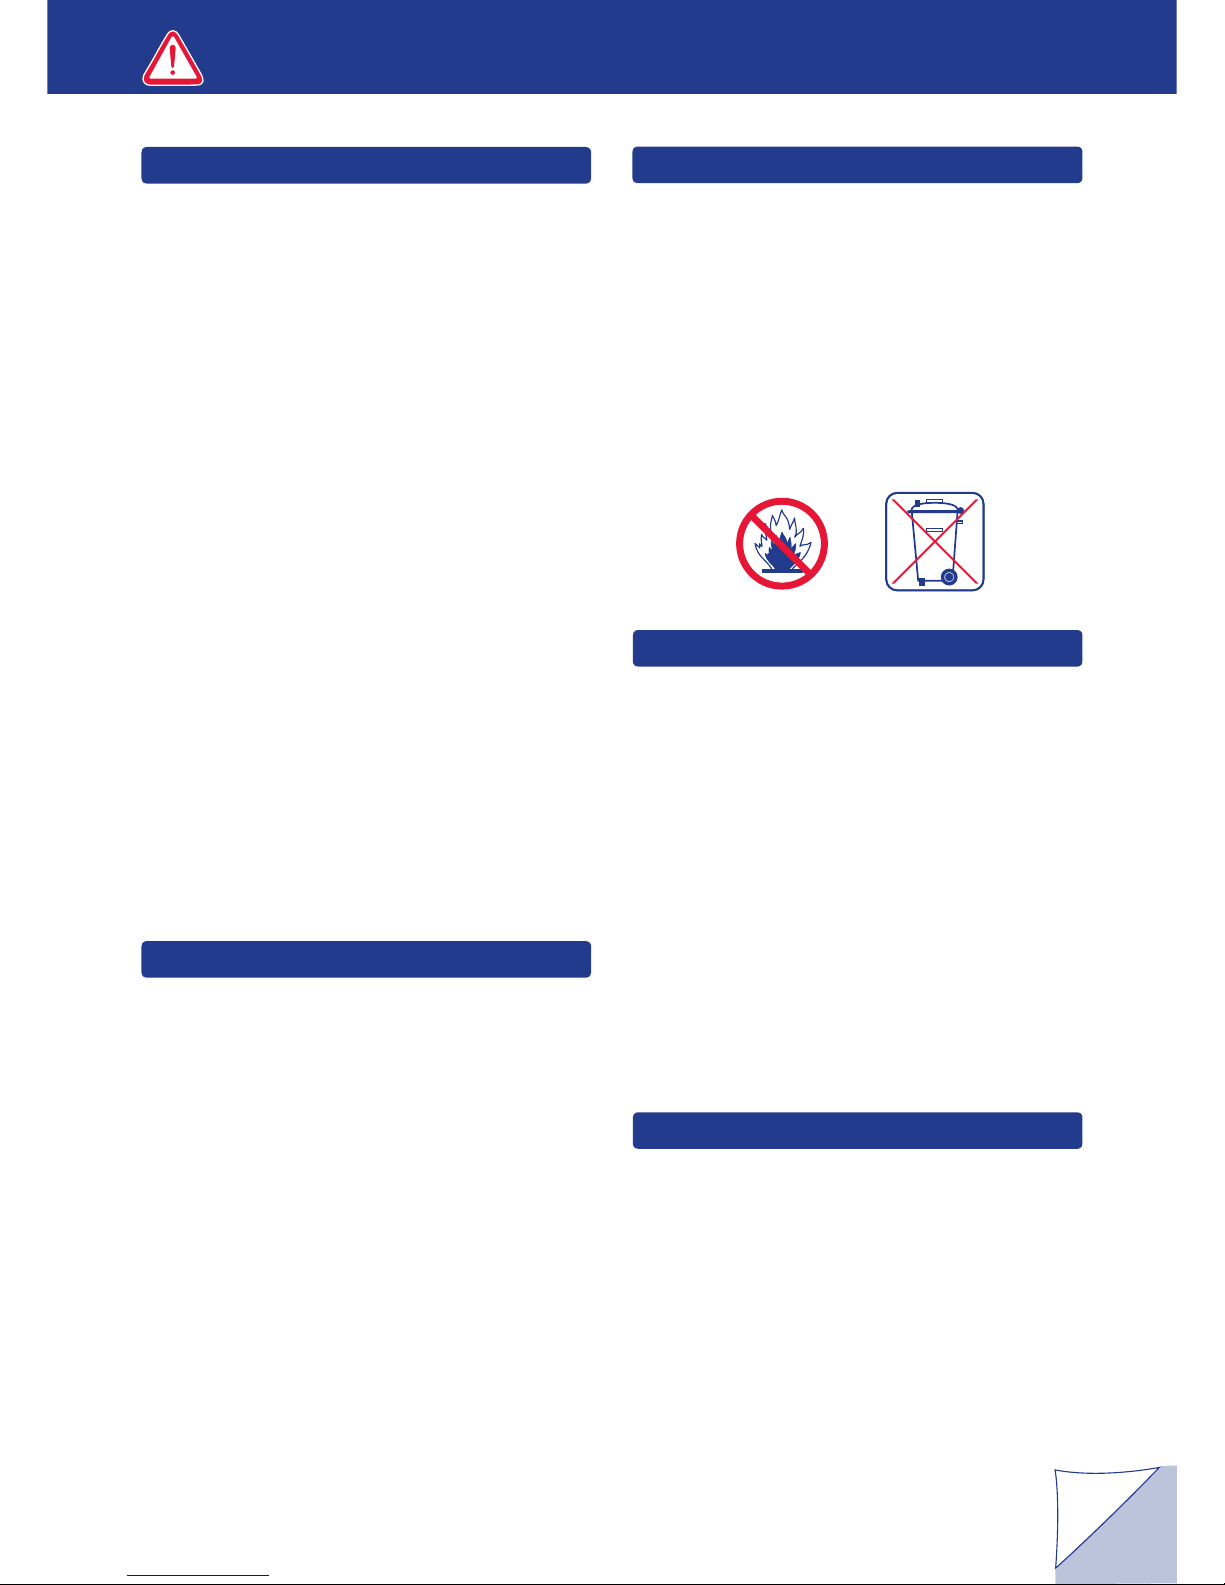
• ONLY USE a CR2032 3v battery in the roller handle.
• WARNING Fire Hazard! DO NOT incinerate waste
batteries.
• DO NOT dispose of batteries as household waste.
Dispose of or recycle according to local authority
guidelines.
• DO NOT store batteries in any location where
temperatures may exceed 40°C.
• DO NOT tamper with the battery.
• When replacing battery, follow manufacturer
instructions.
DO
DO NOT
BATTERIES
MAINS CONNECTION
DISPOSAL
• DO NOT use any other paint with the PaintPod.
Dulux PaintPod paint is specially formulated.
• DO NOT modify the PaintPod.
• DO NOT place PaintPod on ladders or on stair treads.
• DO NOT use hot or boiling water to clean the
PaintPod.
• DO NOT use solvents, detergents chemical or abrasive
cleaners to clean the inside or outside of the PaintPod.
•DO NOT pour paint directly into the PaintPod.
• DO NOT use the PaintPod if any parts of it are
damaged, excessively worn, faulty or missing.
• DO NOT put any object or part of your body near any
moving parts of the PaintPod.
• DO NOT use the PaintPod with wet hands.
• DO NOT use the PaintPod in explosive atmospheres.
• DO NOT pour waste water into rain water drains, natural
water courses or on to land.
• DO NOT pull the unit by either the power lead or
delivery tube.
The PaintPod is supplied with a power lead and a tted
3 amp fused plug. It operates at low voltage
and is connected to a separate power supply unit.
IMPORTANT: Please read the following safety
instructions carefully before use.
• DO only use the PaintPod power supply provided.
• If a replacement plug is tted, dispose of the old
plug safely.
• DO NOT use the PaintPod if the power lead
is damaged.
• DO NOT use the PaintPod or power lead without the
plug’s top cover tted.
• ONLY USE 3 amp replacement fuses. Replacement
fuses must conform to BS1362.
• WARNING: IF IN ANY DOUBT PLEASE CONSULT
A QUALIFIED ELECTRICIAN.
Once the product has reached the end of its useful life
or if it has become damaged outside of the one year
guarantee, please dispose of the PaintPod roller system
correctly. Do not dispose of the PaintPod roller system
as household waste. Take to your local authority waste
electrical equipment disposal centre.
1

GETTING TO KNOW YOUR PAINTPOD
Dip tube rest
Dip tube wipe
2
Battery
compartment
Paint loading
trigger
Roller handle
Roller head
release button
Roller head
connector
Dip tube
Delivery tube
Battery
compartment
release button
Feeder tray
Roller head
Distribution plate
Feeder roller Roller sleeve
Control panel
Clean
warning
Paint pack
warning
CLEANDRAINPAUSEPAINT
Blue chamber
Blue chamber
handle
Power lead
input
Carry handle
Dip tube cover
Lid release
White chamber (front)
White chamber handle
Control panel
Power lead
Power
supply unit
IMPORTANT: The dip tube and delivery tube
are a single unit. DO NOT pull apart.
Roller head
Docking station
Spout
(hidden by brush)
Triangular brush
Edging cup

The PaintPod is a power assisted roller system that enables you to control the
flow of paint onto the roller at all times. It has a unique triangular edging brush
which makes light work of edges and corners before walls are painted with the
roller. Finally, when you have finished, it cleans itself whilst you stand back and
admire your work!!
Visit either www.dulux.co.uk/paintpod or www.dulux.ie/paintpod for a step
by step product demonstration.
If you are experiencing technical difculties or need
product advice, visit our web site or Customer Advice
Centre.
UK
ICI Paints, Wexham Road, Slough, SL2 5DS
Tel: 0870 444 1111
www.dulux.co.uk/paintpod
ROI
ICI Dulux Paints Ireland, Commons Road, Cork
Tel: 021 422 0222
Fax: 021 422 0205
www.dulux.ie/paintpod
The guarantee is valid for one year from date of
purchase and covers the complete PaintPod roller
system, with the exception of the dip tube and
delivery tube.
This guarantee does not cover rectication or any
other costs.
We will repair the PaintPod roller system or replace
free of charge the complete unit or parts of, if it is
faulty due to a manufacturing or material fault.
The guarantee does not cover the application of the
PaintPod emulsion.
Nothing in this clause is deemed to exclude or restrict
liability for death or personal injury resulting from the
negligence of the manufacturer.
The following are specifically excluded from the terms
and conditions of this guarantee:
• Damage caused by misuse or improper handling
of the PaintPod roller system or damage due to
incorrect use in accordance with the instructions.
• Normal ‘wear and tear’.
• Damage suffered through negligence, wilful damage,
improper use or accidental damage.
• Any modications made by the purchaser to the
PaintPod roller system or repairs carried out by an
unauthorised service agent.
• Damage caused by immersion in water, damp, re,
natural light and atmospheric conditions.
This guarantee does not affect your statutory rights.
For advice on returns, contact the ICI Customer
Advice Centre in your country.
TECHNICAL PRODUCT ADVICE
EU STATEMENT OF COMPLIANCE
PRODUCT SPECIFICATION
GUARANTEE
3
The PaintPod unit conforms to:
This product complies with WEEE Directive 2002/96/
EC and ROSH Directive 2002/95/EC
EMC EN 301 489-3 v1.4.1 (2002-08)
Radio frequencey EN 300 220-2 v2.1.1 (2004-06)
Power supply unit EN 60950
Model No: A466000150N
Voltage: 240v – 12v – 3 amps
Length: 450mm
Width: 340mm
Depth: 350mm
Unit weight: up to 12.5kgs
including paint
THE FAST, EASY AND CLEAN WAY TO DECORATE

CONTENTS
4
SECTIONS PAGES
IMPORTANT INFORMATION
GETTING TO KNOW YOUR PAINTPOD
USING YOUR PAINTPOD
Setting up
Painting edges and corners
Painting walls and ceilings with the roller
Taking a break
Moving to a new location
Inserting a new paint pack
CARING FOR YOUR PAINTPOD
Draining and cleaning
Storage
Replacing the dip tube and delivery tube
Removing and replacing the roller sleeve
Replacing the battery
TROUBLE SHOOTING
Accessories
Spare parts
Dip tube replacement chart
1
2 – 3
5
6
7
8
8
9
10 – 12
12
13
13
14
15 – 16
16
16
Back cover

USING YOUR PAINTPOD
SETTING UP
a
Plug mains power lead into power
supply unit. Connect one end
of the power lead to power lead
input on the PaintPod and the
other to a mains socket. The lights
on the PaintPod will ‘ash’ twice
and make a noise to show it is
connected to the mains
power supply.
Always set up the PaintPod in the room to be painted.
Lift the lid release of the white chamber and remove the contents.
Gently shake the paint pack
(not supplied) for approximately
10 seconds before unscrewing
the lid.
Peel off the foil seal.
Lift lid release of white chamber
and place paint pack inside.
Ensure paint pack is facing the
right direction – the dip tube hole
on the paint pack must face the
front of the white chamber.
IMPORTANT: If dip tube hole on the paint pack is NOT facing the front of the white chamber the paint pack
warning light will illuminate when the ‘paint’ button is pressed and the PaintPod will not operate. If this
happens, lift lid and re-insert paint pack in the correct position.
def
Fold down paint pack handle and
close the white chamber lid.
IMPORTANT: Check paint pack
warning light is NOT illuminated
then lift dip tube cover and fully
insert dip tube into PaintPod.
Twist dip tube clockwise to lock
and ‘click’ into position. Ensure
dip tube is locked correctly
otherwise pump will not work
Close dip tube cover.
for wall and ceilings
I
M
P
O
R
T
A
N
T
I
N
F
O
R
M
A
T
I
O
N
PLEASE READ
THEN REMOVE BEFORE
INSERTING PACK
PAINTPOD emulsion pask MUST be
placed into the PaintPod rooler system
with the drip tube hole facing
the front of the unit
bc
for wall and ceilings
emulsion
White
Chamber
Dip
tube
hole
When ready to paint
Press ‘paint’ button. The blue light
will illuminate.
for wall and ceilings
splatter free ultra smooth finish
5

PAINTING EDGES AND CORNERS
d
Remove spout, triangular brush
and edging cup from docking
station.
Using both hands lift blue lid as
shown.
For best results use the triangular brush to paint the edges and corners before using the roller.
Insert the spout onto roller handle.
It will ‘click’ when tted.
Ensure ‘paint’ button is
illuminated. Squeeze paint loading
trigger to pump paint into edging
cup. Release trigger to stop
paint ow.
IMPORTANT: When paint loading
trigger is released the sound will
change. This is normal.
f
Using the triangular brush paint
the edges and corners.
Rell edging cup if necessary.
b
Triangular
brush
Spout
(hidden
by brush)
Edging
cup
a
USING YOUR PAINTPOD
Press ‘pause’ button.
e
When nished remove the spout
by pressing the handle release
button on the handle. Wipe roller
head connector thoroughly, rinse
the edging cup, triangular brush
and spout thoroughly with warm
water and allow to dry.
c
Spout ridge
6

USING YOUR PAINTPOD
7
PAINTING WALLS AND CEILINGS
d
Ensuring roller head connector is
free from paint, push t the handle
securely onto the roller head.
Lift the handle upwards and
remove the roller head from the
docking station.
Remove the paper label.
The PaintPod makes painting easy, fast and clean. However it may take a little time to perfect your
painting technique. Practice using the roller before starting.
Ensure ‘paint’ button is illuminated.
Start rolling the dry roller on the
wall and whilst in motion squeeze
paint loading trigger to load paint
onto roller.
Keep squeezing paint loading
trigger AND keep roller in motion
until it begins to load with paint.
When sufciently loaded, release
trigger and roll out paint to an
even nish.
IMPORTANT: Do not continually
squeeze the trigger, this will
overload the roller with paint
and may cause dripping. To
avoid, squeeze the trigger
INTERMITTENTLY and ONLY
when roller is in motion.
e
As paint is rolled onto the wall, the
roller will need to be reloaded with
more paint. WHILST CONTINUING
TO ROLL, squeeze paint loading
trigger to load paint onto roller.
When sufciently loaded, release
trigger and continue painting.
To keep your work area clean
and safe, place roller head in
the docking station in the blue
chamber when pausing.
IMPORTANT: The roller head
MUST be lowered down into the
cleaning station as shown so
it sits correctly when the lid is
closed.
c
a
Hold the delivery tube away
from the wall with your free
hand so it does not ‘brush’
against the wet paint.
b
1
2
f
1
2
7

TAKING A BREAK
To take a break during painting,
press ‘pause’ button.
Place roller head correctly in
docking station, close lid and
‘click’ shut.
IMPORTANT: If leaving for more
than 4 hours clean system
completely.
Follow instructions in
‘DRAINING AND CLEANING’.
ab
Press ‘pause’ button and unplug
power lead from mains socket.
IMPORTANT: The PaintPod
and paint pack can weigh up to
12.5kgs. LIFT WITH CARE.
Press centre of carry handle to
release it and pull up.
Carry PaintPod to new location
and push handle down.
IMPORTANT: Lids cannot be
opened whilst carry handle is
raised.
Plug power lead into the mains
socket in the new location and
press ‘paint’ button to continue.
a
MOVING TO A NEW LOCATION
c
USING YOUR PAINTPOD
b
1
2
Lift with Care
IMPORTANT:
The PaintPod and paint pack can weigh up to 12.5kgs. LIFT WITH CARE.
8

INSERTING A NEW PAINT PACK
d
Press ‘pause’ button on control
panel.
Place roller head correctly in the
docking station, close lid and
‘click’ shut.
9
Lift dip tube cover and twist dip
tube cap anti-clockwise to unlock.
Carefully remove dip tube from
PaintPod.
Any excess paint on dip tube will
be removed by dip tube wipe.
Whilst holding dip tube in one
hand, open lid of white chamber
and place dip tube onto dip tube
rests.
for wall and ceilings
emulsion
e
Remove empty paint pack and
replace with a new one. Follow
instructions in ‘SETTING UP’
(page 5).
IMPORTANT: Ensure paint pack
is facing the right direction.
Remove dip tube from resting
position, close lid and insert dip
tube back into PaintPod,locking
it into position. Follow instructions
in ‘SETTING UP’.
Press ‘paint’ button to resume
painting.
If a different paint colour is to be used, the PaintPod should be drained and cleaned. Follow instructions on
pages 10, 11 and 12.
USING YOUR PAINTPOD
c
Paint on the end of dip tube will
need to be removed with a rag.
a
1
2
b
1
2
f
1
2
Indice
Altri manuali Dulux Spruzzatore di vernice


