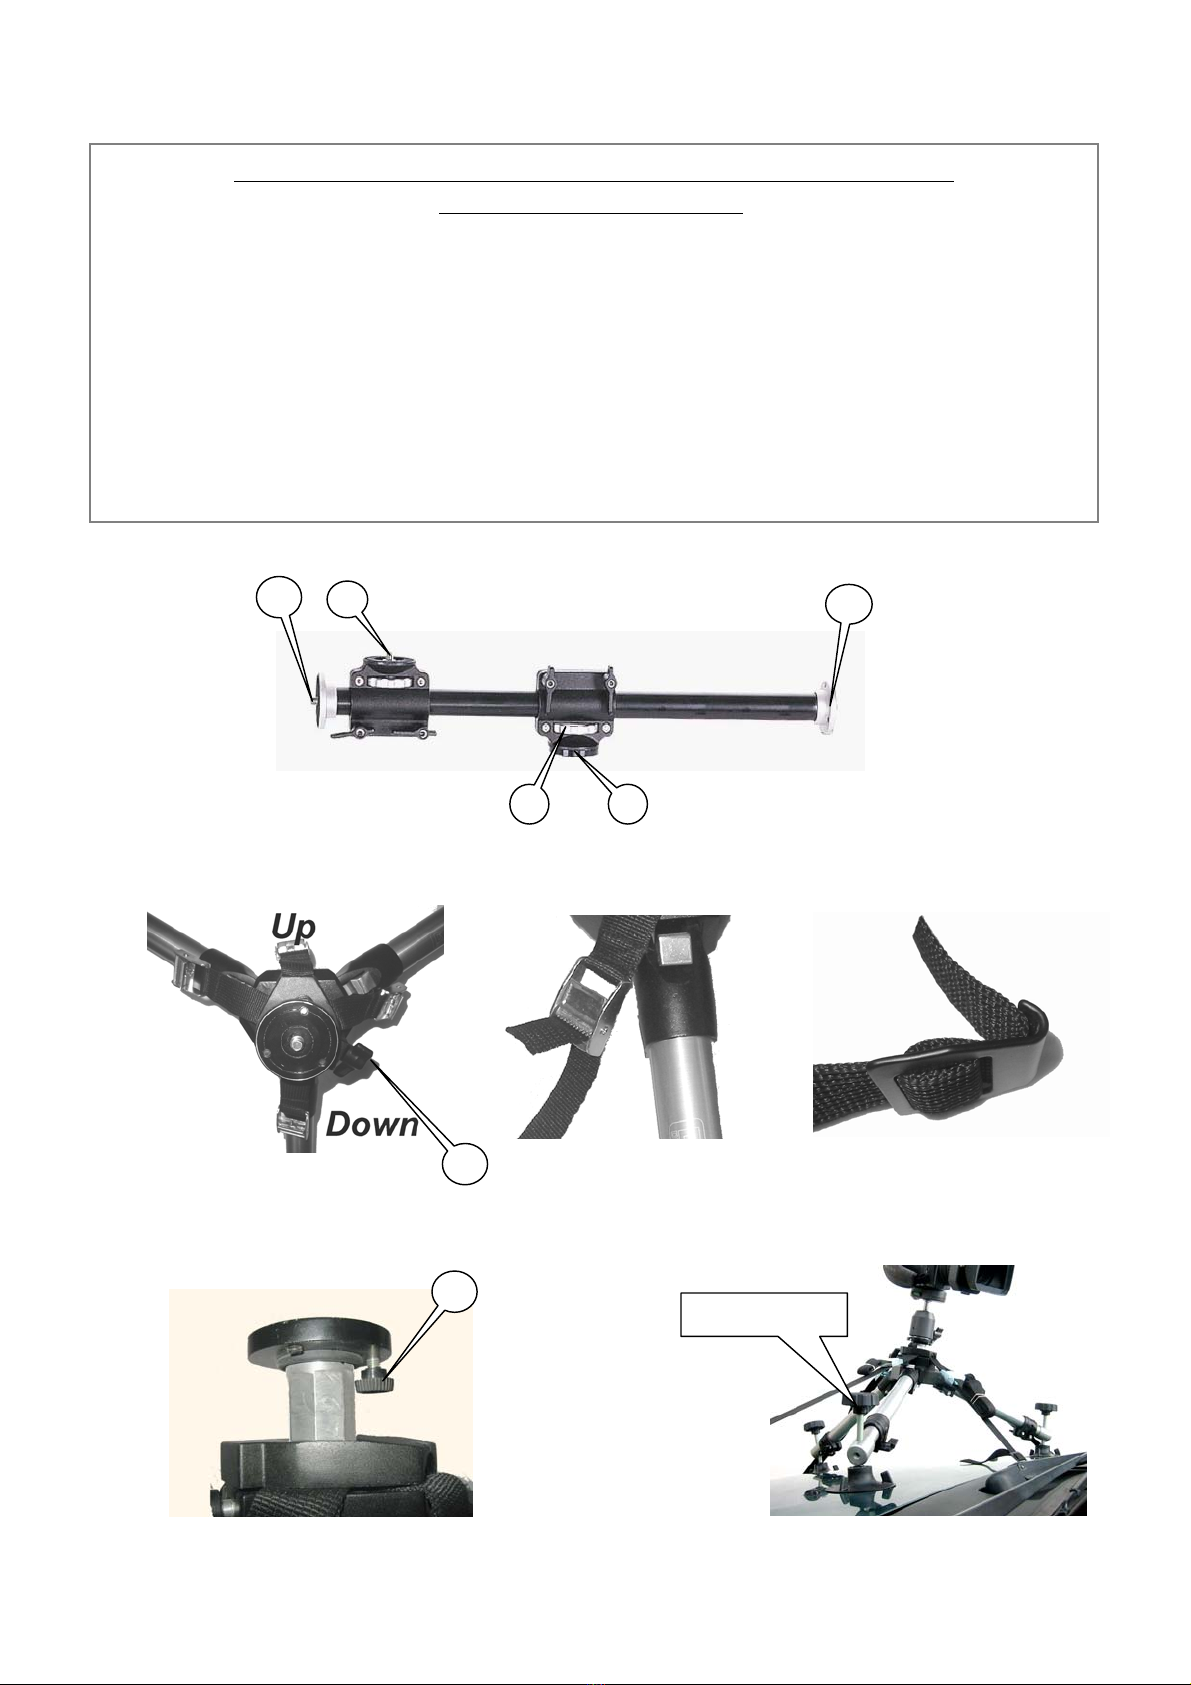
Front hood mounting
In the front hood position you can use any camera. From a small DV camcorder to a full size
Pro. cameras.
• Wash the cars hood and wipe it to provide a clean surface for the vacuum cups.
• Spread the tripod legs all the way to full spread position.
• Attach the Vacuum cups to the tripod legs.
• Locate the most rigid areas on the car-hood and mount the vacuum cups on them. Avoid using
soft or flexible areas.
• Put the tripod on the hood and press it gently to activate the vacuum cups.
• Position the tripod with the flat surface pointing to the windshield, the back of the car.
• Extract and / or close the spread of the back leg to compensate for the hoods slope and level the tripod.
• Extract the legs and / or adjust the legs spread to level the tripod for the desired position.
• Insert the safety straps into the buckles from below (Fig. 3)
• First secure the top safety strap by hooking the flat hook to the edge of the car hood.
• Place the hooks so opposite straps will apply counter force against each other.
• Make sure the hooks will not slide when driving, find parallel opposite hood edges. or concave or straight
edges, Avoid using arched edges.
• Insert the flat hooks in the gaps between the hood and the car‘s body.
• For additional protection of your car’s paint. Use the extra belt length to pad the Inside of he hook. (Fig. 4)
• Tighten the straps starting with the top strap then the lower strap then the right and the left.
• Pull and Tighten the straps with reasonable force, Be careful not to bend the car’s body!
• The tripod is now safe and you can mount the camera on it.
• Tilt and pan the camera to the desired position by using the camera head.
• Use the leveling knobs (Fig. 5) to fine-tune your side tilt and to bring the camera to a level related to the
car’s bod
outlines.
Side mounting
In the side mount position you can use only Small DV cameras. It is possible to use heavy cameras on very flat
roads at moderate speeds.
• Wash the cars side and wipe it to provide a clean surface for the suction cups.
• Spread the tripod legs all the way to full spread position.
• Attach the Vacuum cups to the tripod legs.
• Insert the safety straps into the buckles from below (Fig. 3)
• Locate the most rigid areas on the car’s door and mount the suction cups on them. Avoid using
soft or flexible areas.
• Position the tripod with the flat surface pointing upwards. (Fig. 2)
• Press the tripod against the side door to activate the vacuum cups.
• Secure the top safety strap by hooking the flat hook to the edge of the car’s door.
• Extract and close the spread of the lower leg to level the tripod.
• Extract the legs and / or adjust the legs spread to place the tripod’s feet on the best points.
• Insert the flat hooks to the gaps between the door and the cars body.
• For additional protection of your car’s paint. Use the extra belt length to pad the Inside of he hook. (Fig. 4)
• Tighten the straps gradually starting with the top strap then the lower strap then the right and the left.
• Place the hooks so opposite straps will apply counter force against each other.
• Make sure the hooks will not slide when driving, find parallel opposite hood edges. Or concave or straight
edges, Avoid using arched edges.
• Pull and Tighten the straps with reasonable force, Be careful not to bend the car’s body!
• The tripod is now safe and you can mount the camera on it.
• Tilt and side tilt the camera to the desired position by using the camera head.
• Use the leveling knobs (Fig. 5) to fine-tune your frame. bring the camera to a level related to the car’s body
outlines.