e-nova FONB2201 Manuale utente
Version 1.1
User Manual
e-NOVA FONB2201
1

Version 1.1
Contents
1. Warranty conditions 3
1.1 ★★Warranty Period★★ 3
1.2 ★★Exclusions and limitations★★ 3
1.3 Safe disposal of the product 3
2. ★★Safety Instructions★★ 4
2.1 Electrical Safety 4
3. Features 6
3.1 Electrical System 6
4. Parts of the Bicycle 7
4.1 Parts 7
4.2 The saddle and handlebar stem 7
5. General Terms of Use 8
5.1 IMPORTANT! Always before riding a bicycle: 8
5.2 Throttle 8
5.3 During the riding 8
5.4 Battery and Charger 8
5.5 Charging the battery 9
5.6 Removing the battery 9
5.7 Battery level 9
5.8 Brakes 10
5.9 Button and Display 10
5.10 Operating Instruction 10
6. Maintenance and repairs 11
7. Maintenance 12
7.1 Technical Specifications 12
8. Installation guide 14
8.1 Take out the Ebike and check the parts list 14
8.2 The front wheel 14
8.3 The handlebar and the stem 15
8.4 The seat post (with saddle) 15
8.5 The pedals 16
8.6 The battery 16
8.7 The front light 16
2

Version 1.1
1. Warranty conditions
Electrical bike warrants this product to be in good working order during the warranty period.
This warranty is valid only if proof of purchase is shown in the warranty service request. The
product is intended primarily for use by consumers, which is the basis of business conduct
the acquired products is subsequently granted in these terms limited warranty.
1.1 ★★Warranty Period★★
In accordance with the terms of the guarantee electrical bike:
•For consumers 12 months warranty.
•For companies and institutions 6 months warranty.
Electrical bike warranty service on a centralized basis through its own service centers. News for
more information and instructions for easy warranty service connection can be found at us.
1.2 ★★Exclusions and limitations★★
The warranty covers only in material and quality in the product. Granted to the product limited
warranty does not cover maintenance and / or cost estimates if:
● The error is caused by unlawful processing of instructions.
● This product has been damaged by any man-made factors, mechanical stress and / or any
other product from the outside.
● The error is caused by an accident, injury or any other warranty issuer's sphere of influence.
Therefore, outside a reason.
● The error is caused by the normal from wider use of and / or may be considered normal
wear and tear. The warranty does not cover product includes accessories, batteries or
software may be delivered. Electrical bike will not be liable for any use of the product or the
product of the error caused by direct or indirect costs unless otherwise stipulated by
mandatory law.
1.3 Safe disposal of the product
The appliance and its accessories must not be disposed of with normal household waste at
the end of its life cycle.
3

Version 1.1
2. ★★Safety Instructions★★
● Read the instruction manual thoroughly and follow the safety instructions in particular very
carefully before the use of bicycles.
● Always obey traffic regulations.
● Do not give up the wheel a person who is not familiar with bike and operating instructions
before riding.
● Wear a bicycle helmet whenever riding a bicycle.
● Check the bicycle brakes before each use, and keep in mind that the braking distance is
extended wet / icy conditions.
● Check your bicycle's tire pressure at regular intervals. Having the correct tire inflation
pressure is 3.5 bar. Incorrect tire pressure can lead to tire damage and shorten operating
distance significantly.
2.1 Electrical Safety
★★CAUTION! ★★
● Keep electrical appliances out of the reach of children.
● To avoid injury, use only the provided bike included charger to charge the battery.
● Using the wrong charger and / or battery may lead to an explosion and cause personal injury
and property damage.
● Use only batteries approved for this product and accessories. Use of supplies from third
parties with this wheel can result in fire, electrical shock, or personal injury.
● Do not expose the wheel electrical equipment to moisture, water or other liquids. However, if
electrical appliances are exposed to water, disconnect the charger from the wall outlet
immediately and deliver damaged parts service center for resellers for review.
● Do not expose the battery to fire and keep it away from hot heat sources. Risk of explosion!
● Unplug the charger from the wall outlet when not in use.
● Remove the charger by pulling the plug, not the cord.
● Do not use the charger if the plug or cord is damaged, or if the charger is otherwise
defective.
● The charger and the battery do not contain any user-serviceable parts. Do not attempt to
disassemble or repair the charger or battery on your own.
● Do not short-circuit the battery caused by metal objects.
● Clean the electrical product only with dry cloth or rag.
● Avoid using an extension cord with the charger. Use an extension cord only if you are
absolutely sure of the compatibility of the extension cord with the charger.
● Before you plug in the charger, check that the power supply voltage is consistent with the
marked voltage charger.
● It is recommended that the battery is charged 10°C - 30°C temperature so that it remains a
long age.
● If you charge the battery immediately after use, allow the battery to cool down for 30 minutes
before charging.
● To prevent fire disaster from overcharging the battery, disconnect the charger after the
battery is fully charged.
● In order to ensure the battery life, the battery must be recharged every two months.
● Please keep battery in a dry, cool and ventilated place. Avoid high temperature, super cold,
and high humidity environment.
IMPORTANT! Please read this manual carefully and strictly following it during the use
of this product. Otherwise, customers will take the corresponding risks of incorrect
use.
Before first use, be sure to carefully that the bicycle is assembled correctly. You can
do this by submitting your bike in the nearest bicycle circulation, or if you are an
experienced bicycle enthusiast, you can compile and check the wheel itself. Make
sure in particular that the pedals, saddle, brakes, handlebars, and any part of a
4

Version 1.1
self-installing is properly installed.
NOTE: Never ride your bicycle while under the influence of alcohol. Drinking alcohol
impair the ability to react significantly limit your ability to use the wheel safely. Even a
small amount of alcohol, limit your ability to operate safely in traffic.
If you want to change the bike battery, take the battery for recycling either the retailer
or to a local recycling disposal company responsible.
5

Version 1.1
3. Features
● Height-adjustable seat tube, suitable for different lengths for riders.
● Ped-eclectic assistance can also be run without electrical assistance, the mere muscular
force.
● The rider weight up to 120 kg.
● E-bike net weight approx. 22.5 kg.
3.1 Electrical System
● Battery: 36-volt lithium-ion (Li-ion) 7.8Ah
● Engine: 36 V, 250W, brushless
● Pedal Sensor: speed sensor
● Top speed: 25 km / h (limited)
● Operating Distance: Up to 38-47 km
6

Version 1.1
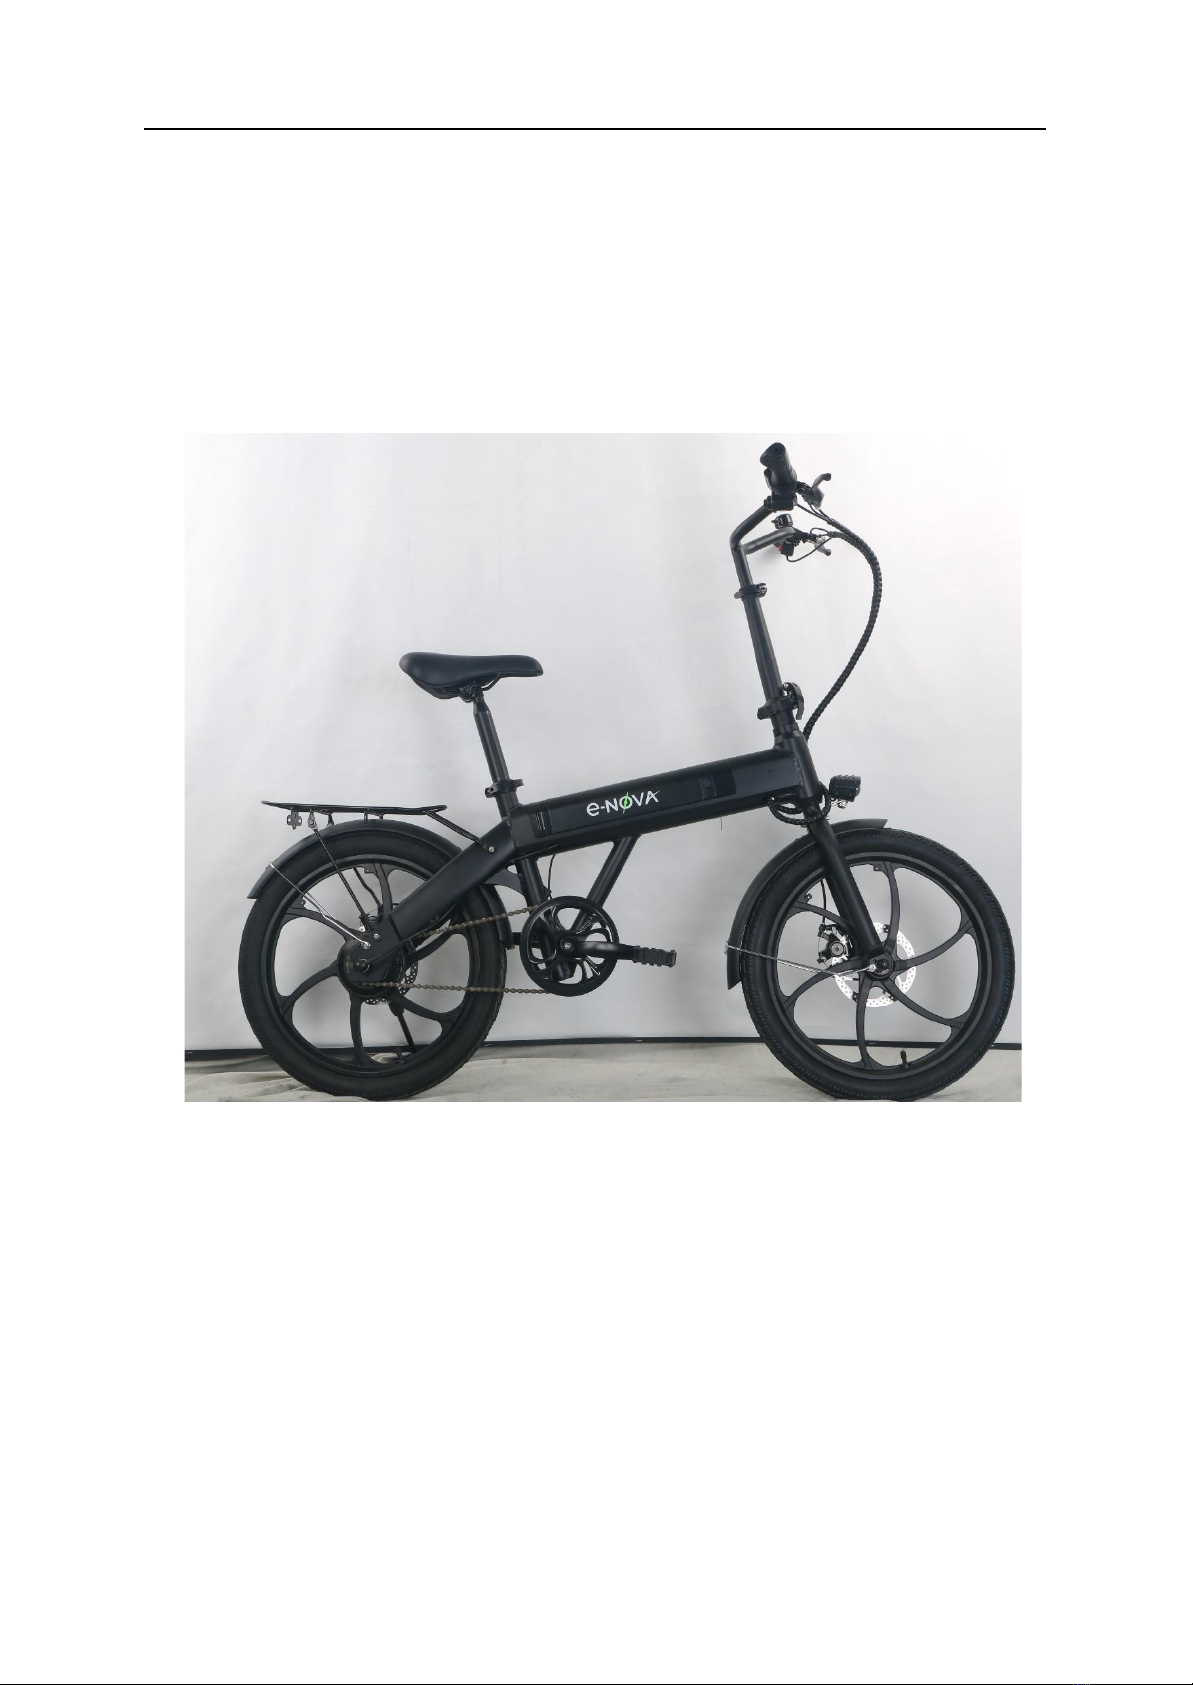
4. Parts of the Bicycle
4.1 Parts
1. Frame
2. Changeable battery
3. Seat lock lever
4. Brake lever
5. Air rubber tyres
6. Control unit
7. 36V*250W motor
8. Pedal
9. Headlight
4.2 The saddle and handlebar stem
You may want to adjust the stem and saddle height to the desired height.
Please note that the handlebar stem and saddle, however, must not be raised more than the
tubes marked with a safety limit of subscriptions. Failure to follow these instructions may lead to
serious personal injury.
1. Open the stem / saddle lock lever.
2. Adjust the stem / saddle to the desired height. Do not exceed the safety limit indication.
3. Attach the lock lever and make sure that it remains firmly in place.
When you sit on top of the saddle, your heels should just touch the pedal when it is in its lowest
position. When cycling correctly, your knee should be slightly hooked and pedal will in the lowest
position. You can also adjust the angle of the saddle, loosen the screw below the saddle, then
placing position, and tighten the screw back in place at the end.
7

Version 1.1
5. General Terms of Use
5.1 IMPORTANT! Always before riding a bicycle:
● Check that the stem and handlebars are tightened securely.
● Check that all bolts, nuts and fasteners are properly tightened. Pay special attention to the
engine mounts, the foot, the front fork and handlebar mounts.
● Check that the brakes and brake levers are working properly.
● You check that all reflectors and lights are in place and operate properly.
● You check that all reflectors and lights are in place and operate properly.
● Make sure that the battery is fully charged. Check the battery charge level of the control unit
LED display.
5.2 Throttle
If the throttle lever is mounted on the handlebar, avoid dangerous, unplanned
acceleration by keeping your hand away from the throttle you specify whenever you are
not using it. To ensure safe use, turn off the bike battery ignition key and / or the control
unit of the On / Off button after each use.
5.3 During the riding
● When ready to ride, and use the throttle grip, the bike shot up from ahead! Do not switch on
the bike before you are prepared to ride.
● When you release the throttle or brake, power supply to the motor immediately.
● When you start moving, or you ascend the hill, pedaling as much as possible to save the
battery. Pedaling as much as possible yourself, you can also extend the life of the battery
and engine life.
● When going downhill do not turn off the power wheel. This can lead to engine control unit
and damage.
● If the battery runs out while you are riding, you can pedal it as normal bike and please go
charge the battery as quickly as possible.
● Turn off the ignition and remove the key whenever you stop moving.
● Please make sure that you turn off the power first for preventing unintended acceleration.
● Taking care of the wheel to extend the working life of wheeling.
5.4 Battery and Charger
● Do not touch the battery terminals when the battery is charging. And, do not let the battery
terminals come with metal or other conductive objects.
● When you charge the battery, insert the battery into a safe place away from children.
● Only use the supplied AC charger to charge the battery. Contact your dealer if you need
anew charger.
● Never open, repair or modify the charger/battery by yourself.
● Prevent liquids, metal objects, or metal chips from entering the charger.
● Avoid shocks and dropping the charger.
● Do not cover the charger during the charging process. The charger heats up during
charging.
● If you notice any strange odor or overheating during the charging, stop charging
immediately.
● To avoid the premature destruction of the battery, recharge and drain the battery at least
once a month. Do not use the battery nearly empty, recharge the battery fully before each
use.
● Battery capacity, or reduced in cold weather. This is completely normal.
● Avoid water or other liquids when charging the battery.
● Do not leave the charger connected to the battery and power source for more than 10 hours.
● Use the battery and AC charger at all times in accordance with the instructions.
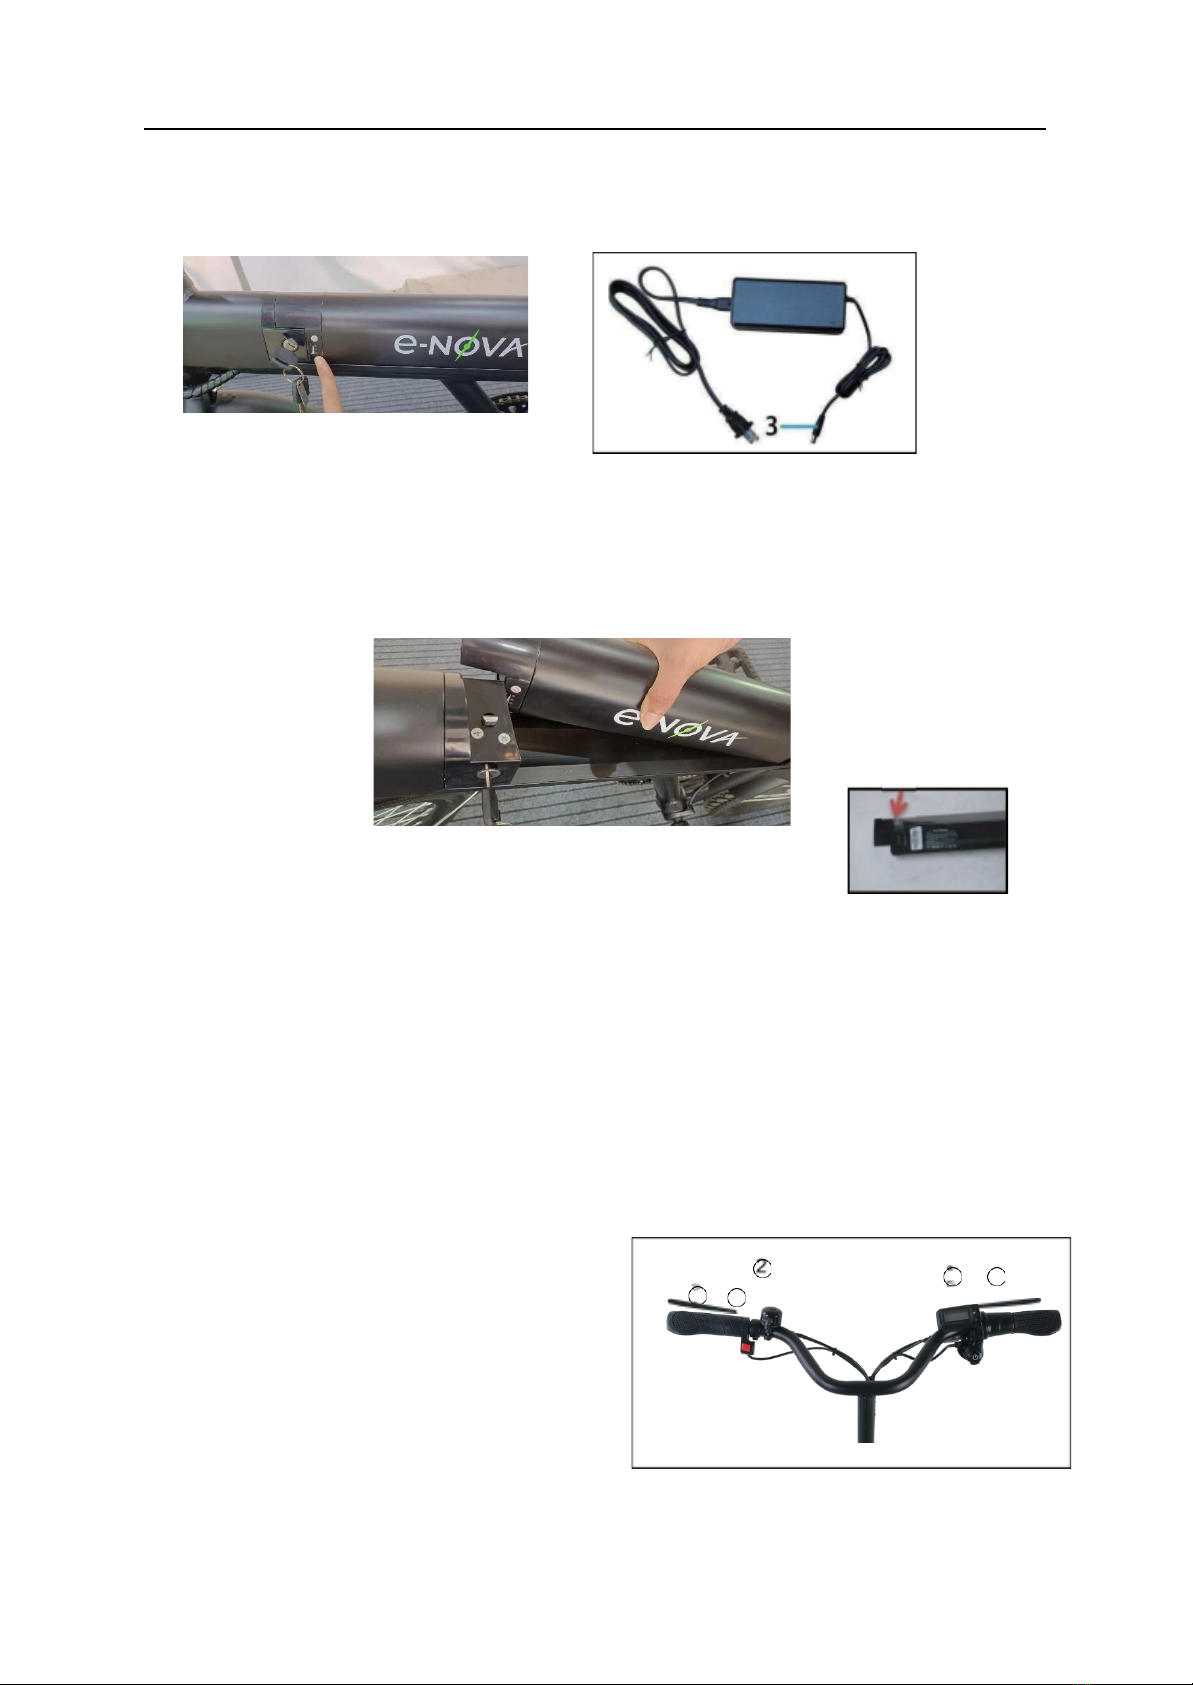
5.5 Charging the battery
8
Version 1.1
You can charge the battery disconnected, or when the battery is fixed to the bike. First, pull
out the charging connector cover. Then connect the AC charger to the charging plug (3) to
the charging port and an AC outlet.
5.6 Removing the battery
To remove the battery, open the battery lock key. Insert the key into the lock and turn it
counterclockwise, then remove the battery. When you're done, put the battery back in place
and lock.
5.7 Battery level
You can easily check directly from the battery by pressing TOP button.
5.8 Brakes
Do not brake too sharply or abruptly. Otherwise, you may fall on a bicycle.
● Learn how to remember which brake lever controls the front brake (left) and which one the
rear brake (right).
● Move the body weight of backward braking, to reduce the effect of inertia.
● Keep your brakes in good condition and adjust / Export adjusted brakes if necessary. If the
brake pads are worn out, replace the brake pads in good time or deliver your bikes for repair.
● Before riding, always check the brakes.
● Remember that the braking distance can be extended considerably in slippery conditions.
● More information about the brakes, if necessary, get a bike shop or manufacturer.
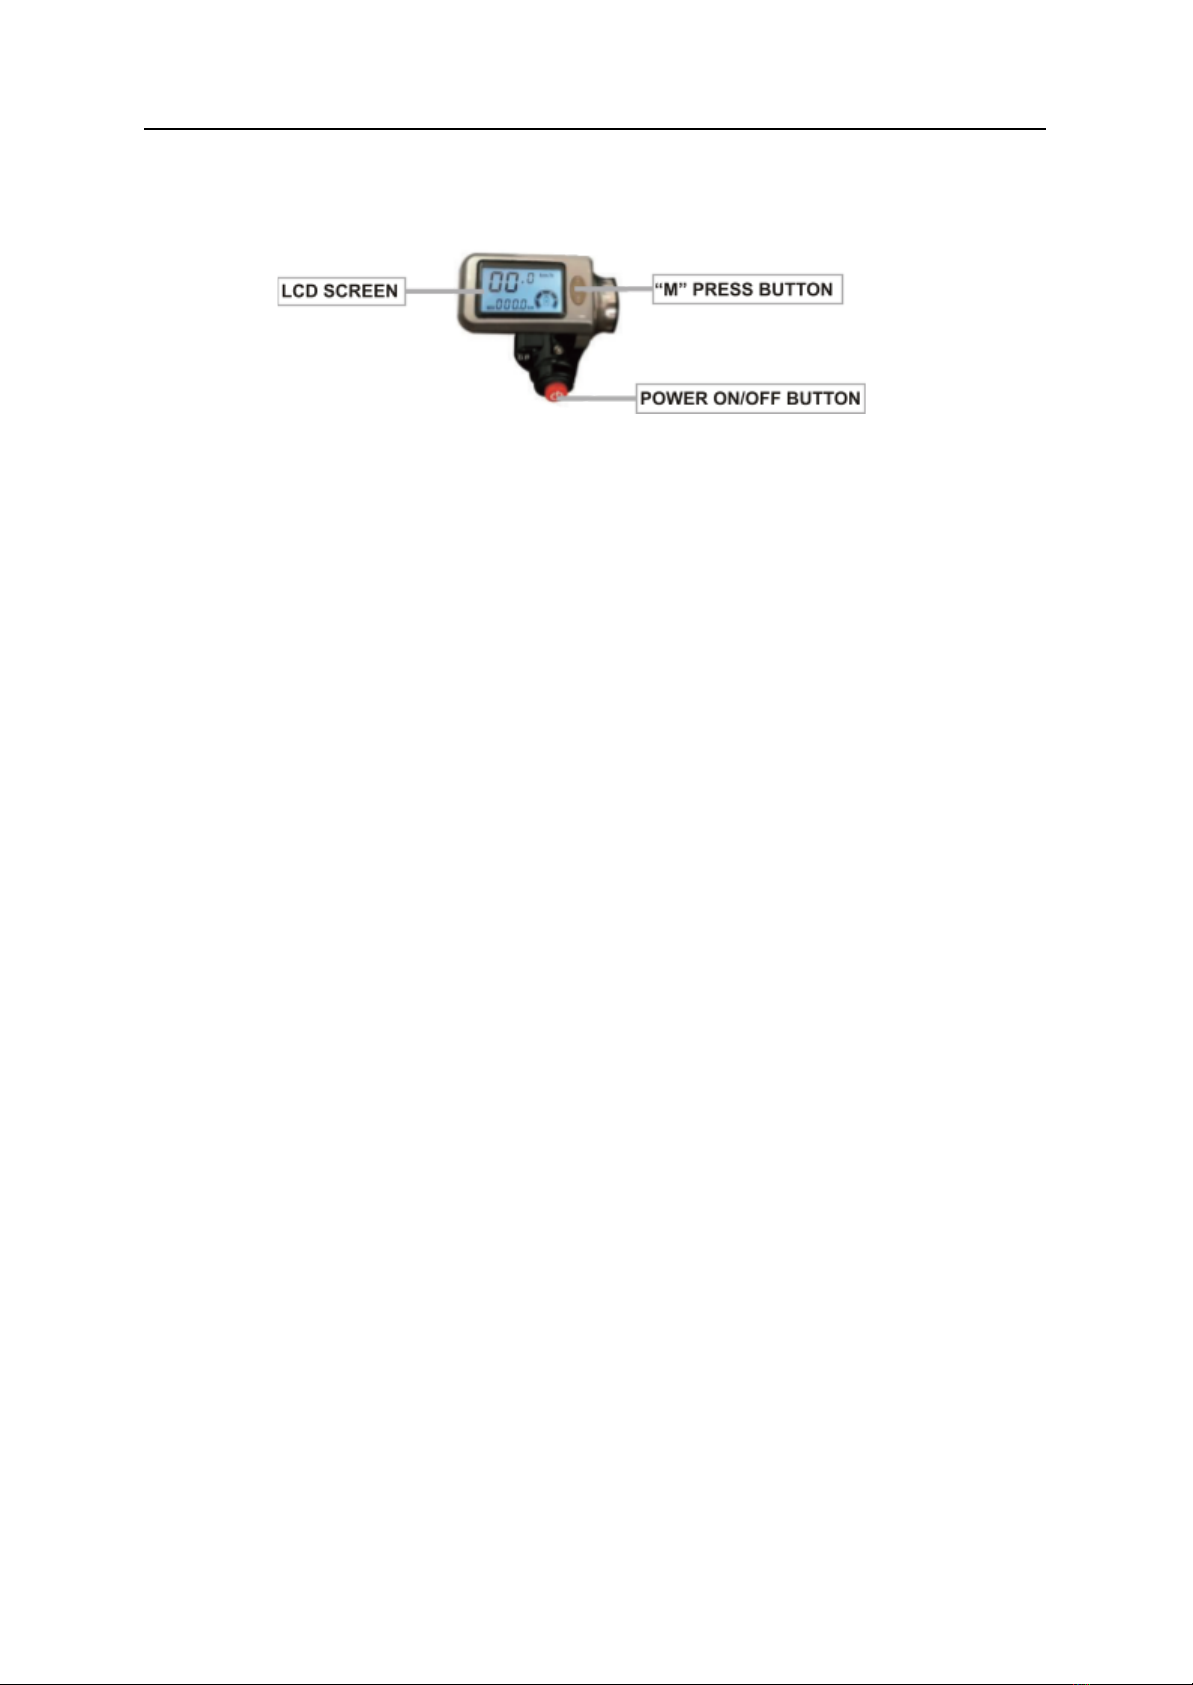
5.9 Button and Display
①Headlight Button
②Bell
③Brake lever
④LCD Display
⑤Throttle
5.10 Operating Instruction
①Headlight Button
②Bell
③Brake lever
9
Version 1.1
④Display
⑤Throttle, rotating it and the e-bike will forward
6. Maintenance and repairs
IMPORTANT!
● Do not attempt to open the battery casing, motor or control unit. Failure to do
so may result in personal injury and void the warranty. In case of difficulty,
please contact us.
● Make sure that the tire surface is tightened.
● Your bike is equipped with derailleur which tightens the chain
automatically. If, however, the chain starts to slacken continuously and
jumping off front chainring, you can easily tighten the chain, loosen first
the rear axle nuts slightly, and then tighten the bolts. Make sure that the
chain is rotating freely and tighten the rear axle nuts back on. Take the bike
for service if you do not know what should do.
10
Indice
Altri manuali e-nova Bicicletta


