
EcoSmart Fire Round 20 Manuale utente

! WARNINGS:
IF THE INFORMATION IN THIS MANUAL IS NOT FOLLOWED EXACTLY, A FIRE OR EXPLOSION
MAY RESULT CAUSING PROPERTY DAMAGE, PERSONAL INJURY OR LOSS OF LIFE.
FIRE PIT KITS
NOTE: Weight is approx only. Weight includes burner, re screen and black glass charcoal
CLEARANCES &
INSTALLATION MANUAL
BIOETHANOL ONLY
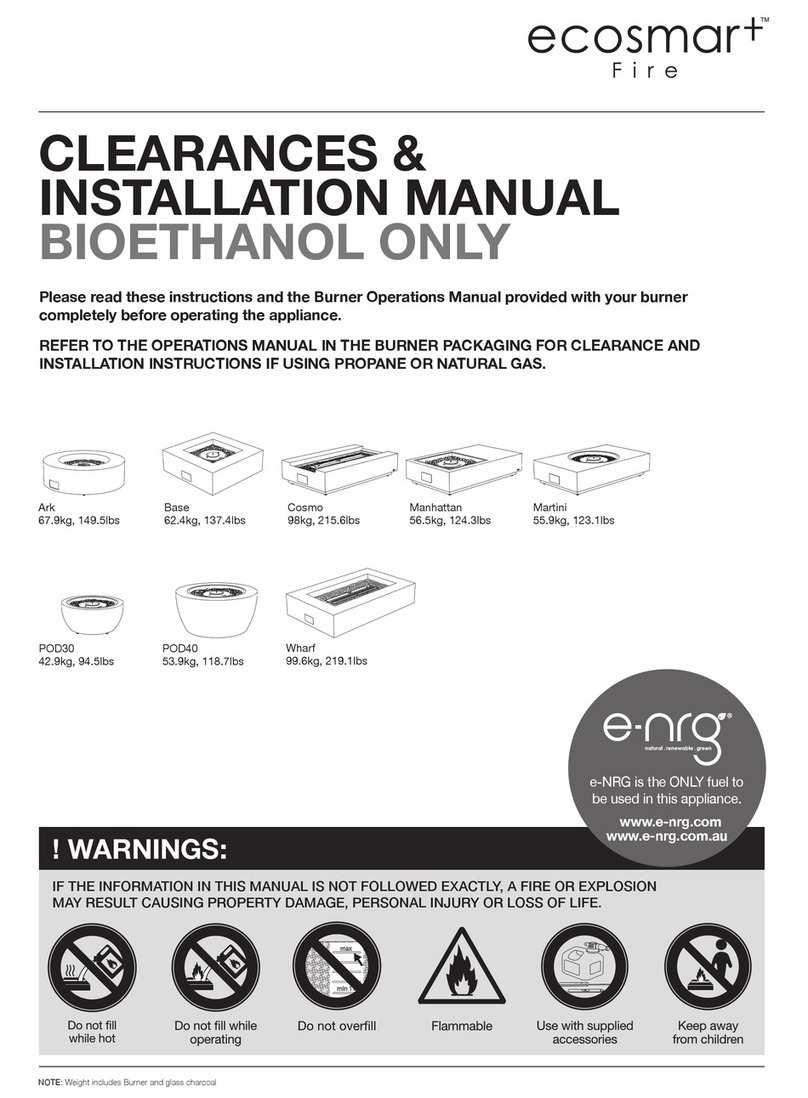
Please read these instructions and the Burner Operations Manual provided with your burner
completely before operating the appliance.
REFER TO THE OPERATIONS MANUAL IN THE BURNER PACKAGING FOR CLEARANCE AND
INSTALLATION INSTRUCTIONS IF USING PROPANE OR NATURAL GAS.
e-NRG is the ONLY fuel to
be used in this appliance.
www.e-nrg.com
www.e-nrg.com.au
Square 22
24.8kg, 54.6lbs
Linear 130
90.9kg, 200.1lbs
Linear 50
41.3kg, 90.9lbs
Round 20
22kg, 48.5lbs
Linear 90
65.2kg, 143.3lbs
Linear Curved 65
44kg, 96.8lbs


Table of
Contents
ENGLISH
Clearances and Installation Manual
Please read these instructions completely before
installing or operating the EcoSmart™ Fire.
1
DEUTSCH
Clearances and Installation Manual
Please read these instructions completely before
installing or operating the EcoSmart™ Fire.
7
FRANÇAIS
Manuel d’installation et de dégagements minimaux
Veuillez lire ces instructions dans leur intégralité
avant d’utiliser votre produit EcoSmart™ Fire.
13
中文
预留间隙与安装指示
请在安装使用EcoSmart Fire®的产品前,仔细阅读说明书
以确保产品在最安全的状态下使用。
19
ITALIANO
Distanze e manuale di installazione
Leggere attentamente queste istruzioni prima di
installare o utilizzare EcoSmart ™ Fire.
25
ESPAÑOL
Manual de instalación y distancias mínimas
Por favor, lea las instrucciones completamente antes
de utilizar el EcoSmart™ Fire.
31

www.ecosmartre.com
ENGLISH
e-NRG Bioethanol is the only fuel to use in this appliance.
Table of
Contents
Appliance Clearances
SELECTING APPLIANCE LOCATION 2
VENTILATION 2
MINIMUM ROOM SIZE 2
Appliance Installation
FRAMING 3
BEFORE GETTING STARTED 4
FIRE PIT KIT INSTALLATION 5 - 6
These appliances are manufacturer approved for use only with the accompanying
UL Listed Burner/s.
OPERATION
Refer to the Operations Manual included with the Burner.

© Copyright 2004 - 2021 MAD Design Group. All rights reserved. V0221
ENGLISH
Please read these instructions completely before installing and
operating the EcoSmart™ Fire.
SELECTING APPLIANCE LOCATION
When selecting a location for the appliance it is important to consider the
required minimum room sizes and clearances to walls and combustible
materials (see Clearances images below and Minimum Room Size table).
Note: Fire Pit Kit appliances are made from 202 stainless steel which is
powder coated with super hi-temp black paint which prevents rusting.
The burners are made of 304 stainless steel. To ensure the burner(s)
continue looking great and to avoid rust or corrosion it is important
any contamination or debris are cleaned or removed from the burner
immediately.
When not in use, keep the burner lid closed to safeguard the burner
from debris falling into the burner chamber and causing contamination.
WARNING: Risk of Fire or Burns! Provide adequate clearance around
air openings and for service access. Observe the clearances to
combustibles recommended in this manual and the burner manual.
Ensure that your re is positioned away from ammable materials
and other sources of ignition at all times. Due to high temperatures,
the appliance should be located out of trac and away from furniture
and draperies. Pay very close attention to positioning the re away
from items that may move as a result of wind and drafts. For example
trees/branches/curtains/paper and the like. Keep children at a safe
distance at all times and never leave them unsupervised when the
appliance is on or hot.
[23.6]
600mm
[59.1]
1500mm
Indoor Clearances
[78.7]
2000mm
[23.6]
600mm
Outdoor Clearances
Appliance
Clearances
VENTILATION
EcoSmart Fires do not require any form of permanent xture or tting,
such as a ue for ventilation, a permanent connection or any kind of
xed utility for fuel supply.
Do not cover any existing ventilation systems or structures that
are built or installed within the chosen installation area.
To ensure adequate ventilation, make sure to follow the guidelines in
the table shown.
Underwriters Laboratories (UL) calculates adequate air exchange
as follows:
In a house of typical construction, that is, one that is not of unusually
tight construction due to heavy insulation and tight seals against air
inltration, an adequate supply of air for combustion and ventilation is
provided through inltration. However, if the Burner is used in a small
room where less than 5.7m3[200ft3] of air space is provided for each
1000 BTU per hour of appliance rating (considering the maximum
Burner setting), the door(s) to adjacent room(s) should be kept open or a
window to the outside should be opened at least 25.4mm [1in] to guard
against potential build up of indoor air pollution. Do not install or operate
in a bathroom or any other small room.
MINIMUM ROOM SIZE
entilation table based on number of burners (per appliance).
Appliance Burner/s Minimum Room Size BTU/h
Round 20
Square 22
1x AB8 4096 cubic feet
(116 cu. meters)
20,433
Round 20
Square 22
1x AB8 (EN) 4096 cubic feet
(116 cu. meters)
12,860
Linear 50
Linear Curved 65
1x XL900 3884 cubic feet
(110 cu. meters)
15,000
Linear 90 2x XL900 7768 cubic feet
(220 cu. meters)
30,000
Linear 130 3x XL900 11652 cubic feet
(330.2 cu. meters)
45,000
NOT INTENDED FOR USE AS A PRIMARY HEAT SOURCE.
This appliance is tested and approved as either a supplemental
room heat or as a decorative appliances. It should not be factored as
primary heat in residential heating calculations.

www.ecosmartre.com
ENGLISH
e-NRG Bioethanol is the only fuel to use in this appliance.
These appliance kits must be installed into a xed secure position
before being operated.
NOTICE: DO NOT INSTALL DIRECTLY BESIDE OR NEAR
WALLPAPER, LAMINATE, VENEER OR ANY SURFACE THAT IS NOT
DESIGNED TO WITHSTAND HEAT AND HIGH TEMPERATURES
(the heat will impact the material, and in some circumstances the
glue used for its application). THE AREA AROUND THE APPLIANCE
GETS HOT. HEAT SENSITIVE/REACTIVE MATERIALS SHOULD
NOT BE USED. DO NOT PLACE FLAMMABLE OBJECTS ON OR
AROUND THE APPARATUS.
INSTALL ONLY IN A PERMANENT CONSTRUCTION.
These appliances are not designed to incorporate doors or opening
covers.
The appliance must remain open at all times for ventilation – it is not
designed to operate as an oven or similar “hot box” – the ame must
have a constant supply of air to operate and be able to circulate and
distribute the heat eectively
Do not modify the appliance in any way during installation. Cutting of
sheet metal parts of the appliance is prohibited.
Expansion and contraction of internal parts due to heating and
cooling o may create noise. This is normal.
WARNING: DO NOT OPERATE WITHOUT THE GLASS
WINDSCREEN
The appliance must be fully assembled before being operated.
Failure to install (or removal of) glass panels will void the
warranty and render the product unapproved for use with the
included burner.
FRAMING
Important Considerations for Framing
1. The appliance must be installed on a level surface capable of
supporting the appliance, burner, glass charcoal and full fuel
capacity.
2. The framing dimensions shown in the instructions are the
optimum dimensions that allow best t with gyprock / sheetrock /
plasterboard (or other facing/nishing material) after the appliance
has been installed.
Acceptable nishing materials include hardwood, bre cement
board, re-rated medium density breboard (FR MDF), stone,
tiles, steel, and re-rated (FR) plasterboard, porcelain, and similar
non-combustibles.
3. Prepare the installation location. Make sure the platform is built to
accommodate the weight of the appliance, burner, glass charcoal
and fuel. Verify that the platform is level.
In the case of insucient capacity to hold the weight of the
appliance, measures must be taken to reinforce the setting (for
example installation of a plate for load distribution) so that the
setting is suitable for installation.
DEFINITIONS
Combustible materials - Materials made of or surfaced with wood,
compressed paper, plant bers, plastics, or other material that can
ignite and burn, whether ame produced or not, or plastered or un-
plastered shall be considered combustible materials.
Non-combustible materials - materials which will not ignite and
burn. Such materials are those consisting entirely of steel, iron,
brick, tile, concrete, slate, glass or plasters, or any combination
thereof. HardieBacker®, WonderBoard®, Durock® or materials
that are reported as passing ASTM E 136, Standard Test Method
for Behavior of Materials in a Vertical Tube Furnace at 750C shall be
considered non-combustible materials.
NOTE: Illustrations reect typical installations and are for DESIGN
PURPOSES ONLY. Illustrations/diagrams are not drawn to scale.
Actual installation may vary due to individual design preferences.
Appliance
Installation

© Copyright 2004 - 2021 MAD Design Group. All rights reserved. V0221
ENGLISH
Appliance
Installation
BEFORE GETTING STARTED
1. Carefully remove the appliance and components from the packaging.
2. Inspect and report any parts damaged in shipment, particularly the
condition of the glass windscreen.
3. Read all of the instructions before starting the installation. Follow
these instructions carefully during the installation to ensure maximum
safety and benet.
WARNING: Risk of re or explosion! Damaged parts could impair
safe operation. Do not install damaged, incomplete or substitute
components.
Appliance Carton Example
Fire Screen Carton Example
Burner Carton Example
Burner
Jerry Can Spill
Proof Safety Spout
Baes
Lighter
Safety Documents Folder
Lighting Rod
Operations Manual
Jerry Can
Fire Screen
Appliance Tray
Manual
Indoor Safety Tray
(For models congured
for indoor use)
Black Glass Charcoal

www.ecosmartre.com
ENGLISH
e-NRG Bioethanol is the only fuel to use in this appliance.
Fire Pit Kits
Installation
1. Construct the re pit surround/platform following the Cutout/
Clearance Dimensions shown in the table below.
W
D
ROUND CUTOUT EXAMPLE
L
D
W
LINEAR CUTOUT EXAMPLE
Cutout/Clearance Dimensions
Physical appliance dimensions should be veried against cut out dimensions BEFORE
installation begins to conrm tolerances align.
APPLIANCE
L
mm [in]
W
mm [in]
Minimum Dimensions
D
mm [in]
D (WITH IST)
mm [in]
Round 20 594 [23.4] 594 [23.4] 248 [9.8] 215 [8.5]
Square 22 587 [23.1] 587 [23.1] 248 [9.8] 215 [8.5]
Linear 50 1167 [45.9] 402 [15.8] 206 [8.1]
167 [6.6]
Linear 90 2258 [88.9] 402 [15.8] 206 [8.1]
167 [6.6]
Linear 130 3346 [131.7] 402 [15.8] 206 [8.1]
167 [6.6]
Linear Curved 65 1600 [63] 420 [16.5] 206 [8.1]
167 [6.6]
IST = Indoor Safety Tray
2. Insert the metal tray into the cutout.
3. For Indoor Installations insert the Indoor Safety Tray. The appliance
must not be operated indoors without the Safety Tray installed.
For outdoor installation go to Step 4.
4. Insert Burner into metal tray.

© Copyright 2004 - 2021 MAD Design Group. All rights reserved. V0221
ENGLISH
Fire Pit Kits
Installation
5. Insert Glass Screen.
Align each glass screen tab with the designated slots in the metal
tray, gently put into position. Exercise caution so as not to fracture or
damage glass.
Appliance must not be operated without the glass screen installed.
6. Add glass charcoal around the burner - be careful not to scratch the
burner surface.
Do not place glass charcoal on top of the burner or where they can
interfere with the operation of the burner or the ame.
OPERATE ACCORDING TO THE BURNER OPERATIONS MANUAL
INCLUDED WITH THE BURNER.
WARNING! Risk of Fire! Do not apply combustible materials
beyond the minimum clearances. Comply with all minimum
clearances to combustibles as specied in this manual and the
burner manual.

www.ecosmartre.com
DEUTSCH
e-NRG Bioethanol ist das einzige Ethanol, das für die Nutzung in diesem Brenner freigegeben ist.
Inhaltsverzeichnis
Abstände zur Feuerstelle
AUSWAHL DES INSTALLATIONSORTES 8
BELÜFTUNG 8
MINDESTRAUMGRÖSSE 8
INSTALLATIONSANLEITUNG
EINBAURAHMEN 9
BEVOR DER INSTALLATION 10
INSTALLATIONSANLEITUNG FÜR
FEUERSTELLENEINSÄTZE 11 - 12
Diese Geräte sind vom Hersteller nur für den Gebrauch mit den beiliegenden UL-
gelisteten Brennern zugelassen.
INBETRIEBNAHME
Bitte lesen Sie die Bedienungsanleitung, die Sie mit Ihrem Brenner erhalten haben.
Questo manuale è adatto per i seguenti modelli
5
Indice
Lingue:
Altri manuali EcoSmart Fire Camino da interno

EcoSmart Fire
EcoSmart Fire Ark 40 Manuale utente

EcoSmart Fire
EcoSmart Fire ESF.2.O.Ark 40 Manuale utente

EcoSmart Fire
EcoSmart Fire ESF.1.F.650CV Manuale utente

EcoSmart Fire
EcoSmart Fire 450S Manuale utente

EcoSmart Fire
EcoSmart Fire Flex Series Manuale utente

EcoSmart Fire
EcoSmart Fire Linear 130 Manuale utente
EcoSmart Fire
EcoSmart Fire Base Manuale utente

EcoSmart Fire
EcoSmart Fire Ark 40 Manuale utente

EcoSmart Fire
EcoSmart Fire Flex Series Manuale utente

EcoSmart Fire
EcoSmart Fire Lighthouse Series Manuale utente


