GE DBLR453ET Manuale utente

Models:
DBLR453ET
DBLR453GT
Dryer
Ownerk
Manual
Important
Safe*
Information
Operating Instructions
The Controls on Your Dryer
Other Dryer Features
GE Answer
Center@
800.626.2000
GE Appliances
Welcome to the GE family. We’re Best of all, you’ll experience
proud of our quality products and these values each time you do
we believe in dependable service. the laundry. That’s important,
You’ll see it in this easy-to-use because your new dryer will be
manual and you’ll hear it in the part of your family for a long time.
friendly voices of our customer
service department.
Staple your receipt to the inside back Write down the model and serial
cover of this manual.
numbers here.
They are on the label
Before
on the front of the dryer behind
the door.
Before you call for service,
there are a few things you can
do to help us serve you better.
Read this
manua/.
It contains
instructions to help you use and
maintain your dryer properly.
Model number
Serial number
Date of purchase
Help
us
help you
800.626.2000
Save time and money
Check the
section titled “If Something Goes
Wrong” before calling. This sec-
tion was designed to solve common
problems you might encounter.
If you do need service, you can
relax knowing help is only a phone
call away. A list of toll-free customer
service numbers is included on the
inside back cover. Or call the
GE Answer Center” at 800.626.2000,
24 hours a day,
7
days a week.
Para
obtener
la version en
espaiiol
de
este
manual,
Ilame
a
GE Answer
Center@,
servicio de
informaci6n
para el
consumidor,
tel~fono 800.626.2000.
2
3
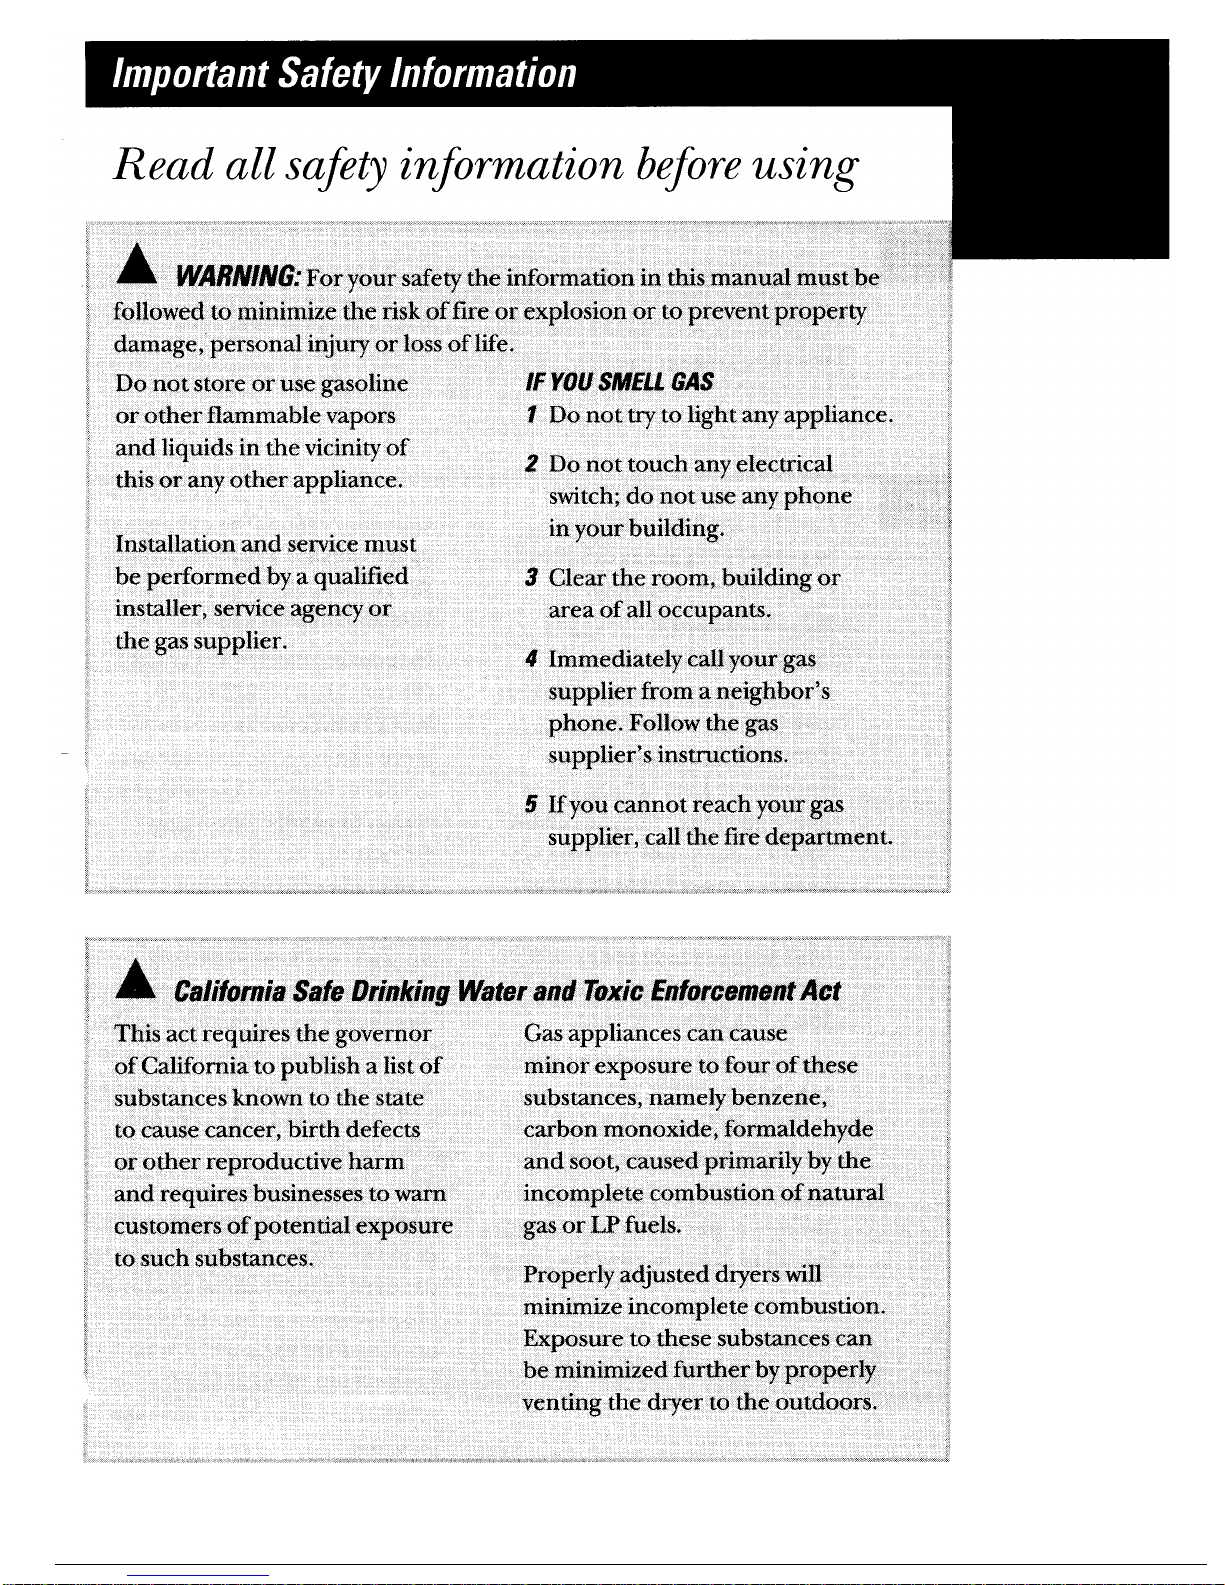
Read all
safety
information before
using
s
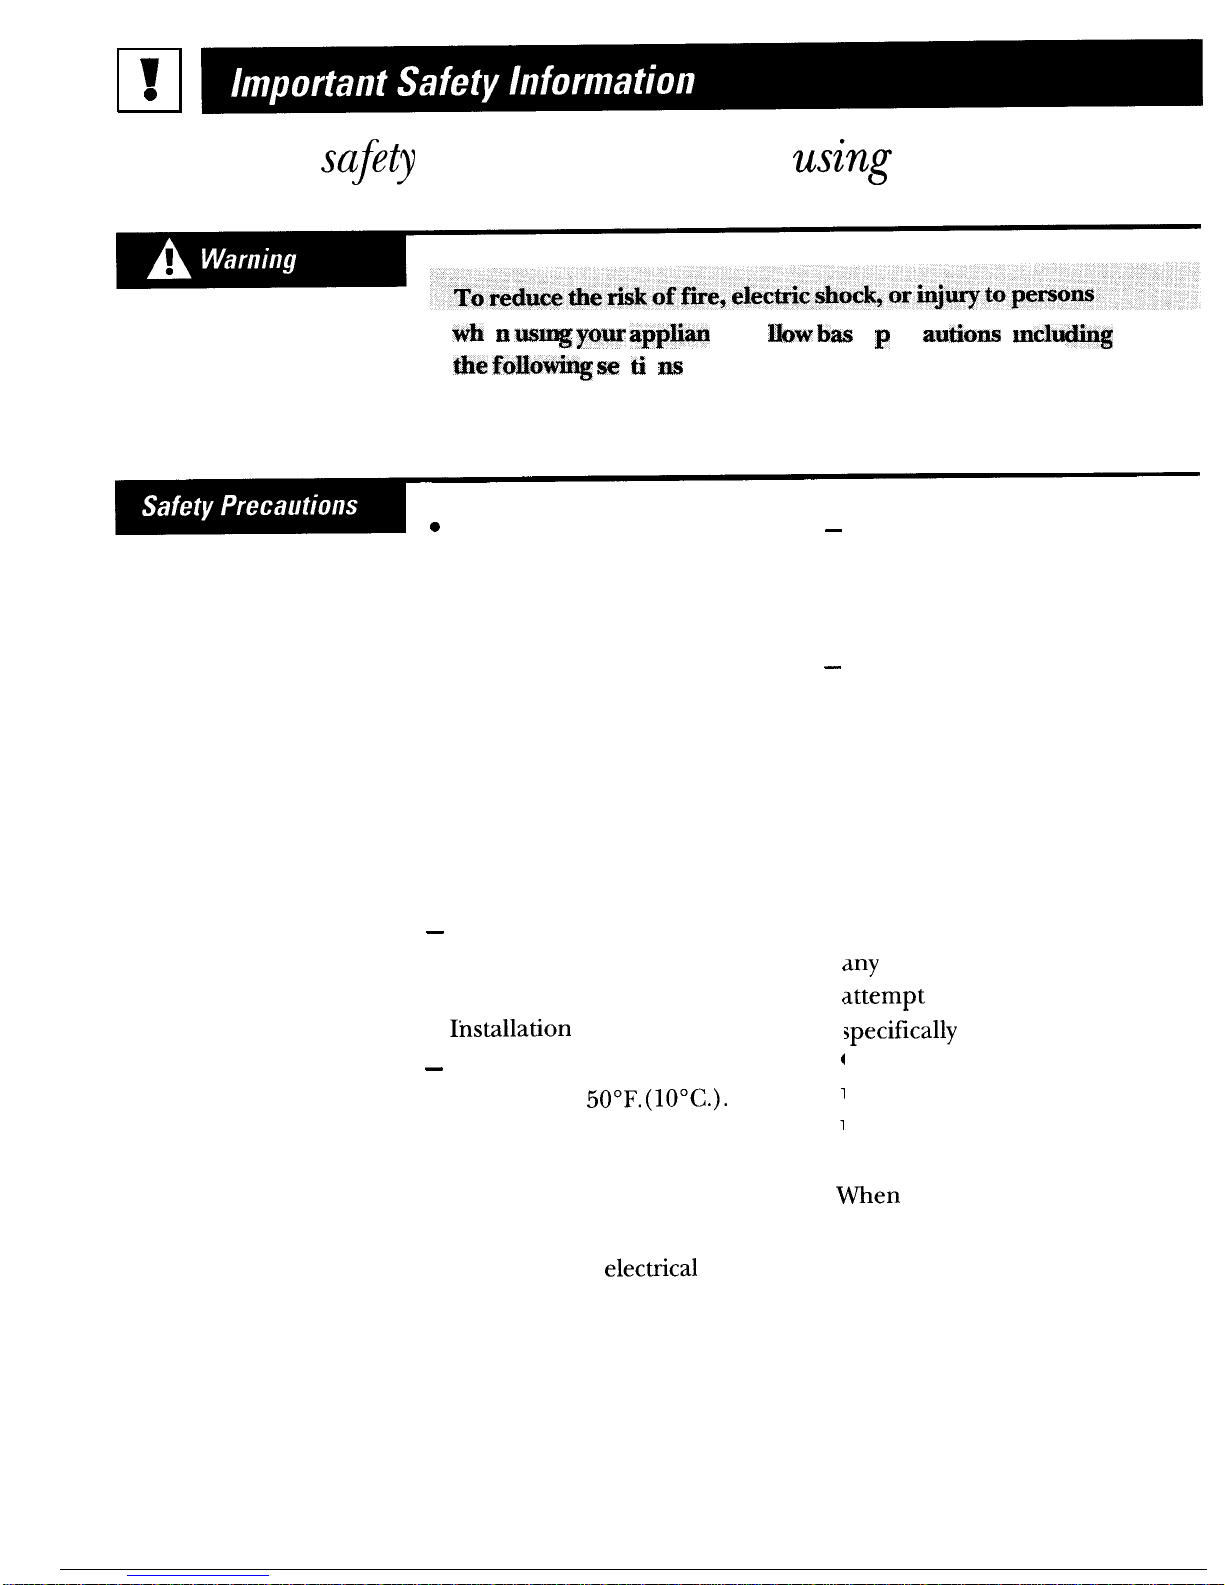
Use this appliance only for its
intended purpose as described
in this Owner’s Manual.
● This dryer must be properly
installed and located in
accordance with the Installation
Instructions before it is used.
If you did not receive an
Installation Instructions sheet
with your dryer, you can obtain
one by calling, toll free, the GE
Answer Center”, 800.626.2000.
—
Properly ground to conform
with all governing codes and
ordinances. Follow details in
Installation
Instructions.
—
Install or store where the tempera-
ture is above
50°F.
(lO°C.). Do
not install the dryer where it will
be exposed to the weather.
– Connect to a properly rated,
protected and sized power supply
circuit to avoid
elec~ical
overload.
—
—
●
,
(
1
1
‘
1
Gas dryers MUST be exhausted
to the outside. Carefully follow
the Exhausting details in the
Installation Instructions.
Exhausting electric dryers to
the outside is STRONGLY
RECOMMENDED to prevent
large amounts of moisture and
lint from being blown into the
room. Carefully follow the
Exhausting details in the
Installation Instructions.
Do not repair or replace
zny
part of the appliance or
lttempt any servicing unless
$peciflcally
recommended in this
Owner’s Manual or in published
user-repair instructions that you
understand and have the skills
to carry out.
●
men
disconnecting this
appliance pull by the plug rather
than the cord to avoid damage to
the cord or junction of cord and
plug. Make sure that the cord
is located so that it will not be
stepped on, tripped over or
otherwise subjected to damage
or stress.
4

. Exhaust Duct—See Installation
Instructions. Use only rigid metal
or flexible metal 4“ diameter
ductwork inside the dryer cabinet
or for exhausting to the outside.
USE OF PLASTIC OR OTHER
COMBUSTIBLE
DUC~ORK
CAN
~USE
A FIRE.
PUNCTURED
DUC~ORK
CAN CAUSE A FIRE IF IT COL-
LAPSES OR BECOMES OTHER-
WSE
RESTRICTED IN USE OR
DURING INSTALLATION.
. Do not dry articles containing
rubber, plastic, or similar
materials (such as padded bras,
tennis shoes, galoshes, bath
mats, rugs, bibs, baby pants,
plastic bags, pillows, etc.) as
these materials may melt or
burn. Also, some rubber
materials, when heated, can
under certain circumstances
produce fire by spontaneous
combustion.
● Do not store items that may
burn or melt (such as clothing,
paper material, plastics or
plastic containers, etc.) on top
of the dryer during operation.
● Garments labeled
“D~
Away
from Heat” or “Do not Tumble
Dry” (such as life jackets contain-
ing Kapok) must not be put in
your dryer.
u
v
●
Do not wash or dry articles that
have been cleaned in, washed
in, soaked in, or spotted with
combustible or explosive
substances (such as wax, paint,
oil, gasoline, degreasers,
dry-
cleaning solvents, kerosene, etc. )
which may ignite or explode. Do
not add these substances to the
wash water. Do not use these
substances around your washer
and/or dryer during operation.
. Any article on which you have
used a cleaning solvent, or
which contains flammable
materials (such as cleaning
cloths, mops, towels used in
beauty salons, restaurants,
or barber shops, etc. ) must
not be placed in or near the
dryer until all traces of these
flammable liquids or solids
and their fumes have been
removed. There are many
highly flammable items used
in homes such as acetone,
denatured alcohol, gasoline,
kerosene, some household
cleaners, some spot removers,
turpentines, waxes, wax
removers and products
containing petroleum distillates.
5

Read all
safety
information before using
. Clean the lint filter before
each load to prevent lint
accumulation inside the
dryer or in the room. DO
NOT
OPEWTE
THE
DR~R
WTHOUT
THE LINT FILTER
IN
PMCE.
● Keep the area around and
underneath your appliances
free from the accumulation
of combustible materials,
such as lint, paper, rags,
chemicals, etc.
● The interior of the machine
and the exhaust duct
connection inside the dryer
should be cleaned periodically
by a qualified individual.
● Never reach into the dryer
while the drum is moving.
Before loading, unloading or
adding clothes, wait until the
drum has completely stopped.
● Do not dry fiberglass articles
in your dryer. Skin irritation
could result from the remaining
glass particles that may be picked
up by clothing during subse-
quent dryer uses.
● The laundry process can
reduce the flame retardancy
of fabrics. To avoid such a
result, the garment manufacturer’s
care instructions should be
followed very carefully.
●
●
●
●
●
Close supervision is necessary
if this appliance is used by or
near children. Do not allow
children to play inside, on,
or with this appliance or any
discarded appliance. Dispose
of discarded appliances and
shipping or packing materials
properly. Before discarding a
dryer, or removing from service,
remove the door of the dryer
compartment.
Keep all laundry aids (such
as detergents, bleaches, fabric
softeners, etc. ) out of the reach
of children, preferably in a
locked cabinet. Observe all
warnings on container labels
to avoid personal
inju~.
Keep the floor around your
appliances clean and dry to
reduce the possibility of slipping.
To minimize the possibility
of electric shock, unplug this
appliance from the power supply
or disconnect the dryer at the
household diswibution panel by
removing the fuse or switching
off the circuit breaker before
attempting any maintenance or
cleaning (except the removal and
cleaning of the lint filter).
NOTE: Turning the Cycle
Selector knob to an OFF
position does NOT
disconnect the appliance
from the power supply.
6
Do not tamper with the controls.
Do not operate this appliance
if it is damaged, malfunctioning,
partially disassembled, or
has missing or broken parts,
including a damaged cord
or plug.
Never climb on or stand on the
dryer top.
● If yours is a gas dryer, it is
equipped with an automatic
electric ignition and does not
have a pilot light. DO NOT
ATTEMPT TO LIGHT
WTH
A MATCH. Burns may result
from having your hand in the
vicinity of the burner when the
automatic ignition may turn on.
● You may wish to soften your
laundered fabrics or reduce
the static electricity in them
by using dryer-applied fabric
softeners or an anti-static
conditioner. We recommend
you use either a fabric softener
in the wash cycle, according to
the manufacturer’s instructions
for those products, or try a
dryer-added product for which
the manufacturer gives written
assurance on the package that
their product can be safely used
in your dryer.
Service or performance prob-
lems caused by the use of these
products are the responsibility
of the manufacturers of those
products and are not covered
under the warranty of this
appliance.
SAVE THESE INSTRUCTIONS
7

-7
1 he
controls
on your
dyer
AClean the Lint Filter
A
Fabric Care Selections
Clean the lint filter each time you use the
drye~
Always follow Fabric Manufacturer’s Care Label
CAUTION:
or instructions when laundering. Use this chart
Do not operate the dryer without the lint filter
as a general guide.
in place.
Drying Selections
Usage
For regular to
heav
cottons.
For
syntheti~, blends and items
labeled “permanent press.”
For delimtes,
syrrfhetics
and
items
labeled ‘tumble dry low.”
For
‘Yluffing”
items without heat. Use
the Timed
Dy
cycle.
8

Cycle
Descriptions
LESS DRY
USSDRYPRESS
*
~
COOL
OOWN
●
MORE DflY
80MIN
●
m
DEWRINKLE
w
TIMED
DRY
DAMP DRY
~
w
ASelecting Drying Cycle A
‘ Starting Dryer
Select an automatic or timed cycle. See the . Close the dryer door.
above Cycle Descriptions. ● Select START.
Opening the door during the operation till
stop the dryer. To restart the dryer, close the
door and select START to complete the cycle.
See next page for
othm
dqmfeatures
9
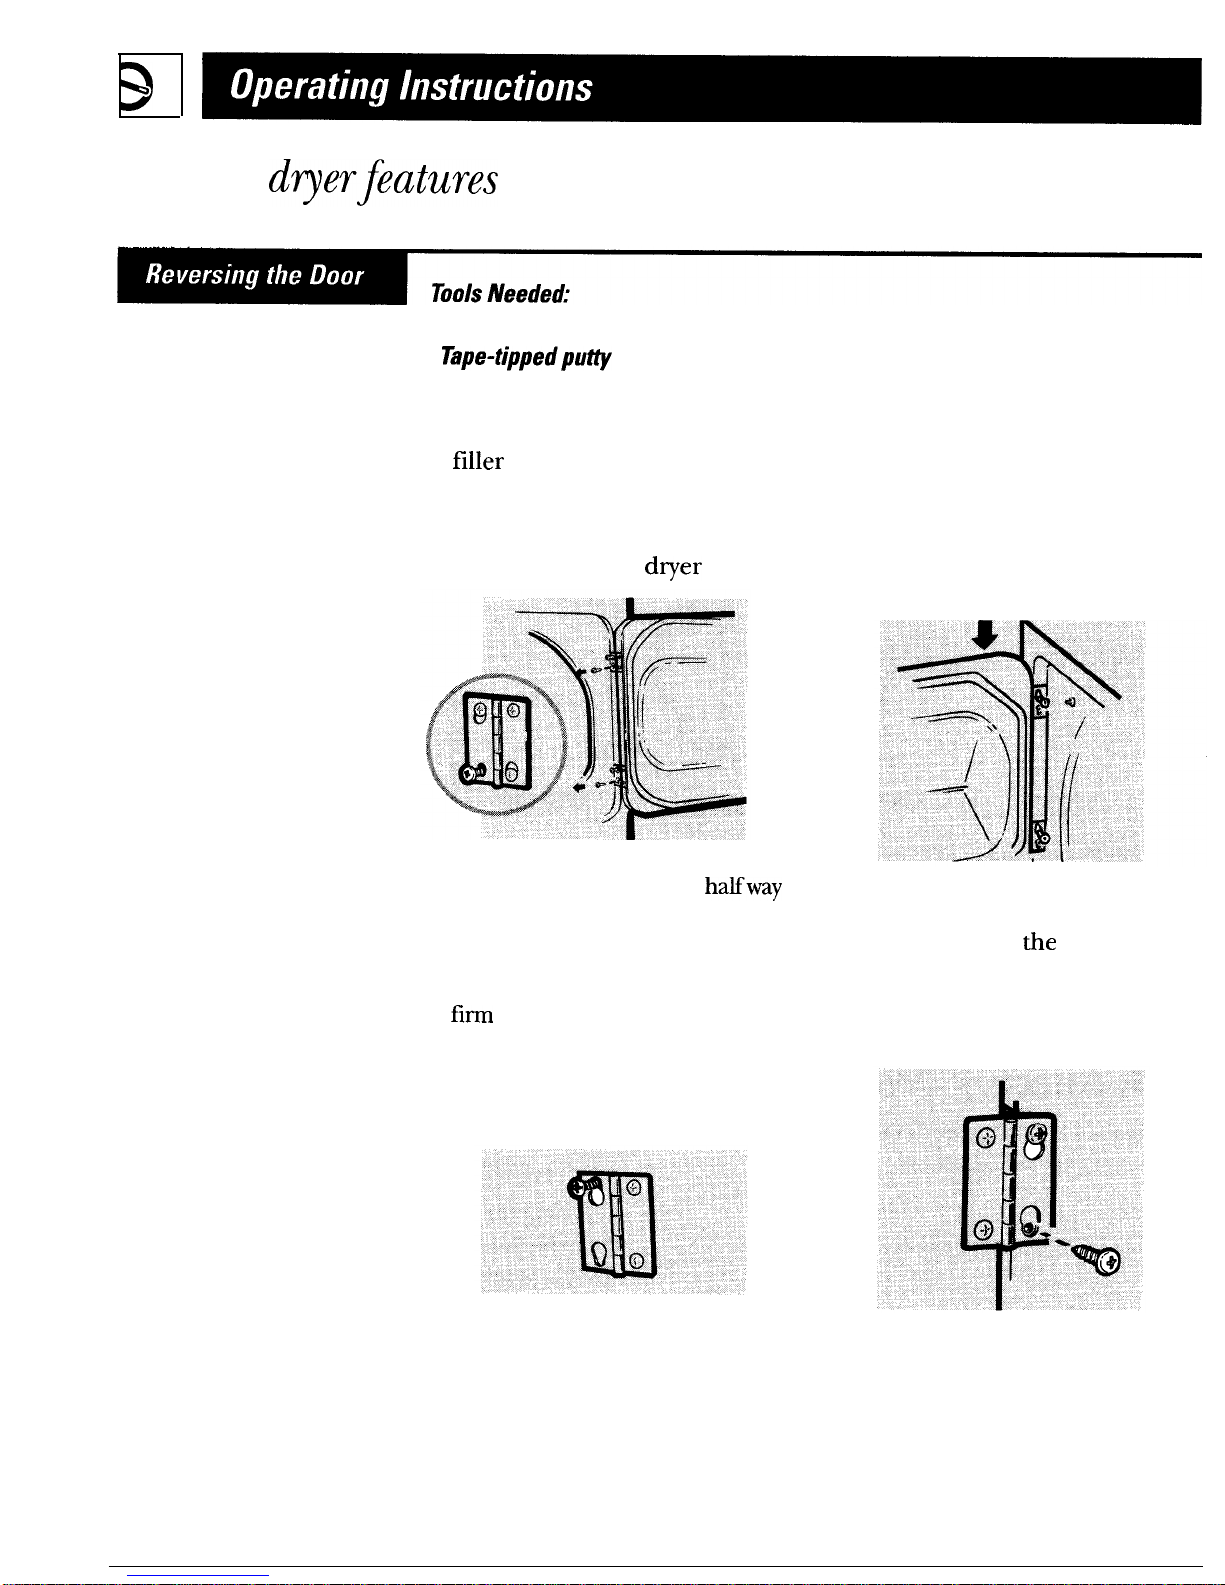
Other
dqe~features
your model has
●
Standard #2 Phillips screwdriver
●
Tape-tippedpu~
knife
●
Needle-nosed pliers
1
2
Open the door and remove the
filler plugs opposite the hinges.
With the door completely open,
remove the bottom screw from
each hinge on the
d~er
face.
3
4
5
10
Insert these screws about ha~way
into the TOP holes, for each hinge,
on the opposite side. (Where you
removed the filler plugs.) Apply
firm
pressure to get the screw
started in untapped holes.
Loosen the top screw from each
hinge on the dryer face halfway.
With one hand holding the top
of the door and the other hand
holding the bottom, remove the
door from the dryer by lifting it
UP and OUT.
6
7
8
9
Rotate the door 180°. Insert it
on the opposite side of the open-
ing by moving the door IN and
DOWN until the top hinge and
the bottom hinge are resting on
the top screws inserted in step 3.
Remove the remaining screws
from the side of
tie
opening
from which the door was
removed. With these screws
secure each hinge at the bottom.
Tighten the two top screws of
each hinge.
Reinsert the plastic plugs on
the side from which the door
was removed.
Questo manuale è adatto per i seguenti modelli
1
Indice
Altri manuali GE Asciugatrice


GE
GE GTD42EASJWH Manuale utente

GE
GE ddg7680r Manuale utente

GE
GE 31-16223 Manuale utente

GE
GE PSXH47EFWW Manuale utente

GE
GE Spacemaker DSXH47 Istruzioni originali

GE
GE DDE5211 Istruzioni per l'installazione

GE
GE GFDN240GLWW Manuale utente

GE
GE DuraDrum GTDX200GM Manuale

GE
GE Spacemaker DSKS333EC Manuale utente

GE
GE DBLR333ET Manuale utente


