Genexis OCG-218 Manuale utente

User Manual
Routed Ethernet Gateway
OCG-218 / OCG-220 / OCG-2018 / OCG-2020
PRELIMINARY - JAN. 2011
Copyright © Genexis BV. All rights reserved 1

Table of Contents
Installation guide........................................................................................................3
Introduction...........................................................................................................................3
Product overview....................................................................................................................3
The front of the router............................................................................................................................3
...........................................................................................................................................................3
The side of the router.............................................................................................................................4
Installation.............................................................................................................................5
Getting started.......................................................................................................................7
Configuring the router (optional)...............................................................................................9
Troubleshooting....................................................................................................................10
Appendix: Router settings.........................................................................................11
Basic...................................................................................................................................11
Network Settings..................................................................................................................................11
Advanced ............................................................................................................................14
Virtual Server......................................................................................................................................14
Special Applications .............................................................................................................................15
Port Forwarding....................................................................................................................................16
Routing...............................................................................................................................................16
Access Control.....................................................................................................................................17
Website Filter.......................................................................................................................................17
Firewall Settings...................................................................................................................................18
Inbound Filter......................................................................................................................................20
Advanced Network................................................................................................................................21
Tools ..................................................................................................................................22
Administrator Settings..........................................................................................................................22
Time...................................................................................................................................................22
System...............................................................................................................................................23
Dynamic DNS......................................................................................................................................23
System Check......................................................................................................................................23
Schedules...........................................................................................................................................24
Status .................................................................................................................................25
Device Info..........................................................................................................................................25
Routing...............................................................................................................................................25
Logs...................................................................................................................................................25
Statistics.............................................................................................................................................25
Internet Sessions.................................................................................................................................26
Firewall Holes......................................................................................................................................26
Copyright © Genexis BV. All rights reserved 2

Installation guide
Introduction
Congratulation on your acquiring of the Genexis Routed Ethernet Gateway. The Routed Ethernet Gateway will
enable you to utilize your internet connection at maximum speeds.
This document describes how to install and how to configure the Genexis router.
Product overview
The front of the router
The front of the router is shown below. The status LEDs on the front of the router can be used to get status
information. A short description is given in the table below.
Copyright © Genexis BV. All rights reserved 3

The side of the router
The side of the router is shown below. A short description of the port connections is given in the table below.
The presence of the POTS voice ports, and the F-connector for CATV are depending on the configuration of your
router, and may not be present.
Copyright © Genexis BV. All rights reserved 4

Installation
Step 1. Connect the 12V plug of the supplied adapter to the router and connect the adapter to a power socket.
Step 2. The unit will now start up. The start-up sequence takes less than 3 minutes. After the start-up sequence
the following LEDs should be on: PWR, WAN, M1, and M3.
If any of above mentioned LEDs is off or blinking for more than 3 minutes after powering on the router,
please refer to the troubleshooting section.
Step 3. Connect a computer to one of the routed LAN port on the Genexis router, using an Ethernet cable with a
RJ-45 connector. Your provider can tell you which ports routing is enabled.
Copyright © Genexis BV. All rights reserved 5

Step 4. This step is optional, and is only relevant if the router has voice ports
The indicators T1 and T2 indicate if voice is enabled (LED ON) on voice port T1 and/or voice port T2
respectively. A standard analog telephone can be connected to the active ports, using a RJ-11
connector.
Step 5. This step is optional, and is only relevant if the router has a CATV receiver
The indicator RTV indicates if the (radio and) television signal is enabled (LED ON). Your radio or
television can be connected using a coaxial cable with a male F-connector.
Copyright © Genexis BV. All rights reserved 6

Getting started
Step 1. Setup your network adapter properly:
Windows XP/Vista
➢Go to "Start" and click on "Control panel"
➢The Control Panel window will appear. Double click on "Network Connections"
➢The Network Connections window will appear. Identify the correct network card, and right click on
correct "Local Area Connection" and click "Properties"
➢Select "Internet Protocol (TCP/IP)". Click on "Properties"
➢Make sure "Obtain an IP address automatically", and "Obtain DNS server address automatically" are
selected. Save the settings by clicking "OK"
Copyright © Genexis BV. All rights reserved 7
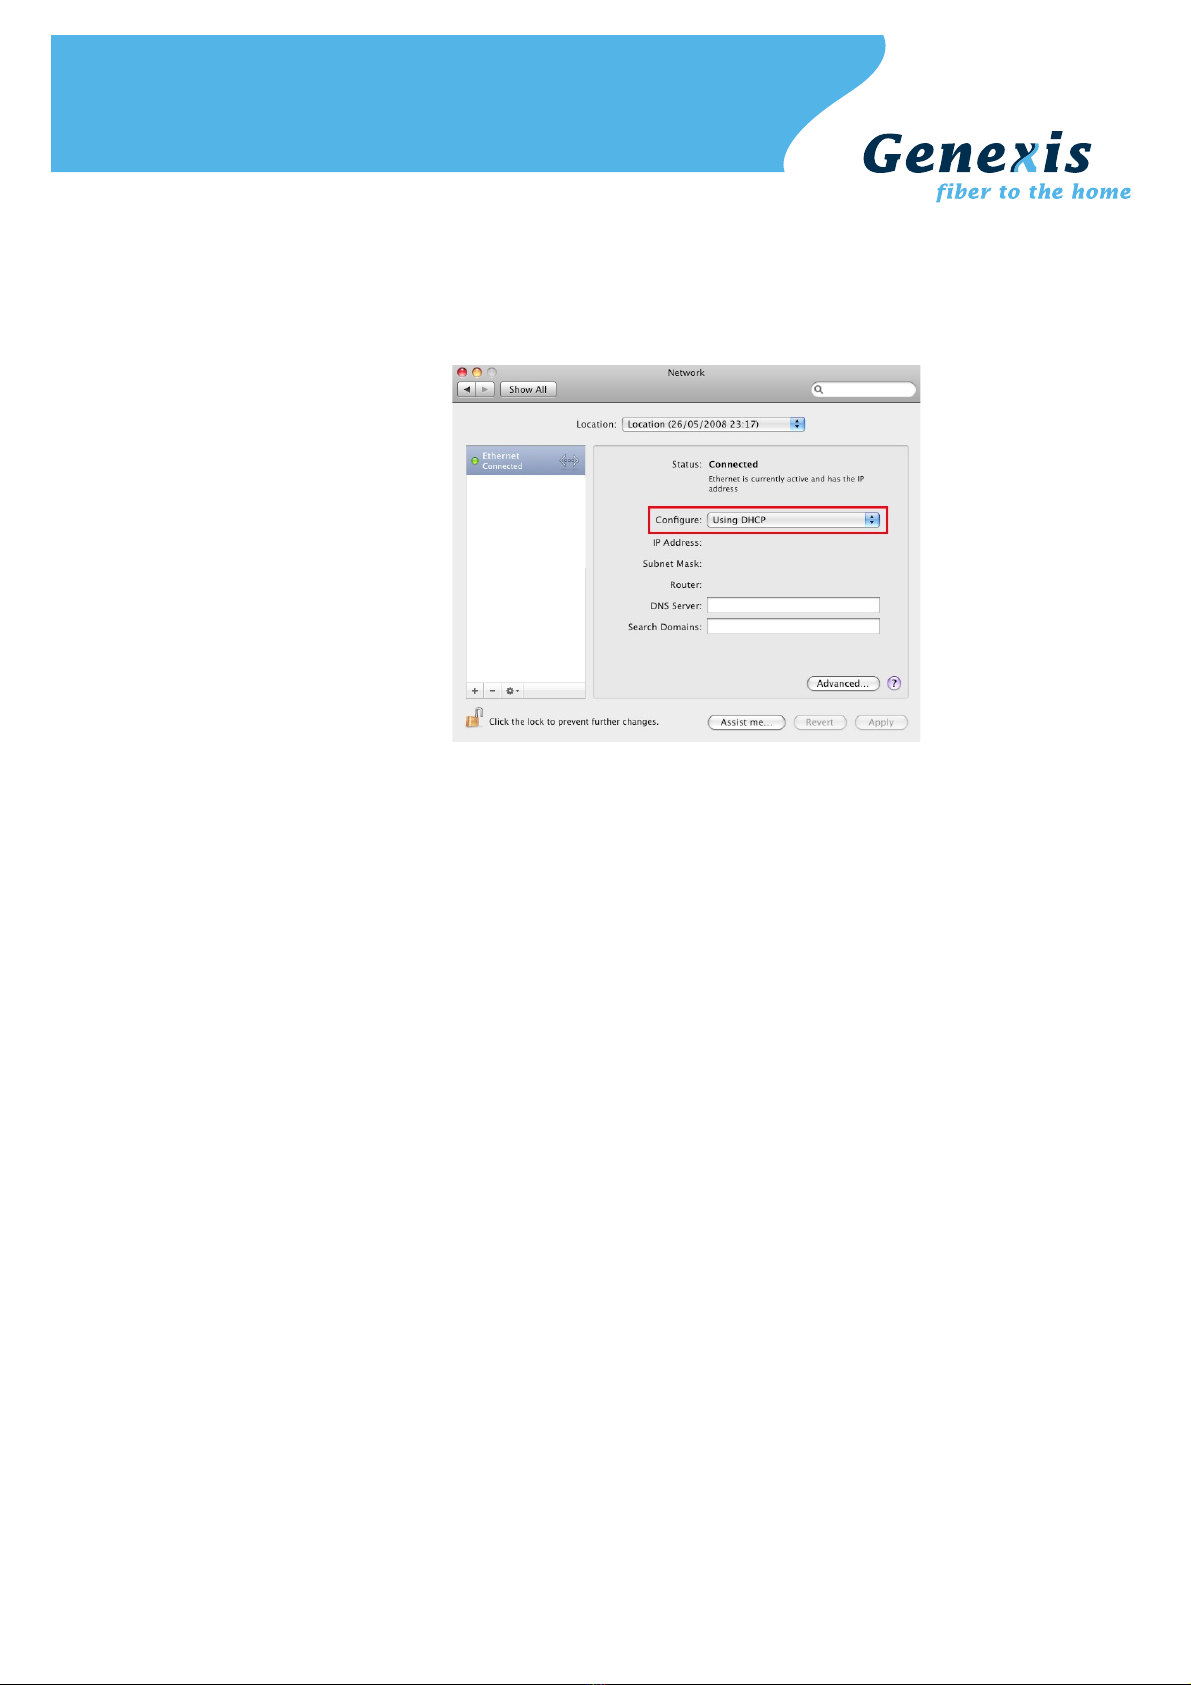
MacOS X
➢Go to "Apple-symbol" and click on "System Preferences"
➢The System Preferences window will appear. Click on "Network"
➢The Network window will appear. Click on "Ethernet"
➢Make sure "Using DHCP" is selected. Save the settings by clicking "Apply"
Step 2. Launch the web browser and check if your connection is working. If your connection is not working,
please refer to the troubleshooting section.
Copyright © Genexis BV. All rights reserved 8
Configuring the router (optional)
Note: changing the configuration is only advised for advanced users and might interrupt your connection. Please refer
to the troubleshooting section on how to reset the router settings back to the factory default settings.
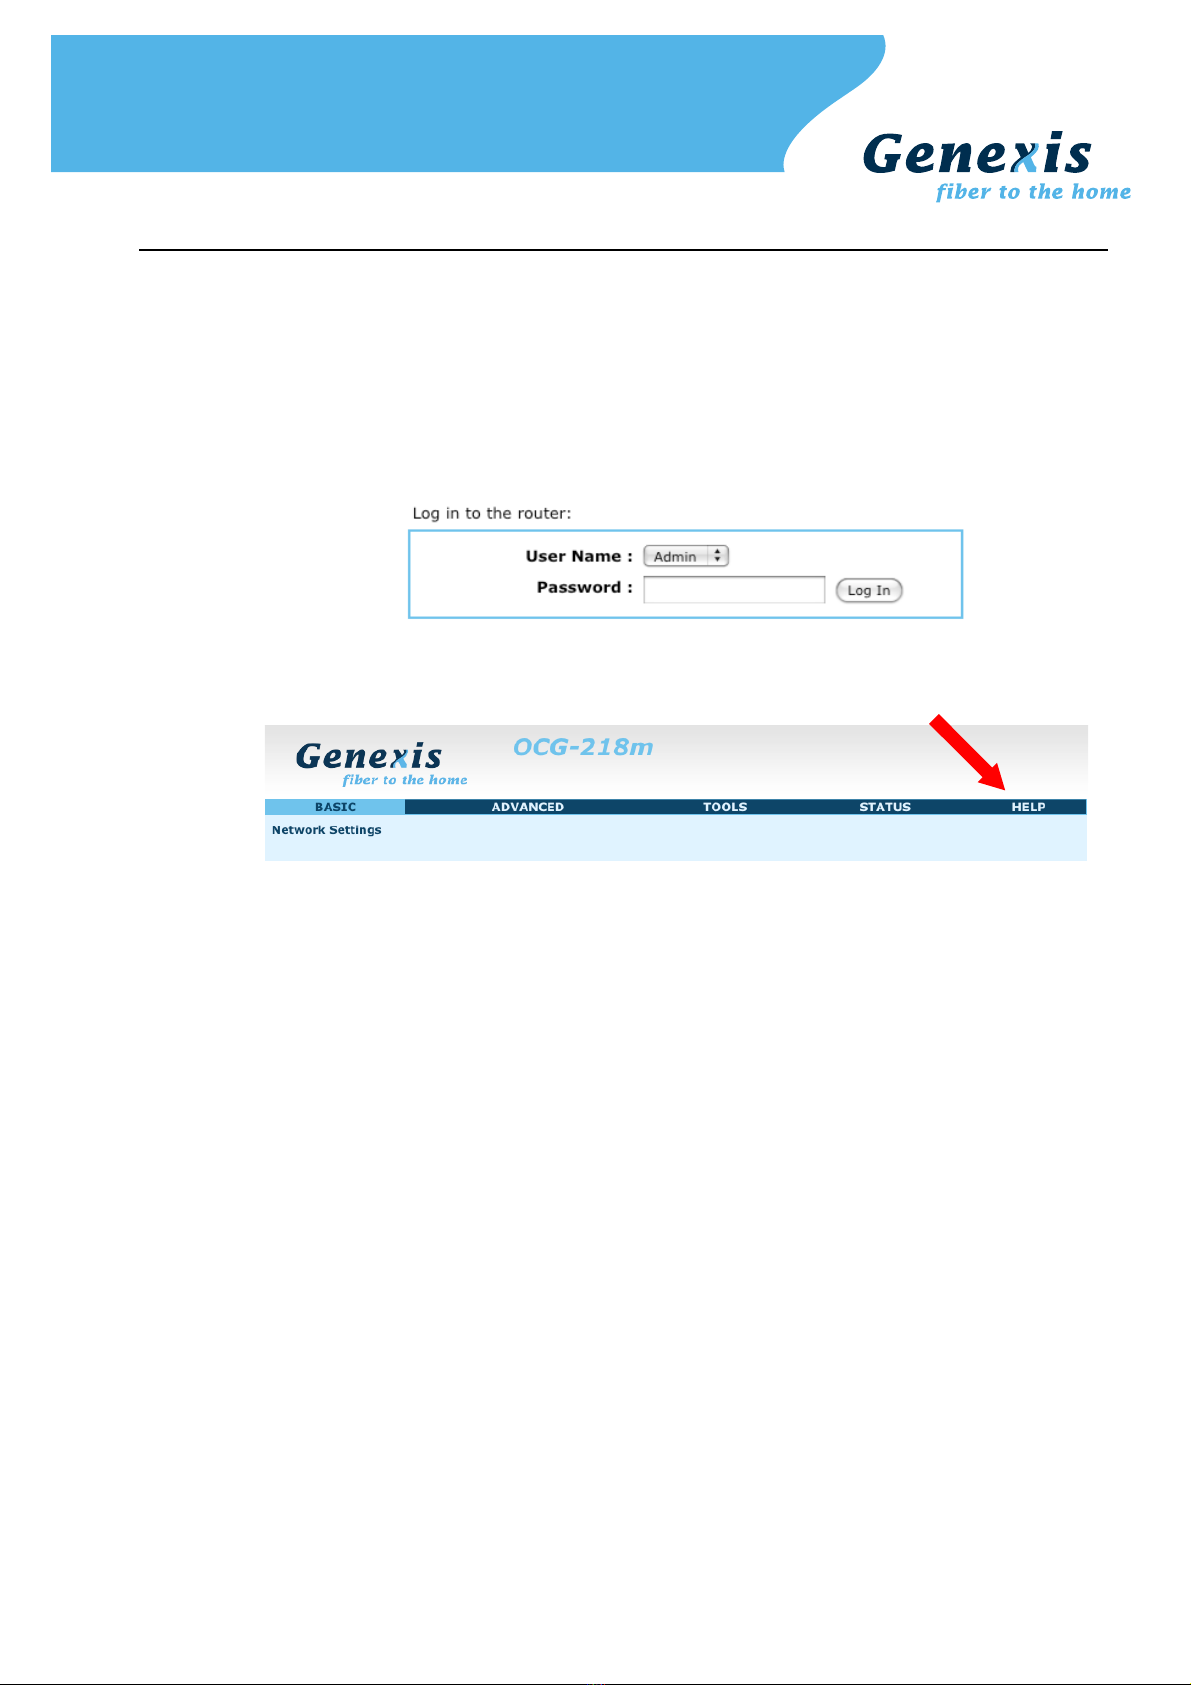
Step 1. Launch the web browser on your computer and enter the router's default IP address '192.168.0.1' in
the address field.
Step 2. Log in as 'Admin' or 'User' which both default to a blank password. It is recommended to change the
password after the first log in.
Step 3. Configure the router to the desired configuration. Information about the settings can be found in the
"Router settings" sections.
Copyright © Genexis BV. All rights reserved 9

Troubleshooting
Copyright © Genexis BV. All rights reserved 10
Questo manuale è adatto per i seguenti modelli
3
Indice
Altri manuali Genexis Portale


Manuali Portale popolari di altre marche

LST
LST M500RFE-AS Manuale utente

Kinnex
Kinnex Media Gateway Manuale utente

2N Telekomunikace
2N Telekomunikace 2N StarGate Manuale utente

Mitsubishi Heavy Industries
Mitsubishi Heavy Industries Superlink SC-WBGW256 Manuale utente

ZyXEL Communications
ZyXEL Communications ZYWALL2 ET 2WE Manuale utente

Telsey
Telsey CPVA 500 - SIP Manuale utente


