Goodmans GMP34G9 Manuale utente

GMP34G9 and GMP38G9 MP3 players
User Guide
IMPORTANT: Please read all instructions carefully before
use and keep for future reference
MENU
GMP34G9 - GMP38G9_IB_Rev1_Nov08.indd 1 17/11/2008 11:16:57

2
Introduction
Thank you for choosing this Goodmans MP3 player. Not only can you
listen to your favourite MP3 tracks, but you can also watch videos and
view images.
It’s really simple to use; you can fully operate your MP3 player using the menu system, and charge it
up using a standard USB connection on your PC.
Safety is important
Use of any electrical equipment should be undertaken with care. Please read the Safety
instructions on pages 24 and 25 before you operate this MP3 Player.
Copyright warning notice
Please be aware that copyright laws may apply to the music/material you are intending to record.
The copying and distribution of MP3 and WMA files without the permission of the owner is against
copyright laws. Infringement of these laws may result in prosecution. If in doubt, seek advice before
making your recording.
DONT FORGET! The images displayed in this user guide are for reference only and may differ to
the product supplied. However this will not affect the operations described.
MP4’s are compressed video files. This
product can playback MP4 files and is
supplied with software so that you can
create your own.
MP3’s are music files that you have
purchased or ripped from an audio CD. This
product can playback MP3 files.
GMP34G9 - GMP38G9_IB_Rev1_Nov08.indd 2 17/11/2008 11:16:58

3
What’s in the box
Other things you will need
Contents
01
02
03
04
MP3 Player
Personal Computer
You will need a PC to upload your files to your MP3 player.
Your MP3 Player ...........................4
Get going......................................5
Daily use ......................................8
Advanced features .......................9
DRM...........................................14
Software ....................................17
Troubleshooting..........................21
Specifications.............................23
Stereo Earphones
USB Cable
Software Disk with User Guide
05
06
07
08
Quick Start Guide
GMP34G9 - GMP38G9_IB_Rev1_Nov08.indd 3 17/11/2008 11:16:59

4
01 Your MP3 Player
EARPHONE Socket
POWER ON / OFF
/ HOLD Button
USB Socket
VOL UP Button
PLAY/PAUSE
Button
SKIP
BACKWARDS
Button
MENU
Button
LCD Screen
SKIP
FORWARDS
Button
MICROPHONE
Button
RESET
Button
VOL DOWN
Button
GMP34G9 - GMP38G9_IB_Rev1_Nov08.indd 4 17/11/2008 11:17:00
5
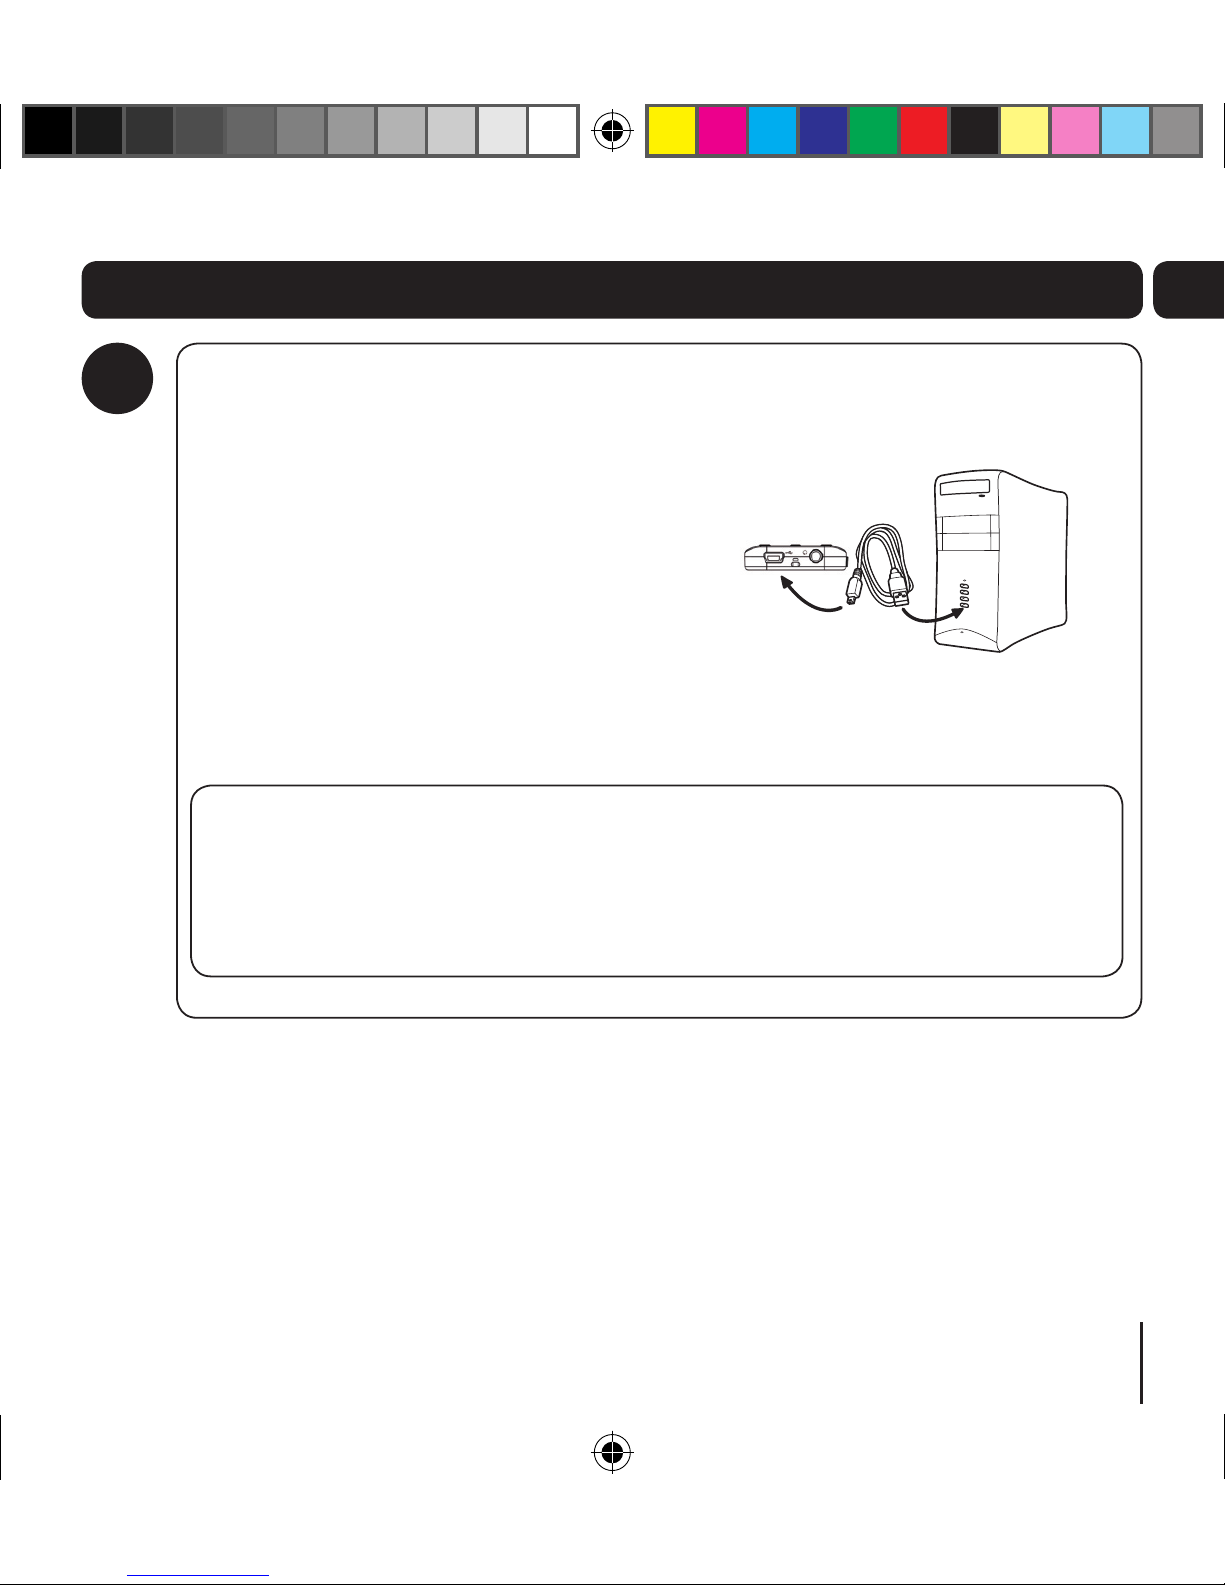
02
Charging the Battery
Using the USB Cable supplied, connect the
larger end to one of your PC’s USB sockets.
Then, connect the smaller end to the USB
Socket on the top of your MP3 player.
The screen will show the connection image
and the charging bar will be active, once
fully charged, the charging bar will stop
moving.
DONT FORGET!
The charging time is approximately 2 - 3 hours.
The MP3 player cannot be used to playback during charging.
To stop recharging at any time, disconnect the USB cable from your MP3 player.
1
Get going
GMP34G9 - GMP38G9_IB_Rev1_Nov08.indd 5 17/11/2008 11:17:00
6
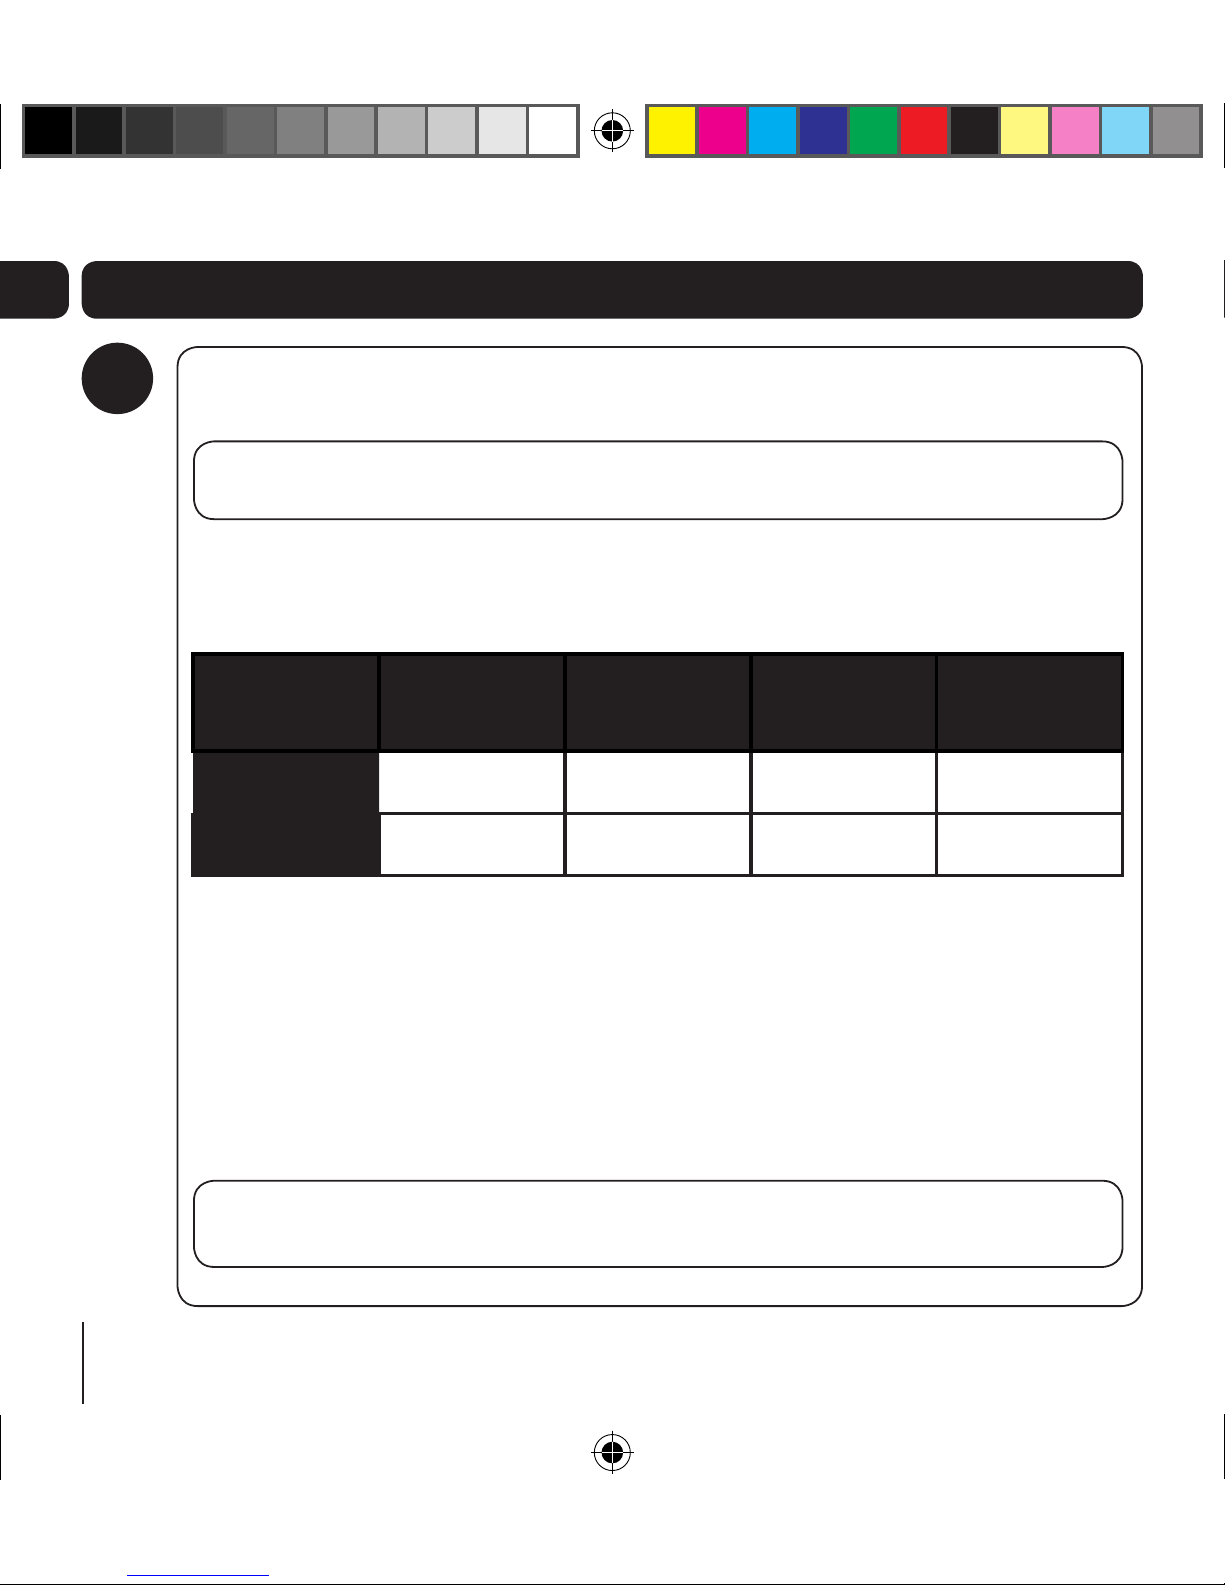
02
Connecting to your PC
You do not need a driver to use this MP3 player with your PC.
DONT FORGET! This MP3 player is not compatible with PC’s running Windows
98SE.
Your MP3 player has two modes of operation, depending on the operating system and
version of Windows Media Player that you are using. To toggle between MTP and MSC
modes press the PLAY button when the MP3 player is connected to the PC.
Windows 2000 Windows XP
without WMP 10
or above
Windows XP
with WMP 10 or
above
Windows Vista
MSC Mode P P P P
MTP Mode P P
MSC Mode (Mass Storage Class Mode)
In MSC mode, the MP3 player will be shown as a ‘Removable Disk’ when connected to
a PC.
MTP Mode (Media Transfer Protocol Mode)
In MTP mode, the MP3 player will be shown as an ‘Audio Player’ when connected to a PC
with Windows Media Player 10 or above installed.
DONT FORGET! You need to use MTP mode when transferring files with DRM
encryption. For further information about DRM see page 14.
Get going
2
GMP34G9 - GMP38G9_IB_Rev1_Nov08.indd 6 17/11/2008 11:17:00

7
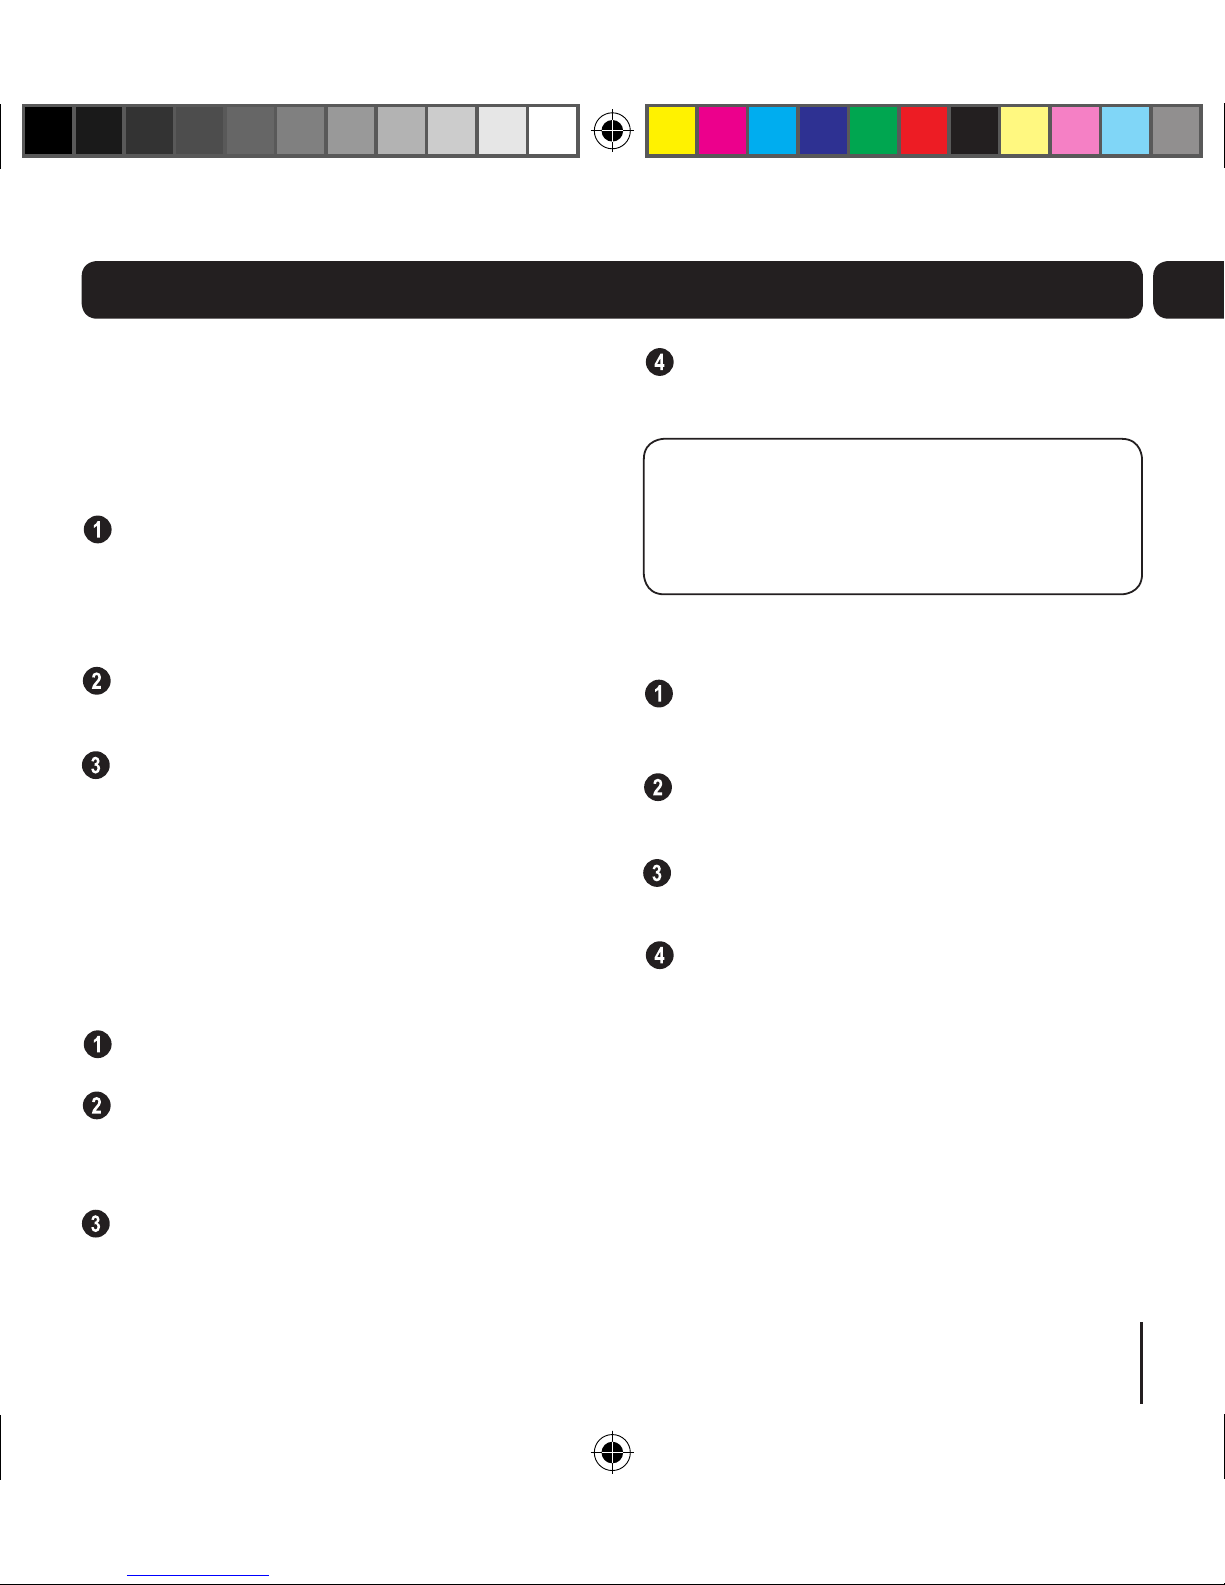
02
Transferring files to your MP3 Player (MSC Mode)
DONT FORGET! Do not use the following procedure for transferring files with
DRM encryption.
You can copy files to your MP3 player into the ‘MUSIC’ folder using ‘My Computer’ or
‘Windows Explorer’. Similarly files can be deleted from your MP3 player.
Once the files have been transferred, wait for a few seconds before disconnecting
the MP3 player.
DONT FORGET! Do not disconnect the unit while files are being transferred as
this may corrupt the files.
3
Get going
Disconnecting your MP3 Player
Once the files have been successfully transferred, click on the ‘Safely Remove
Hardware’ icon on the PC’s task bar.
Select the USB Mass Storage Device from the Hardware Devices list.
Click the ‘STOP’ button. The Stop Hardware Device window will appear.
Select the Audio Player USB Device from the list and click ‘OK’.
A window will appear on the PC’s task bar stating that the USB Mass Storage
Device can be safely removed.
Disconnect the MP3 player from your PC.
4
GMP34G9 - GMP38G9_IB_Rev1_Nov08.indd 7 17/11/2008 11:17:01

8
03
Switching on and playing Music
files
Connect the earphones.
Slide the power switch upwards to turn on
the MP3 player.
Simply press the PLAY/PAUSE button to
start playback. The files stored in the root
directory will be played first followed by any
files stored in folders.
Switching the MP3 Player off
Slide up and hold the power switch to turn
off the MP3 player.
Adjusting the volume
To increase the volume, press the
VOL UP button.
To decrease the volume press the VOL
DOWN button.
Skipping to the next/previous file
To skip to next file, press the SKIP
FORWARDS button.
To skip to previous file, press the SKIP
BACKWARDS button.
Fast-forwarding and rewinding a
file
To fast forward within a file, press and hold
the SKIP FORWARDS button.
To rewind within a file, press and hold the
SKIP BACKWARDS button.
Pausing play
To pause play during playback, press the
PLAY/PAUSE button briefly.
To resume playback, press the
PLAY/ PAUSE button again.
Hold Function
When the HOLD switch is moved to the ‘Hold’
position, all buttons are disabled. This prevents
you from accidentally pressing buttons while
using the unit on the move.
Daily use
GMP34G9 - GMP38G9_IB_Rev1_Nov08.indd 8 17/11/2008 11:17:01
9
04Advanced features
File
You can view all the current folders and files on
the unit using the file feature.
Accessing and deleting Files
With the ‘MUSIC’ menu displayed, press the
UP or DOWN button to highlight a file or
folder, and press the PLAY button to enter
File mode.
You can delete a file or folder if you press
and hold the PLAY button.
To exit the File mode and return to the
‘MUSIC’ menu, repeatedly press the MENU
button.
Playlist
You can create a playlist on your MP3 Player, or
use a playlist that has been created in Windows
Media Player.
Select ‘FILE’ from the ‘MUSIC’ menu.
Choose the song that you want to add to
the playlist and press the PLAY button for
two seconds.
Select ‘ADD TO LIST’, then press the PLAY
button to confirm.
Repeat steps 2 and 3 to add other songs to
your playlist.
DONT FORGET! If you choose to create
your playlists in Windows Media Player,
you need to synchronise it to your MP3
Player using MTP mode.
To playback a playlist;
Select ‘PLAYLIST’ and press the PLAY
button to confirm.
Your playlists will be shown on the MP3
Player.
Select the playlist that you want to listen to,
then press the PLAY button to confirm.
Select one of the songs in your playlist and
press the PLAY button to listen.
GMP34G9 - GMP38G9_IB_Rev1_Nov08.indd 9 17/11/2008 11:17:02

10
04
Voice recording and playback
Recording
Using the internal microphone you can record
voice files.
Select ‘RECORDINGS’ from the main menu.
Press the UP or DOWN button to choose
the recording setting.
Recording will start after you select
‘RECORD’ in the main menu.
Each recording is automatically assigned a
file name, e.g. MIC0002.WAV, and this is
shown on the display when recording.
The duration time of the recording is shown
on the display.
Pause recording
To pause a recording, press the PLAY
button.
To resume recording, press the PLAY button
again.
End recording
When you have finished recording, press
the MENU button. After a few seconds the
recording is saved.
If you wish to start another recording select
‘RECORD’ and repeat the above procedures.
Playing recorded files
Use the UP or DOWN button to highlight
‘VOICE’, and press the PLAY button to enter
Voice mode.
Press the UP or DOWN buttons to select
the recording you wish to play.
Press the PLAY button to start playback.
Advanced features
GMP34G9 - GMP38G9_IB_Rev1_Nov08.indd 10 17/11/2008 11:17:02
Questo manuale è adatto per i seguenti modelli
1
Indice
Altri manuali Goodmans Lettore MP3

Goodmans
Goodmans GMP33005 Manuale utente

Goodmans
Goodmans GMP31G3S Manuale utente

Goodmans
Goodmans GMP31G7DAB Manuale utente

Goodmans
Goodmans GMP32000B Manuale utente

Goodmans
Goodmans GMP316 Manuale utente

Goodmans
Goodmans GMP34G5 Manuale utente

Goodmans
Goodmans GMP31000 Manuale utente

Goodmans
Goodmans GMP32005 Manuale utente

Goodmans
Goodmans CDMP3527K Manuale utente


