Hello Kitty KT2064 Manuale utente

AM/FM PROJECTION CLOCK RADIO
USER MANUAL
KT2064
CAUTION:ElectricallyOperatedProduct–Pleaseusecarewhen
pluggingintoACoutlet.
Meijer.com
WARNING:
Toreducetheriskofreorelectricshock,donotexposethisappliance
torainormoisture.
CAUTION:
Useofcontrolsoradjustmentsorperformanceotherthanthose
speciedmayresultinhazardousradiationexposure.
CAUTION-TOREDUCETHERISKOFELECTRICSHOCK.DONOTREMOVE
COVER(ORBACK).NOUSERSERVICABLEPARTSINSIDE.REFER
SERVICINGTOQUALIFIEDSERVICEPERSONNEL.
Thelightningashwitharrowheadsymbol,withinanequilateral
triangle,isintendedtoalerttheusertothepresenceofuninsulated
“dangerousvoltage”withintheproduct’senclosurethatmaybeof
sufcientmagnitudetoconstituteariskofelectricshocktopersons.
Theexclamationpointwithinanequilateraltriangleisintendedtoalert
theusertothepresenceofimportantoperationandmaintenance
(servicing)instructionsintheliteratureaccompanyingtheappliance.
IMPORTANT SAFETY INSTRUCTIONS
1. Readtheseinstructions.
2. Keeptheseinstructions.
3. Heedallwarnings.
4. Followallinstructions.
5. Donotusethisapparatusnearwater.
6. Cleaning–Unplugthisproductfromthewalloutletbeforecleaning.Donot
useliquidcleanersoraerosolcleaners.Cleanonlywithadrycloth.
7. Donotblockanyventilationopenings.Installinaccordancewiththe
manufacturer’sinstructions.
8. Donotinstallnearanyheatsourcessuchasradiators,heatregisters,stoves,
orotherapparatus(includingampliers)thatproduceheat.
CAUTION
RISK OF ELECTRIC SHOCK
DO NOT OPEN
1
Meijer.com
9. Donotdefeatthesafetypurposeofthepolarizedorgrounding-typeplug.A
polarizedplughastwobladeswithonewiderthantheother.Agroundingtype
plughastwobladesandathirdgroundingprong.Thewiderorthethird
prongisprovidedforyoursafety.Iftheprovidedplugdoesnottintoyour
outlet,consultanelectricianforreplacementoftheobsoleteoutlet.
10.Protectthepowercordfrombeingwalkedonorpinchedparticularlyatplugs,
conveniencereceptacles,andthepointwheretheyexitfromtheapparatus.
11. Onlyuseattachments/accessoriesspeciedbythemanufacturer.
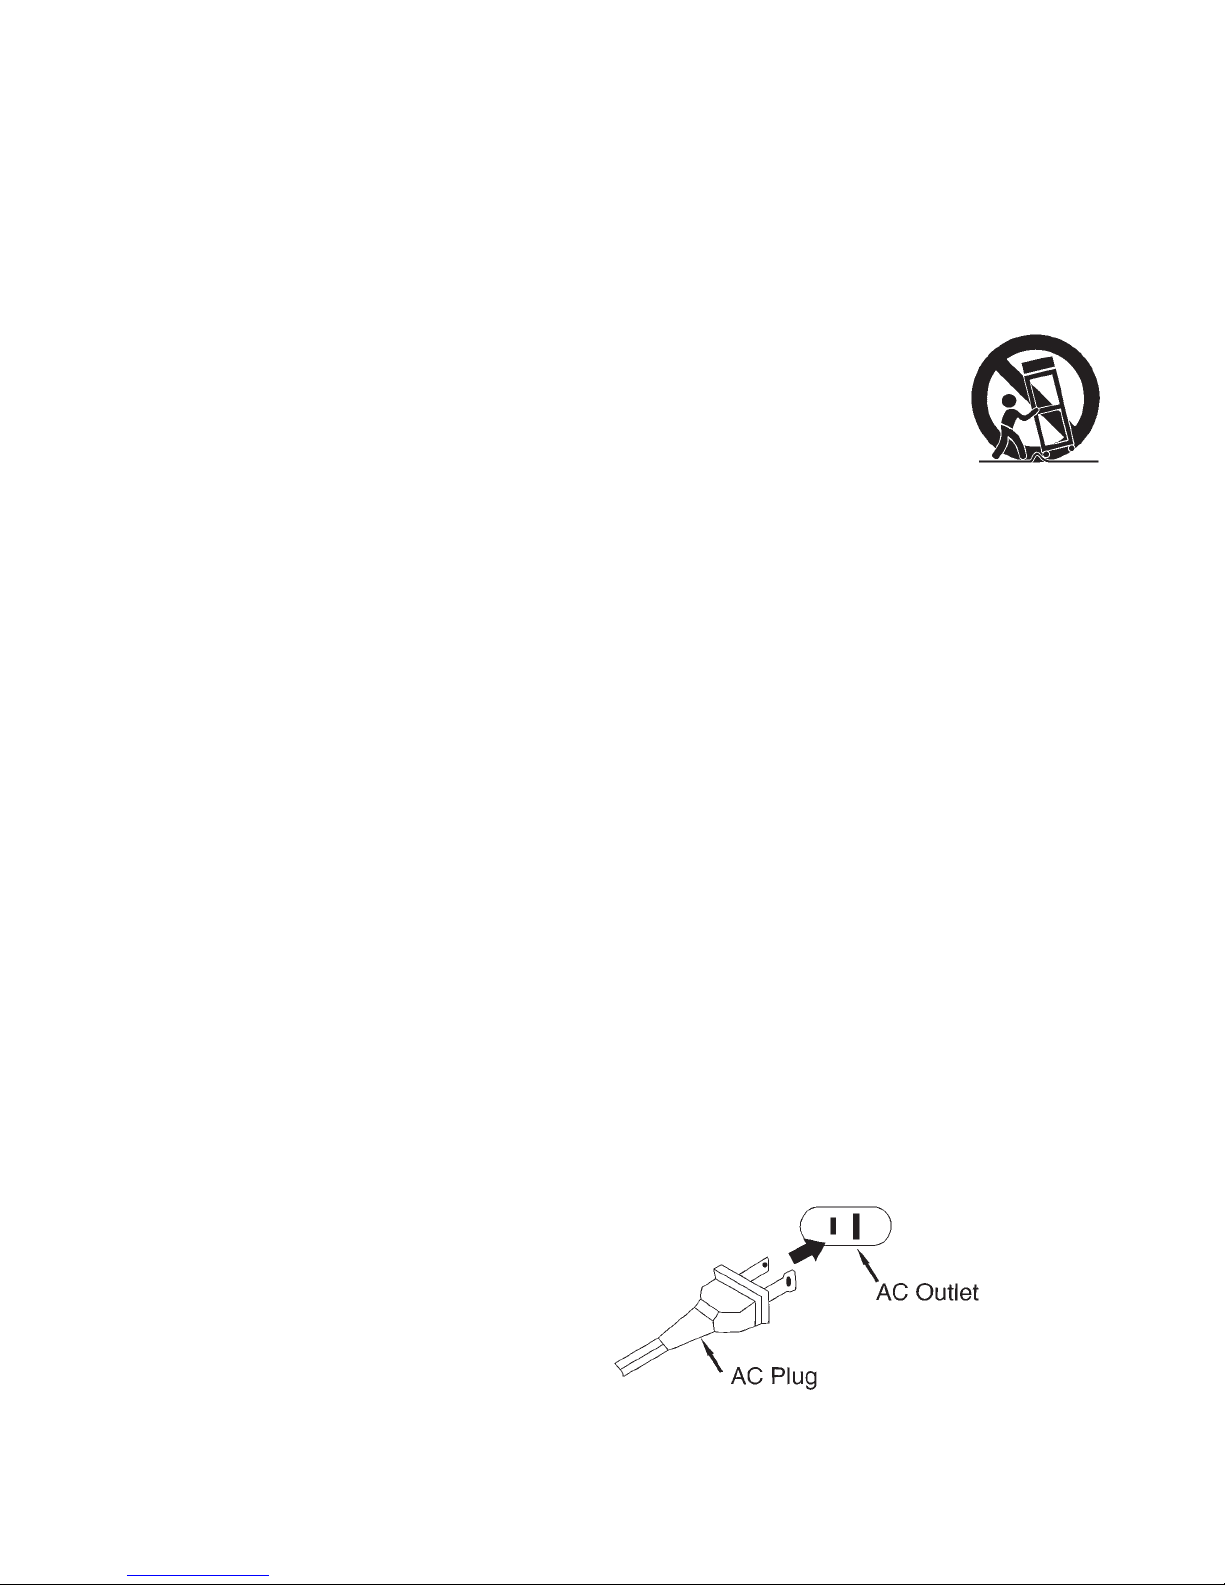
12.Useonlywithacart,stand,tripod,bracket,ortablespeciedby
themanufacturer,orsoldwiththeapparatus.Whenacartis
used,usecautionwhenmovingthecart/apparatuscombination
toavoidinjuryfromtip-over.
13.Unplugthisapparatusduringlightningstormsorwhenunusedforlong
periodsoftime.
14.Referallservicingtoqualiedservicepersonnel.Servicingisrequiredwhen
theapparatushasbeendamagedinanyway,suchaspower-supplycordor
plugisdamaged,liquidhasbeenspilledorobjectshavefallenintothe
apparatus,theapparatushasbeenexposedtorainormoisture,doesnot
operatenormally,orhasbeendropped.
15.Thisapparatusshallnotbeexposedtodrippingorsplashingwaterandthat
noobjectlledwithliquidssuchasvasesshallbeplacedontheapparatus.
16.Mainplugisusedasdisconnectdeviceanditshouldremainreadilyoperable
duringintendeduse.Inordertodisconnecttheapparatuscompletely,the
mainplugshouldbedisconnectedfromthemainsocketoutletcompletely.
17.Batteryshallnotbeexposedtoexcessiveheatsuchassunshine,reorthe
like.
18.Themarkinginformationislocatedatthebackoftheapparatus.
19.TheCautionMarkingislocatedatthebackoftheapparatus.
20.Dangerofexplosionifbatteryisincorrectlyreplaced.Replaceonlywiththe
sameorequivalenttype.
CAUTION:
TO PREVENT ELECTRIC SHOCK, MATCH WIDE BLADE OF AC PLUG TO
WIDE SLOT. FULLY INSERT.
2
Meijer.com

COMPLIANCE WITH FCC REGULATION
ThisdevicecomplieswithPart15oftheFCCRules.Operationis
subjecttothefollowingtwoconditions:
(1) thisdevicemaynotcauseharmfulinterference,and
(2) thisdevicemustacceptanyinterferencereceived,including
interferencethatmaycauseundesiredoperation.
NOTE:Thisequipmenthasbeentestedandfoundtocomplywith
thelimitsforaClassBdigitaldevice,pursuanttoPart15oftheFCC
Rules.Theselimitsaredesignedtoprovidereasonableprotection
againstharmfulinterferenceinaresidentialinstallation.Thisequipment
generates,usesandcanradiateradiofrequencyenergyand,ifnot
installedandusedinaccordancewiththeinstructions,maycause
harmfulinterferencetoradiocommunications.However,thereisno
guaranteethatinterferencewillnotoccurinaparticularinstallation.If
thisequipmentdoescauseharmfulinterferencetoradioortelevision
reception,whichcanbedeterminedbyturningtheequipmentoffand
on,theuserisencouragedtotrytocorrecttheinterferencebyoneor
moreofthefollowingmeasures:
- Reorientorrelocatethereceivingantenna.
- Increasetheseparationbetweentheequipmentandreceiver.
- Connecttheequipmentintoanoutletonacircuitdifferentfromthat
towhichthereceiverisconnected.
- Consultthedealeroranexperiencedradio/TVtechnicianforhelp.
WARNING
Changesormodicationsnotexpresslyapprovedbytheparty
responsibleforcompliancecouldvoidtheuser’sauthoritytooperate
theequipment.
PROTECT YOUR FURNITURE!!
Thissystemisequippedwithnon-skidrubber‘feet’topreventthe
productfrommovingwhenyouoperatethecontrols.These‘feet’are
madefromnon-migratingrubbermaterialspeciallyformulatedtoavoid
leavinganymarksorstainsonyourfurniture.Howevercertaintypes
3
Meijer.com

ofoilbasedfurniturepolishes,woodpreservatives,orcleaningsprays
maycausetherubber‘feet’tosoften,andleavemarksorarubber
residueonthefurniture.
Topreventanydamagetoyourfurniturewestronglyrecommendthat
youpurchasesmallself-adhesivefeltpads,availableathardware
storesandhomeimprovementcenterseverywhere,andapplythese
padstothebottomoftherubber‘feet’beforeyouplacetheproducton
newoodenfurniture.
4
Meijer.com

FUNCTIONS AND CONTROLS
1. SnoozeButton 13.MinuteButtonforLEDDisplay
2. Projector 14.HourButtonforLEDDisplay
3. PMindicator 15.SleepButton
4. AutoIndicator 16.TuningControlKnob
5. RatingLabel 17.FMAntennaWire
6. BatteryCompartment 18.ACPowerCord
7. LEDDisplay 19.Volume/AlarmKnob
8. FocusAdjustmentKnob 20.AlarmSetButton
9. HourSetButtonforProjector 21.TimeSetButtonforLEDDisplay
10.TimeSetButtonforProjector 22.AUTO/OFF/ONSwitch
11.ProjectionON/OFFButton 23.MinuteSetButtonforProjector
12.AM/FMBandswitch
5
Meijer.com

POWER CONNECTION
PlugtheACpowercordtoahouseholdoutletACsource.Thisunitis
equippedwithabatterybackupsystem;itrequires3piecesof3Vat
lithiumbattery“CR2025”(notincluded).Insertthebatteryinthebattery
compartment,makingcertainthatthepositiveandnegative(+and-)
batteryterminalsareattachedtothecorrespondingterminalsonthe
plateinthebatterycompartment.IfanACpowerfailureoccurs,the
clockautomaticallyswitchestothebatterypowersupply.Theclock
andtimermemorycontinuerunning.WhentheACpowerresumes,the
clockswitchesbacktoACagain.
Pleasenote:Thedisplaywillnotexhibittimeduringpowerfailurebut
theclockwillkeepcorrecttimeinternally.
BATTERY CARE
i. Useonlythesizeandtypeofbatteriesspecied.
ii. Donotmixoldandnewbatteries.
iii.Donotmixalkaline,standard(carbon-zinc),rechargeable(nickel-
cadmium)batteriesorequivalent.
iv.Iftheunitisnottobeusedforanextendedperiodoftime,remove
thebatteries.Oldorleakingbatteriescancausedamagetotheunit
andmayvoidthewarranty.
v. Donottrytorechargebatteriesnotintendedtoberecharged;they
canoverheatandrupture.(Followbatterymanufacturer’s
directions).
vi.Donotdisposeofbatteriesinre,batteriesmayleakorexplode.
vii.Replaceallbatteriesofasetatthesametime.
RADIO OPERATION
1. SettheAUTO/OFF/ONSwitch(#22)tothe“ON”position.
2. SettheAM/FMBandSwitch(#12)tothedesiredband.
3. TunetothedesiredstationwiththeTuningControl(#16).
4. AdjustthevolumelevelwiththeVolumeControl(#19).
5. ForbestFMreception,fullyextendtheFMAntennaWire.Forbest
AMreception,tryturningtheunitslowlyuntilthebeststation
receptionisobtained.
6. TheradiocanbeswitchedoffbysettingtheAUTO/OFF/ONSwitch
(#22)tothe“OFF”position. 6
Meijer.com

CAUTION:DonotconnecttheFMAntennaWiretoanyexternal
antenna.
SETTING THE CLOCK TO THE TIME OF DAY
PresstheTIMESETBUTTONatthesametimetogetherwithHOUR
SETBUTTONforhoursetting,orMINUTESETBUTTONforminute
setting.
SETTING THE TIME AND FOCUSING THE PROJECTION CLOCK
1. SettheProjectionON/OFFSwitch(#11)to“ON”.
2. Tosetthehours,simultaneouslypressandholdtheHourButton
(#9)andtheTimeButton(#10).Keepthemdepresseduntilthe
desiredhourdigitsaredisplayed.
3. Tosettheminutes,simultaneouslypressandholdtheMinute
Button(#23)andtheTimeButton(#10).Keepthemdepresseduntil
thedesiredminutedigitsaredisplayed.
4. Focusing:AdjusttheprojectionclockclaritybyturningtheFocus
AdjustmentKnob(#8)untiltheprojectedtimeisclearlyshownon
theceilingorwall.
5. Toturntheprojectoroff,settheProjectionON/OFFSwitch(#11)to
“OFF”.
Note:
I. TheLEDDigitalClockandtheProjectionClockmustbeset
separately.
II. Theprojectedtimeisvisibleonaceilingorwallinadarkenedroom.
Themaximumprojectiondistanceis3-9feet(91cm–2.74m).
SETTING THE ALARM TIME
PresstheALARMSETBUTTONatthesametimetogetherwithHOUR
SETBUTTONforhoursetting,orMINUTESETBUTTONforminute
setting.
ALARM OPERATION
SettheAUTO/OFF/ONSwitch(#22)tothe“AUTO”position.TheAUTO
Indicator(#4)willlight.
7
Meijer.com

WAKE TO RADIO
1. SettheradioTuningControlKnob(#16)tothestationyouwishto
listentowhenthealarmtimeisreached.
2. SettheVolume/AlarmKnob(#19)toadesiredvolumelevel.The
radiowillnowturnonattheselectedalarmtime.
3. Tostoptheradiosooner,presstheALARMSetbutton(#20).The
radiowillstopbutthealarmremainssetandwillturntheradioon
againatthesametimeonthefollowingday.
4. Ifyoudonotwantthealarmtoturntheradioonthefollowingday,
settheAUTO/OFF/ONSwitch(#22)tothe‘OFF’position.
WAKE TO ALARM
1. SlidetheVolume/AlarmKnob(#19)totheALARMpositionuntila
“click”isheard.Thebeepwillnowturnonattheselectedalarm
time.
2. Tostopthebeepsooner,presstheALARMSetbutton(#20).The
beepwillstopbutthealarmremainssetandwillturnthebeepon
againatthesametimeonthefollowingday.
3. Ifyoudonotwantthealarmtoturnthebeeponthefollowingday,
settheAUTO/OFF/ONSwitch(#22)tothe‘OFF’position.
SNOOZE FUNCTION
1. Whenyouralarm(beeporradio)sounds,youcanpresstheSnooze
Button(#1)toextendthealarmtimeby9minutes.TheBeepor
radiowillthenturnonagainafter9minutes.
2. ThiswillberepeateduntiltheAUTO/OFF/ONSwitch(#22)ismoved
tothe“OFF”position.
SLEEP TIMER OPERATION
Thisclockradioisequippedwitha“sleeptimer”functionthatwillswitch
offtheradioautomaticallyafterapresetperiodfrom1minuteupto1
hourand59minutes.
1. PresstheSleepButton(#15),thedisplaywillshow0:59sleeptime.
Atthesametimeradiowillcomeonandstayonfor59minutes.
2. Toshortenthe‘SLEEP’timetolessthan“0:59”,presstheSleep
Button(#15)togetherwiththeMinuteButton(#13)untilthedesired
“SLEEP”timeisshownondisplay.
8
Meijer.com

3. Tosetatthemaximumsleeptimeof1:59,presstheSleepButton
(#15).Thedisplaywillshow“0:59”sleeptime.Whileholdingthe
SLEEPbutton,presstheHOURbutton.Thedisplaywillshow“1:59”
sleeptimeandtheradiowillbegintoplay.After1hour59minutes,
theradiowillshutoffautomatically.
TosettheSleepTimerbetween“0:59”and“1:59”,presstheSleep
Button(#15)togetherwiththeHOURbuttontillitshows“1:59”.
Then,presstheSleepButton(#15)togetherwiththeMinuteButton
(#13)untilthedesired“SLEEP”timeisshownondisplay.
4. Afterthepreset“SLEEP”timehaselapsed,theradiowillswitch
offautomatically.Toswitchifoffbeforethepreset“SLEEP”timehas
elapsed,pressSNOOZEBUTTON.
SLEEP AND WAKE TO RADIO
1. Setthedesiredalarmtimeasdescribedinthesection“SETTING
THEALARMTIME”andsettheON/OFF/AUTOFUNCTION
SWITCHtothe“AUTO”position.
2. SetSleeptimeasdescribedinSLEEPTIMEROPERATION.
3. Theradiowillswitchoffafterthepresetsleeptimehaselapsedand
radioalarmwillswitchonnextdayatthepresettime.
CARE AND MAINTENANCE
1. Cleantheunitwithasoft,damp(neverwet)cloth.Solventor
detergentshouldneverbeused.
2. Avoidoperatingyourunitunderdirectsunlightorinhot,humidor
dustyplacestoreducetheriskofreorelectricshock.
3. Keepyourunitawayfromheatingappliancesandsourcesof
electricalnoisesuchasuorescentlampsormotors.
4. ForbetterClockDisplayclarity,avoidoperatingtheunitunderdirect
sunlightorinstrongroomillumination.
5. Unplugtheunitfromtheelectricalpoweroutletimmediatelyincase
ofmalfunction.
**THIS PRODUCT IS NOT A TOY
9
Meijer.com
Indice
Altri manuali Hello Kitty Radiosveglia

Hello Kitty
Hello Kitty KT2053A Manuale utente

Hello Kitty
Hello Kitty Hello Kitty KT2054 Manuale utente

Hello Kitty
Hello Kitty KT2064P Manuale utente

Hello Kitty
Hello Kitty KT2053 Manuale utente

Hello Kitty
Hello Kitty KT2051 Manuale utente

Hello Kitty
Hello Kitty KT3004 Manuale utente

Hello Kitty
Hello Kitty KT2064PF Manuale utente

Hello Kitty
Hello Kitty KT2055 Manuale utente

Hello Kitty
Hello Kitty KT2053A Manuale utente

Hello Kitty
Hello Kitty KT2051 Manuale utente


