Kelfort 1524222 Manuale utente
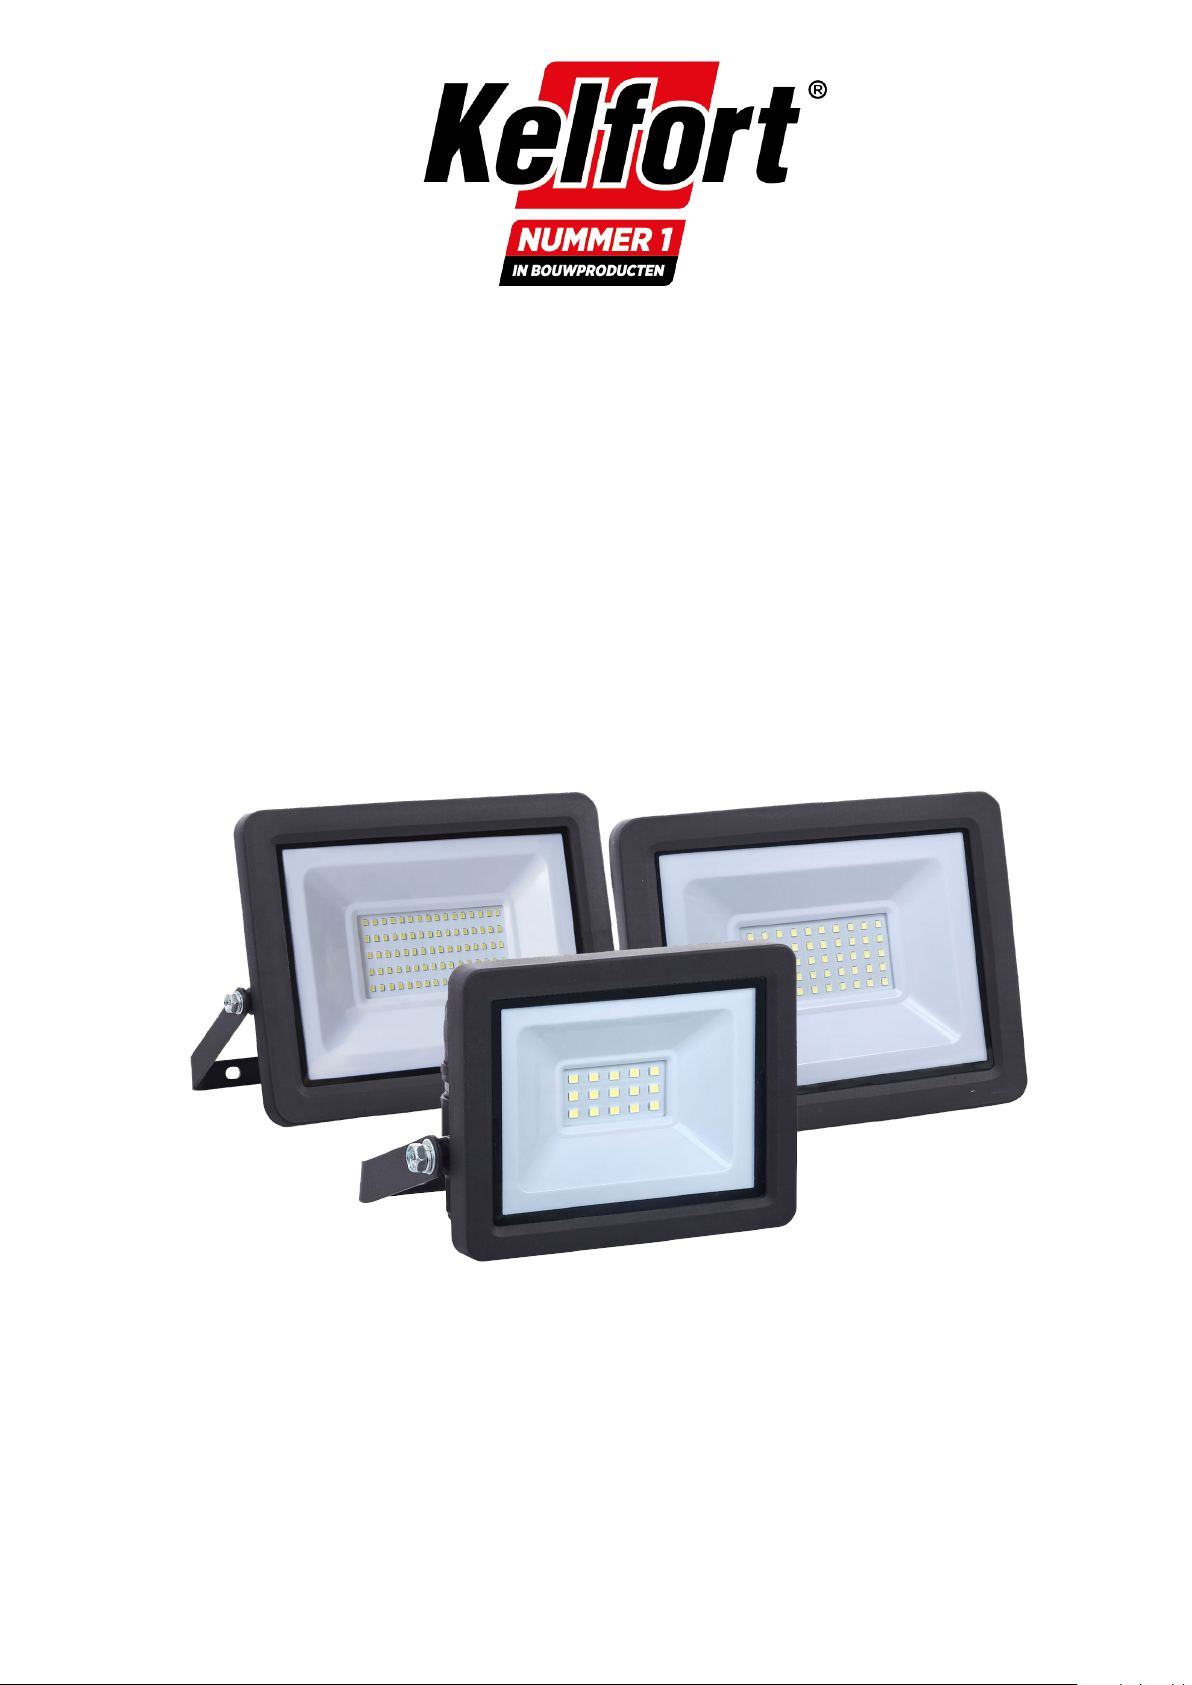
WERKLAMP LED
FLOODLIGHT LED
Gebruiksaanwijzing
1524222 - 24 - 26
Gebruiksaanwijzing / installatiehandleiding en specificaties
Operation/installation manual and specifications

NL | LED Schijnwerper Instructie
Attentie: Lees de volgende instructies zorgvuldig om ervoor te zorgen dat de montage op de juiste manier
wordt uitgevoerd. Deze instructies moeten goed worden bewaard voor toekomstig gebruik.
Ⅰ.Hoofdbouwgegevens
Type: Ver
mog
en
Voedingstroo
m
Vermog
ensfact
or
Beschermingsschild
Gewicht Max
geprojecteer
d oppervlak
Afmetingen Opmerking:
1524222 10W Max.60 mA >0.5 98.4*77.4*4mm 0.394kg 151.3cm2124*56.5*122mm
Electrische schok
beschermingsklasse:I
Beschermingsklasse
buitenverlichting: IP65
Montagehoogte: <3m
Universeel voor
bedieningspositie
1524226
50W Max.220 mA >0.9 202.4.*154.4*4mm 0.944kg 453.4cm2229*59*198mm
1524224
30W Max.130 mA >0.9 172.8*132.8*4mm 0.722kg 348.3cm2199*57*175mm
Ⅱ.Veiligheidsinstructies
1. Controleer voor montage en onderhoud of de elektrische voeding is uitgeschakeld om elektrische
schokken te voorkomen.
2. De lamp moet geaard zijn.
3. Het netsnoer moet VDE-gecertificeerd H05RN 3x1,0mm2 of H07RN-F 3x1,0mm2 waterdichte kabel zijn.
4. De lamp kan worden gemonteerd op normaal ontvlambare oppervlakken.
5. De externe flexibele kabel of het snoer van dit armatuur kan niet worden vervangen. Bij beschadiging van
het snoer moet de armatuur worden vernietigd.
Ⅲ. Montage
1. Schakel de stroom uit. (zie Fig 01)
2.Bepaal de installatieplaats en markeer de muur. (zie Fig 02.1)
3. Boor gaten met een elektrische boor op de gemarkeerde plaatsen.(zie Fig 02.2)
4. Pluggen in muurbevestigingsgaten met bijgeleverde plastic uitbreiding.(zie Fig 02.3)
5. Gebruik het gereedschap om de meegeleverde schroeven, platte ringen en bevestigingsbeugels op de
bevestigingsgaten te bevestigen.(zie Fig 02.4)
6.Draai de schroeven op de bevestigingsbeugel vast met gereedschap.(zie Fig 02.5)
7. De stekker wordt aangesloten op het stopcontact.(zie Fig 02.6)
8. Schakel de stroom in voor gebruik.(zie Fig.03)

Ⅳ.Bediening
1. De lamp is alleen geschikt voor montage aan de muur. .De montagehoogte moet minder dan 3m zijn.(zie
Fig. 03)
2. De lamp kan 900 naar beneden en 450 naar boven worden gekanteld.(zie Fig.03)
LET OP:
De lichtbron van dit armatuur is niet vervangbaar, wanneer de lichtbron het einde van zijn levensduur bereikt
moet het gehele armatuur worden vervangen.
Deze markering geeft aan dat dit product niet met ander huishoudelijk afval in de EU mag worden
weggegooid. Om mogelijke schade aan het milieu of de volksgezondheid door ongecontroleerde
afvalverwijdering te voorkomen, dient u het op verantwoorde wijze te recyclen om duurzaam hergebruik van
materiële hulpbronnen te bevorderen. Om uw gebruikte apparaat in te leveren, maakt u gebruik van de
retour- en inzamelsystemen of neemt u contact op met de winkelier waar het product is gekocht. Zij kunnen
dit product meenemen voor een milieuveilige recycling.


EN | LED Floodlight Instruction
Attention: Please read the following instructions carefully to ensure that mounting operation will be carried out
in the right way .These instructions should be properly preserved for future reference.
Ⅰ.Main construction Data
Type: Rate
d
Pow
er:
Supply
Current
Powe
r
factor
protective
shield
Weigh
t
Maximu
m
projected
area
Dimensions Remark:
1524222
10W Max.60
mA >0.5 98.4*77.4*4m
m
0.394k
g
151.3cm2124*56.5*122m
m
Electric shock
protection class: I
External light
protection class:
IP65
Rated voltage:
220-240V~
50/60Hz
Mounting
height:<3m
Universal for
operating
position.
1524226
50W Max.220
mA >0.9 202.4*154.4*4
mm
0.521k
g
225.8cm2159*54*142mm
1524224
30W Max.130
mA >0.9 172.8*132.8*4
mm
0.944k
g
453.4cm2229*59*198mm
Ⅱ.Safety instructions
1. Before mounting and maintenance please make sure that the electrical supply has been switched off to
avoid electric shock.
2. The lamp must be earthed.
3. The power cord should be VDE-certified H05RN 3x1.0mm2or H07RN-F 3x1.0mm2 waterproof cable.
4. The lamp can be mounted on normally flammable surfaces.
5. The external flexible cable or cord of this luminaire cannot be replaced. If the cord is damaged, the
luminaire shall be destroyed.
Ⅲ. Assembly
1. Turn off the power. (see Fig 01)
2.Determine the installation location and mark the wall. (see Fig 02.1)
3. Drill holes with an electric drill at the marked locations.(see Fig 02.2)
4. Plugs into wall mounting holes with included plastic expansion.(see Fig 02.3)
5. Use the tool to fasten the included screws, flat washers and fixing brackets to the mounting holes.(see Fig
02.4)
6.Tighten the screws on the mounting bracket with a tool.(see Fig 02.5)
7. The plug is connected to the power socket.(see Fig 02.6)
8. Switch on the power for use.(see Fig.03)
Ⅳ.Operation
1. The lamp is only suitable for mounting on the wall. The installation height must be less than 3m.(see Fig.
03)
2. The lamp can be tilted down 900and upward 450.(see Fig.03)
CAUTION:
The light source of this luminaire is not replaceable, when the light source reaches its end of life the whole
luminaire shall be replaced.
This marking indicates that this product should not be
dispos
ed with other household wastes throughout the EU. To
prevent possible harm to t
he environment or human health
from u
ncontrolled waste disposal, recycle it responsibly to
promote the sustainable reuse of material resources. To return
your used device, please use the return and collection systems
or contact the retailer where the product was purchased. They
can take this product for environmental safe recycling.

Questo manuale è adatto per i seguenti modelli
2
Indice
Lingue:
Altri manuali Kelfort Proiettore


