
Leica Geosystems DX10 Manuale utente


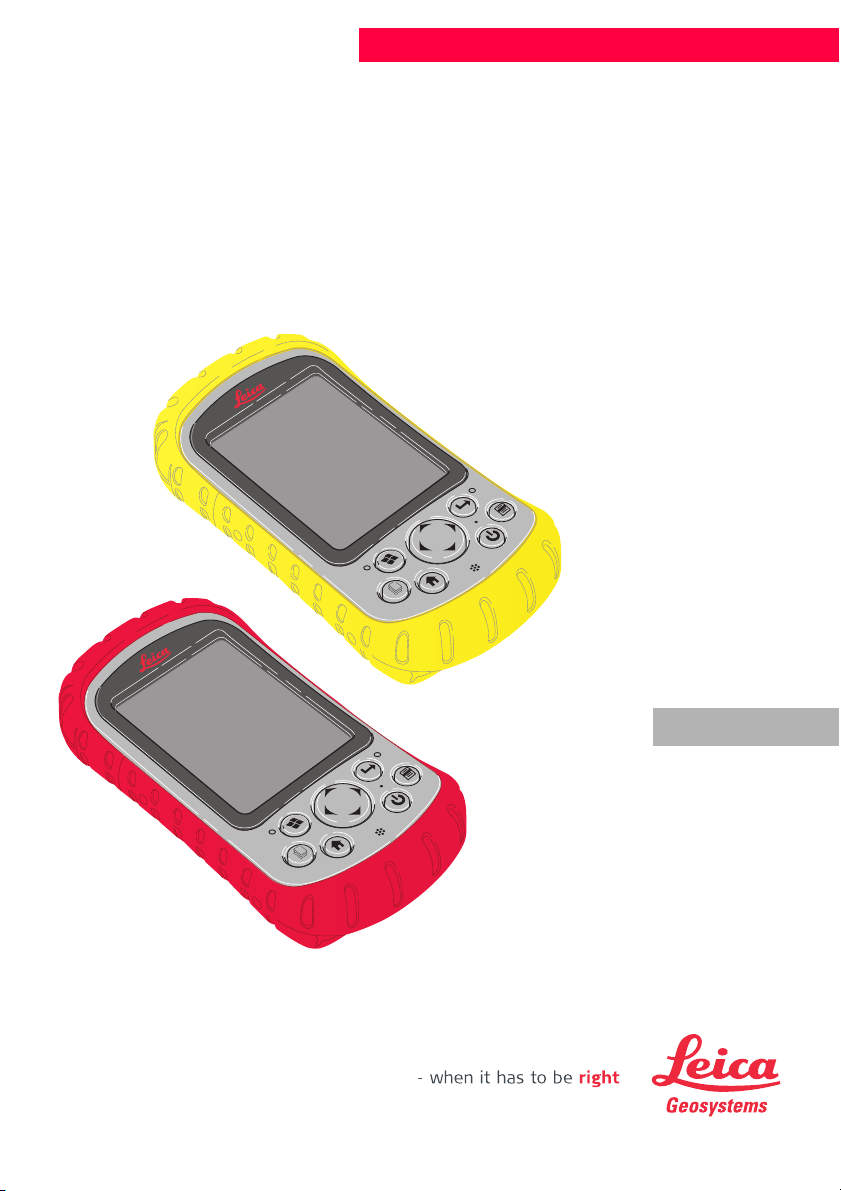
DX10
Field PC
DX10
Field PC
English
Leica DX10
User Manual
Version 1.0
English

DX10 Introduction2
en
Introduction
Purchase Congratulations on the purchase of a DX10 instrument.
This manual contains important safety directions as well as instructions
for setting up the product and operating it. Refer to "4 Safety Directions"
for further information.
Read carefully through the User Manual before you switch on the
product.
Product
identification
The type and the serial number of your product are indicated on the type
plate.
Enter the type and serial number in your manual and always refer to this
information when you need to contact your agency or Leica Geosystems
authorized service workshop.
Symbols The symbols used in this manual have the following meanings:
Trademarks • Windows, Windows CE, Windows Mobile, ActiveSync, Embedded
Visual C++ version 4.0, Visual Studio 2005 and VISTA are a registered
trademark of Microsoft Corporation
• Bluetooth is a registered trademark of Bluetooth SIG, Inc
All other trademarks are the property of their respective owners.
Type: _______________
Serial No.: _______________
Type Description
Danger Indicates an imminently hazardous situation which,
if not avoided, will result in death or serious injury.
Warning Indicates a potentially hazardous situation or an
unintended use which, if not avoided, could result in
death or serious injury.
Caution Indicates a potentially hazardous situation or an
unintended use which, if not avoided, may result in
minor or moderate injury and/or appreciable
material, financial and environmental damage.
)Important paragraphs which must be adhered to in
practice as they enable the product to be used in a
technically correct and efficient manner.

DX10 3Introduction
en
Available
documentation
)To use the DX10 efficiently it’s inalienable to refer to the manual
provided together with the software running on it. This is valid for
information on software upload also.
Name of
documentation
Description
DX10 User Manual All instructions required in order to operate the
product to a basic level are contained in this User
Manual. Provides an overview of the system
together with technical data and safety
directions.
Name of
documentation
Description
DX10 Technical
Reference Manual
Overall comprehensive guide to the system and
program functions. Included are detailed
descriptions of special software/hardware
settings and software/hardware functions
intended for technical specialists.
The Technical Reference Manual is available in
English only.
DX10 QuickGuide Describes the startup procedure for using the
DX10 Field PC and the PowerHolder.

DX10 Table of Contents4
en
Table of Contents
In this manual Chapter Page
1 Description of the System 5
1.1 The Anatomy of the Field PC 5
1.2 Suspend and resume the DX10 7
1.3 Using the stylus 8
1.4 Cables Used with DX10 9
1.5 Fixing the DX10-R to a PowerHolder and Pole 10
2 Getting Started 12
2.1 Step 1: Install the Battery Pack 12
2.2 Step 2: Charge the Battery Pack 13
2.3 Step 3: Establish Basic Settings on the Device 15
2.4 Step 4: Install ActiveSync on a Desktop Computer 16
2.5 Step 5: Create an ActiveSync Connection 17
3 Care and Transport 18
3.1 Transport 18
3.2 Storage 18
3.3 Cleaning and Drying 18
4SafetyDirections 19
4.1 General Introduction 19
4.2 Intended Use 19
4.3 Limits of Use 20
4.4 Responsibilities 20
4.5 End User Licence Agreement EULA 20
4.6 Hazards of Use 21
4.7 Electromagnetic Compatibility EMC 24
4.8 FCC Statement, Applicable in U.S. 26
5TechnicalData 28
5.1 DX10 Technical Data 28
5.2 PowerHolder Technical Data 31
5.3 Conformity to National Regulations 32
6 International Limited Warranty, Software License
Agreement 33

DX10 5Description of the System
en
1 Description of the System
General Designed for Windows Mobile 5.0, your Field PC features a wide variety
of application software choices. Use it to navigate, research, document,
and communicate. Depend on it for your field information technology. It
is ready for you.
1.1 The Anatomy of the Field PC
Components of the
DX10
This section illustrates the different parts of your Field PC. For more
details about using the Field PC, see the Technical Reference Manual on
the User Documentation CD.
a) Applications Manager button
b) Microphone
c) Charge LED
d) Start menu button
e) Touchscreen/display
f) Today screen button
g) Speaker
h) Four-way directional button
i) Power button
j) Context menu button
k) Enter button
l) Top cap screws (captive)
m) Top cap
n) Cover for optional Bluetooth
antenna
o) Compact Flash card slot
p) Secure Digital I/O card slot
q) Hand strap
r) Battery door
s) Battery door latch
t) Accessory attachment points
u) Stylus
v) USB Host (mini A)
w) 9-pin serial port
x) 12V DC jack
y) USB Client (mini B)
DX10
l
abcd e
fghijk
m
no p
rs t
u
vwxy
q
DX10_01

DX10 Description of the System6
en
Available DX10
types
Your Field PC is available as DX10-R and DX10-Y. Differences between
these types are shown in this segment.
)• For DX10-Y, clip and accessories are delivered in a separate package
while angle bracket is not available.
• General illustrations show a DX10-Y, without clip.
Mounting the clip
onto DX10-Y
Use the mounting screw together with the washer to mount the clip and
the spacer onto the DX10-Y.
DX10-R DX10-Y
DX10-R is delivered with following additional parts mounted:
a) Clip and accessories
b) Angle bracket
DX10_12
b
a
a) Clip
b) Screw
c) Washer
d) Spacer
DX10_14
a
b
c
d

DX10 7Description of the System
en
Identifying button
functions
The following chart shows you the names and functions of each button
on the keyboard.
1.2 Suspend and resume the DX10
Button Name Function
Start menu button Provides a menu of applications.
Applications
Manager button
Lets you switch between or close
running applications; allows you to view
memory allocations.
Home button Returns you to the Today screen.
Context menu
button
Displays the context menu for the item
selected (similar to a right-click on a
desktop computer).
Enter button Enters the selected soft key or option.
Power button Turns the Field PC on and off, resets,
suspends.
Four-way
directional button
Allows you to navigate.
4sec.
1sec.
1x
1x
1x
1x
ULTRA-RUGGET
FIELD PC

DX10 Description of the System8
en
1.3 Using the stylus
Using the stylus Like the left button on a desktop computer mouse, the stylus is a tool
that lets you select or deselect items and enter data. Like the right
button, the stylus lets you perform shortcuts like cutting and pasting.
Instructions for these tasks are listed in the chart below.
For instructions on using the transcriber program on your Field PC, see
Entering Information in Technical Reference Manual, Chapter 4.
The stylus is stored in an open slot at the top of the device. A hole in the
stylus end allows you to attach a lanyard.
To do this . . . Follow these steps
Select an item Tap once.
Open an item or file Tap the item or file.
Open a context
menu for an item
Tap and hold the item. The context menu
appears.
Cut or copy 1. Tap and hold until the context menu appears.
2. Select Cut or Copy.
Paste 1. Tap and hold the area where you want to
paste.
2. Select Paste from the context menu that
appears.
Drag and drop 1. Tap and drag the item to the destination.
2. Lift up the stylus.
Select multiple items Drag the stylus over the items.
Indice
Lingue:


