Linkskey LKV-IPM01 Manuale

KLE User Guide R1.2
3 MAKING A VIEWER CONNECTION
The KLE provides a win32 viewer for Windows clients and a Java viewer for cross-
platform on any major operating systems.
3.1 Install Win32 Viewer on the Client
Computer
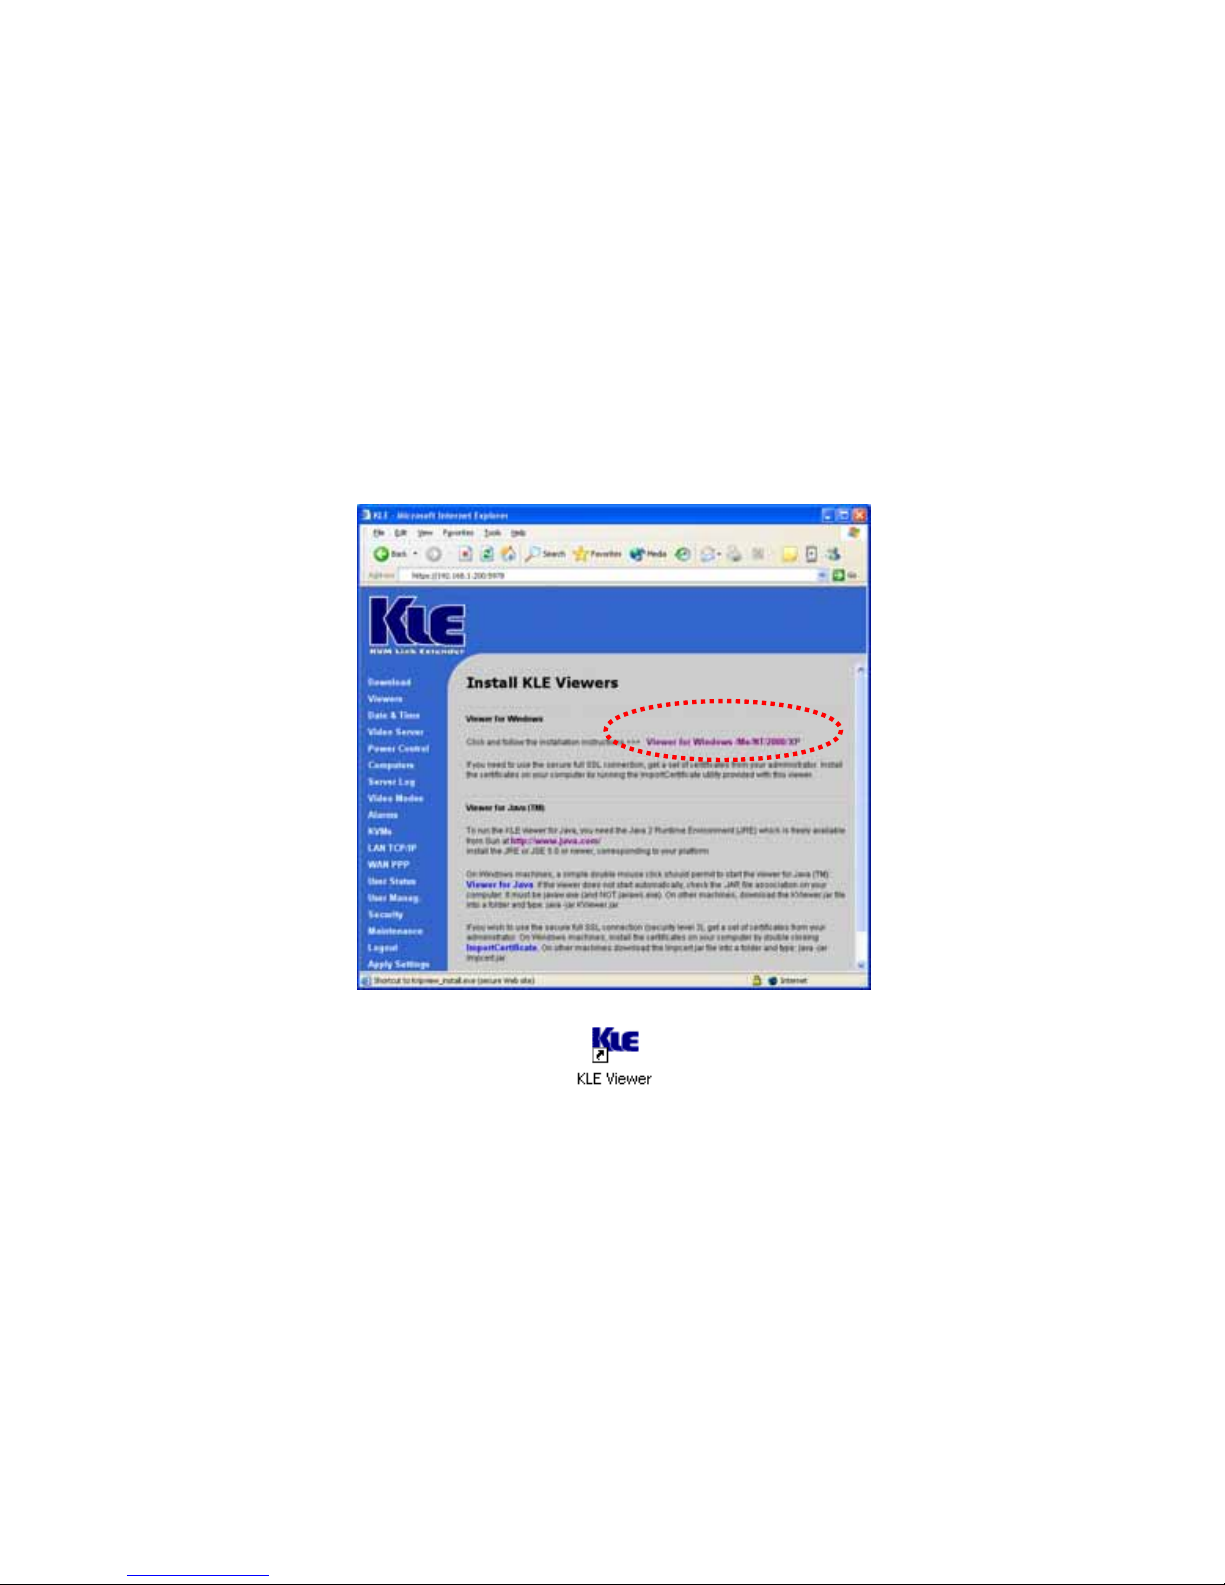
Go to the Download page to download the Win32 viewer, Kripview_install.exe. Install
the viewer program on the client computer that will connect to KLE. After installation,
a desktop icon will be created on your client desktop.
3.2 Install Java Viewer on the client
computer
Before you can use the java viewer, KViewer.jar, on any OS platform, you should
first install the Java Runtime Environment, JRE 1.5.0 or higher, which is
downloadable from http://www.java.com.
To download Java Viewer, just go to the Download page of the Web Management
interface.
- -
24

KLE User Guide R1.2
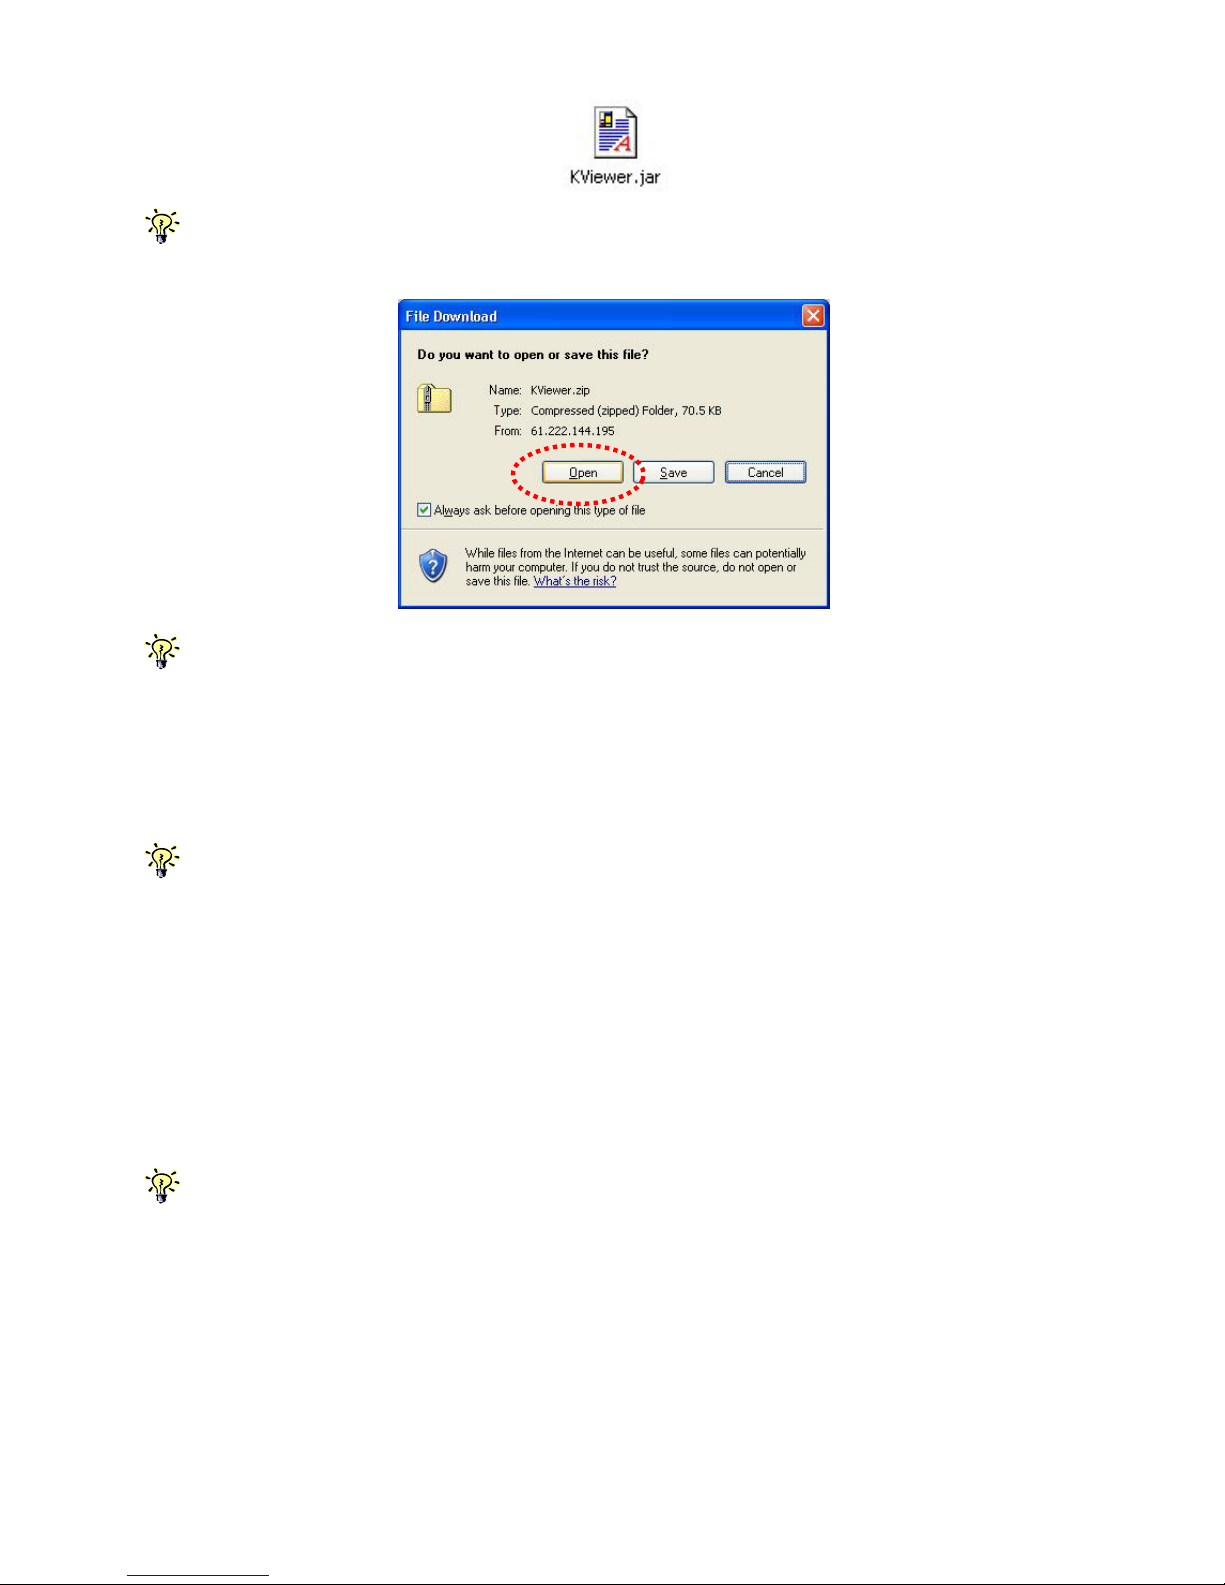
After all, to run the small java program, you don’t have to actually save the
Kviewer.jar
to your local hard
disk, since it is small (only 70 KB), you can choose to open it directly wile download is completed.
On some client platforms such as Linux, after you have installed the JRE on your client platform, you
have to set the path information in order for the client system to know where the Java compiler program is.
3.3 Import certificates to KLE viewer on the
client computer
If you will be using only the non-PKI authenticated viewer connections to KLE (such as Level 1 –
No
encryption and No Authentication
, and Level 2 –
128-bit SSL encryption and only server authentication by
client
), you are not obliged to use or import any certificates. If so you can skip this section and proceed to the
next.
To make full PKI authenticated viewer connection with KLE, you need to import client
certificates to the Win32 viewer and Java Viewer on the client computer.
The KLE is already preinstalled with a default set of certificates. You can use the
default client certificates provided on CD ROM. However, it also allows you to use
your own set of certificates.
Note that if you intend to use your own set of certificates instead of the default set of certificates, you
should not only import the client certificates to the win32 viewer/java viewer on remote client computer, but
you should also import the root certificate, server certificate and the server private key to the KLE. To
import certificates to the KLE, please go to the Security page of the KLE Web Management to upload your
own set of certificates. For details, please refer to
Section 4.16, Security – Certificate Installation, Viewer
Encryption and Password Policies
.
Generally, the naming requirements of these certificates are as follows:
[Certificates and private key for KLE to authenticate viewer user logins]
root.crt - KLE root certificate, mandatory file name
server.crt - KLE server certificate, mandatory file name
- -
25
serverkey.pem-KLE server private key, mandatory file name

KLE User Guide R1.2
[Certificates for remote login users with viewer connections]
client_name1.p12 - client certificate, client name could vary
client_name2.p12 - client certificate, client name could vary
. . . . . . . . . . . . . . . . . . . . . . . . . . . . .
Specifically, we should import client certificate(s) in .p12 format, to the win32 viewer
and Java Viewer on your client computer, using each of their own certificate import
utilities.
First, you have to have your certificates ready, either on a removable media or you
can copy them to your local disk on the client computer.
Note that if you copy certificates to your local hard disk, you might need to delete them from your local
hard disk after finishing importation, so that others won’t have access to your certificate files. Although the
personal client certificate (that is, the
client_name1.p12
) is password-protected, more caution is never to
blame!
Note that the win32 viewer and the java viewer require separate certificate
importation utility to get the job done.
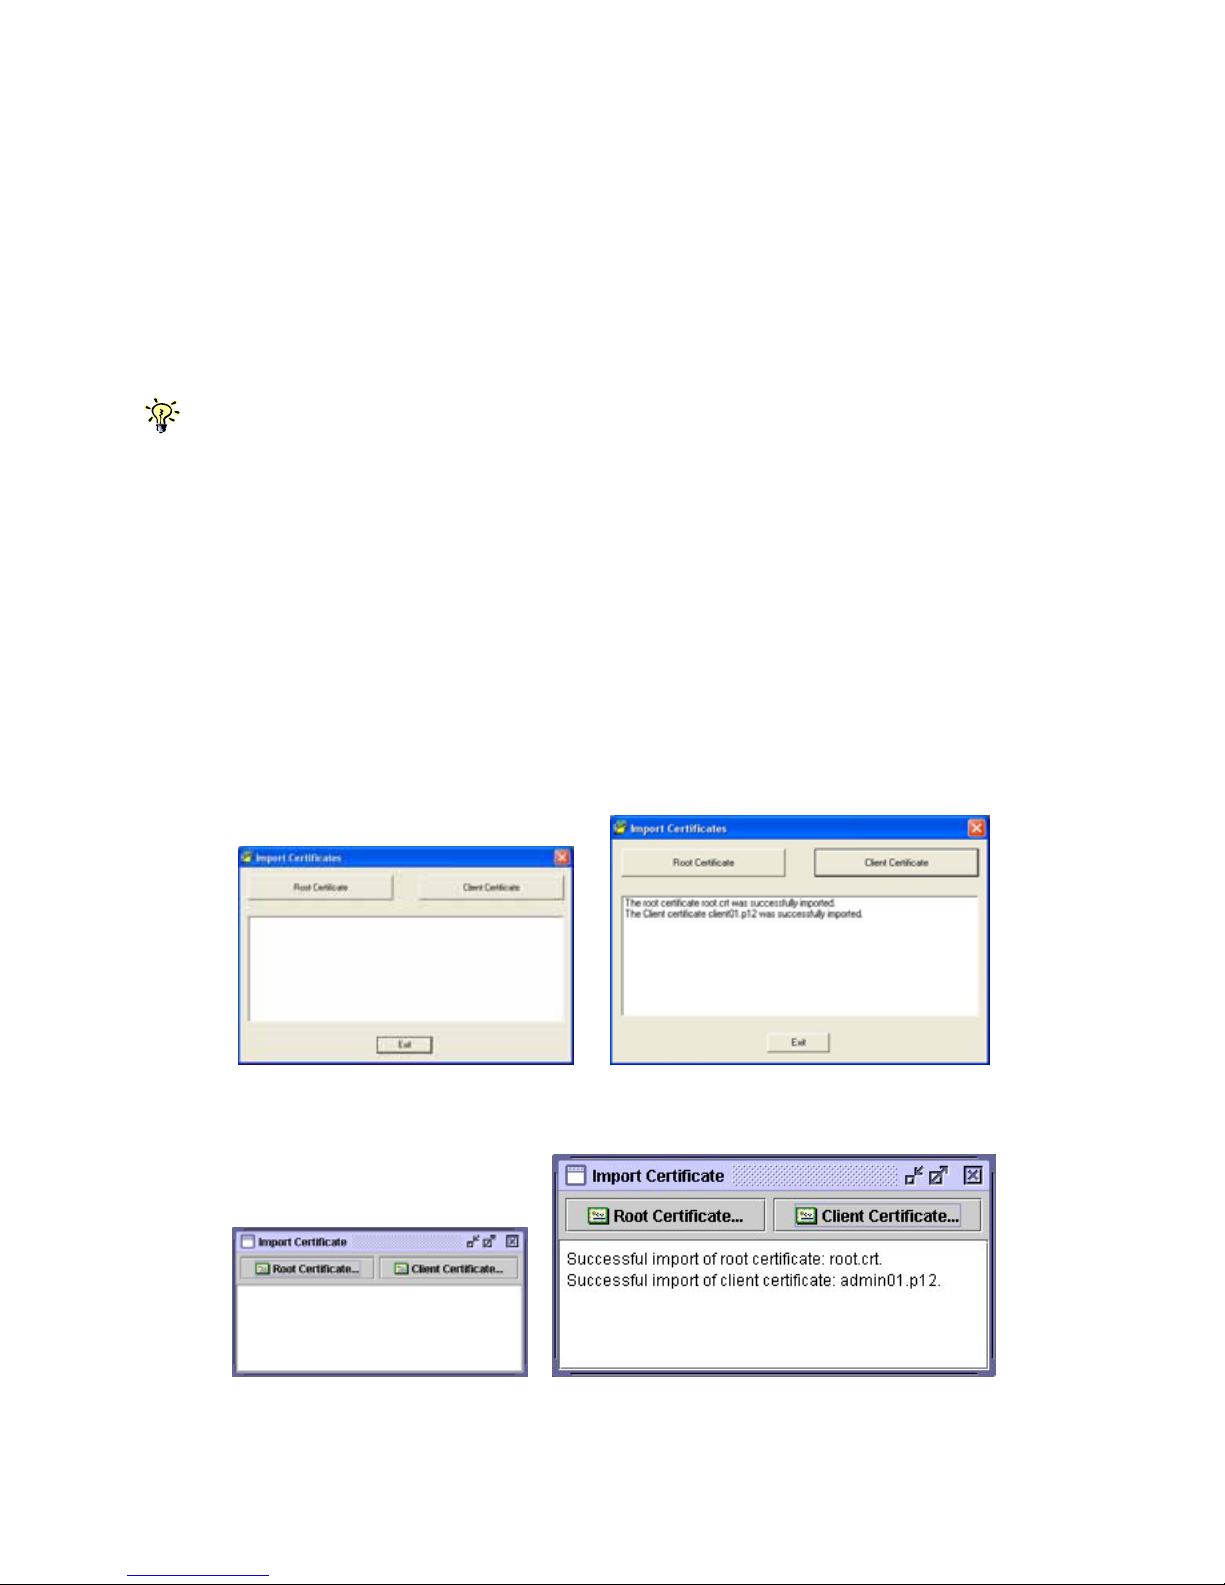
Import client certificate to Win32 Viewer
Run the importation utility by accessing Start/Programs/PROSUM /KLE
Viewer/Import Certificates. Click Root Certificate to import root certificate and then
click Client Certificate to import client certificate.
Import the certificates for the Java-based KLE Viewer
Now you have imported certificates to the viewers on the client computer
and are now ready for making a viewer connection of any security level
setting …. - -
26

KLE User Guide R1.2
3.4 Specify the Viewer Connection Option
before Making a Connection
The viewer connection option interface provides you with several alternative options
to use in combination for optimization of your viewer connection.
Connection details box
Click the Options button on the Connection Details dialog box.
Win32 Viewer Java Viewer
Setting connection options
Encoding
Internet: Video quality is optimized for viewer connection across internet
LAN: High Video Quality for viewer connection over LAN
Raw: Best Video Quality with no compression
Local Cursor Shape
No cursor: local cursor invisible on KLE Viewer.
Dot: dot shape for local cursor on KLE Viewer.
Normal: arrow shape for local cursor on KLE Viewer.
Misc
Shared Session: multiple users access same server desktop
View Only (inputs ignored): Keyboard and mouse inputs are ignored (not
restricting keyboard and mouse access on other users).
Display
Restrict pixels to 8-bit (for slow networks): color reduction to 256 colors for slow
connection
- -
27

KLE User Guide R1.2
Allow JPEG compression (Best compression,lower quality): JPEG compression for
slow connection.
Scale x/y(server/viewer): Scale the display output on viewer (not affecting the
actual transmission bandwidth)
3.5 Establish the viewer connection
Using Win32 KLE Viewer for Connection
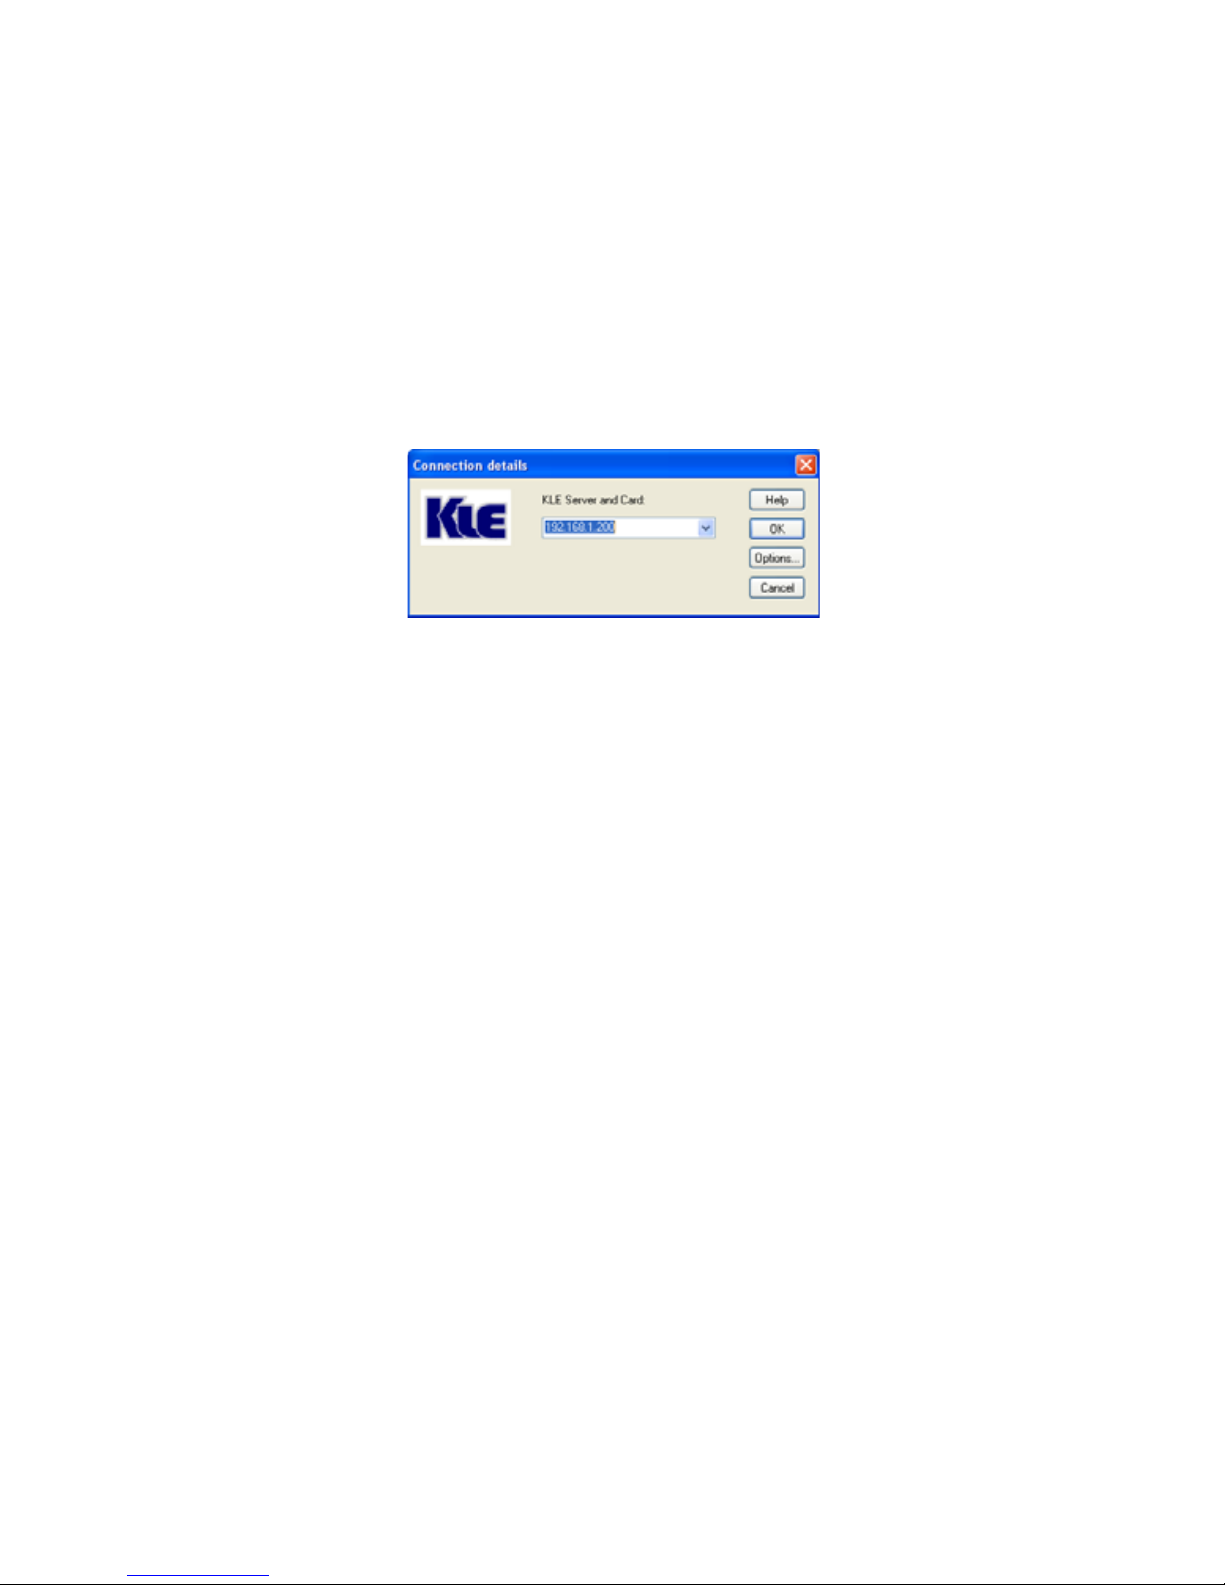
First, run the viewer program, enter the access IP and port number for KLE.
Default IP address: 192.168.1.200
Login dialog box (Win32 Viewer)
At the password or private path phrase prompt, just enter the user name and
password as required:
Default user & specific password:
User: superuser
Password: superu
Or, if you are using the Global Password policy setting …
Default global password: 123456
Or, if you are using the Level 3 security setting that requires installation of
certificates for PKI authentication (For details, please refer to section 3.3, Import
certificates to KLE Viewer on the client Computer, and Section 4.16, Security –
Certificates Installation, Viewer Encryption and Password Policies.)
Default private path phrase: clientpwd
After you have entered either the global password, user name and password, or
private path phrase as its security and password policy require, a viewer connection
will be established successfully.
- -
28

KLE User Guide R1.2
Some Tips about Viewer Connection
If you want to specify the type of your viewer connection rather than using the default one, you can click
the
Options
button and optimize your connection parameters. Please refer to previous section for details.
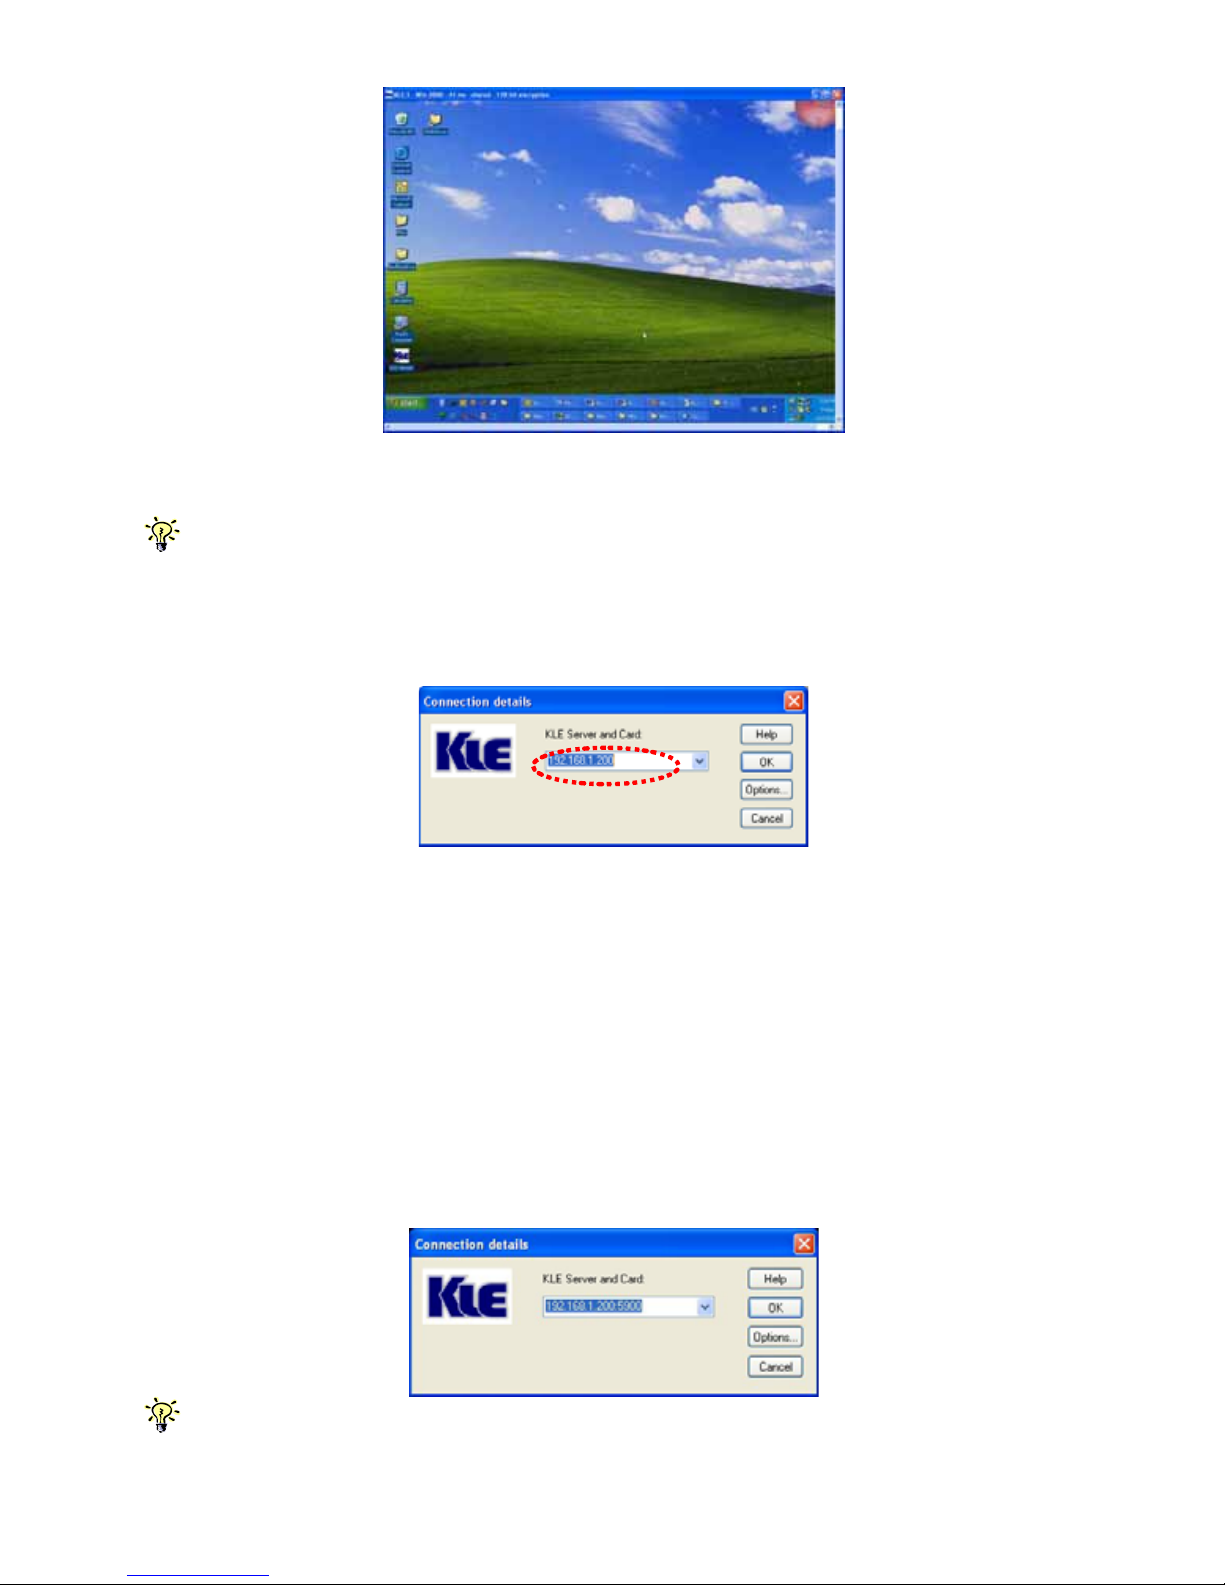
Note that you can simply type in the access IP of KLE server without specifying its
port number only when the port number is default to 5900
IP_address [only if port number is default to 5900]
192.168.1.200
Of course, you can always type
IP_address:port_number
192.168.1.200:5900
However, if the port setting on KLE is already changed to other port number, you
have to specify its specific port number following the IP address. For example, if you
want to connect to port 5910 on the KLE server, type, for example:
192.168.1.8:5910
To configure the port base number, please refer to
Section, 4.12., LAN TCP/IP – Port and IP Settings
.
- -
29

KLE User Guide R1.2
Connection Performance Tuning
However, if you are using a dial-up modem line and experiencing slow keyboard
mouse movement and response, you might check whether you are using the default
LAN encoding scheme or even the RAW scheme, which requires much more packet
quantity in transmitting a video frame; or there is a network bottleneck somewhere
in between KLE and your client desktop. For more details, please refer to Section
3.13, Common Video Display Problem Troubleshooting.
3.6 Mouse Cursors Synchronization
Normally, you will see both the local cursor and the remote cursor on the view area.
You can specify the shape of the local cursor as seen within the Viewer Window
either as a dot, an arrow or none (not showing any local cursor within the viewer
area). Also if these two cursors become out of sync, all you need to do is to hit
default the mouse synchronization hotkey (right) Ctrl – (right) Ctrl – Home to
synchronize the two cursors.
Mouse cursors out of sync Mouse cursors in Sync
Local/remote cursor resynchronization hotkey- RCtrl-RCtrl-Home
Note that, while operating your mouse, it is not necessary to wait till the remote cursor has actually
caught up with the local one before you can click on the target in the view area. Actually, you can click the
target just using the local cursor well before your remote cursor catches up the target!
3.7 Save the Connection Options
After you have optimized you connection options, you might want to save the
connection options. Next time when you log in with the KLE viewer to KLE server,
the viewer on that specific client computer will use the stored connection parameters
as well as the password (but not the private path phrase, which is not saved since it
is used by secured/PKI-authenticated connection) for connection with KLE.
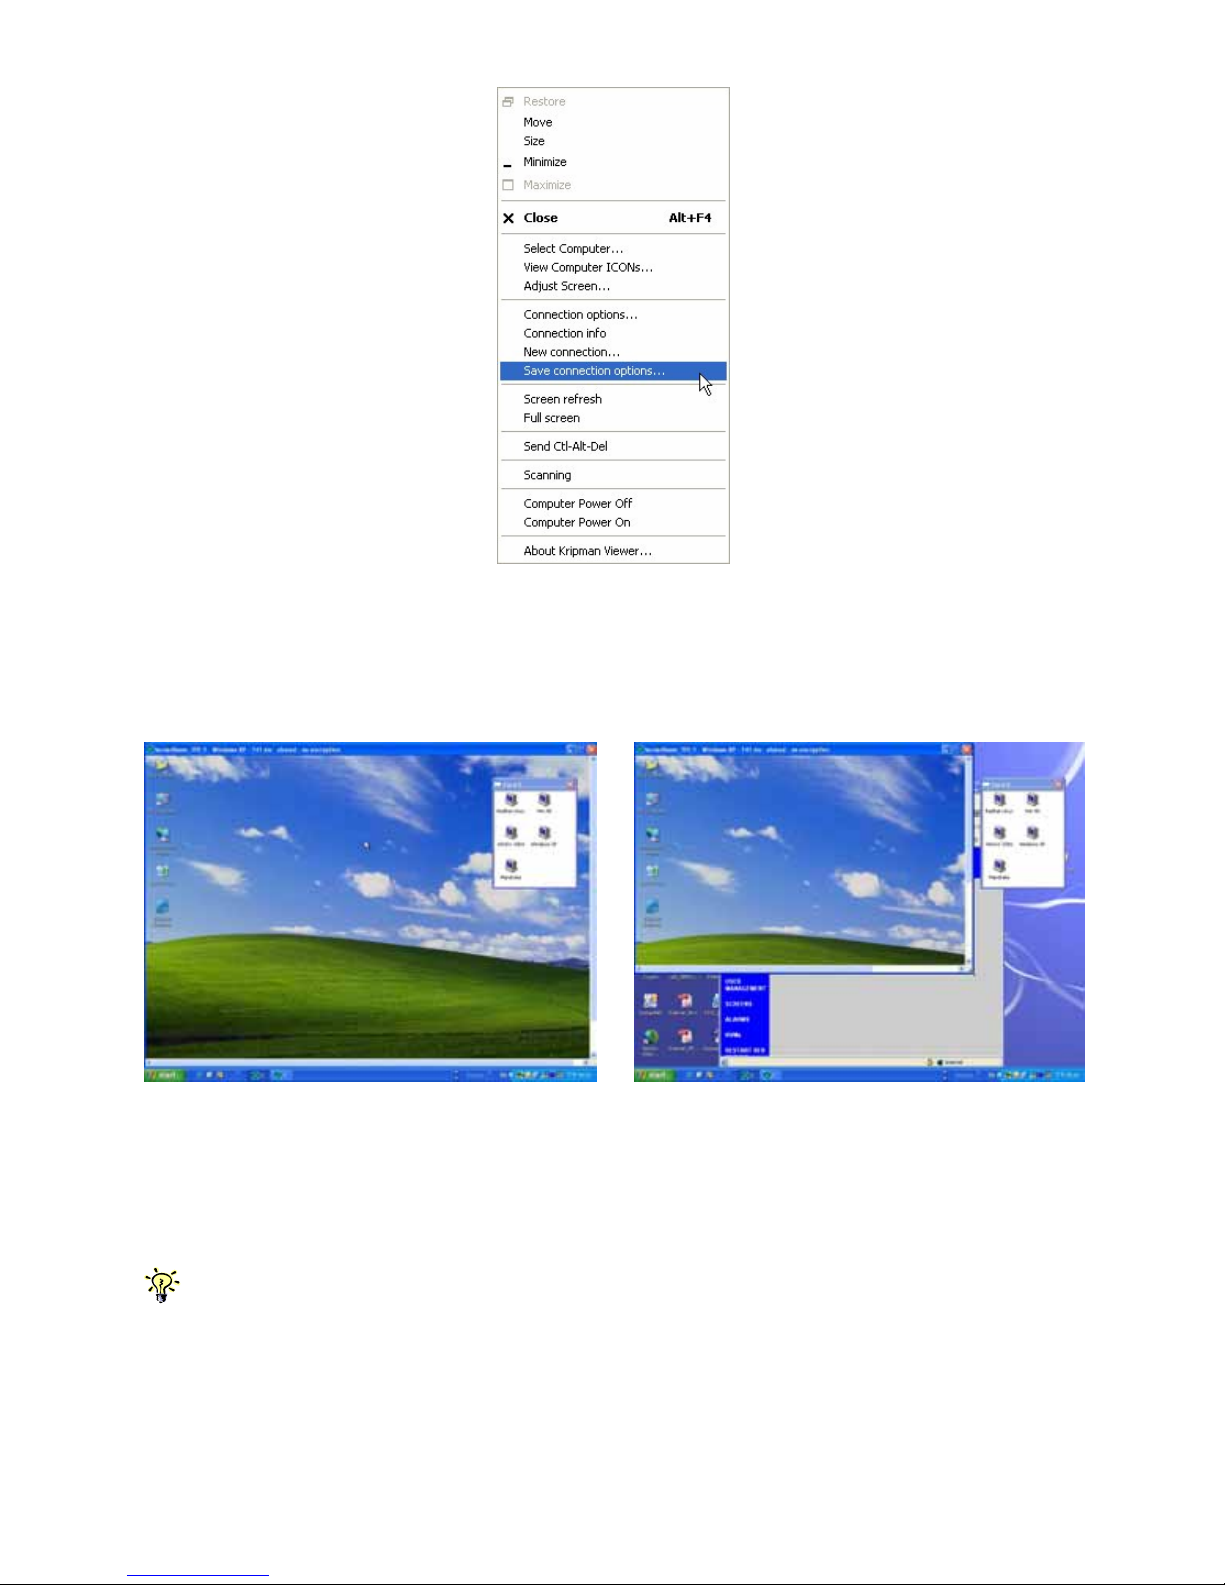
To save connection options, click the KLE icon on the Viewer title bar to call forth
the Viewer Quick Menu and select Save the connection options.
- -
30

KLE User Guide R1.2
KLE Viewer Quick Menu (Win32 viewer)
3.8 Win32 Viewer Characteristics
Adjust the Window Size
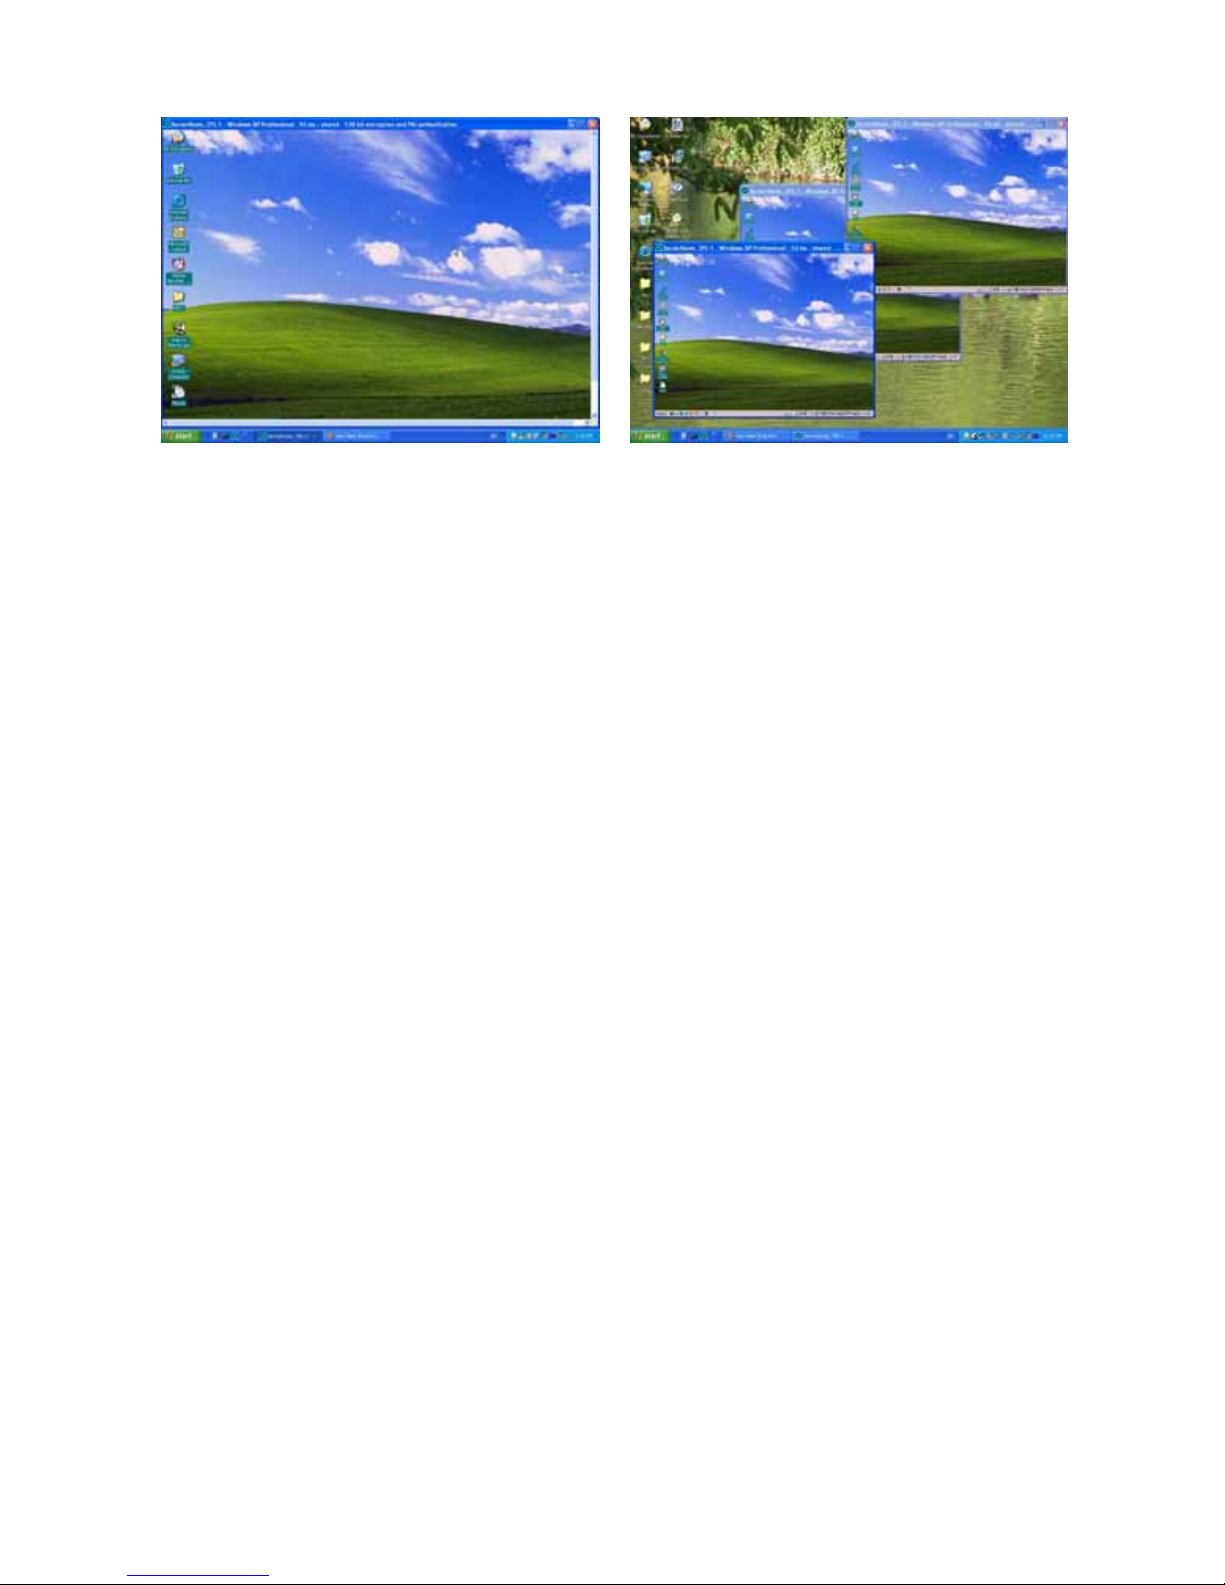
Viewer Window with scroll bars (Win32 viewer)
The size of the KLE viewer window can be adjusted by dragging the border of the
viewer windows.
Change the Viewer size to full screen mode
Note that only the win32 viewer supports full screen mode. The java viewer does not support full screen
mode.
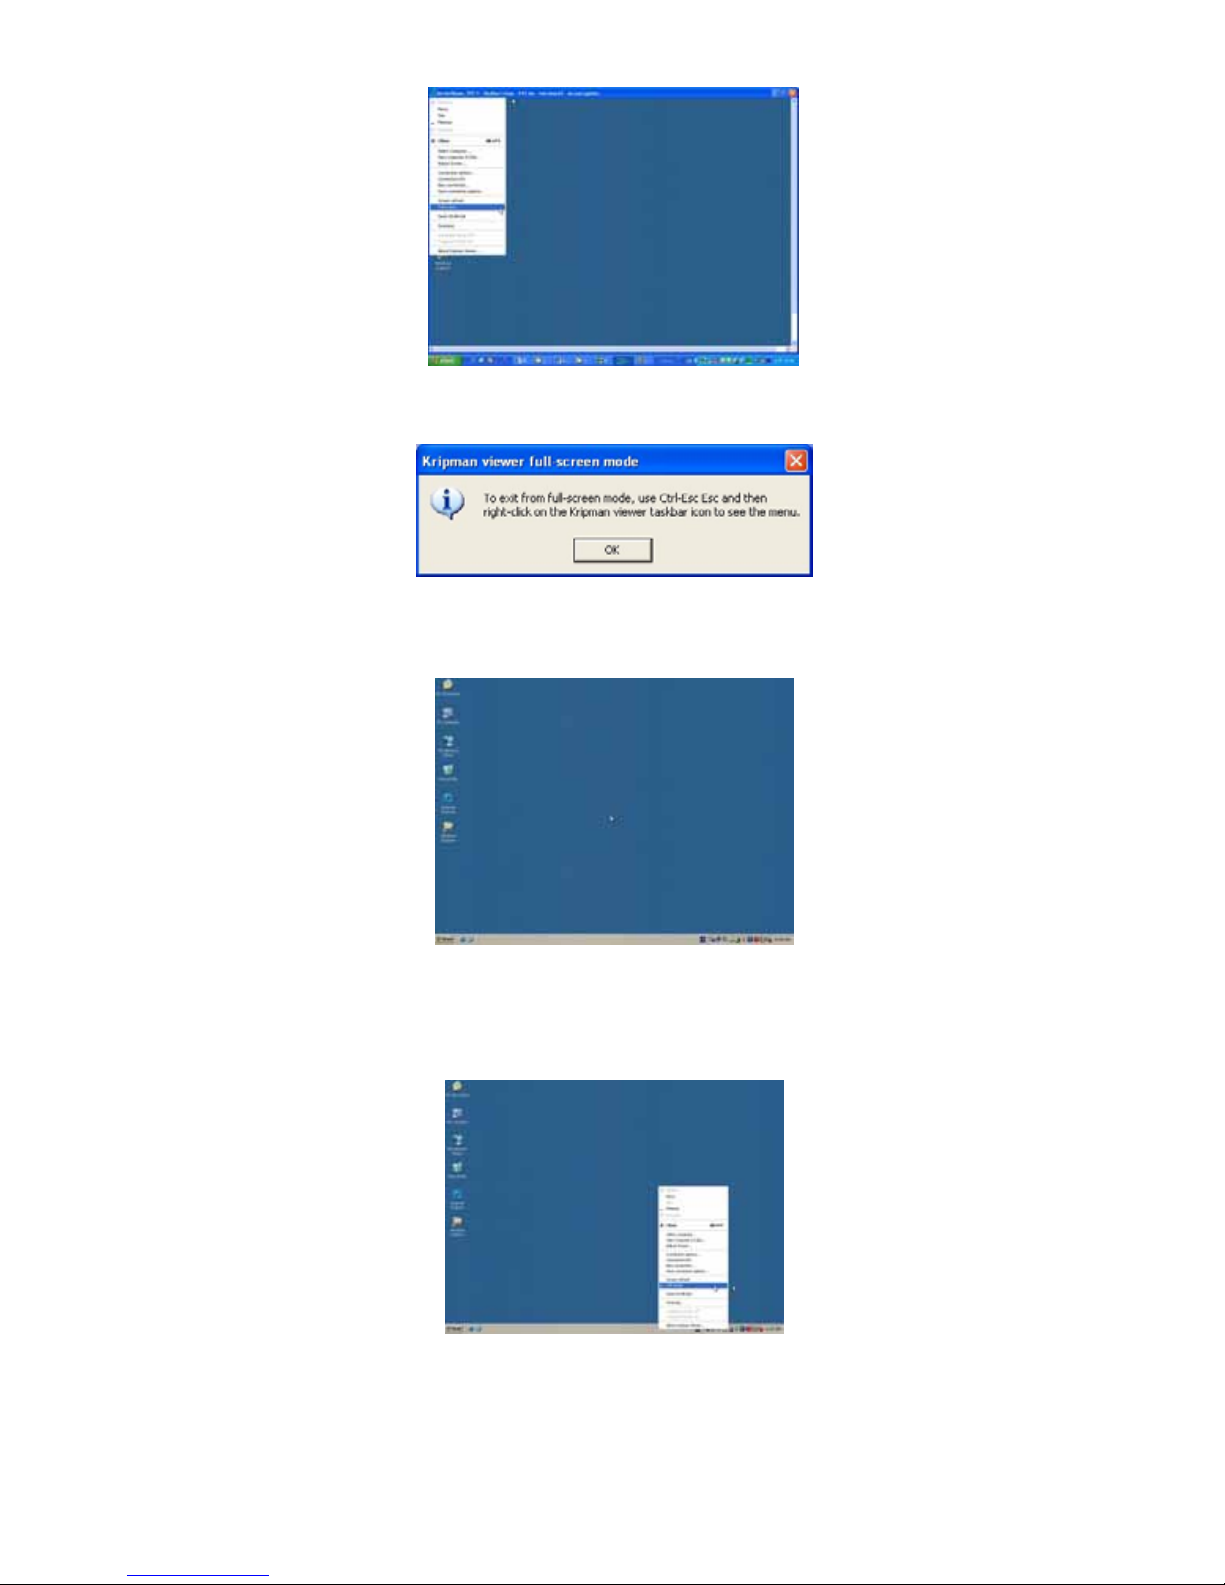
Click the KLE viewer icon on the title bar of the viewer window to evoke the Quick
Menu. Select the Full Screen option on the Quick Menu
- -
31

KLE User Guide R1.2
A message box will appear to remind you how to exit the full screen mode:
Full screen prompt – Ctrl – Esc to return to normal mode
Click OK, and the viewer goes to full screen mode.
To exit the full-screen mode, just hit Ctrl-Esc to bring up the local task bar. Right-
click the viewer taskbar icon to bring up Quick Menu, then click to deselect the full
screen mode to restore it to window mode.
Scale the Window Size of your viewer
Click the KLE viewer icon on the title bar of the viewer window to evoke the Quick
Menu. Select Connection options on the Quick Menu
- -
32

KLE User Guide R1.2
Scale the viewer window to ½ size
On the Connection Options dialog box, specify the preferred proportions of the
viewer window, for example: ½, and then check the option. Click OK to scale the
window to half size.
- -
33
Altri manuali per LKV-IPM01
3
Indice
Altri manuali Linkskey Estensione