Lobo Drives LX80 Manuale utente

i
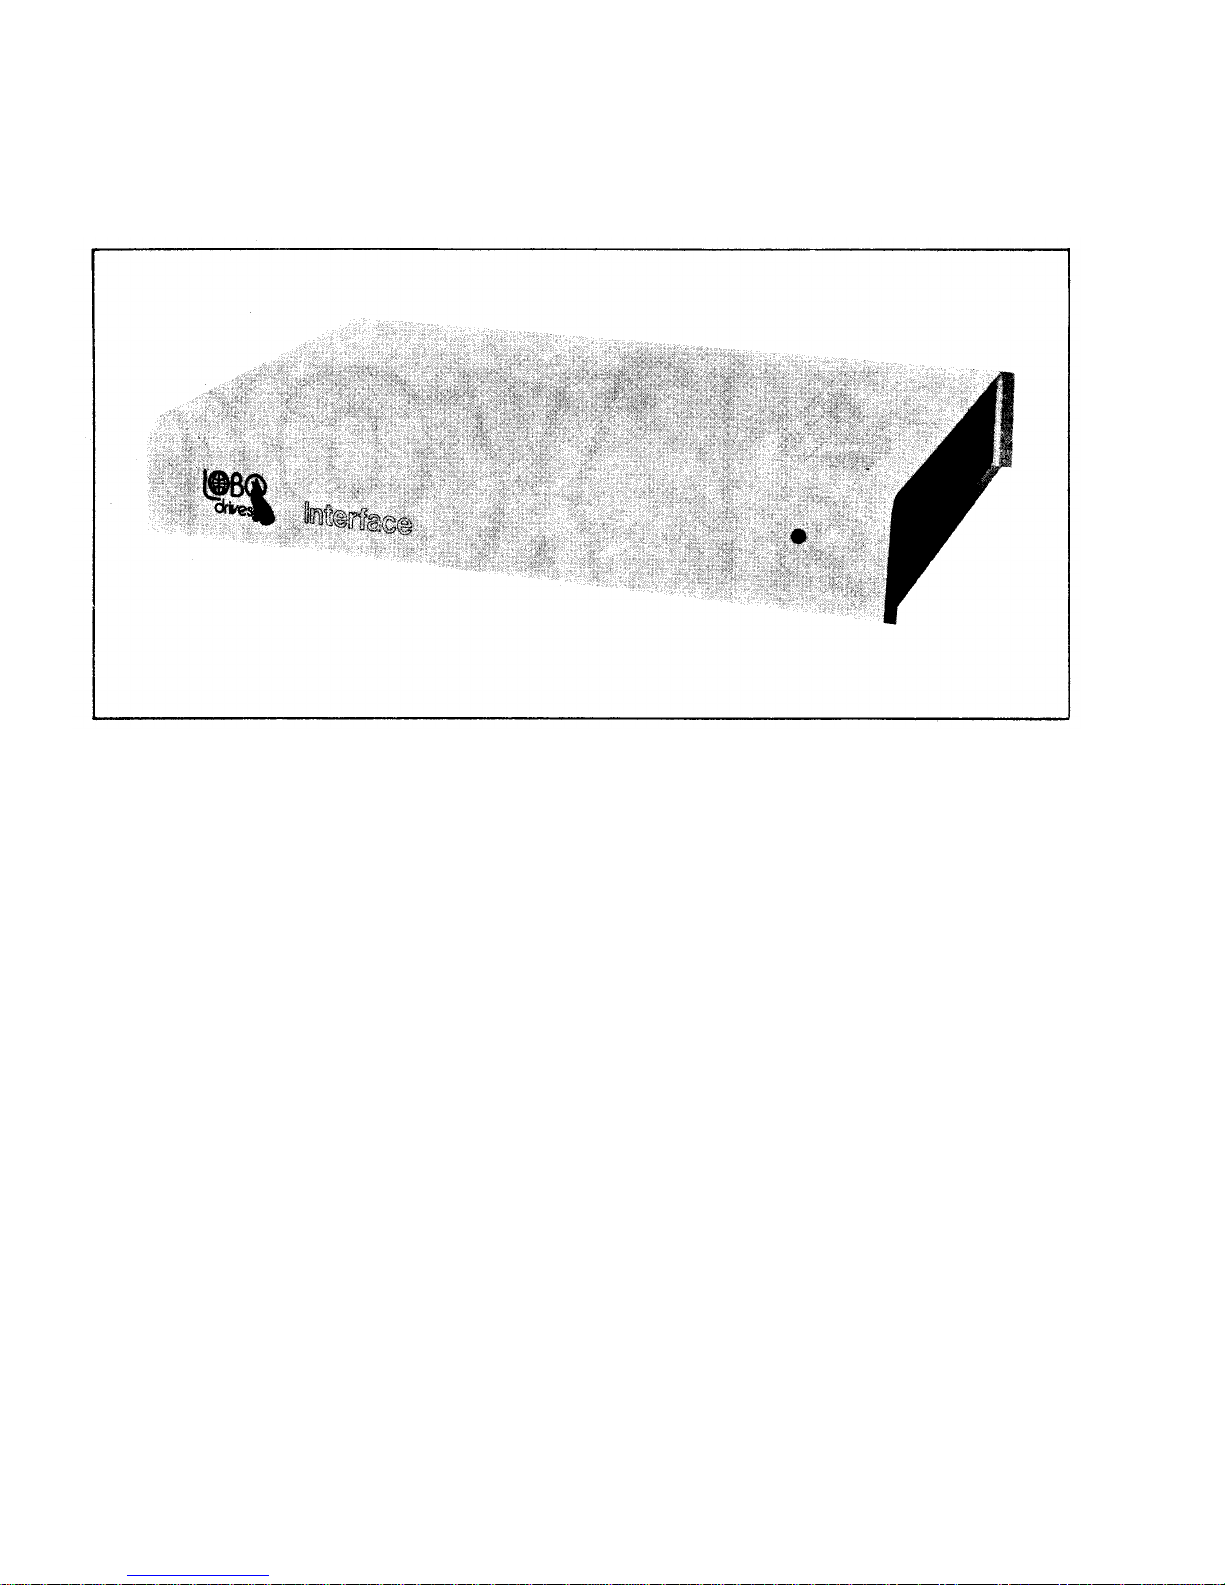
LOBO Drives Model LX80 Expansion Interface

ii
TABLE OF CONTENTS
SECTION DESCRIPTION PAGE
SECTION I 1-1
1.1 Introduction 1-1
1.2 System Description 1-1
SECTION II - UNPACKING THE INTERFACE 2-1
2.1 Visual Inspection 2-1
2.2 Unpacking the Expansion Interface 2-1
2.3 Unpacking Disk Drives 2-2
SECTION III - SETTING UP THE SYSTEM 3-1
SECTION IV - TROUBLESHOOTING HINTS 4-1
SECTION V - DISKETTE CARE 5-1
SECTION VI - TECHNICAL DATA 6-1
6.1 Memory Map 6-1
6.2 Input/Output Port Map 6-1
6.3 Interface Specifications 6-2
6.4 Installing Your Own 16K RAM 6-4
6.5 Configuring the Alternate ROM Jumper Plug 6-4
6.6 Configuring the RS-232 Jumper Plugs 6-5
6.7 Modifying Power Supply for 235VAC/50HZ
or 117VAC/60HZ 6-7
6.8 Keyboard Power Cable Installation 6-9
LIST OF ILLUSTRATIONS
FIGURE TITLE PAGE
1-1 LX80 Expansion Interface Peripheral Connections 1-2
3-1 Keyboard Flat Cable Installation 3-1
3-2 Mini and 8" Floppy Disk Connections 3-3
3-3 Drive 0 Configuration Switches 3-4
6-1 AC Power Voltage Modifications 6-8
6-2 Keyboard Power Cable Installation 6-9

1-1
SECTION I
INTRODUCTION
1.1 INTRODUCTION
The LOBO DRIVES LX80 Expansion Interface greatly increases the power and capabilities of your Radio
Shack Level II TRS-80 microcomputer. When properly installed, it allows you to connect a wide variety of
peripheral devices (printers, disk drives, communication modems, voice synthesizers, etc.) as well as to
increase the amount of Random Access Memory (RAM). The increased RAM will be needed to hold longer
programs and process more data quickly.
1.2 SYSTEM DESCRIPTION
The Model LX80 Expansion Interface is designed for the serious user who wants to improve the performance
and capabilities of the TRS-80 computer. Incorporating many of the features of Radio Shack's expansion
interface, the Model LX80 offers many improved and new features. It enhances system performance by
expanding disk storage capabilities to 40 million bytes, adding a second serial port, and facilities for 32K of
RAM. A switch permits overriding the keyboard ROM for booting in diagnostics and customized operating
systems.
One of the outstanding features of the Model LX80 Expansion Interface is its disk memory expansion
capabilities The interface can support up to four (4) of any of the following disk drives, in any combination,
providing a maximum of 40 million bytes of storage on your TRS-80 computer:
a. 5.25-inch Mini Floppies, single or double density, single or double sided.
b. 8-inch standard floppies, single/double density, single/double sided.
c. LOBO Model 1850T Dual Fixed/Floppy Disk Drives, 5 or 10 Megabyte fixed, up to 1.6 megabytes
floppy (unformatted).

1-2
Connections between the disk drives and the expansion interface are conveniently located on the rear and
side panels. (See Figure 1 -1.) There is a separate bidirectional parallel port exclusively for connecting hard
disk drives.
Other features include: a parallel port that functions like the Centronics printer port on the Radio Shack
interface; a screen printer port; two programmable bidirectional serial ports; and a crystal controlled "Real
Time" clock.
Figure 1-1. LX80 Expansion Interface Peripheral Connections.

2-1
SECTION II
UNPACKING THE INTERFACE
2.1 VISUAL INSPECTION
Before you open the shipping container, visually inspect it for evidence of shipping damage or mishandling, If
such damage is present, a report should be filed with the carrier as soon as possible. Do not remove or
operate the expansion interface if any possibility of damage is evident.
2.2 UNPACKING THE EXPANSION INTERFACE
Carefully unpack the expansion interface and proceed as follows:
a. Check the tag or label on the interface to verify you have received the options you ordered: 16K or
32K of RAM; Dual Serial Communications ports; keyboard power cable; 230 VAC/50Hz power supply
(includes cable).
b. Check that you have a 6-inch, 40-conductor keyboard flat cable.
c. Check that you have a diskette containing the Disk Operating System (DOS) software.
CAUTION
Be very careful when handling the diskette. READ SECTION V DISKETTE CARE before
handling any diskettes.

2-2
2.3 UNPACKING DISK DRIVES
Any disk drives you may have ordered from LOBO DRIVES will be packaged separately. Carefully inspect
and unpack the drives as described in paragraphs 2.1 and 2.2. Check that you have the correct long flat data
cable for your type of drive. Contact your local dealer or LOBO DRIVES if any item(s) is missing.
a. Mini Floppies - require long 34-conductor, five connector cable.
b. Dual 8-inch Floppies - requires a long 50-conductor, two connector cable (three connectors if you
have two dual-drive units.)
c. Model 1850T - same as Dual 8-inch Floppies, plus disk controller unit, power supply and special
cable assemblies.

3-1
SECTION III
SETTING UP THE SYSTEM
Find a space large enough to hold all the components of your system, plus adequate work space. Be sure
you will have enough AC power outlets to run all the components of your system. LOBO DRIVES
recommends the use of a fused, switched power distribution box. To set up your system, proceed as follows:
1. For safety, be sure the entire system is OFF and everything is unplugged from the AC power line.
2. Referring to Figure 3-1, plug one end of the 6-inch keyboard flat cable onto the connector visible
through the slot in the bottom of the interface.
NOTE
The colored wire at the edge of the flat cable should be on the right side when looking at the
front of the interface.
Figure 3-1. Keyboard Flat Cable Installation.

3-2
3. Remove the protective plastic connector cover from the back of the keyboard. Plug the free end of the
interface cable onto the exposed connector
Do not attempt to connect the interface to a keyboard with a DIN cable modification Do not use a
"Buffered" or "Shielded" keyboard cable,
4. Place the video monitor on top of the interface. Plug its DIN cable into the keyboard VIDEO socket.
NOTE
If your interface has no keyboard power cable, skip step 5 and proceed to step 6,
5. Identify the five-conductor DIN cable coming from the rear of the interface Feed the cable under the
interface and plug it into the keyboard's POWER socket.
NOTE
You no longer need the keyboard's old power module, The interface will now supply the correct
keyboard power for 230 VAC installations and the keyboard will run cooler than before. Proceed to
step 8,
6. Plug the keyboard's original power supply module into the POWER socket on the back of the
keyboard.
7 Place power module off to the side. It car cause the picture to squirm if placed too close to the back of
the video monitor.
8. If you have purchased floppy drives place them to one side of the interface and plug them into the flat
cable as shown in Figure 3-2.

3-3
Figure 3-2. Mini and 8" Floppy Disk Connections
NOTE
Check the drive part numbers. Only one drive can contain termination resistors, and that drive
must be the furthest from the interface, Any unused connectors must be at the END of the
cable.
9. If you are installing standard 8-inch floppies, refer to Figure 3-2 and connect the drives using the
supplied flat cable. If you are using one dual-drive unit, then connection is simple. This unit should be
labeled DS1/DS2/TERMINATORS. If you are using two dual-drive units, then you must be sure to
have a double connector cable and two specially configured dual-drive units. The first unit on the
cable must be DS1/DS2/NO-TERMINATORS while the second must be DS3/DS4/TERMINATORS.
Indice


