Logic T2 Manuale utente
1
Logic T2 User Manual

2
Statements, Disclosures and Precautions
3
Getting to Know Your Logic T2 Tablet
4
Switching Your Tablet On/Off
6
Touch Screen 7
Installing the SIM Card
7
Using a Micro SD Card
8
Getting Started 8
Charging Your Device
8
Desktop 11
Lock Screen 11
Installed Applications
12
Desktop Menu 13
Managing Applications
13
Cloc
k
14
Installing Software Online
16
Browser 17
Calendar 17
Camera 18
Calculator 19
Sound Recorder 19
Email 19
File Manager 22
Wi-Fi 23
BT Function 24
Music 24
Video Player 26
Settings 27
FAQ 33
Device Specifications
35
Battery management
36
Important safety instructions and certifications
37
Statements, disclosures and precautions
Thank you for purchasing this innovative tablet from Logic. We

3
invite you to read the instructions contained in this user manual
so you can configure and utilize all the functions of your new
tablet. For additional information you can visit us at:
logicmobility.com
Warnings and Precautions
Please do not disassemble; this is a highly precise electronic
product.
Avoid any heavy impact or collision with this product
Avoid using this product in the following conditions: high or
low temperatures, moist or dusty environments, strong
magnetic fields, and/or long term exposure to sunlight.
If cleaning is necessary, only use a soft moist cotton cloth to
wipe the outer shell of the product. Do not use any other
chemical cleaning solutions.
Avoid placing this product near any liquids in case there is
accidental spillage onto or into the product
Excess use of headphones at high volume may cause
permanent hearing impairment.
Please only use permitted batteries, chargers, and
accessories with this product; use of any other types will
violate the warranty regulations and may be dangerous.
Please follow the relevant local environmental regulations
to deal with obsolete products and accessories.
If the product becomes faulty at any point, Logic assumes
no responsibility for any loss of data/music/video and/or
any other files. Please follow the user manual for standard
operation and timely backups.
Statements and Disclosures
Specifications are subject to change without notice.
While the utmost care has been taken in producing this
manual neither Logic, nor any other affiliated company,

4
assume responsibility for any mistakes or errors contained in
this document.
Screen captures presented in this manual are for reference
purposes, actual screens may vary.
Logic and the Logic logo are registered trademarks of Logic.
Other trademarks are the property of their respective
owners.
Always remember to back-up important data; we assume no
responsibility for any errors with this product
Please read the operating instructions carefully. Use the
accessories supplied with the product to avoid any
unexpected damage. Warranty cannot be honored if the
product is used with incompatible accessories.
Although the latest version of Android available at the time
of the products manufacturing is compatible with tablet
specifications, Logic assumes no responsibility for the
performance of the Android software supplied by Google
and/or any errors/software bugs/software failures.
There may be slight discrepancies between pictures/data in
this manual and the actual product. The actual product is
accurate.
We cannot be responsible for any act of downloading illegal
software and/or anything else that is considered illegal.
Logic cannot support the Android Operating System or offer
any support for any Android based software that the user
may download, install, and/or purchase.
Getting to Know Your Logic T2
5
Switching Your Tablet On/Off
To switch on: press and hold the power switch for 3 seconds and
wait for startup.
To switch off: press and hold the power switch for 3 seconds →
click Power off →click OK.
Lock/unlock screen: briefly press the power switch to lock/unlock
the screen.
Forced shout down: if the device is not responding, press and
hold the power switch for 7 seconds to force a shut-down.
Warning: a forced shut-down may cause unexpected errors in the
system!
Touch Screen
The touch screen is easy and convenient to use. You can use the
touch screen in the following methods:

6
Single click: briefly tap the screen with your finger.
Click and hold: click the screen with your finger and hold for
about 2 seconds.
Drag: click a certain icon on the screen and hold, then move your
finger, the icon will move accordingly.
To avoid damaging the screen, never put anything on it.
Installing SIM Card
Your device supports cellular communications (GSM or 3G).
Before installing or replacing the SIM card make sure to turn off
the tablet.
The SIM card contains information about your subscription
including details such as: your telephone number, PIN, available
optional services, and many other features.
Handle the SIM card with care as it can be easily damaged by
scratching or bending. Keep all SIM cards out of reach of small
children.
To install the SIM card locate the slot labeled SIM.
Position the SIM card (with the angled corner as shown) at the
correct slot with the gold connectors facing down. Carefully slide
the SIM card into the SIM card socket until the card clicks into
place.
To remove a SIM card carefully place your fingernail into the end
of the SIM slot and push the card slightly out. Carefully slide the
SIM card out of the SIM card socket.
Using a Micro SD Card
Your device supports up to a 32GB storage card. Locate the slot
labeled T-Flash on your tablet to access the Micro SD slot.
7
Insert the card into the card slot, and push it in with your finger
until a “click” is heard. Now the card is ready for use.
Removing Micro SD card
First, close all programs or files on the card. Click Settings →
Storage →Remove SD card →OK. Then press the card with your
finger, and simply remove it when it is ejected.
Avoid inserting and removing the card repeatedly in a short time,
this may cause damage to the card. We suggest you use name
brand cards to ensure compatibility.
Getting Started
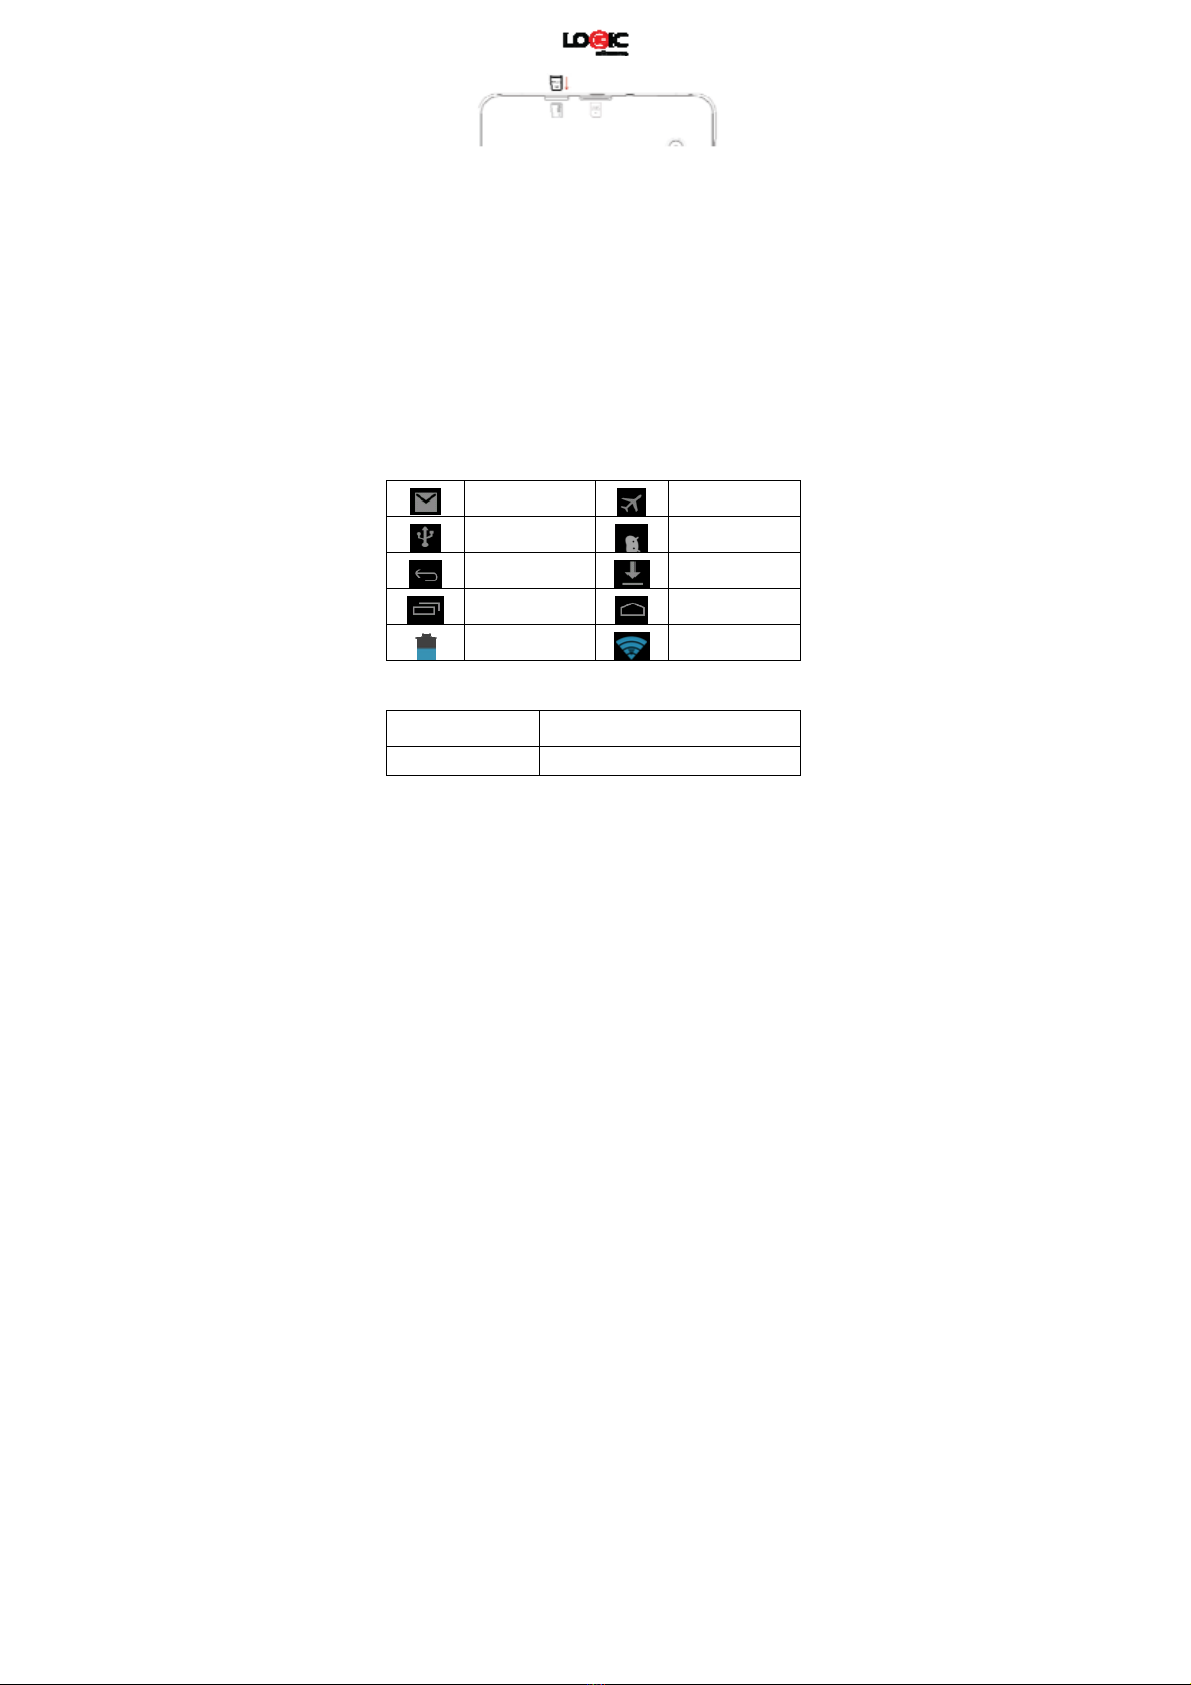
Reminder icons
These reminder icons appear in the information bar along the top
of the screen to provide information as to the status of your
tablet.
New email
Airplane Mode on
USB connected USB connected
Return button
Downloading
Display
Home button
Charge
Wi-Fi connected
Buttons: Descriptions and Functions
Power button Long press: turn on/shut down
Short press: sleep/wake up
Volume +(up)Increase the volume

8
Volume -(down)Decrease the volume
HOME button
Click from any screen to return to the
main screen
Back button
Click from any screen to return to the
previous screen
Setting button
Click to display the menu interface
Menu button
Display recently browsed history
Charging the device
The device is equipped with a built-in battery which must be
charged before using for the first time. It is recommended to
charge the battery for minimum of 10 hours for the first time.
You may use the device while it is charging, but this may prolong
the charging time.
Only use the authorized charger provided with the unit (input:
AC110〜240V 50/60Hz; output: DC5V/1A). Logic is not
responsible for damages caused by using an unauthorized
charging device or other unauthorized accessories.
To charge device: connect one end of the AC adaptor to the
power outlet and the other end to the Micro USB port on the
device (under normal conditions it may take about 5 hours to
fully charge the device).
The battery icon will roll during charging, and when it is full

9
(it will stop rolling), please disconnect the AC adaptor.
Starting the device
Press and hold the power switch for 3 seconds and wait for
system startup.
Wi-Fi settings
We suggest you configure your Wi-Fi network before using your
new tablet, as many functions require it to work normally.
1. Click Settings→Wireless and Network
2. Switch the Wi-Fi on. The device will search for and list all
available Wi-Fi networks. If an icon is displayed, you need
to enter the correct password to connect to that Wi-Fi
network.
3. Click the desired Wi-Fi network →Enter the password (if
any) →Click Connect.
4. Click Return to return to the desktop.
If the Wi-Fi network is set as hidden it will not be discovered
automatically. In this case you need to click Add Wi-Fi Network
and enter the necessary information manually.
Desktop

10
Click any icon to open the document or run the application.
Click and drag the icon to move it to another location on the
screen.
Lock Screen
You can set auto lock screen or lock screen manually by pressing
the power button. The lock screen interface is as follows:
Slide to the right to unlock the
screen. Slide to the left to unlock
and enter the camera.
Installed Applications
12
13 14
Indice
Lingue:
Altri manuali Logic Tavoletta


