Marmitek IP EYE ANYWHERE 470 - ADVANCED Manuale utente
I
P CAMER
A
SERIES
IP Eye Anywhere 470
20310 / 20091117 • IP Eye Anywhere 470™
ALL RIGHTS RESERVED MARMITEK ©
3
ADVANCED INSTALLATION GUIDE
Low Lux MPEG4/MJPEG
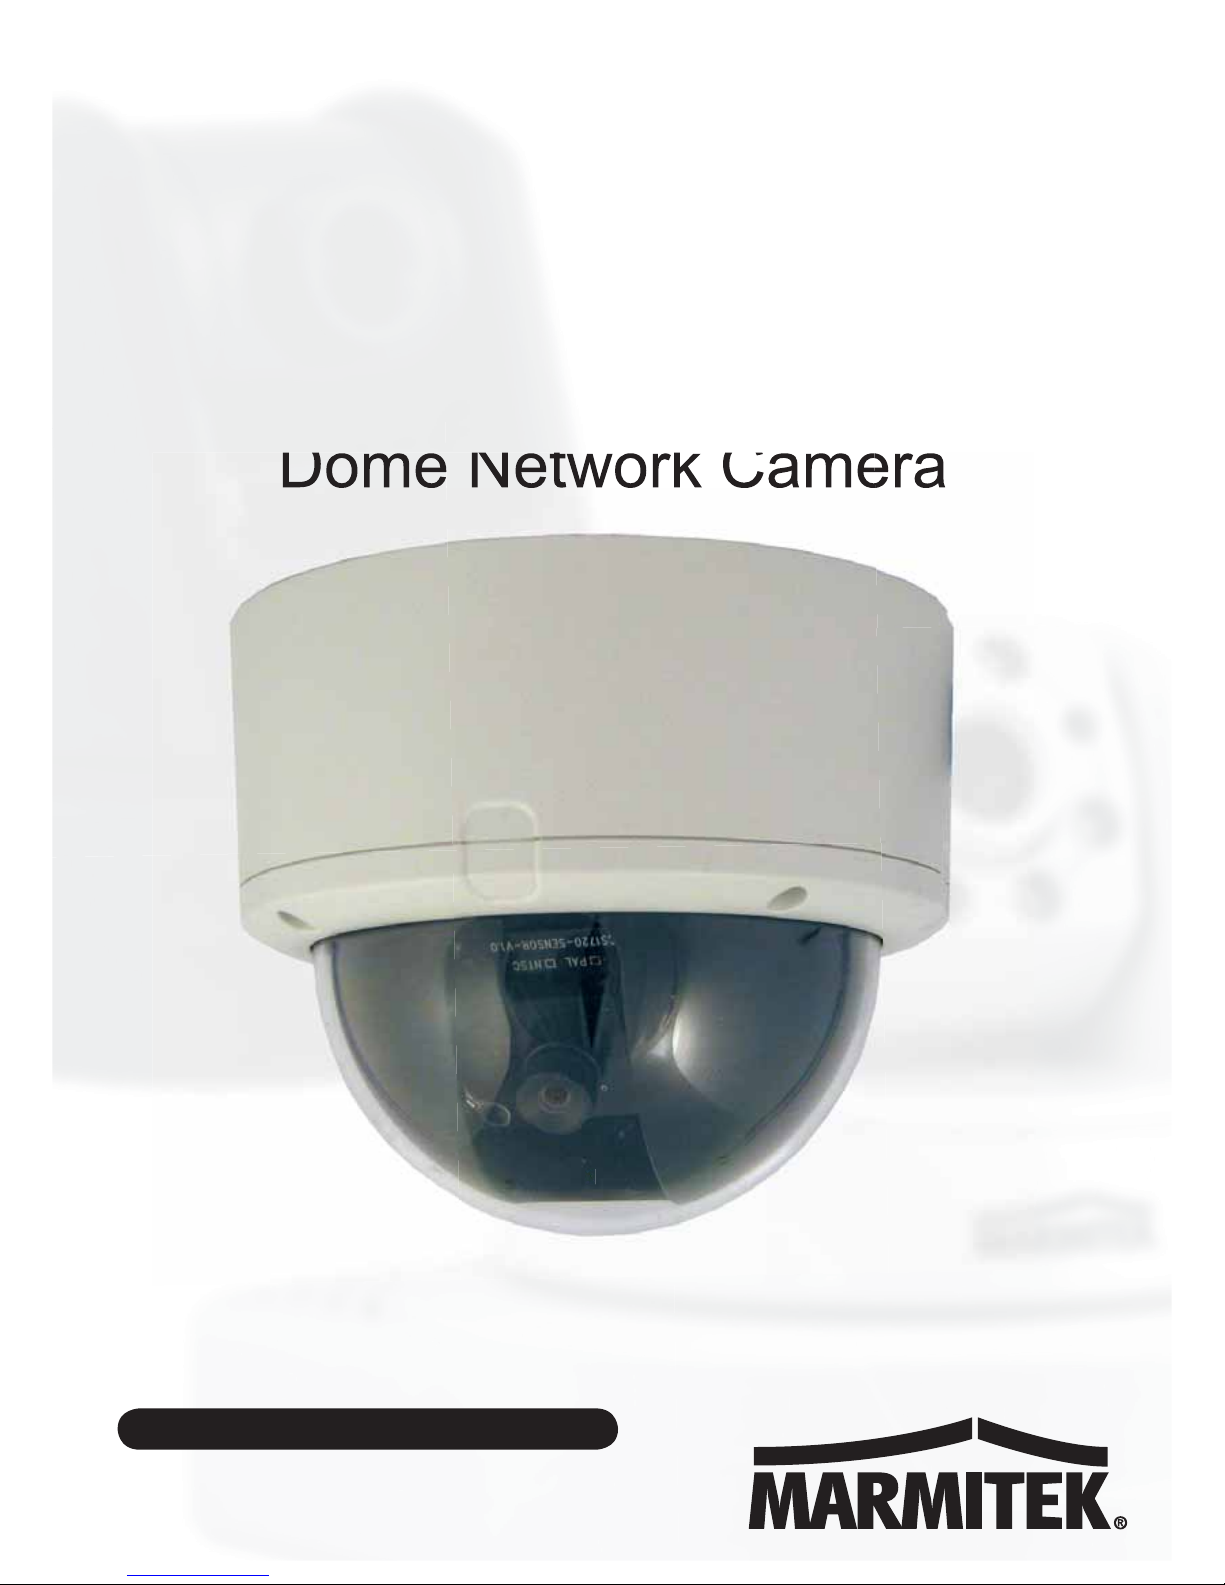
Dome Network Camera
3
3
3
3
3
3
3
3
3
3
3
3
3
3
3
3
3
3
3
3
3
3
3
3
3
3
3
3
3
3
3
3
3
3
3
3
3
3
3
3
3
3
3
3
3
3
3

IPEyeAnywhere 470 ™ 1
PREFACE
Thank you for purchasing the IPEyeAnywhere470, a standalone
system that can be connected directly to an Ethernet or Fast
Ethernet network.
The camera features the latest Motion JPEG and MPEG-4 image
technology, advanced management functionality, and GPIO
connectors (e.g. connecting to the door sensors or alarm bells),
allowing you to record streaming video (Motion JPEG or MPEG-4 ),
enable motion detection, and setup automated FTP/Email/ Network
Storage service for security.
The audio function (connected external microphone and audio-out
device like the active speaker) of the camera allows you to
deliver/receive sound to/from the camera. In addition, the superior
lens and hardware design enable the camera to capture high quality
images even in the low-lux condition.
Compared to the conventional PC Camera, the IPEyeAnywhere
camera features a built-in CPU and Web-based solutions that can
provide a cost-effective solution to transmit the real-time high-quality
video images and sounds synchronously for monitoring. The camera
can be managed remotely, so that you can use a Web browser to
access and control it from any desktop/notebook computer over the
Intranet or Internet.
The simple and versatile installation allows you to integrate it into
your network environment easily. With comprehensive applications
supported, the camera is your best solution for demanding
surveillance and remote monitoring applications.

©MARMITEK
2
This Advanced Installation Guide provides you with the instructions
and illustrations on how to use your camera, which includes:
Chapter 1 Introduction to Your IPEyeAnywhere Camera
describes the features of the camera. You will also
know the components and functions of the camera.
Chapter 2 Hardware Installation helps you install the camera
according to your application environment. You can use
this camera at home, at work, at any where you want.
Chapter 3 Accessing the IPEyeAnywhere Camera lets you start
using your camera without problem. The camera can be
set up easily and work within your network environment
instantly.
Chapter 4 Configuring the IPEyeAnywhere Camera guides you
through the configuration of the camera using the Web
browser on your PC.
Appendix Provides the specification of the camera and some
useful information for using your camera.
NOTE The illustrations and configuration values in this guide are
for reference only. The actual settings depend on your
practical application of the camera.

IPEyeAnywhere 470 ™ 3
Contents
P R E F A C E ............................................................................................... 1
C H A P T E R 1 ........................................................................................... 5
INTRODUCTION TO YOUR CAMERA ............................................... 5
1.1 CHECKING THE PACKAGE CONTENTS........................................ 5
1.2 GETTING TO KNOW YOUR CAMERA .......................................... 6
1.3 FEATURES AND BENEFITS.......................................................... 9
1.4 SYSTEM REQUIREMENT ........................................................... 11
C H A P T E R 2 ......................................................................................... 12
HARDWARE INSTALLATION ........................................................... 12
2.1 APPLICATIONS OF THE CAMERA .............................................. 12
2.2 INSTALLING THE IPEYEANYWHERE CAMERA ......................... 13
C H A P T E R 3 ......................................................................................... 16
ACCESSING THE IPEYEANYWHERE CAMERA........................... 16
3.1 USING IPFINDER ..................................................................... 16
3.2 ACCESSING TO THE CAMERA................................................... 17
3.3 CONFIGURING THE IP ADDRESS OF THE PC............................. 21
C H A P T E R 4 ......................................................................................... 22
CONFIGURING THE IPEYEANYWHERE CAMERA..................... 22
4.1 USING THE WEB CONFIGURATION........................................... 22
4.2 USING SMART WIZARD ........................................................... 23
4.3 BASIC SETUP ........................................................................... 25
4.4 NETWORK SETTINGS ............................................................... 28
4.5 SETTING UP VIDEO &AUDIO................................................... 32
4.6 EVENT SERVER CONFIGURATION ............................................ 35
4.7 MOTION DETECT ..................................................................... 38
4.8 EVENT CONFIG........................................................................ 39

©MARMITEK
4
4.9 TOOLS ..................................................................................... 43
4.10 INFORMATION ......................................................................... 45
C H A P T E R 5 ......................................................................................... 46
APPENDIX .............................................................................................. 46
A.1 SPECIFICATION ........................................................................ 46
A.2 GLOSSARY OF TERMS.............................................................. 49
SAFETY WARNINGS
o To prevent short circuits, this product should only be used inside
and only in dry spaces.
Do not expose the components to rain or moisture. Do not use the
product close to a bath, swimming pool etc.
o Do not expose the components of your systems to extremely high
temperatures or bright light sources.
o In case of improper usage or if you have altered and repaired the
product yourself, all guarantees expire. Marmitek does not accept
responsibility in the case of improper usage of the product or when
the product is used for purposes other than specified. Marmitek
does not accept responsibility for additional damage other than
covered by the legal product responsibility.
o This product is not a toy. Keep out of reach of children.
o Do not open the product: the device may contain live parts. The
product should only be repaired or serviced by a qualified expert.
o Only connect the adapter to the mains after checking whether the
mains voltage is the same as the values on the identification tags.
Never connect an adapter when it is damaged. In that case, contact
your supplier.

IPEyeAnywhere 470 ™ 5
CHAPTER 1
INTRODUCTION TOYOUR CAMERA
1.1 Checking the Package Contents
Check the items contained in the package carefully. You should
have the following:
5One IPEyeAnywhere470
5One Power Adapter
5One screw pack and drill template
5One Ethernet Cable (RJ-45 type)
5One Terminal Block Connector
5One Installation Wizard CD
5One Quick Installation Guide
NOTE Once any item contained is damaged or missing, contact
the authorized dealer of your locale.
1.2 Getting to Know Your Camera
Physical Components
Dome cover
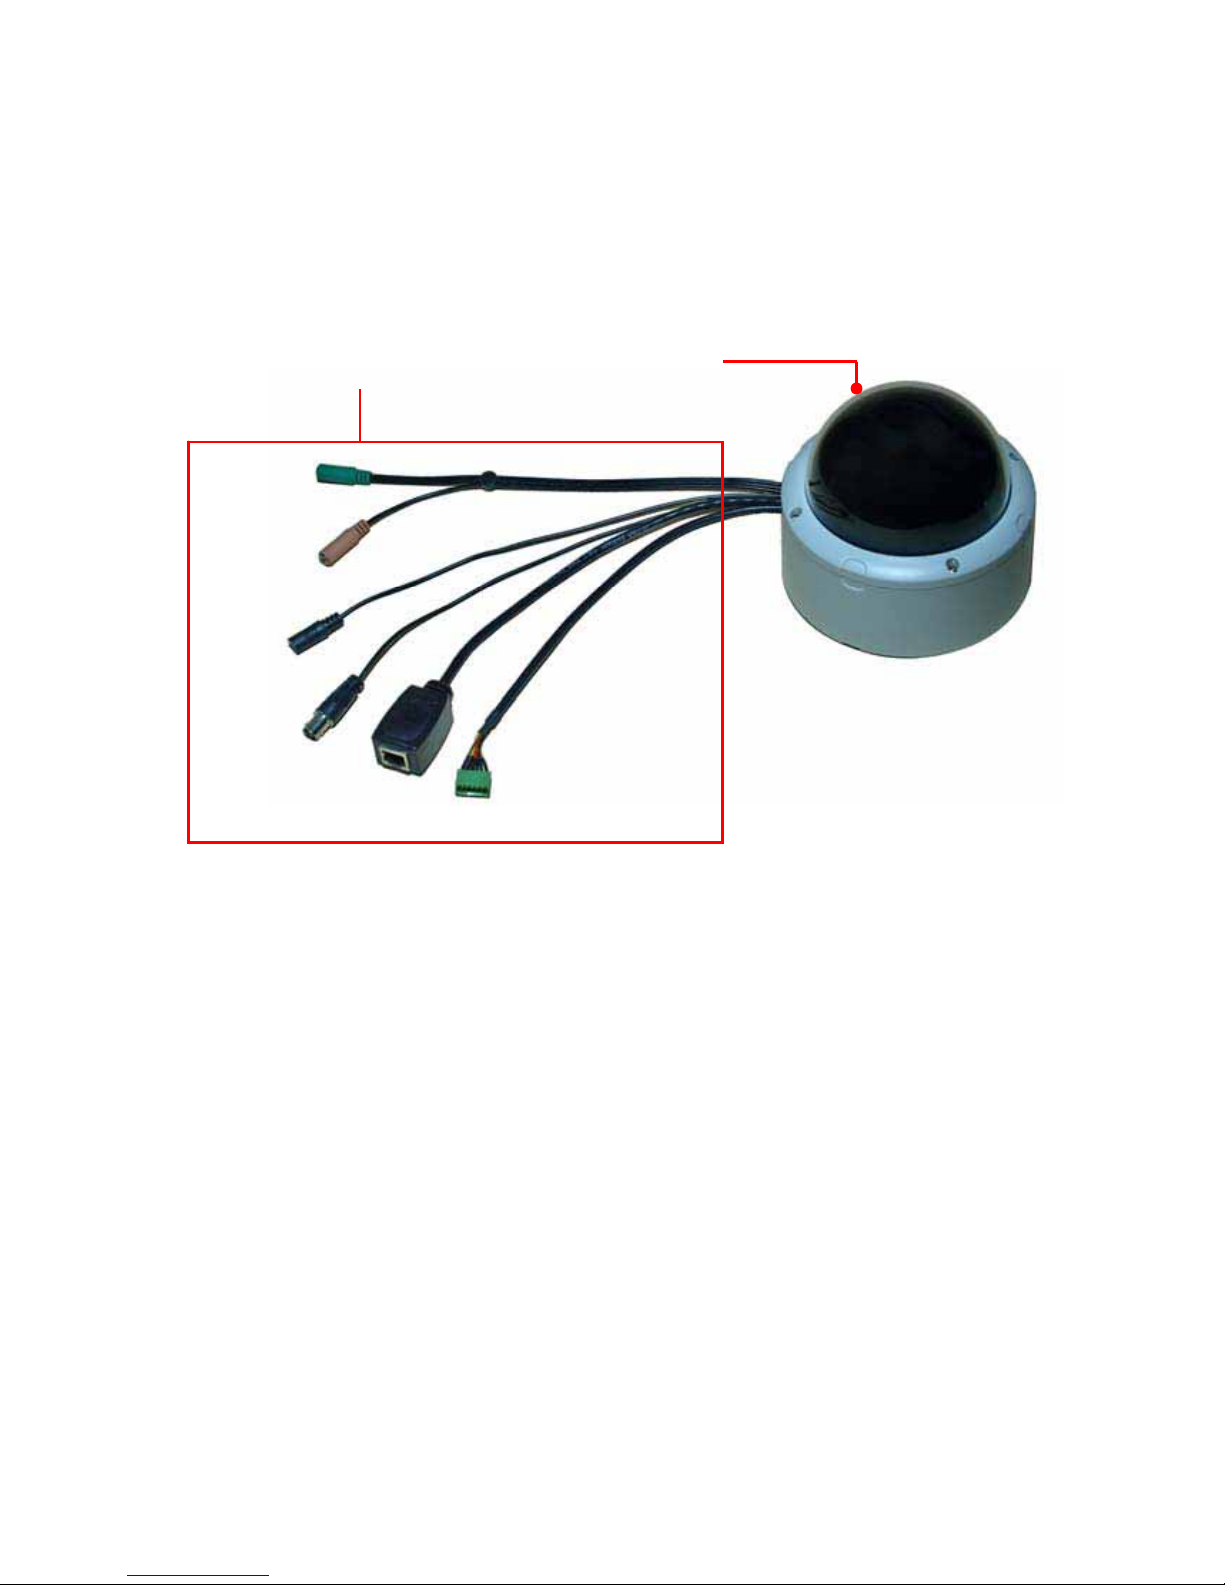
Connectors
X
Y
Z
[
\]
zConnectors
XAudio Out: Connects an external audio device (such as
the active speaker) to deliver sound via the camera.
YMic In: Connects an external microphone to receive the
on-the-spot sound where the camera is installed.
ZPower: Connects the power adapter to supply power to
the camera.
[TV Out: The BNC connector is used to connect the
composite video input of external video device.
©MARMITEK
6
\LAN: Plugs the provided Ethernet cable to connect to
your local area network (LAN). The LAN port of the
camera supports the NWay protocol so that the camera
can detect the network speed automatically.
]GPIO: Connects the external device that features
additional controlling function, such as motion detection,
event triggering, alarm notification, and a variety of
external control functions.
Before connecting the external device for GPIO function,
you have to attach the provided external GPIO connectors
to the device.
Connecting Cables
IPEyeAnywhere 470 ™ 7
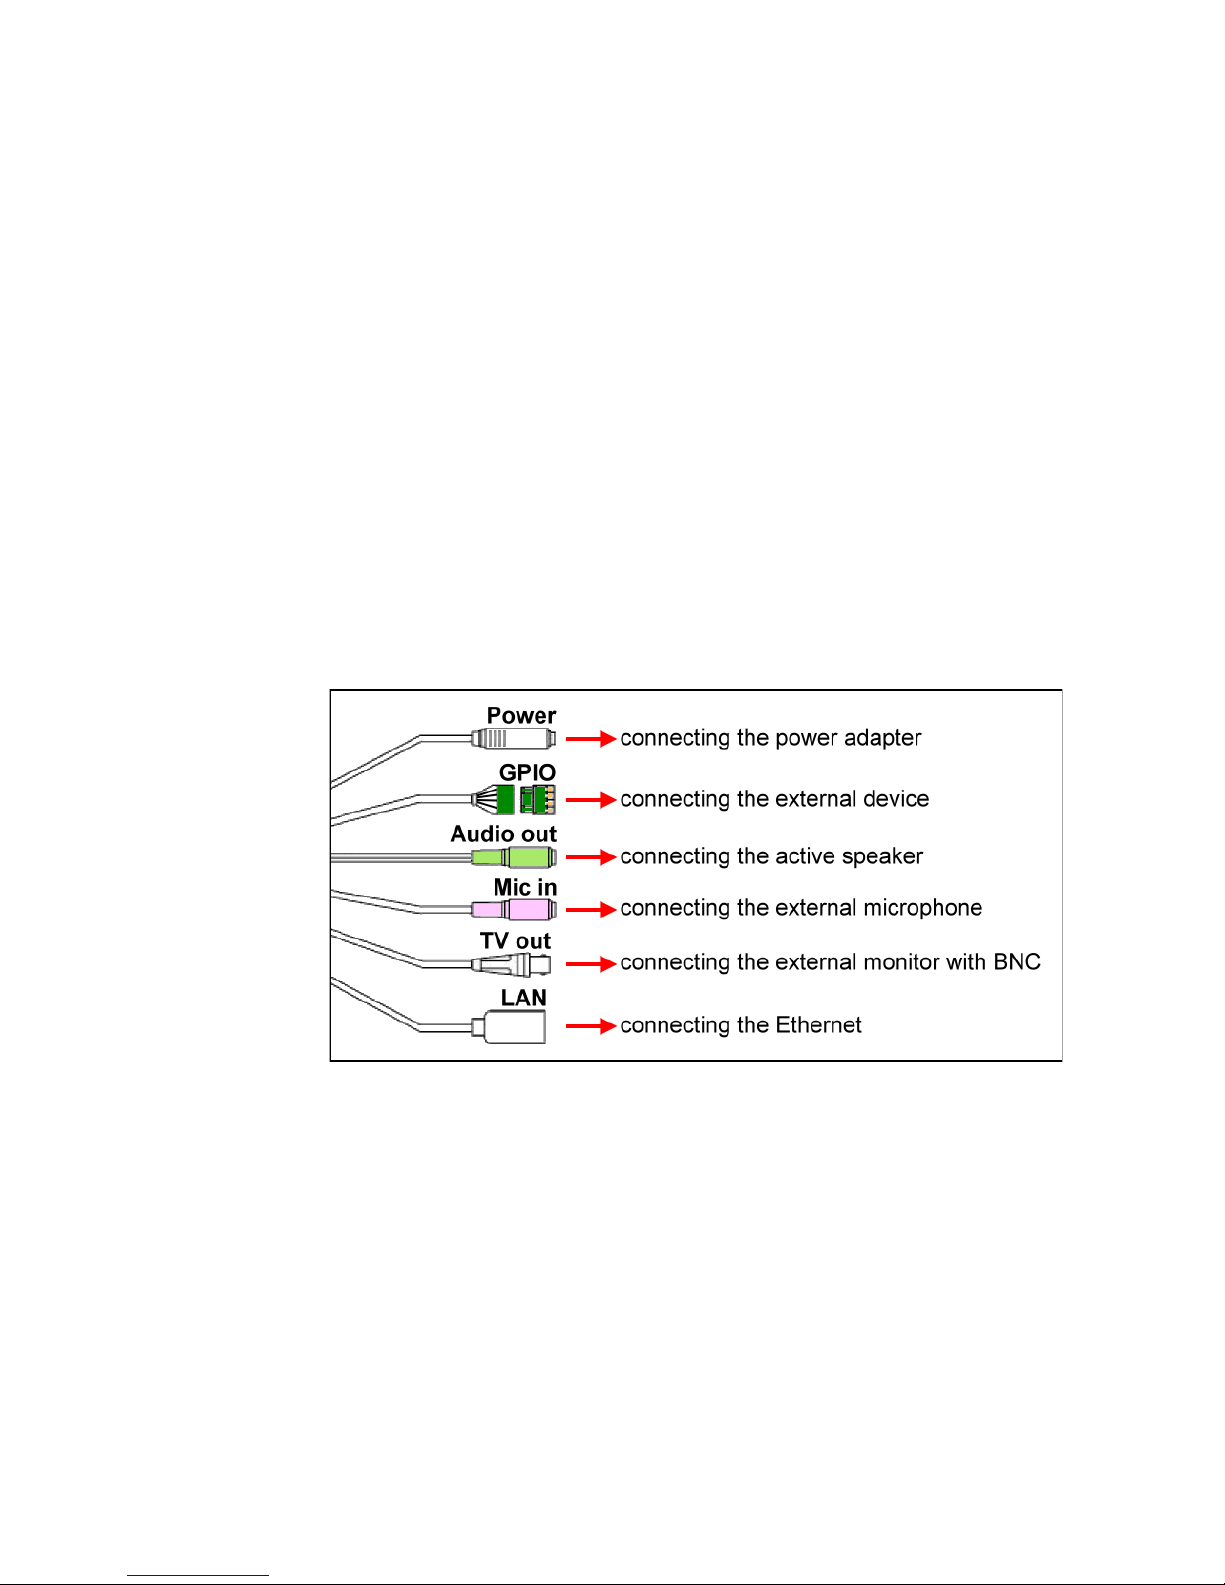
Inside Components
Unscrew the four screws to
disassemble the Dome cover.
Lens with the
adjustable base
LED indicators
Reset button
Link & Power switches
zReset button: Press the button to restart the camera. Press
and hold the button for five seconds, the camera will resume
the factory default settings.
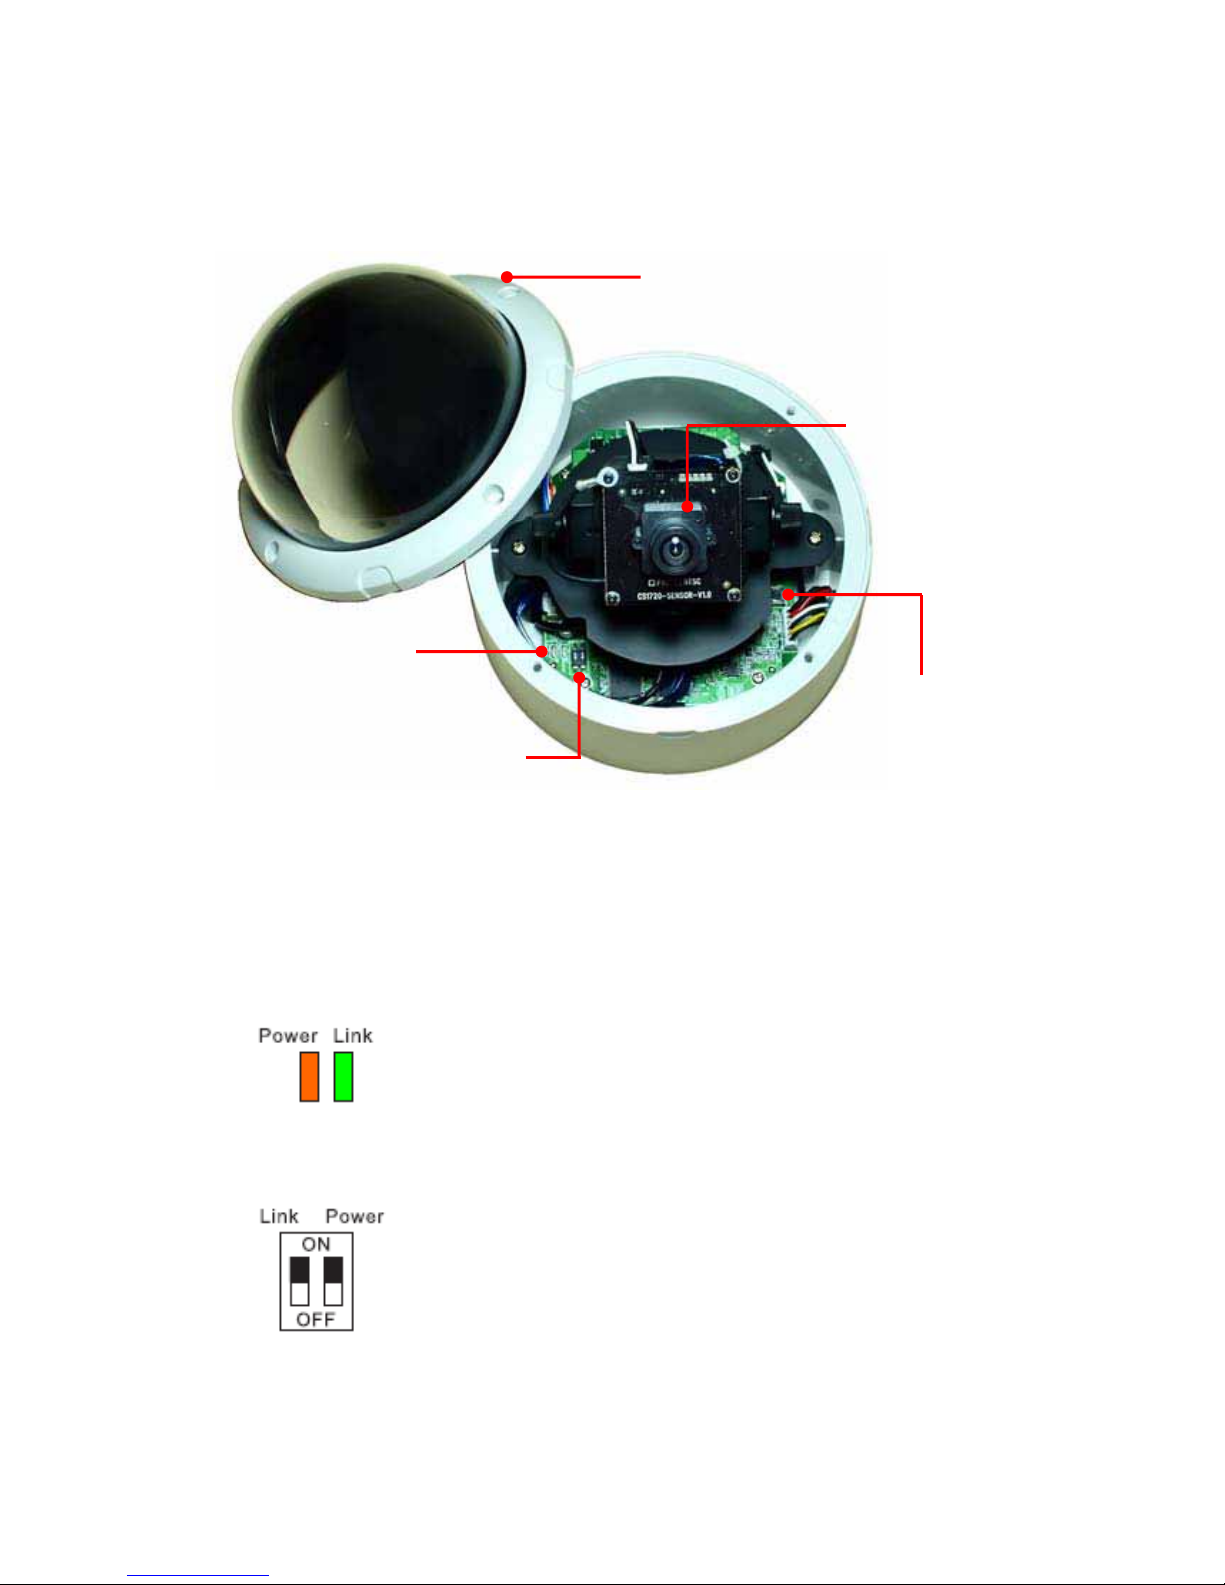
zLED indicators
-Power indicates the camera is powered
on with the steady amber light.
-Link indicates the camera’s network
connectivity with the flashing green light.
zLink & Power switches:
The two switches allow you to turn off the
LED indicators manually.
©MARMITEK
8

IPEyeAnywhere 470 ™ 9
1.3 Features and Benefits
zMPEG4/MJPEG Dual-codec Supported
The camera provides you with excellent images by the
MPEG4/MJPEG dual-codec selectable technology, allowing
you to adjust image size and quality, and bit rate according to
the networking environment.
zFlexible Audio Capability
The camera allows you to connect the external microphone to
receive on-the-spot audio via the Internet, allowing you to
monitor the on-site voice. In addition, you can connect an
external active speaker to the camera to speak through the
camera (supporting mono audio only).
zSupports RTSP
The camera supports RTSP (Real Time Streaming Protocol),
which is a technology that allows you to view streaming media
via the network. You can view the real-time video with the
Quick Time player or RealPlayer. To view the real-time
streaming image on your computer, open the Web browser
and enter the RTSP link:
rtsp://(IP address of the camera)/mpeg4.
zRemote Control Supported
By using a standard Web browser or the bundled UltraView
software application, the administrator can easily change the
configuration of the camera via Intranet or Internet. In addition,
the camera can be upgraded remotely when a new firmware is
available. The users are also allowed to monitor the image
and take snapshots via the network.
Altri manuali per IP EYE ANYWHERE 470 - ADVANCED
1
Indice
Altri manuali Marmitek Telecamera di sicurezza

Marmitek
Marmitek IP EYE ANYWHERE 470 - ADVANCED Manuale utente

Marmitek
Marmitek MEGACAM4 Manuale utente

Marmitek
Marmitek MEGACAM1 Manuale utente

Marmitek
Marmitek Gigacam none Manuale utente

Marmitek
Marmitek SD Memory CAM2 Manuale utente

Marmitek
Marmitek IP RoboCam541 Guida all'installazione

Marmitek
Marmitek IP EYE ANYWHERE 10 - ADVANCED Manuale utente

Marmitek
Marmitek IP EYE ANYWHERE - QUICK Manuale utente

Marmitek
Marmitek IP EYE ANYWHERE 21 - SOFTWARE ULTRAVIEW Guida all'installazione


