Maxtor MaxAttach NAS 3000 Manuale utente

MaxAttach NAS 3000
Installation Guide

Contents
1Box Contents 1
2Product Overview 1
Unit Information 1
Necessary Equipment for Installation 1
3Installing the MaxAttach NAS 3000 Unit 2
Connect MaxAttach to your network 2
Installing the MaxNeighborhood Software 2
4Launching the Configuration Wizard 3
Setting the Clock 4
Assigning the Administrator Password 4
Assigning a Unit Name and Workgroup 5
Assigning an IP Address 6
5Registering MaxAttach 7
6Administering MaxAttach 7
Launching the MaxAttach Administration Program 7
Manage Users 7
Sharing Folders 7
Creating Access Rights and Security 8
Notifying Users of the New Folders/Shares 8
Manage Disk - 2 Disk Drives 8
Backup Configuration Settings 9
7Connecting a PC or Laptop to MaxAttach 10
8Restarting the System 10
9Logging Off 10
10 Troubleshooting 11
11 Determining the Status of Your Unit 13
Appendix A: DHCP Services 14
Appendix B: Backup 14
Appendix C: Important Safeguards 14
MaxAttach NAS 3000 Installation Guide

Technical Support is available at 1-800-4MAXTOR and at www.maxtor.com
© 2000 Maxtor Corporation. All rights reserved. Maxtor is a registered trademark of Maxtor Corporation.
MaxAttach and MaxNeighborhood are trademarks of Maxtor Corporation. Other product, company names and
logos are trademarks or registered trademarks of their respective owners. Specifications subject to change without
notice. Revisions: Maxtor reserves the right to revise this publication and to make changes in the content hereof
without the obligation of Maxtor to notify any person of such revision or changes.
Printed in the U.S.A. 06/00 1466B

MaxAttach NAS 3000 Installation Guide
1
Box Contents
The MaxAttach
™
NAS 3000 box contains:
❍
MaxAttach NAS 3000 Network Storage Appliance
❍
Quick Start Guide
❍
Installation Guide
❍
Power Adapter and Power Cord
❍
Six Foot Category 5 10/100 Mbps Ethernet LAN Cable
❍
CD-ROM Containing MaxNeighborhood
™
Client Software
❍
CD-ROM Containing Reflect-It
™
Back-up Software
❍
Warranty Registration Card
2
Product Overview
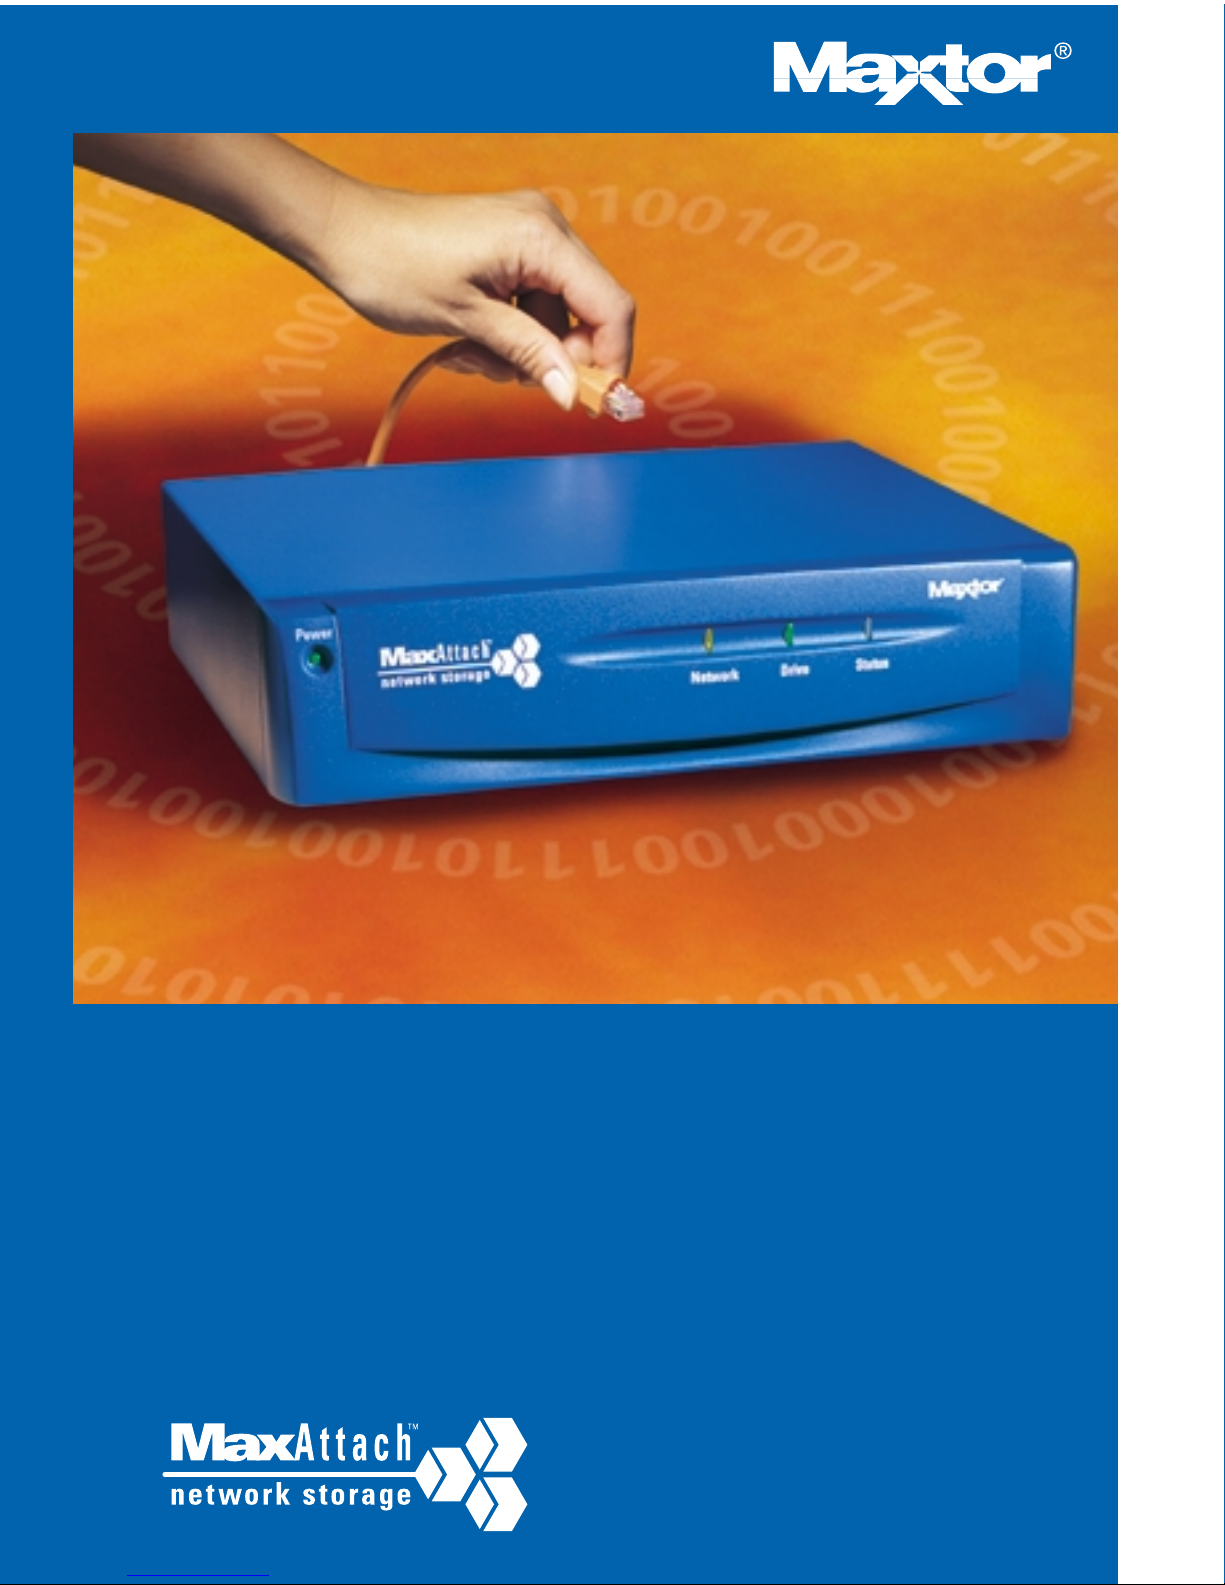
Your MaxAttach unit comes ready to install with all the required software. It works in
a 10/100 Mbps Ethernet network, and is administered using a web browser. It includes
MaxNeighborhood, a software utility that helps you locate the unit on your network and
launch the browser-based graphical user interface.
Unit Information
Please record the following information found on the bottom of the MaxAttach unit. This
information will be needed to identify your unit for configuration or Maxtor Support.
❍
Model Number:
❍
Serial Number/Device ID:
Necessary Equipment for Installation
To connect, install and administer your MaxAttach NAS 3000, you will need a network
hub or switch. You will also need the following capabilities on your workstation:
❍
Windows 95/98/NT (SP5) /2000 with network access
❍
Internet Explorer v4.01 or later, or Netscape v4.08 or later
❍
TCP/IP Enabled. If you do not have TCP/IP enabled, please see
Troubleshooting Section 10.1
❍
10/100 Mbps Ethernet Network Interface Card, (NIC)
❍
Software drivers for the NIC
❍
CD-ROM drive
1

3. When the installation is complete, you will be given the option to launch.
To launch, click FINISH. A MaxNeighborhood window will appear with a
“SEARCHING, Please Wait….” message. This message indicates that your
computer is searching for MaxAttach units. This process may take a few
minutes depending on your network configuration.
4. When the search is complete, the grid window will display the MaxAttach
unit(s) on your network. Under the Network tab, your screen will display the
status, the unit name, the IP address and workgroup name of each unit.
2
3
Installing the MaxAttach NAS 3000 Unit
3.1 Connect MaxAttach to Your Network
1. To connect the MaxAttach unit to the network, insert the cable that came with
the unit into the network connection on the back of MaxAttach. Insert the other
end into a 10/100 BASE-T Ethernet connection on your network hub or switch.
Use the power adapter and cord to connect the MaxAttach to a power source.
2.
Power on MaxAttach by pressing the On/Off button in the back of the unit.
On the
front panel of the box, the power light will flash for several minutes during
the power-up cycle. When the power light stops flashing and the network
light is on, your MaxAttach is ready to configure.
3.2 Installing the MaxNeighborhood Software
1. Use a computer system that is logged onto the network where the MaxAttach
unit is connected. Insert the self-launching CD in the CD-ROM and follow the
installation instructions on your screen. If the launch fails, please see
Troubleshooting Section 10.2.
2. If the launch succeeds, the welcome screen appears. To install
MaxNeighborhood, click the MaxNeighborhood button. The program now
walks you through the process.

3
4
Launching the Configuration Wizard
1. To launch the Configuration Wizard, highlight and double-click on the name of your
MaxAttach unit in the MaxNeighborhood window. The name will be “MA” plus the last
six digits of the unit serial number.
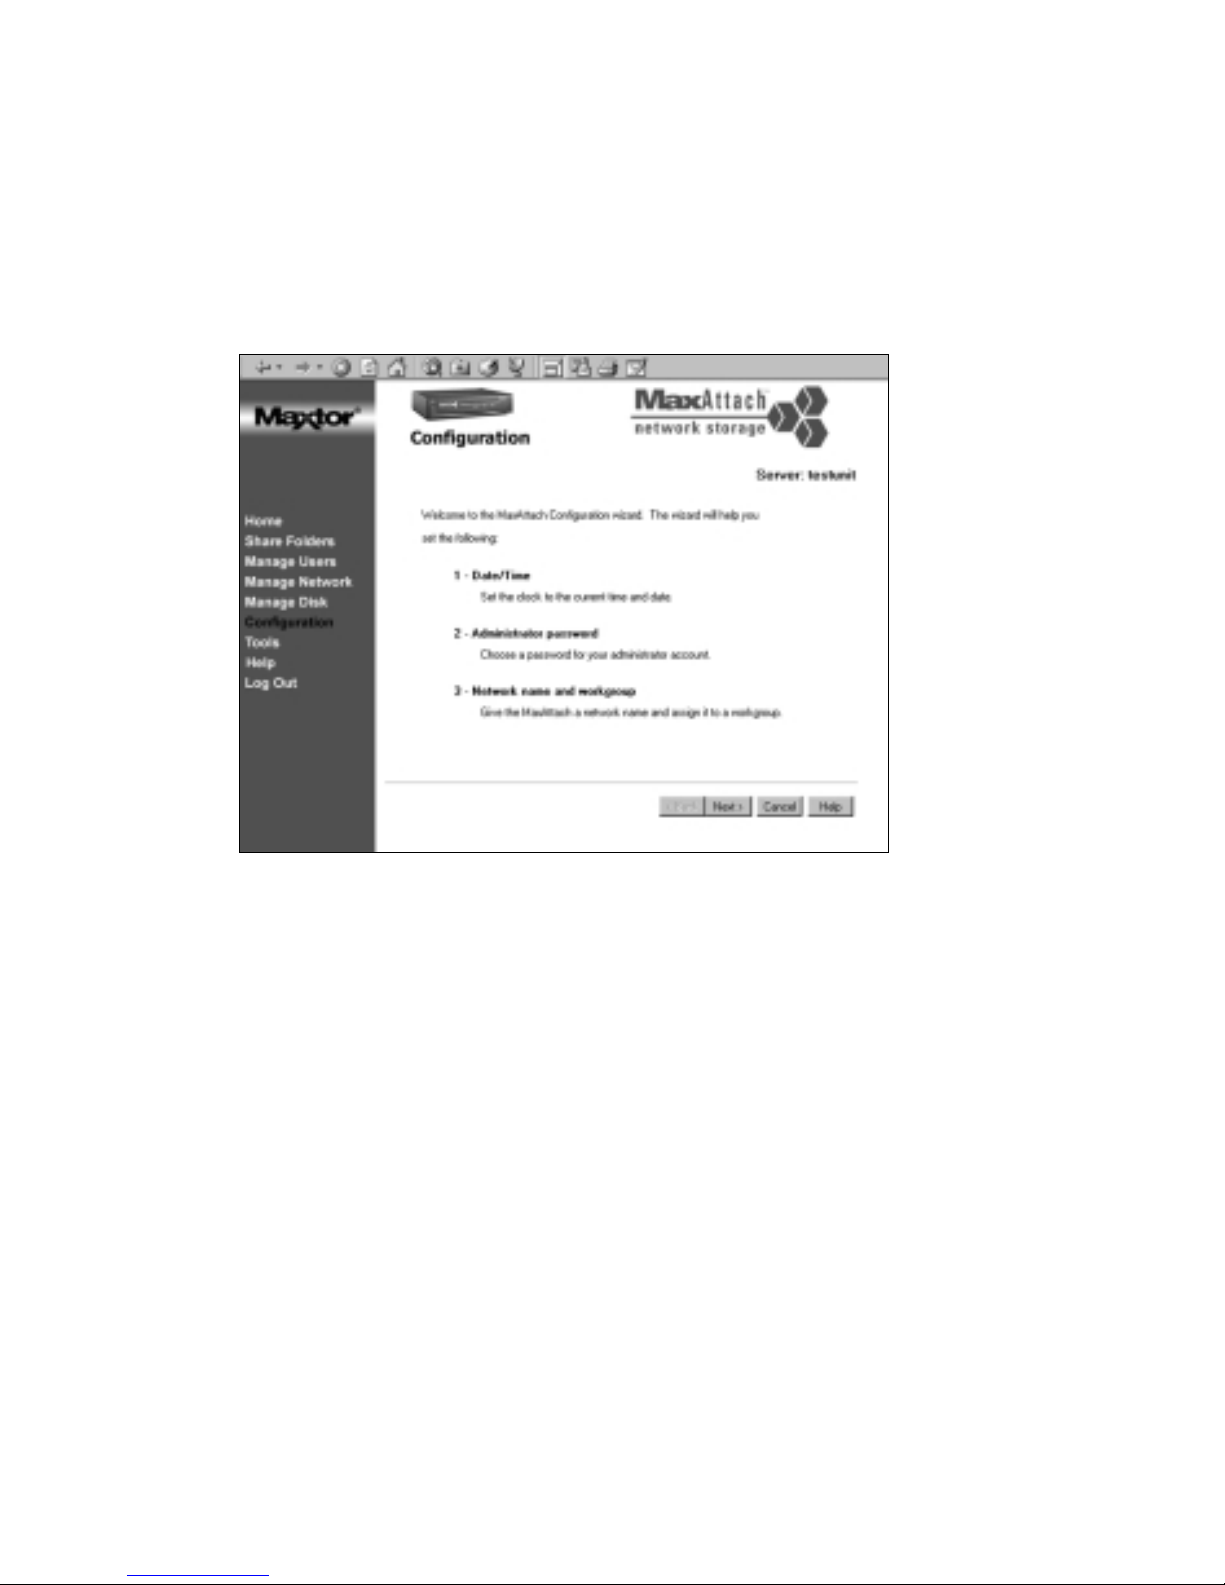
2. The Configuration Wizard will appear in your web browser window. It will walk you
through setting the clock, assigning an administrator password and assigning a unit
and workgroup name.
3. Click Next to get started. If the Configuration Wizard doesn’t launch, please
check Troubleshooting Section 10.4.

4
4.1 Setting the Clock
1. Fill in the fields as directed. If you have any questions, click Help.
2. If you and the unit are not located in the same time zone, you can enter
either your local time or the unit’s local time.
3. If you’re in daylight savings time, click the checkbox and the unit will adjust
the clock automatically. When completed, click Next.
4.2 Assigning an Administrator Password
1. Use this panel to create a password for the MaxAttach administrator
(probably you). Enter an easily remembered password and/or write it down.
2. When finished, click Next.

5
4.3 Assigning a Unit Name and Workgroup
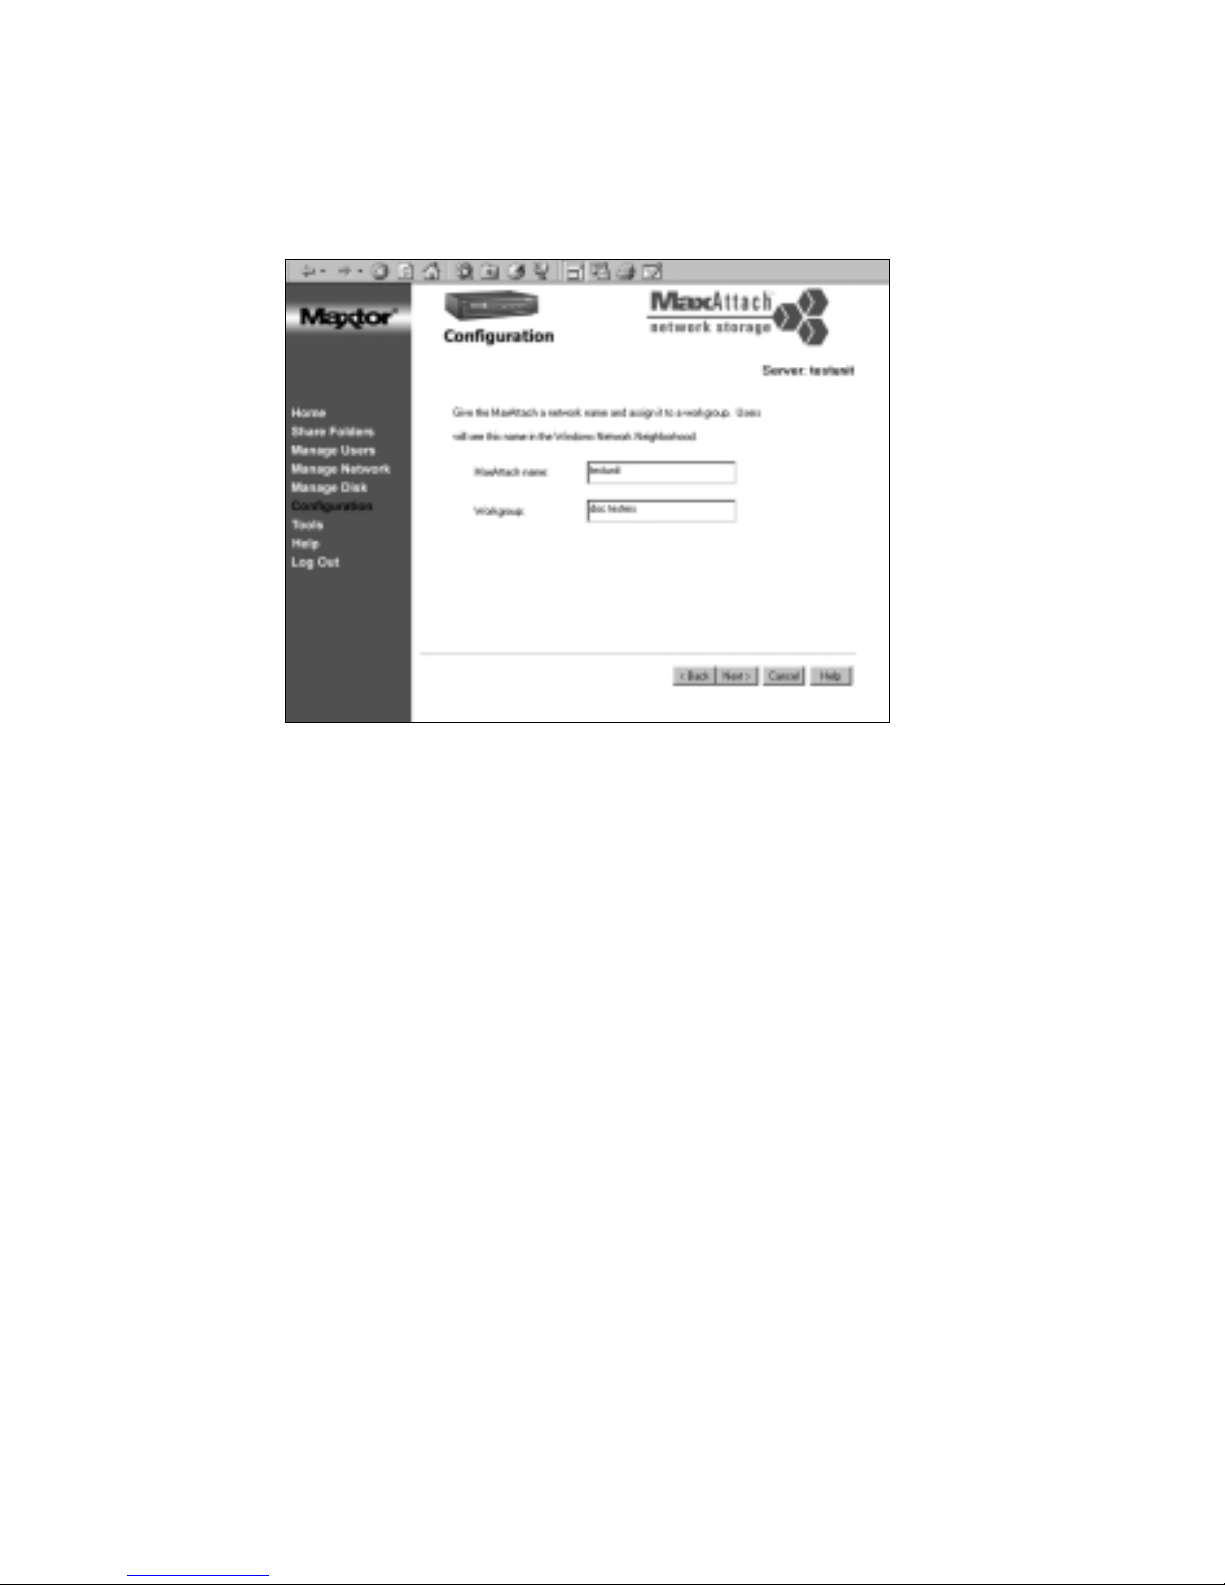
1. Enter a name for your unit, so users can find it in the Network Neighborhood
or Windows Explorer. When creating a unit name, be sure it is unique. It
should NOT have the same name as any other device on your network. You
can use up to 15 characters.
2. If you haven’t changed your PC or laptop’s workgroup name, the default name
will be Workgroup. We recommend that you use this default name. Click Next.
If you are not sure of the workgroup name or you can’t see the unit in the
Network Neighborhood, see Section 10.3.
3. If you see a panel asking you to assign an IP address, go to Section 4.4.
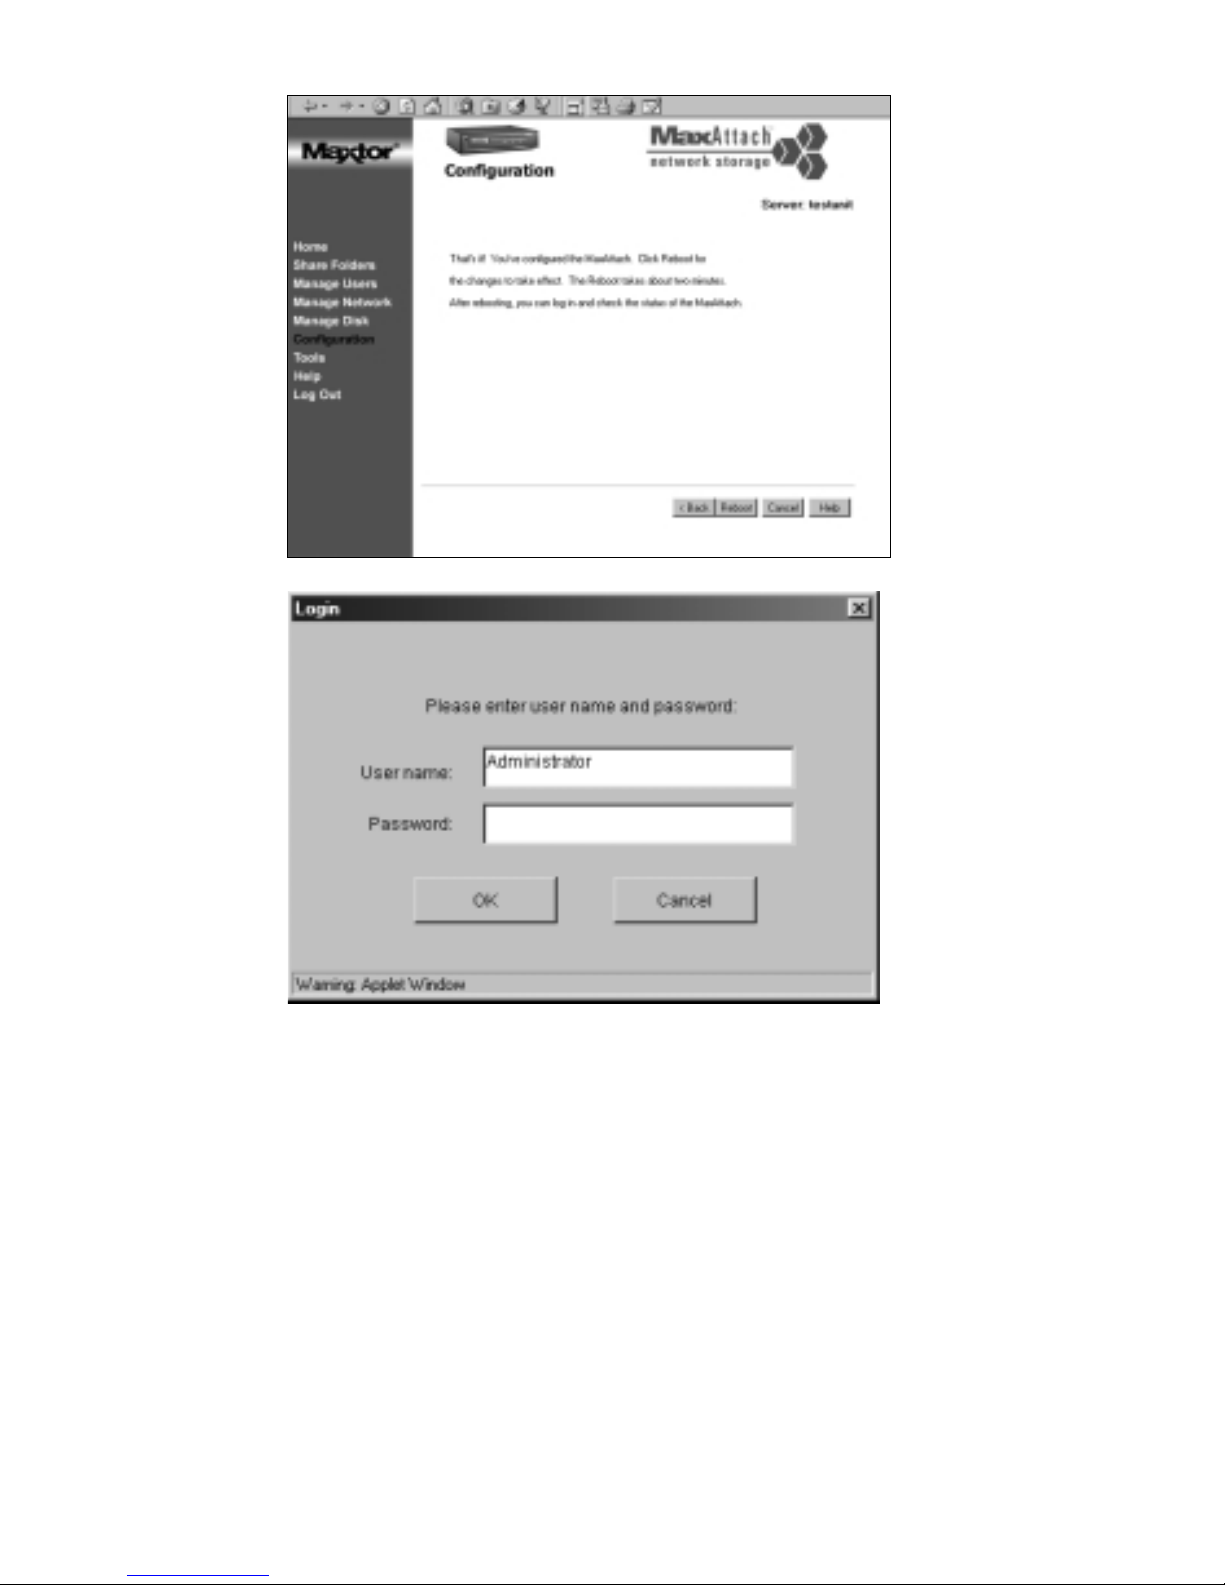
If you do not, the initial configuration process is done. Click Reboot.
4. When the Reboot is done, you will be asked to enter your password. Enter it,
then press the Enter key or click OK. Your unit is now ready for use. To register
your unit, continue to Section 5.

6
4.4 Assigning an IP Address
1. Not every unit will show a panel for assigning an IP address. If your unit
shows this panel, then your workstation is on a different subnet than your
MaxAttach unit. This means that your unit is acting as a DHCP server. Consult
your network administrator and assign a new IP address and subnet mask. If
you connect to the Internet using an ISDN line, consult your internet service
provider for an available IP address. Please refer to Appendix A for further
information on DHCP services.
2. After you have assigned an IP address, click Next. Then click Reboot. When
done, you will be asked to enter your password. Enter it, then press the Enter
key or click OK.
3. You now need to change the range of IP addresses that your MaxAttach unit
can assign. To do this, click on Manage Networks, and then click on the DHCP
server tab. Modify the range according to your new address. Click Apply.

5
Registering MaxAttach
Please register either online or by using the registration card that came with the unit.
1. To register online, insert the self-launching CD in the CD-ROM and follow the
instructions on your screen. If the launch fails, please see Section 10.2.
2. If the launch succeeds, the welcome screen appears. Click the Register Online button
and follow the prompts.
3. If you would like to set up security or further administer your unit, continue to Section 6.
6
Administering MaxAttach
After the MaxAttach unit has been initially configured, you can create users and groups,
build shares/folders and apply security or select NT Passthrough if you are using a
Primary Domain Controller. You can get to the administrator program either via a
browser or MaxNeighborhood.
6.1 Launching the MaxAttach Administration Program
Open MaxNeighborhood and double-click on the name of the MaxAttach you
wish to administer. An alternate method to MaxNeighborhood would be to
launch using your web browser.
6.2 Manage Users
1. To create users and groups, click Manage Users on the left navigation bar. Click
the Add New User button. Enter the user’s login name and password for the
Windows 95/98/NT system. Enter the password again and confirm it. Click OK.
2. You can now create a private/home folder for this user. To do this, click the
check box that says Private folder and click Apply. You are done. To create
additional users, click Add New User and repeat the process.
3. You can also create a group. A group is a collection of users with the same access
rights to folders. To create a group, click on the Groups Tab at the top. Click the
Add New Group button. Enter a group name and click OK. Click on the Group
Membership Tab at the top. Select the user or users you wish to add to a group(s).
Select the group, then click Add. Then click Apply.
4. You can also select a method for checking passwords. Click on the User Validation
tab and select MaxAttach (default) or Passthrough and click Apply. You are done.
6.3 Sharing Folders
1. There is already a public share in existence unless you have changed the fac-
tory default drive configuration. At this point, anyone connected to your unit
has access to this share.
2. To create a new share, click on Share Folders in the left navigation bar. A
screen will appear with default folders. If you have created any private fold-
ers, they will also appear. Choose your folder, and then click the New Folder
button. Enter a name for your new folder. Click OK.
7
Altri manuali per MaxAttach NAS 3000
3
Indice
Altri manuali Maxtor Hardware di rete
Manuali Hardware di rete popolari di altre marche

Matrix Switch Corporation
Matrix Switch Corporation MSC-HD161DEL Manuale utente

B&B Electronics
B&B Electronics ZXT9-IO-222R2 Manuale utente

Yudor
Yudor YDS-16 Manuale utente

D-Link
D-Link ShareCenter DNS-320L Manuale utente

Samsung
Samsung ES1642dc Istruzioni per l’uso

Honeywell Home
Honeywell Home LTEM-PV Istruzioni per il montaggio