SYSTEM SETUP
2
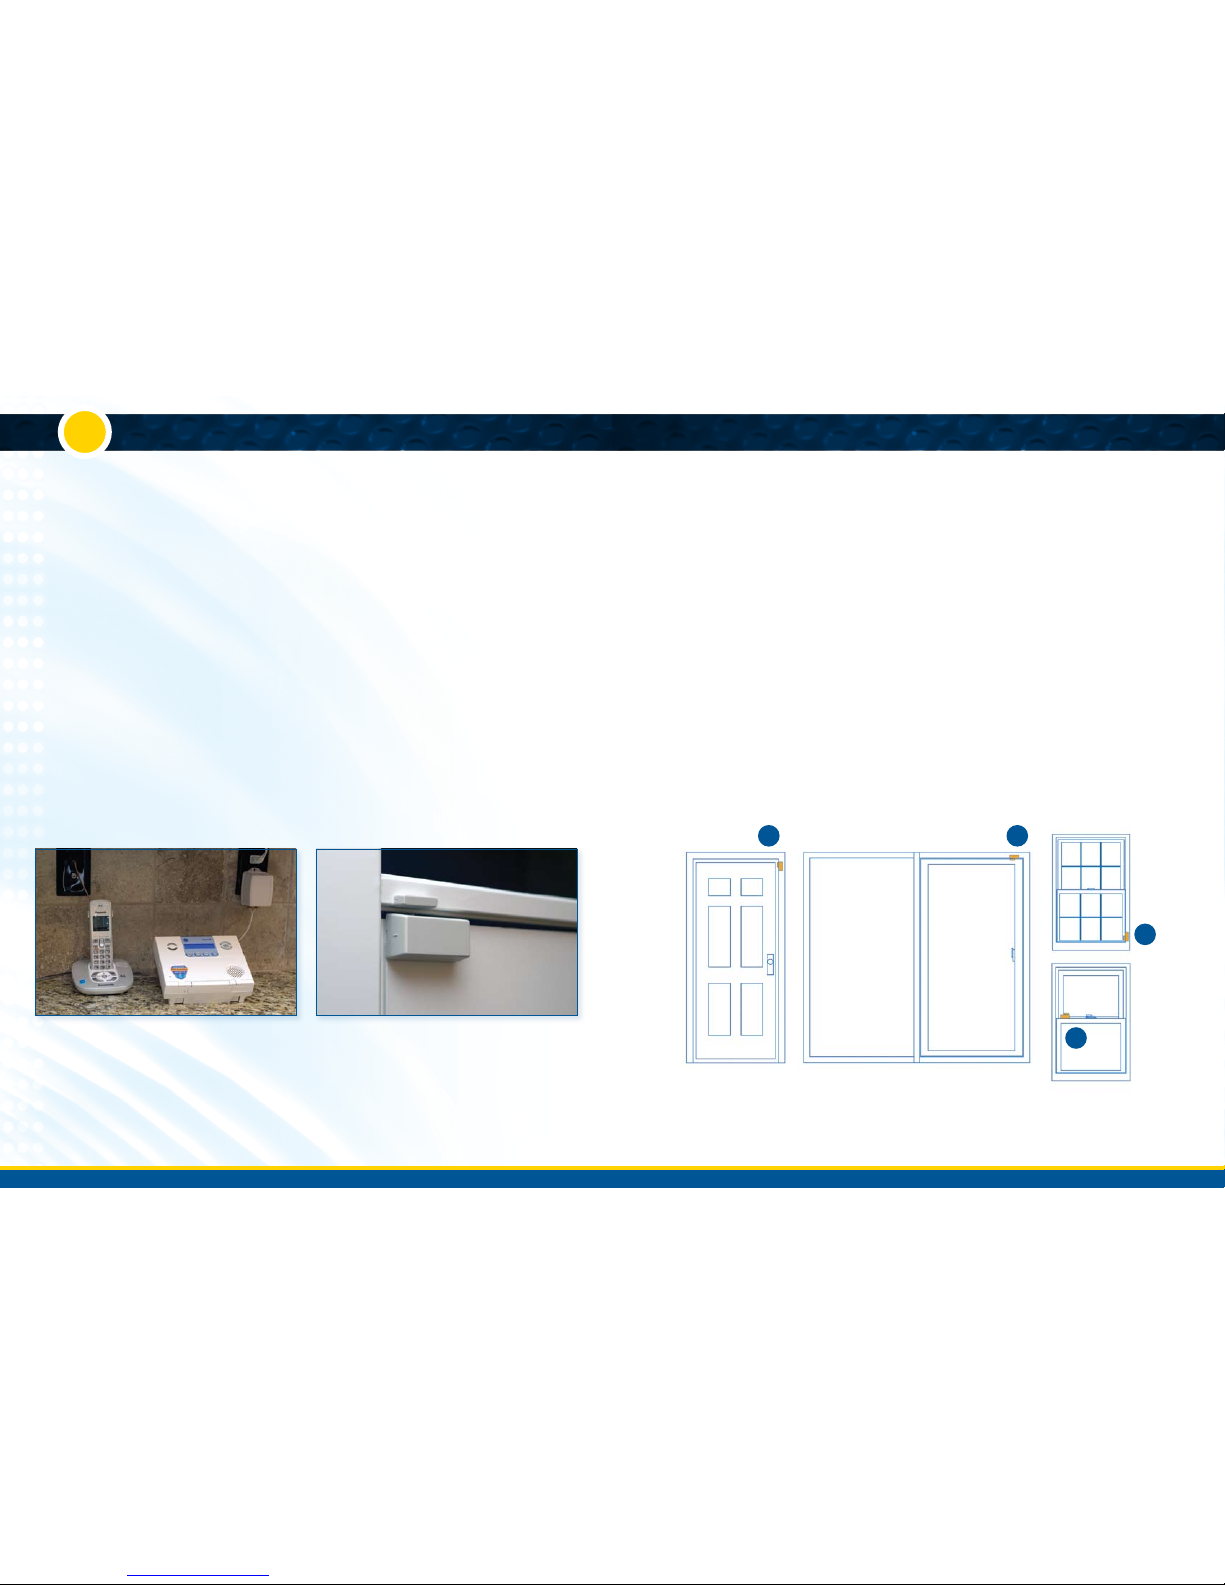
1. Using the diagram below for placement tips, determine the
best sensor orientation to fit your door/window frame.
Door Mounting Tip: You can put the transmitter (larger
piece) on either the door or the door frame. If your door
frame has decorative molding, you may find it easier to place
the transmitter on the door itself and the magnet (smaller
piece) on the door frame instead.
2. Clean and dry the area where you will mount your sensors.
It is best to clean window surfaces with rubbing alcohol.
Remove the adhesive backing on the sensor, press firmly
into place, and hold for about 20 seconds.
Sensor Placement Tip: For optimal signal strength, install
your sensors within 100 feet of the control panel.
Each piece of the sensor has a small arrow on one side.
When you install the sensor, be sure these arrows line up
within ¾ inch of each other.
3. To audibly test the opening of sensors, enable the “Chime”
feature on the Control Panel. Use the menu buttons that
appear in a circular pattern at the top right-hand corner
of the Control Panel. Scroll up or down to the “Chime Off”
screen, press the center arrow select button, scroll to “On,”
and press the select button again. Your panel should
then chime when the two pieces of a Door/Window
Sensor separate.
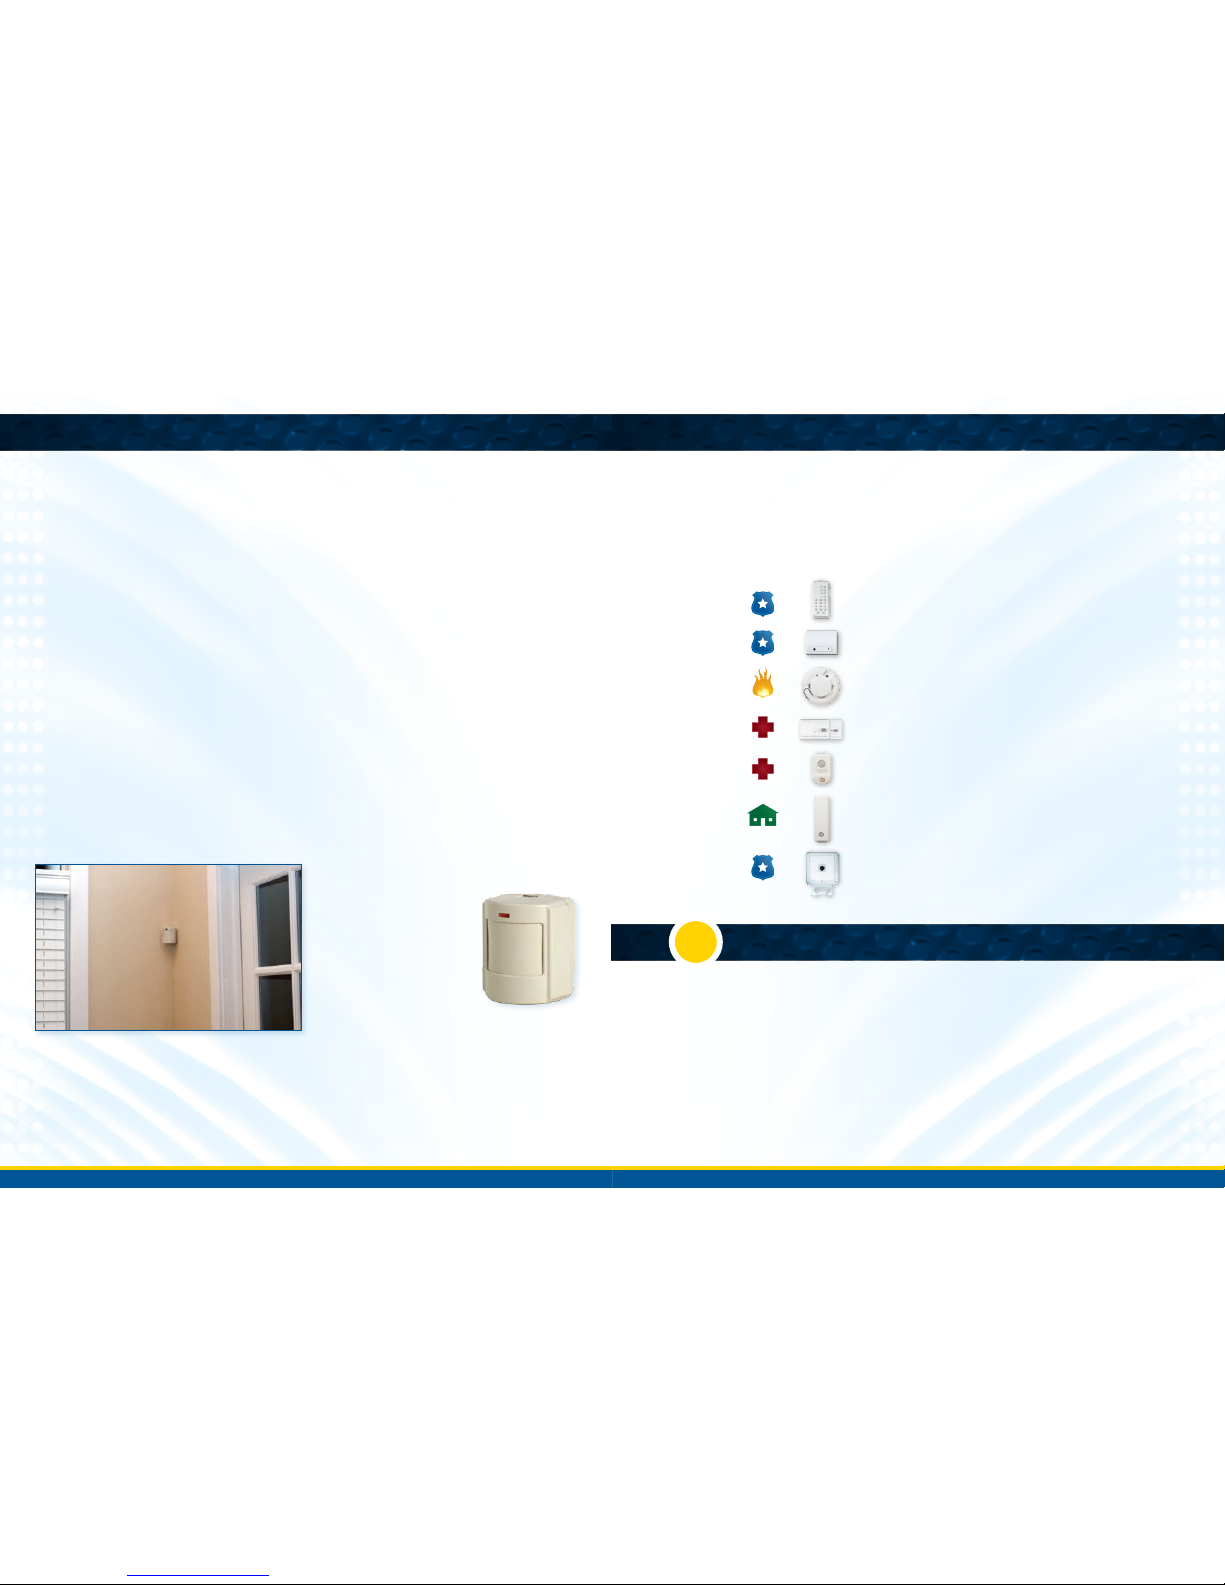
WHERE TO PLACE DOOR SENSORS
Recommended
• Oneoneachdoorleadingoutsidethehome
• Typicallyafrontandbackdoor
• Indoorsinatemperature-controlledarea
Optional
• Oneasilyaccessibleexteriorwindows(othersecurity
options for these windows include Motion or Glass
Break sensors)
• Onanythingthatopensandclosesinsidethehouse
(For example, cabinets, drawers, or safes)
1
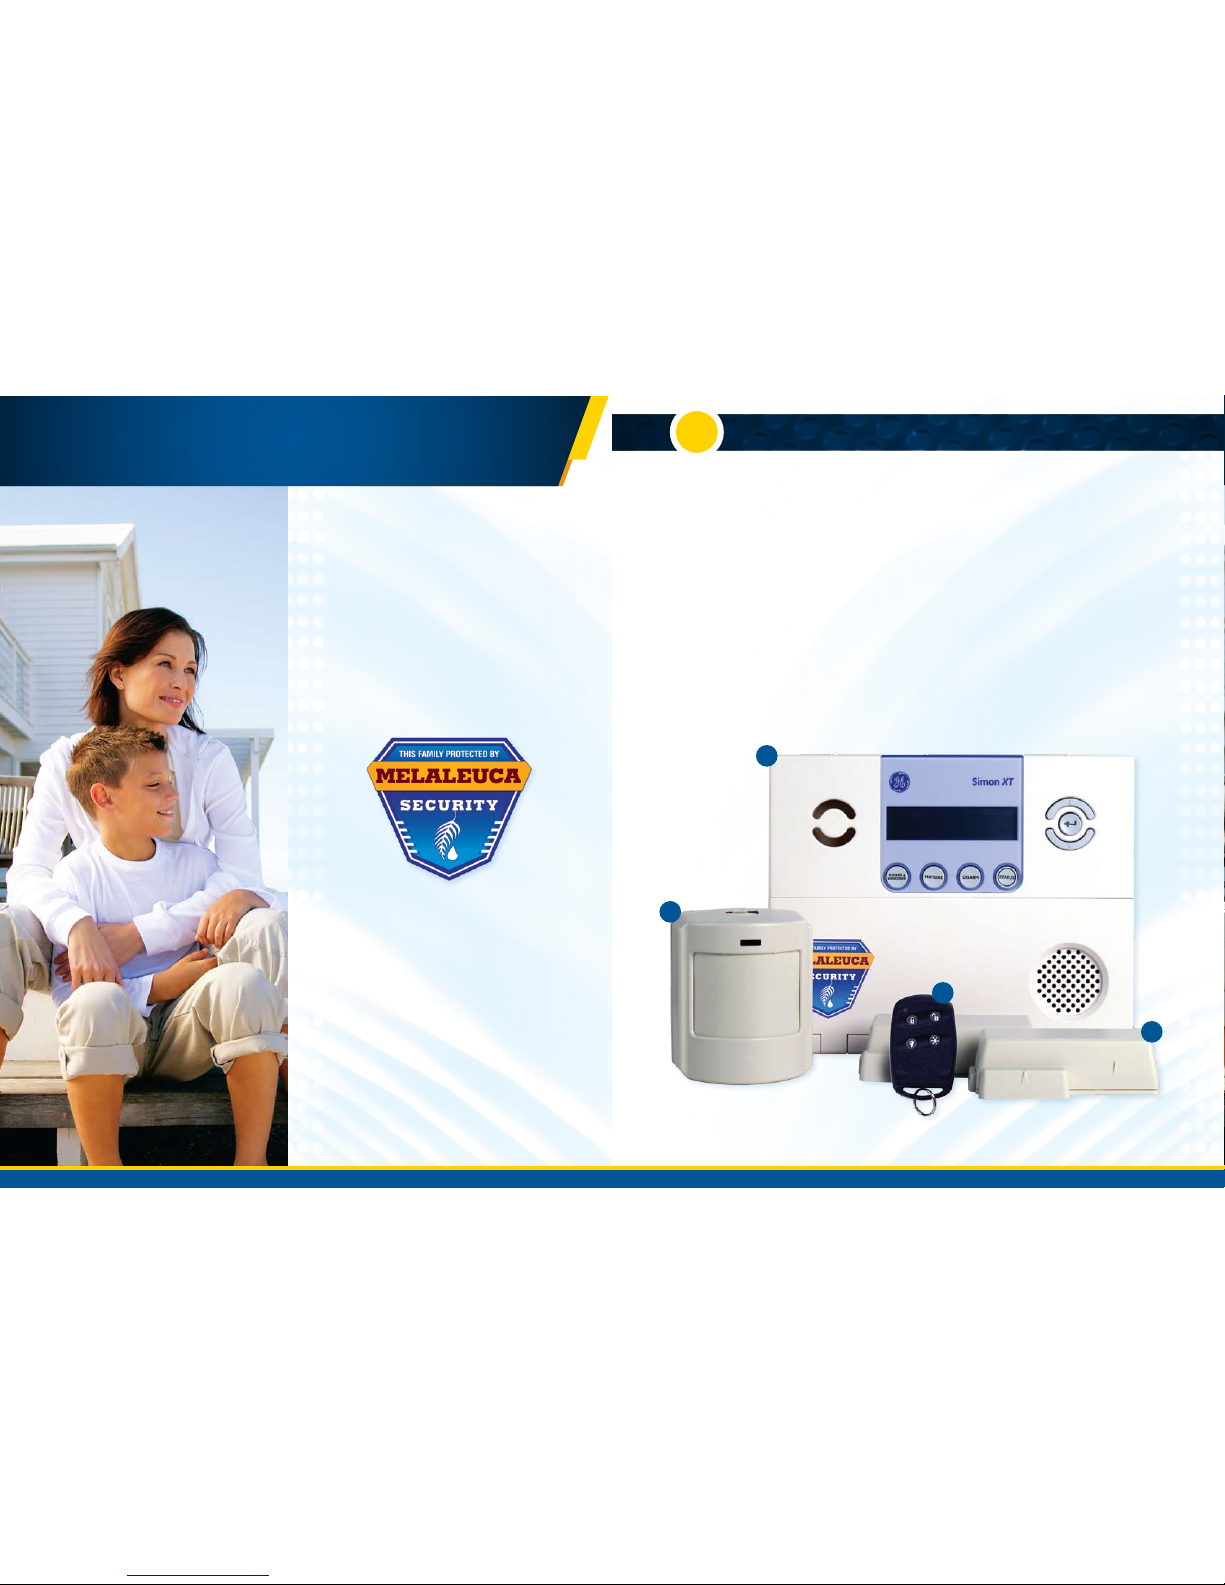
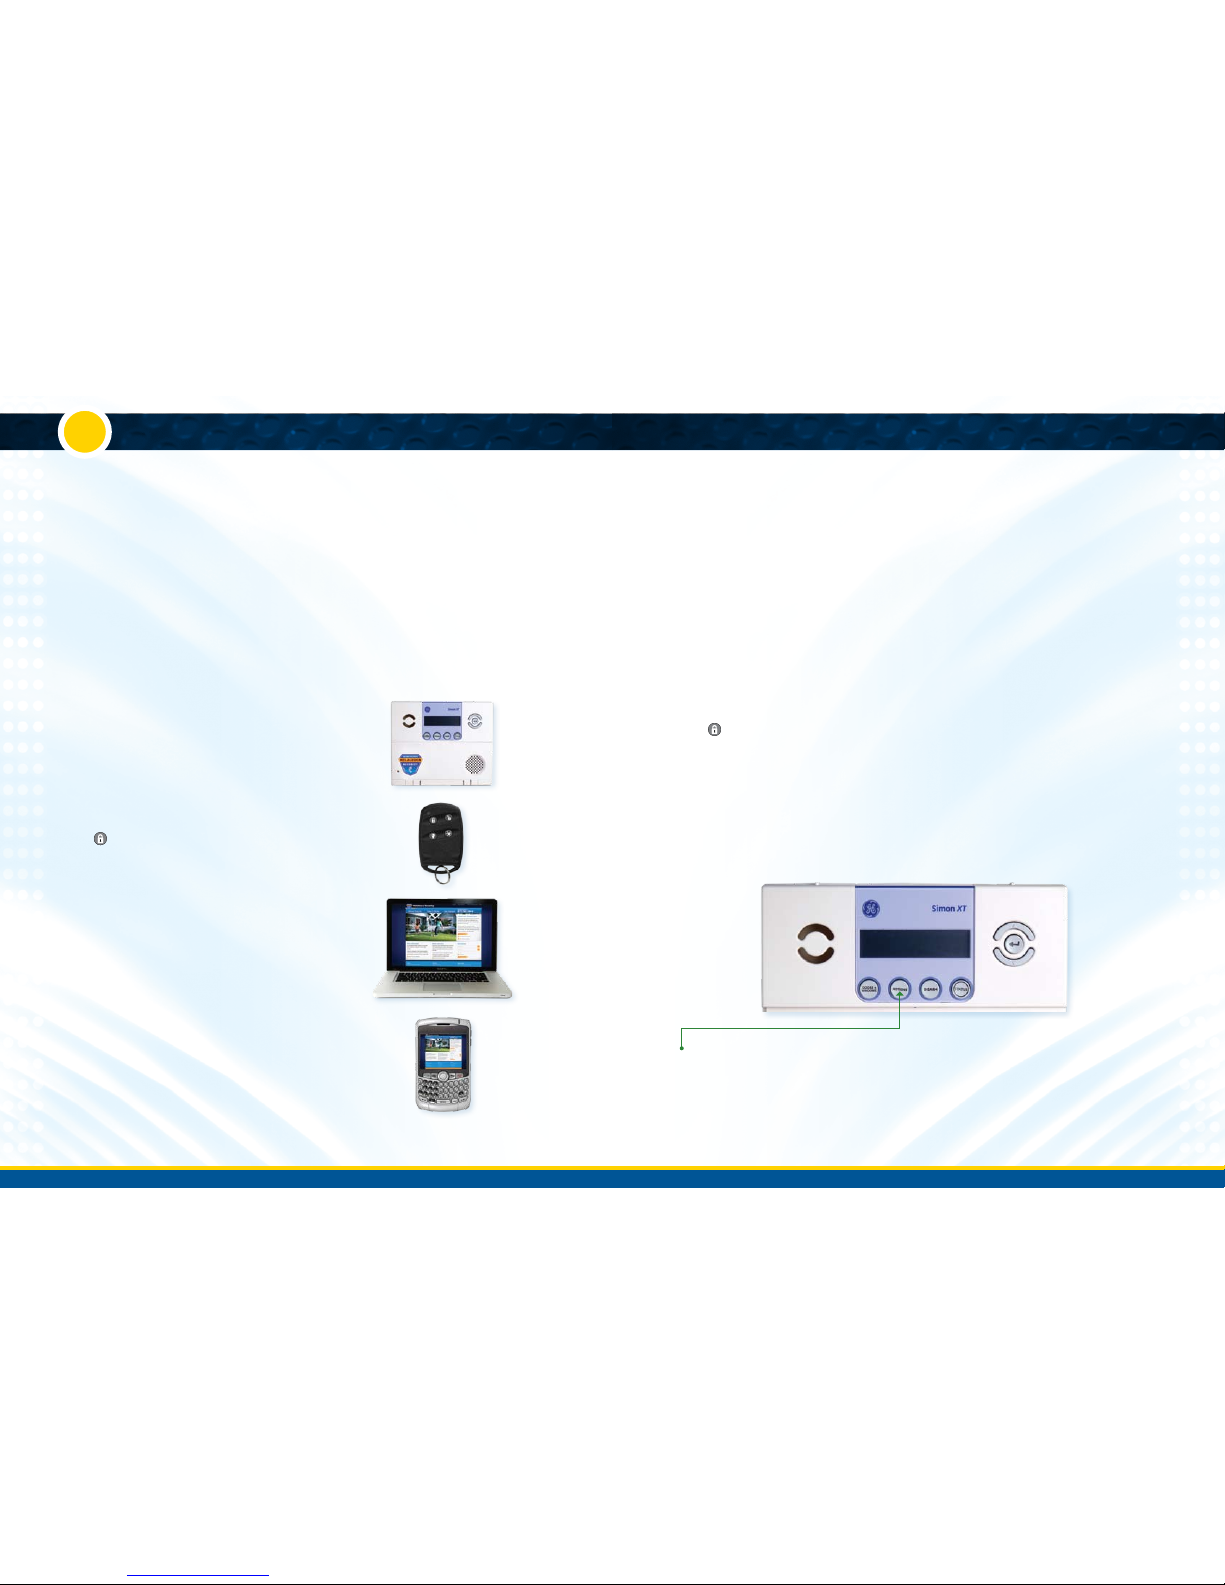
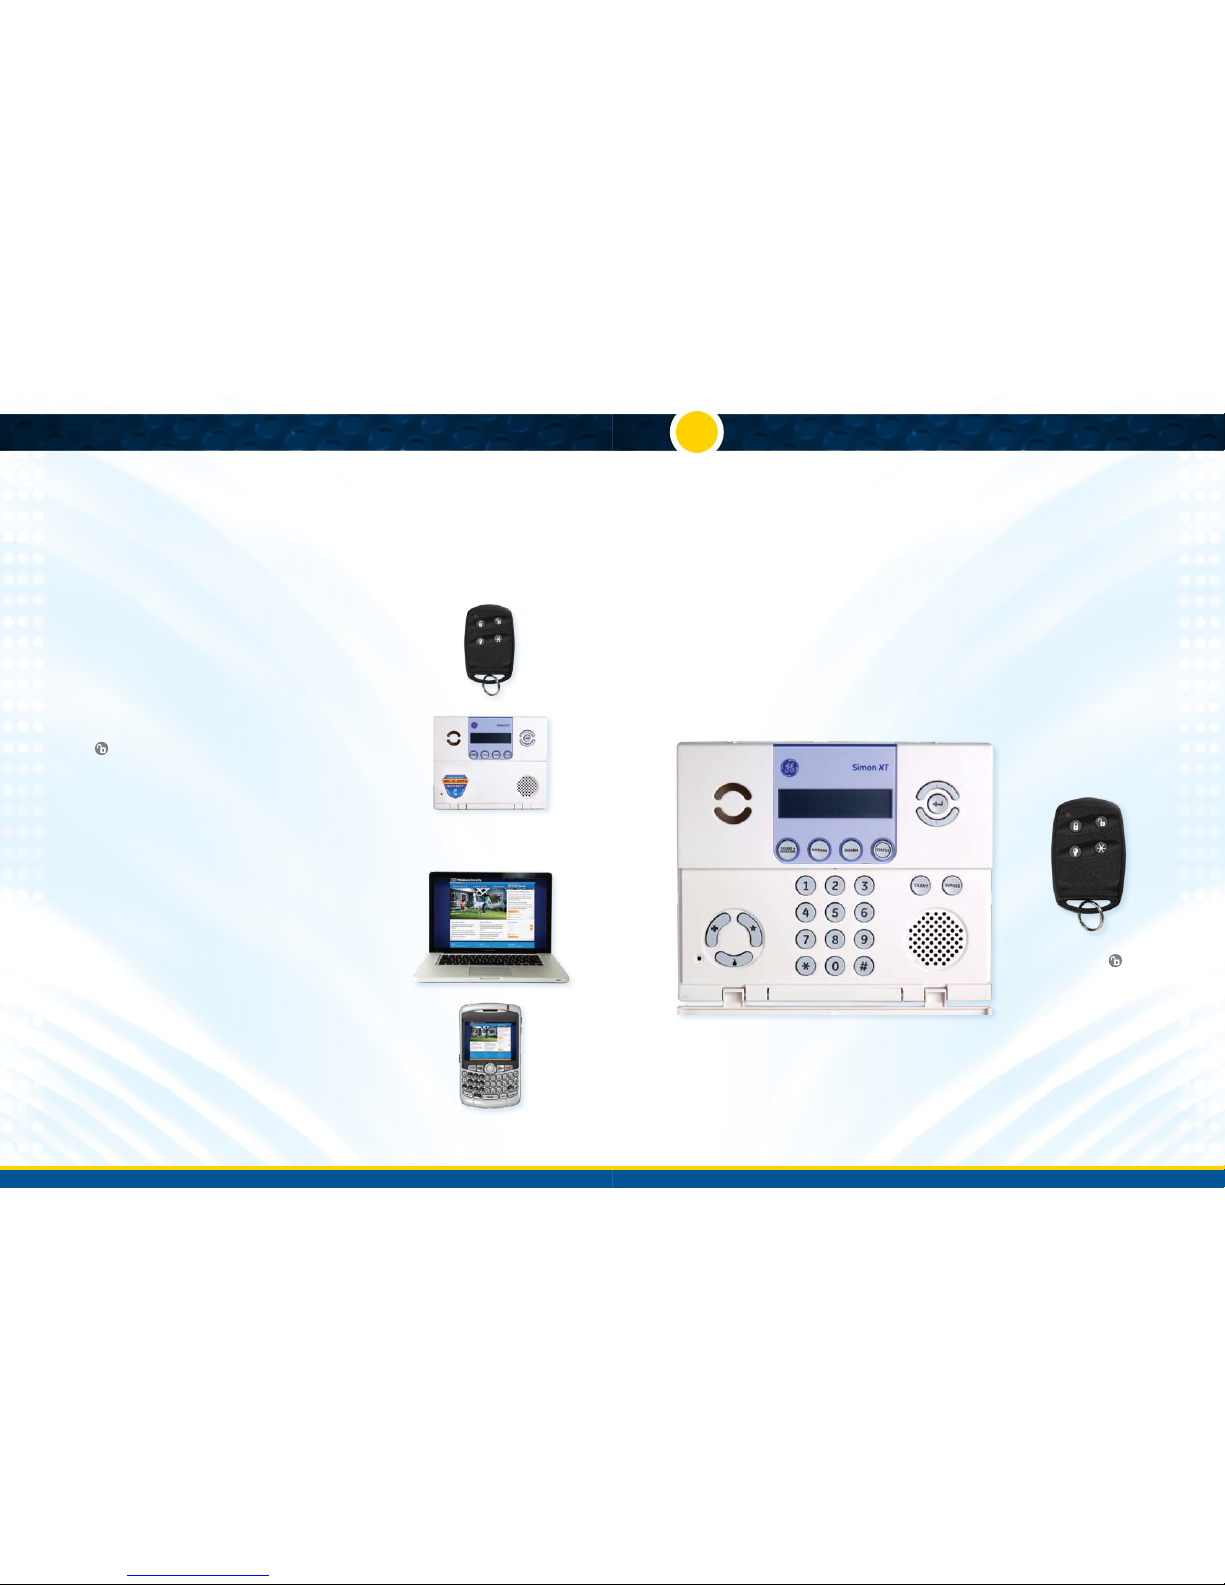
A. Control Panel Placement and Setup
If you have selected the Interactive Security package with
the optional cellular communicator, connect the antenna
by screwing it into the hole in the top of the control panel.
Connect the battery by pushing the red connectors on the
back of the control panel together until the metal part of
the plug is completely hidden.
• Yourcontrolpanelwillnowbeep.
• Pushtheredbatterywirecompletelyintothekeypad.
If you have the Basic Security Package, your system will
communicate with the Central Monitoring Station over your
landline phone. Plug the Control Panel’s phone cord into the
phone jack you’ve chosen to use. To connect a telephone
through the same jack, plug the telephone line into the
back of the Control Panel.
Run a phone test after connecting the Control Panel to your
landline. Scroll to “Systems Test” and press Enter. Enter
your User Code (1-2-3-4 or the code you selected when
you ordered your system). Scroll to “Comm Test” and press
enter. If the phone test succeeds, the LCD display will read
“Comm Test OK” in about two minutes. If you get a failure
notification, make sure your connections are correct and your
phone line is working. If the test fails a second time, call
877-760-3444 for assistance.
Follow these instructions to identify an ideal spot for
placing your Control Panel:
DO locate your control panel
• Inacentralareaofyourhome
• Aboveground(notinabasement)
• Onanyatsurfacesuchasacounter,tabletop,
or shelf (unless wall-mounting)
• Inaplacewhereitcanplugintoanon-switched/
non-ground fault interrupted (GFI) electrical outlet
(an outlet that is not controlled by a light switch and
that does not have a “test/reset” button)
* Within 6 feet of a phone jack, (unless you have
interactive cellular)
DO NOT locate your control panel…
• Nexttoanexteriordoororeasilyaccessiblewindow
(where an intruder would clearly see it)
• Inanon-centrallocationofyourhome,asitmight
prevent optimal communication with some of
your sensors
After selecting a good location for your Control Panel, verify
the battery has been connected. Place your Control Panel in
the desired location and plug the power cord into a nearby
non-switched electrical outlet.
B. Device Placement
Melaleuca Security uses wireless sensors to monitor activity in your home. Typical systems include Door/Window Sensors and
Motion Sensors. Metal objects, mirrors, and metallic wallpaper can affect the strength of wireless signals, interfering with the
communication between the Control Panel and your various sensors. Take care in placing sensors so they are not located next
to metal objects and mirrors. Review the suggestions below before deciding on where to place your sensors.
2
3
4
1.Standard Door, 2.Sliding Door, 3.Standard Window, 4.Double Hung Window
C. Door/Window Sensor Setup
B. Door Sensor placementA. Counter top Control Panel setup