10 11
OPERATING INSTRUCTIONS DRAINAGE INSTRUCTIONS
AUTOMATIC DEFROSTING
• In heating, the unit has automatic defrosting function. After defrosting, the machine will
automatically return to standby status.
OVERHEAT PROTECTION
• To protect the unit’s service life, the overheat protection protects the compressor and the
lower motor from overheating by ceasing operation.
• The unit will revert to standby mode once the unit recovers.
COMPRESSOR PROTECTION FUNCTION
• To increase the service life of the compressor, it has a 3-minute delay booting protection
function after the compressor is turned off.
CONTINUOUS DRAINAGE
(optional - applicable to dehumidifying mode
only), as shown in figure above:
1.Unscrew the drainage cover and unplug the
water plug.
2.Secure the drainage pipe into the water outlet.
3.Connect the drainage pipe to a bucket/pail.
CARE & CLEANING
IMPORTANT: Power off the unit and detach power plug from the power supply before
performing cleaning and maintenance.
CLEANING THE UNIT’S EXTERIOR
• Clean with surface of machine with a wet soft cloth.
• Do not use abrasive chemicals such as benzene, alcohol, gasoline, etc.; otherwise as
these may damage the unit’s exterior surface and finishing.
CLEANING THE FILTER SCREEN
• The unit will not operate optimally if the filter screen is clogged with dust.
• It is recommended to clean the filter screen once every two (2) weeks.
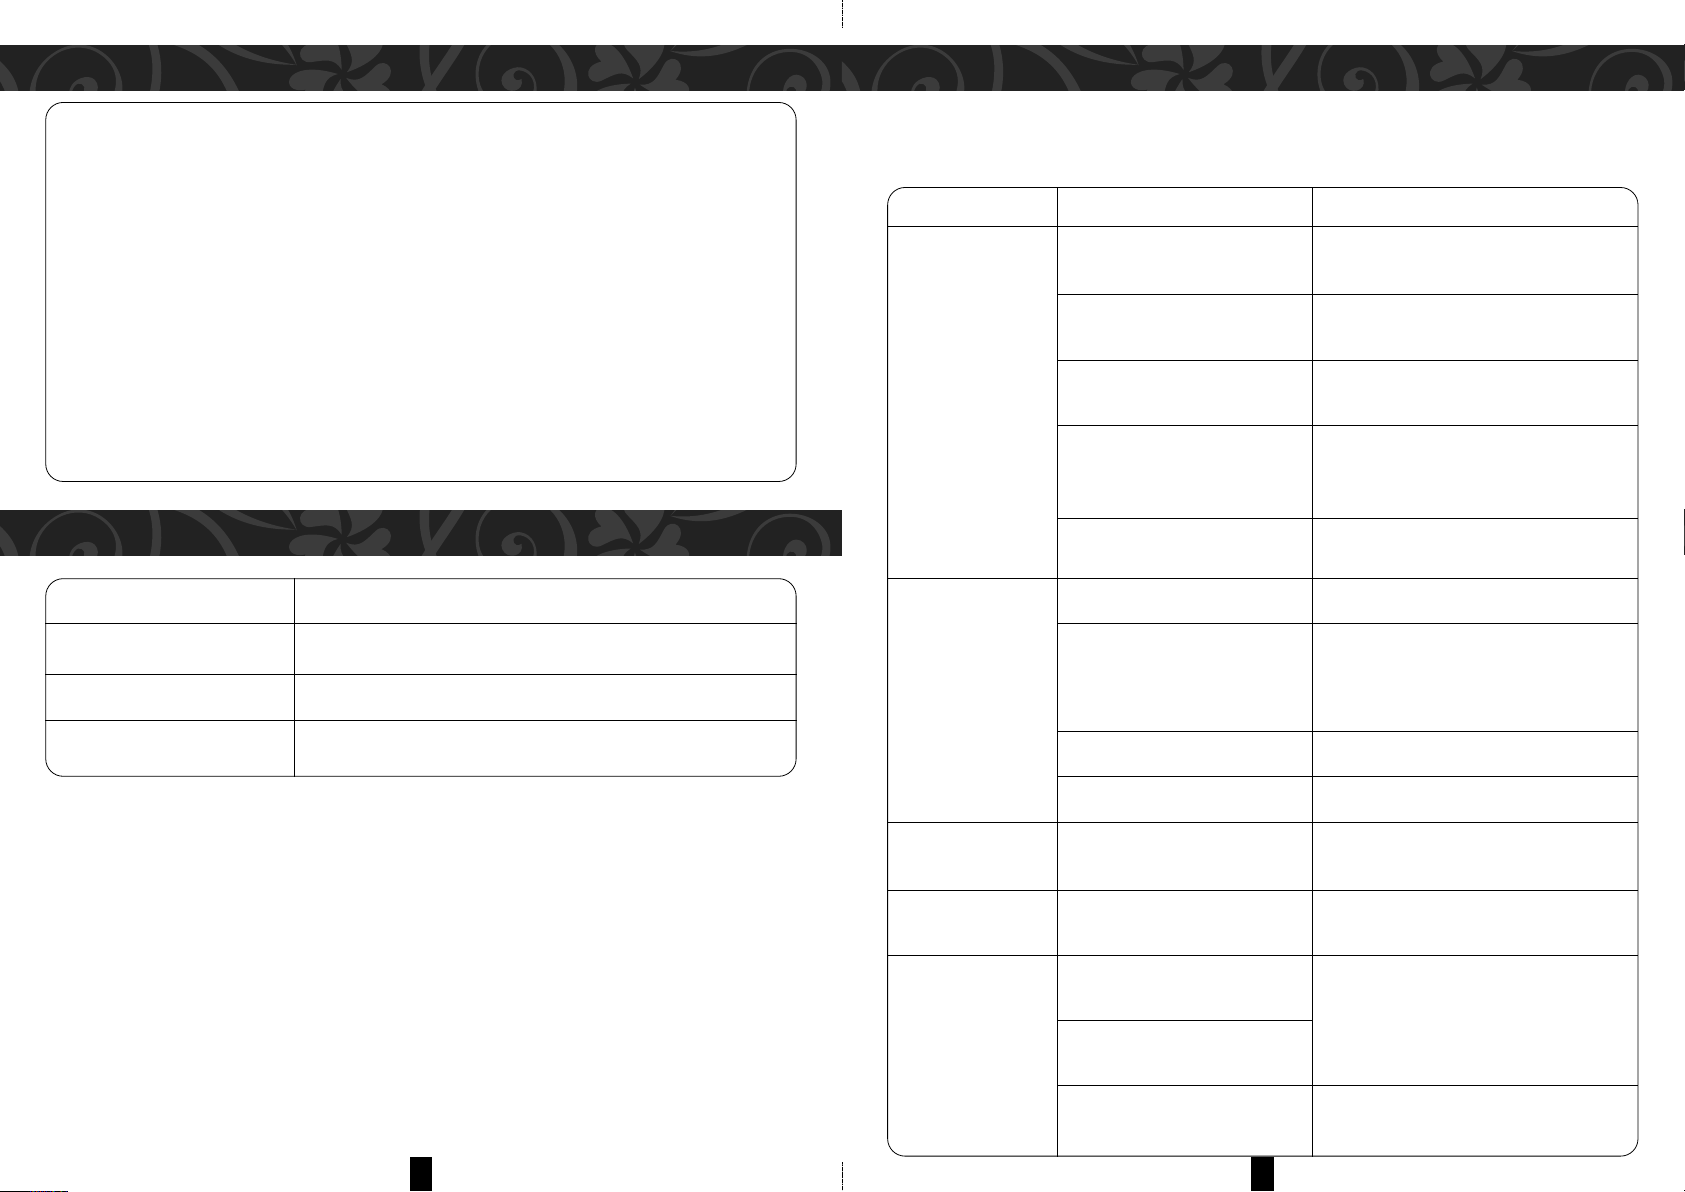
CLEANING THE UPPER FILTER SCREEN FRAME
• Clasp the wedging block of the EVA filter screen
frame with hands.
• Force down from the outside to remove the EVA
filter screen frame.
• Detach the four screws securing the EVA filter
screen and the rear housing to remove the
EVA filter screen (as shown in the above figure).
• Place the EVA filter screen into warm water with
neutral detergent (about 40°C / 104°F)
and dry it in the shade after rinsing clean.
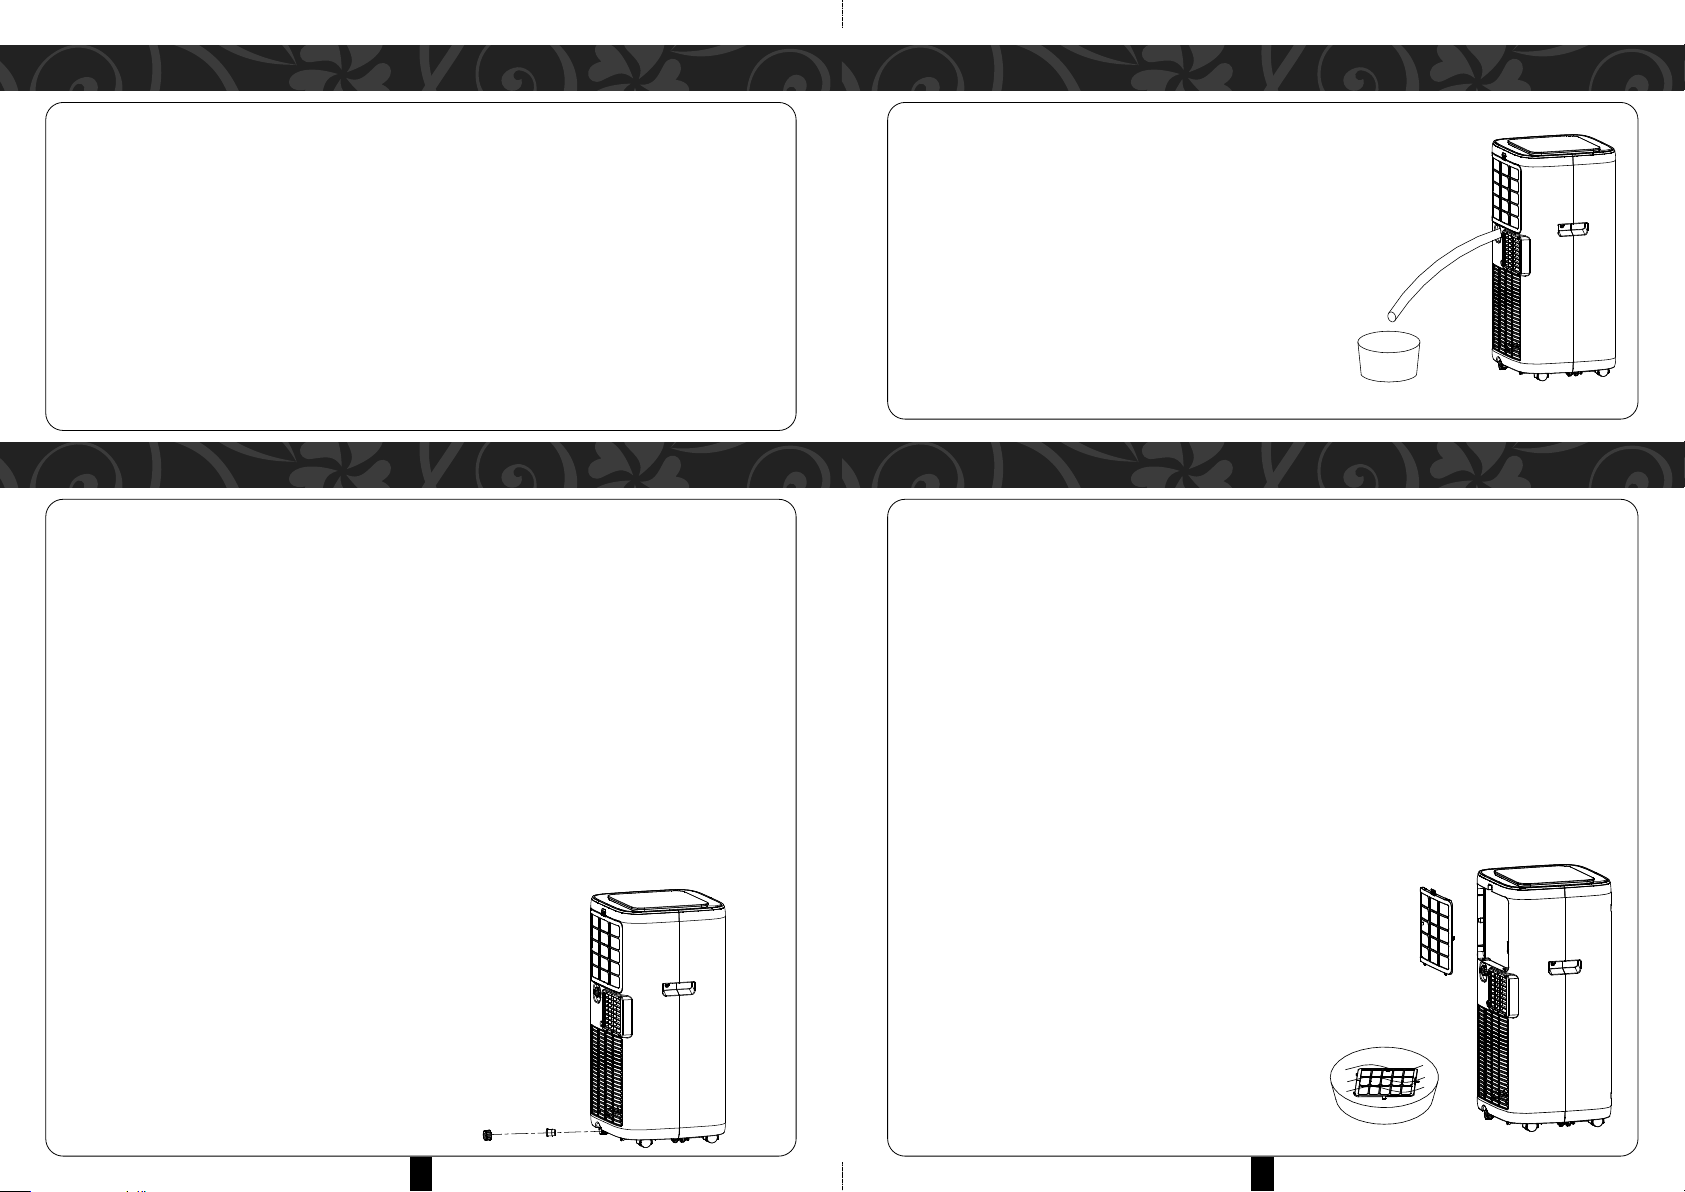
DRAINAGE INSTRUCTIONS
MANUAL DRAINAGE
1.When the machine stops after the water pan is full, power off the machine power and
unplug the power plug from the power supply.
NOTE:
ove the machine carefully so water inside the water pan is not spilled at the
bottom of the unit.
2.Place the water container below the side water outlet behind the unit.
3.Unscrew the drainage cover and detach the water plug so water will automatically flow
into a bucket/pail.
NOTE:
• Store the drainage cover and the water plug properly.
• During drainage, the unit can be tilted slightly backwards.
• Discard any excess water before the water container is to prevent water from flowing
to the floor or carpet.
4.After discarding water, secure the water plug
and tighten the drainage cover.
NOTE:
Restart the machine after installing the water
plug and drainage cover otherwise excess
water will flow to the floor or the carpet.