
Onix CH-2000D Manuale utente

model number : CH-2000D
Convection Heater
2000W
Model: CH-2000D
INSTRUCTION MANUAL

Important Safety Instructions
Please keep this instruction manual in a safe place, along with the warranty card,
purchase receipt and carton for future reference.
The safety precautions enclosed herein reduce the risk of fire,
electric shock and injury when correctly adhered to.
- If the supply cord is damaged, it must
be replaced by the manufacturer
or its service agent or a similarly
qualified person in order to avoid a
hazard.
- Before turning on, ensure the
electrical voltage and frequency
of the circuit correspond to those
indicated on the appliance.
- The appliance is not intended for use
by young children or infirm persons
without supervision.
- Young children should be supervised
to ensure that they do not play with
the appliance.
- Do not operate the appliance
outdoors
- Power plug must be removed from
power socket before cleaning,
servicing, maintenance or moving the
appliance.
- When the appliance is not in use,
switch it off and unplug it.
- The appliance should be placed on a
flat surface when operating to avoid
overturning.
- To reduce the risk of electrocution,
never operate this product with wet
hands, submerge in water or spill
liquids into the product.
- Do not insert any objects into the
appliance.
- Do not kink or damage the power
cord.
- Improper installation may result in the
risk of fire, electric shock and or injury
to persons.
- The manufacturer is not responsible
for any eventual damage caused by
improper or faulty use.
- The unit has no user-serviceable parts
contained within. Do not attempt
to repair, disassemble or modify the
appliance.
- This appliance is not intended for use
by persons (including children) with
reduced physical, sensory or mental
capabilities, or lack of experience
and knowledge, unless they have
been given supervision or instructions
concerning use of the Appliance by a
person responsible for their safety.

Using your Heater
Assembling the Heater
No assembly is required as the heater comes pre-assembled and ready-to-use,
however, please ensure feet are securely connected to the base of the heater.
However, if you wish to wall mount the heater, you will need to remove the feet
from the base (see picture), attach brackets securely to a wall, and attach heater
to brackets using the mounting holes that the feet used.
Using the Heater
1. Place the heater on a flat surface or securely mounted onto a wall, away from
flammable objects.
2. Plug the power cord into the wall socket when ready for use.
3. Turn either or both of the switches on to select the desired power output.
The first mode simply turns the fan on with no heat being produced. The first
switch outputs 750W while the other switch outputs 1250W. For high heat
have both switches turned on (2000W).
4. The ‘thermostat control’ controls the level of heat being emitted but is
dependent on the ‘heat setting’. Turn clockwise to increase the level of heat
being emitted. This function gives you the flexibility of selecting from a wider
range of heat levels at your fingertips.

Knowing your parts
The two switches are used to activate the power output. The heater can emit no
heating, output 750W when first switch is on, output 1250W when the other
switch is on or up to 2000W when both are on.
The thermostat control allows the user to set the level of heat for that specific
setting. This allows for more efficient heating as it gives you a wider range of
temperatures to control the heat being emitted.
Important safety instructions
- Use the appliance only for the
mentioned purpose, namely as a
radiator for domestic use. Do not
use it as any other application as it
could be dangerous.
- Do not operate the heater near
flammable objects
(furniture, curtains, shelves etc).
- Do not operate the heater near
liquids (bath-tubs, showers, water
basins, swimming pools etc).
- Do not cover the appliance when
it is operating to avoid overheating
risks.
- Correct operation of the appliance
is obtained when the radiator is
installed vertically.
- Do not put the cable on the
appliance when it is still warm.
- Do not connect the appliance to
extension cords or multiple outlets.
- Never operate the appliance
immediately below an outlet.
- Never connect the appliance to a
thermal control device or a time
switch to avoid overheating risks
when the radiator is moved or
covered.
WARNING: This appliance gets
extremely hot during operation and
should be handled with care.Never
put flammable objects on or near the
appliance as they could set alight.

Assembling the heater
Wall mount installation:
Your convection heater comes with a wall mounting kit. Please follow the step by
step instructions below to ensure your heater is properly installed.
NOTE: The heater must be installed at least 1.8m above the floor if wall
mounted.
1. Locate the 4 wall mounting brackets in
the box.
2. Mark out the positions of the wall
mounting brackets on the wall as pictured
in the diagram on the right.
3. Dimensions noted in the diagram indicate
the distances from the centre of the screw
holes.
4. Once the wall mounting brackets are
secured to the wall, align the upper wall
mount anchor points on the back of the
heater as shown below to the wall mount
brackets.
Upper wall mount anchor point on back
of heater.
Heater sits on the lower wall mount
brackets and is secured with screws
provided

Important Features of your heater
3 Heating modes
Set the switch to 750W for low
heat, 1250W for medium heat or
have both switches on for high
heat (2000W).
Safety grille
The safety grille provides
protection against stray objects
from touching the heating
elements.
Thermostat control
Adjust the dial to select the
desired temperature.
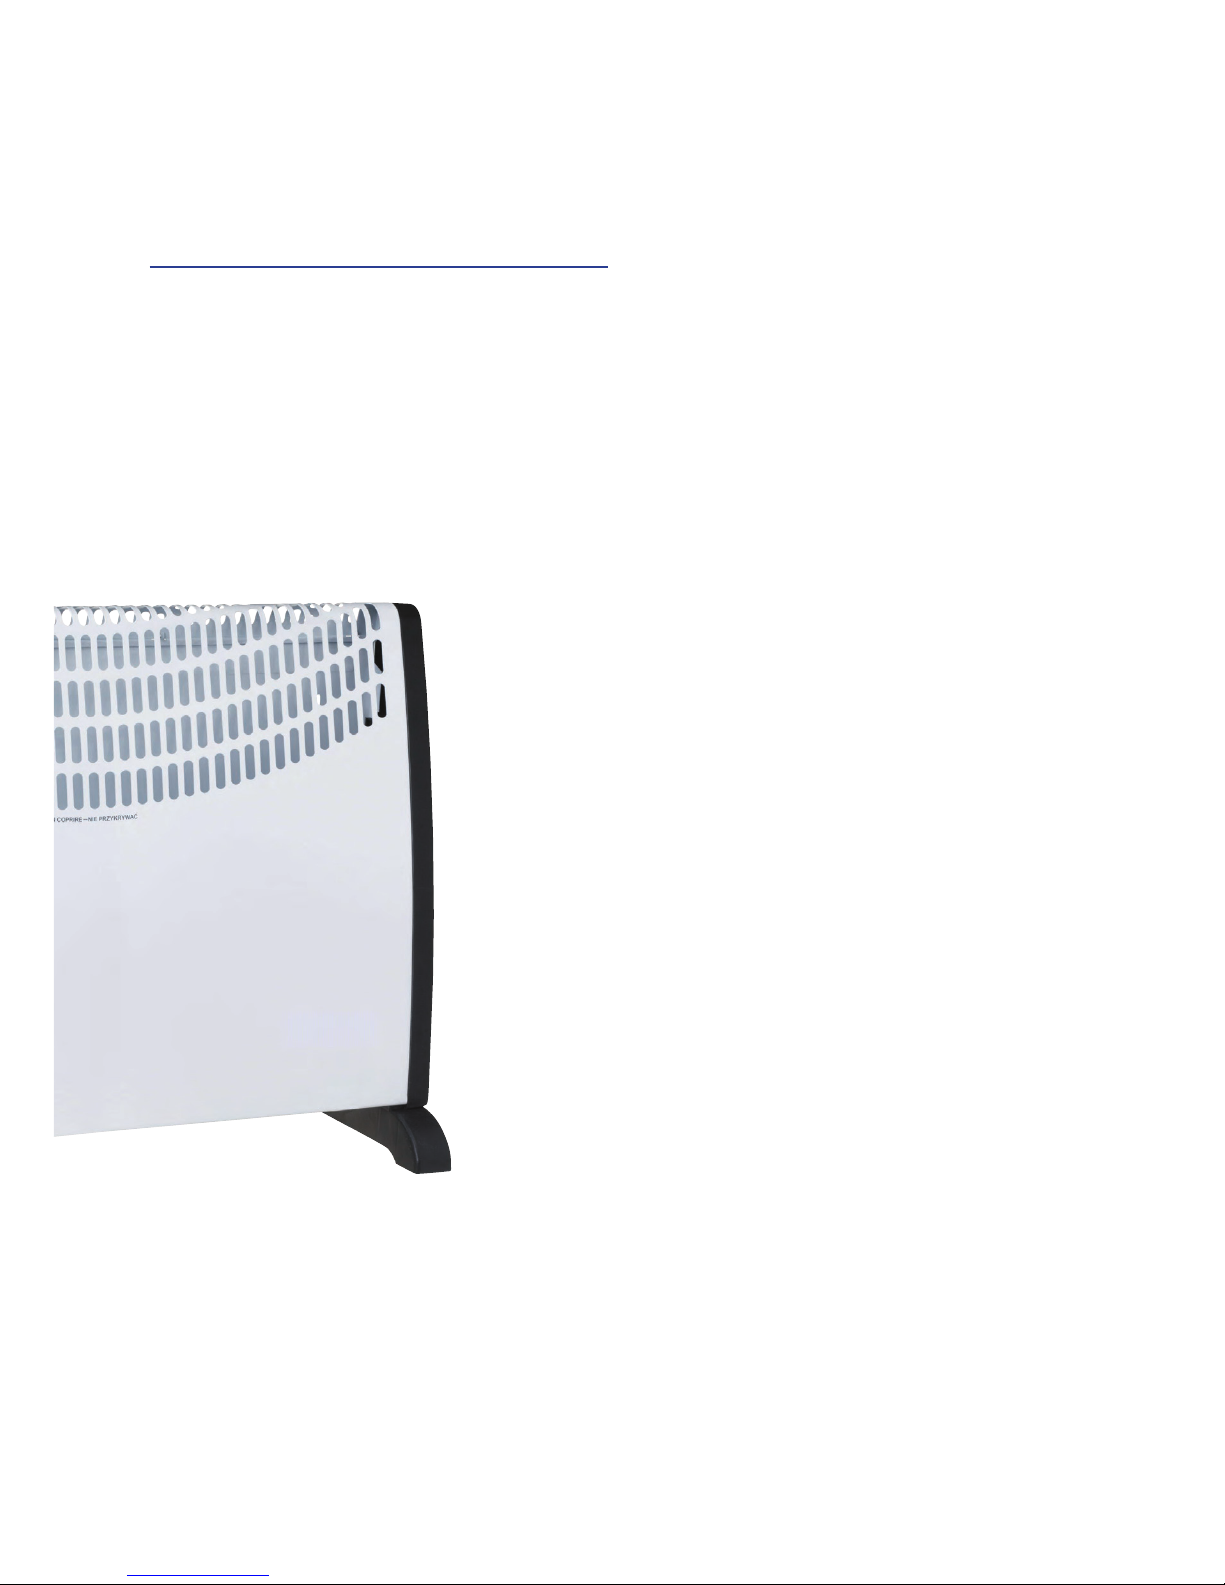
Important Features of your heater
Built-in overheat protection
The heater has a built-in sensor
which will turn the heater off if
it is overheating.
Whisper-quiet operation
The heater operates in near silence.
Freestanding or Wall-mounted operation
The heater can be operated from the floor with
the sturdy base. In addition, brackets can be
attached to the back of the heater allowing it to
be mounted onto a wall for convenience.

Care and Cleaning Instructions
This appliance is not designed to be dismantled without special tools. Please do
not attempt to separate the unit.
1. Ensure appliance is disconnected from the power supply and switched off
before attempting to clean.
2. Cleaning the exterior of the unit should only be attempted with a slightly
damp, soapy cloth. After wiping down the unit with the soapy cloth, dry any
wet spots with a dry cloth.
3. Use a vacuum cleaner regularly to remove dust and fluff from the element and
grill.
4. When not in use, pack the heater into its original box for best protection and
store in a cool, clean and dry location.
Caution: Never immerse the heater in water for cleaning.
This is the property of TEMPO Australia Pty Ltd and cannot be reprinted
without our express permission
Indice
Altri manuali Onix Stufa


Manuali Stufa popolari di altre marche


Empire Heating Systems
Empire Heating Systems WCC65 Manuale utente

Wetekom
Wetekom 92 86 43 Manuale utente

Desa
Desa SPC170-F Manuale utente

Watlow
Watlow Watrod Electric Tubular Heaters Manuale utente

Haverland
Haverland ECO-DRY GPS Series Manuale elenco delle parti

Stelpro
Stelpro ASILVC2060 Series Manuale utente