
Panasonic PalmLink KX-TR320F Manuale utente

–1–
Transceiver
Model No. KX-TR320B/320F/320S
KX-TR325B/325S
Operating Instructions
PLEASE READ BEFORE USE
AND SAVE.
1 Getting Started
2 Before You Talk
3 To Communicate
4 Call Tones
5 Channel Scan
6 Special eatures
7 Using the Options
8 Things You Should Know
Contents by Section
–2–
etting Started
¤
1
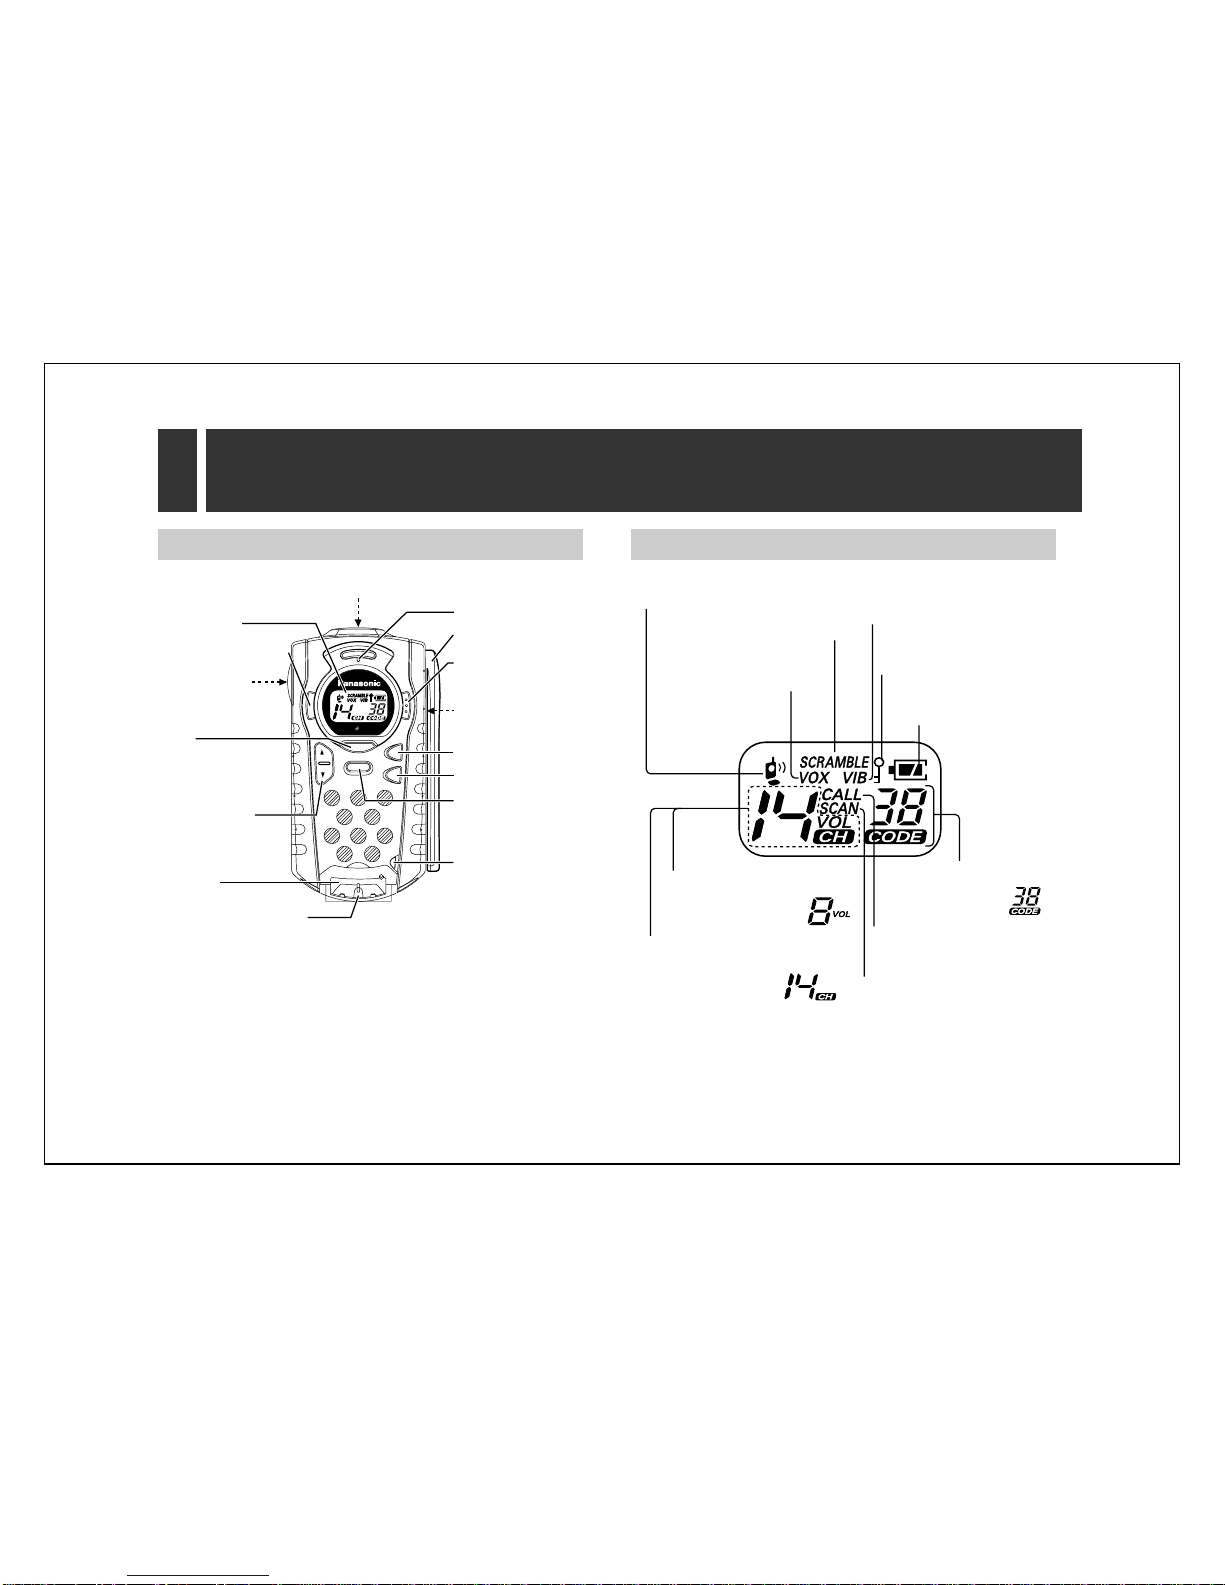
1-A Location of Controls
Accessories (
For extra orders, call 1-800-332-5368.)
∑Belt Clip . . . . . . . . . . . . . one
P
R
I
V
A
T
E
T
A
L
K
SCAN
CALL
MENU
L
O
C
K
P
O
W
E
R
MONITOR
SCRAMBLE
VIBRINGER
(LOCK) Button (6-B)
(MENU) Button
(1-G)
(‹), (›) Buttons
(1-G, 2-A, 3-B)
Flip (3-C)
MIC (Microphone) (3-B)
(TALK) Button
(1-G, 3-B)
MIC (Microphone)/SP (Speaker) Jack (7-A, 7-C)
Display (1-B)
(MONITOR) Button
(3-A)
(CALL) Button (4-A)
(SCAN) Button (5-A)
TALK/BUSY
Indicator (3-A, 3-B)
Antenna (1-E)
DC IN 4.5 V Jack
(7-D)
(POWER) Button
(1-F)
Sub Speaker (3-C)
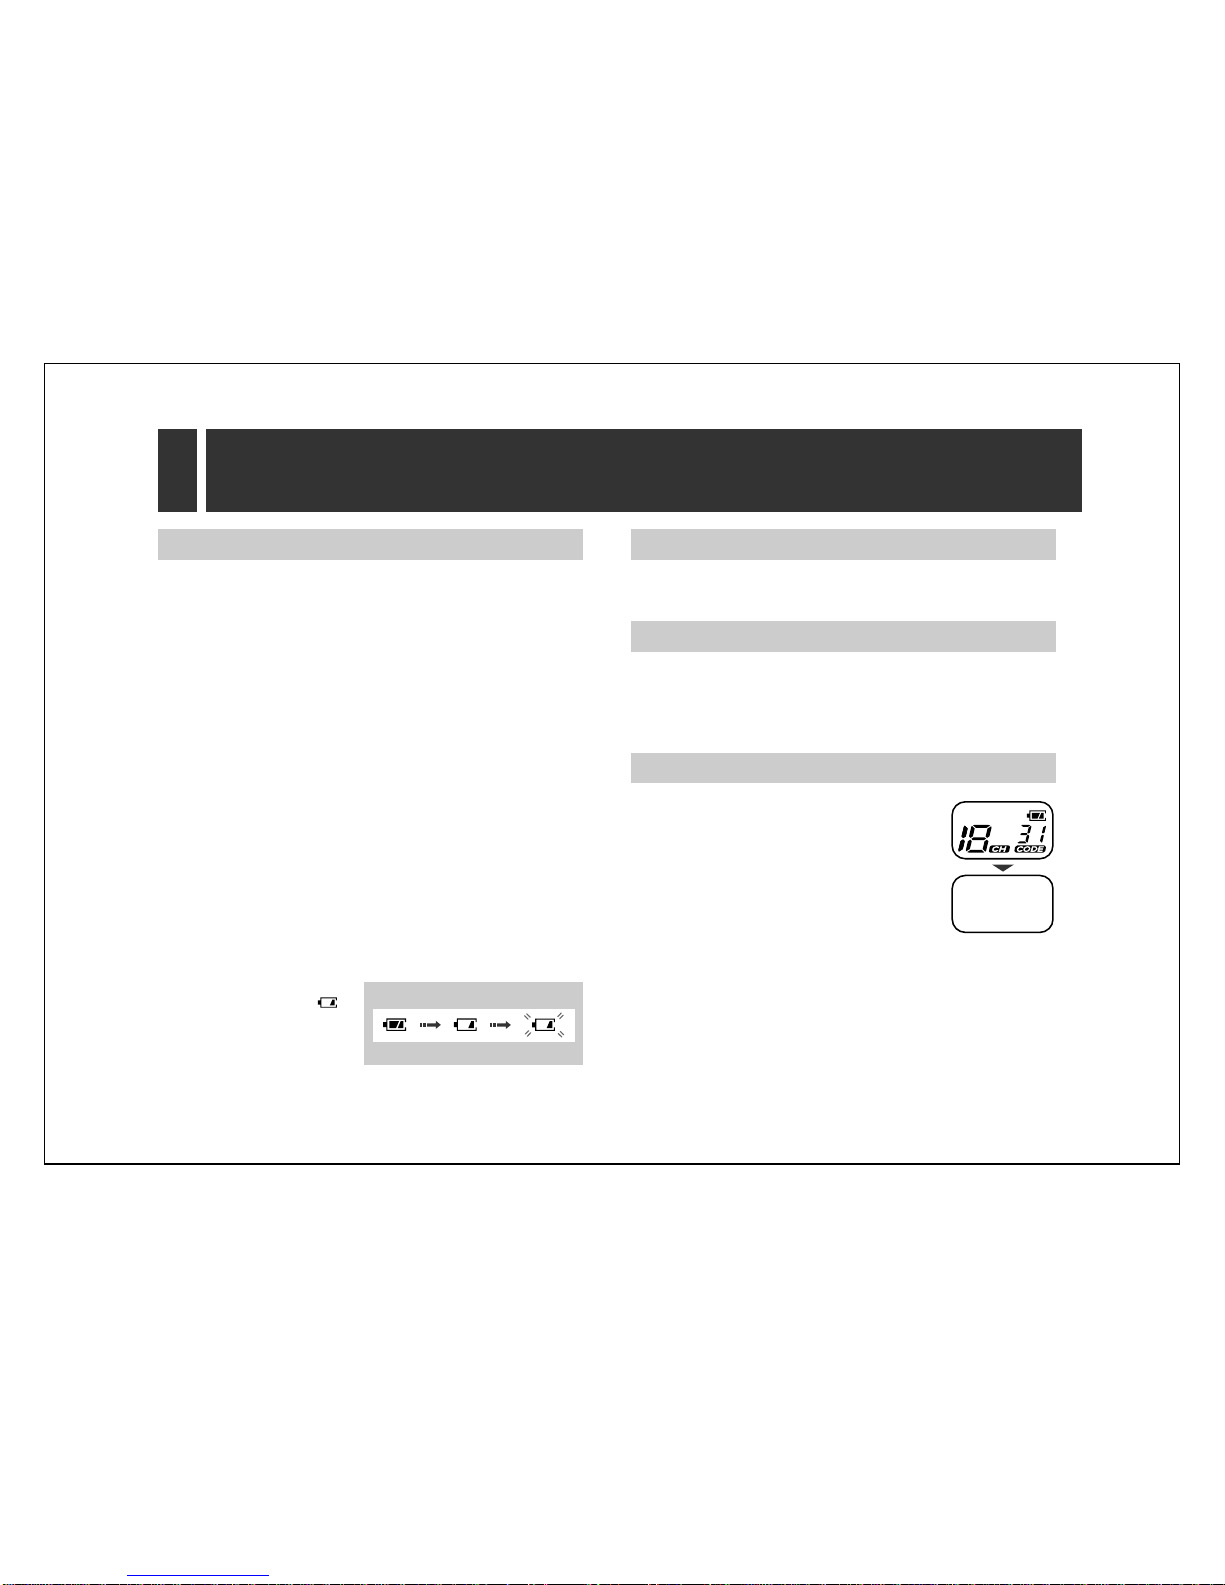
1-B Display
The flip is open (3-C).
The scrambling function is ON
(KX-TR325 only) (6-A).
The unit is in the VOX
mode (7-A).
The key lock function is ON
(6-B).
The unit is in the vibratory call
mode (KX-TR325 only) (4-B).
The display shows the
battery strength (1-C).
The volume level is set to 8
(3-B). The unit is using the group
code number 38
(2-B).
The unit is using the operating
channel number 14 (2-A).
The unit is sending call tones
(4-A).
The unit is using the channel
scan function (5-A).
etting Started
¤
1
–3–
1-C Battery Installation
The unit requires 3 AA (R6, UM-3) size alkaline batteries (not
supplied). The batteries will last about 30 hours with normal use.
1Remove the cover.
2Install (or replace) the batteries using the correct polarity
(r, s) and close the cover.
≥
Make sure that the unit is powered OFF before replacing the
batteries.
≥
When the batteries have been replaced, your channel and group
code settings will be erased. Reprogram if necessary.
Battery precautions:
The batteries should be used correctly, otherwise the unit may be
damaged by battery leakage.
≥Do not mix different types of batteries.
≥Do not charge, short-circuit, disassemble or heat batteries, and do
not dispose of batteries in fire.
≥Remove all the batteries when replacing.
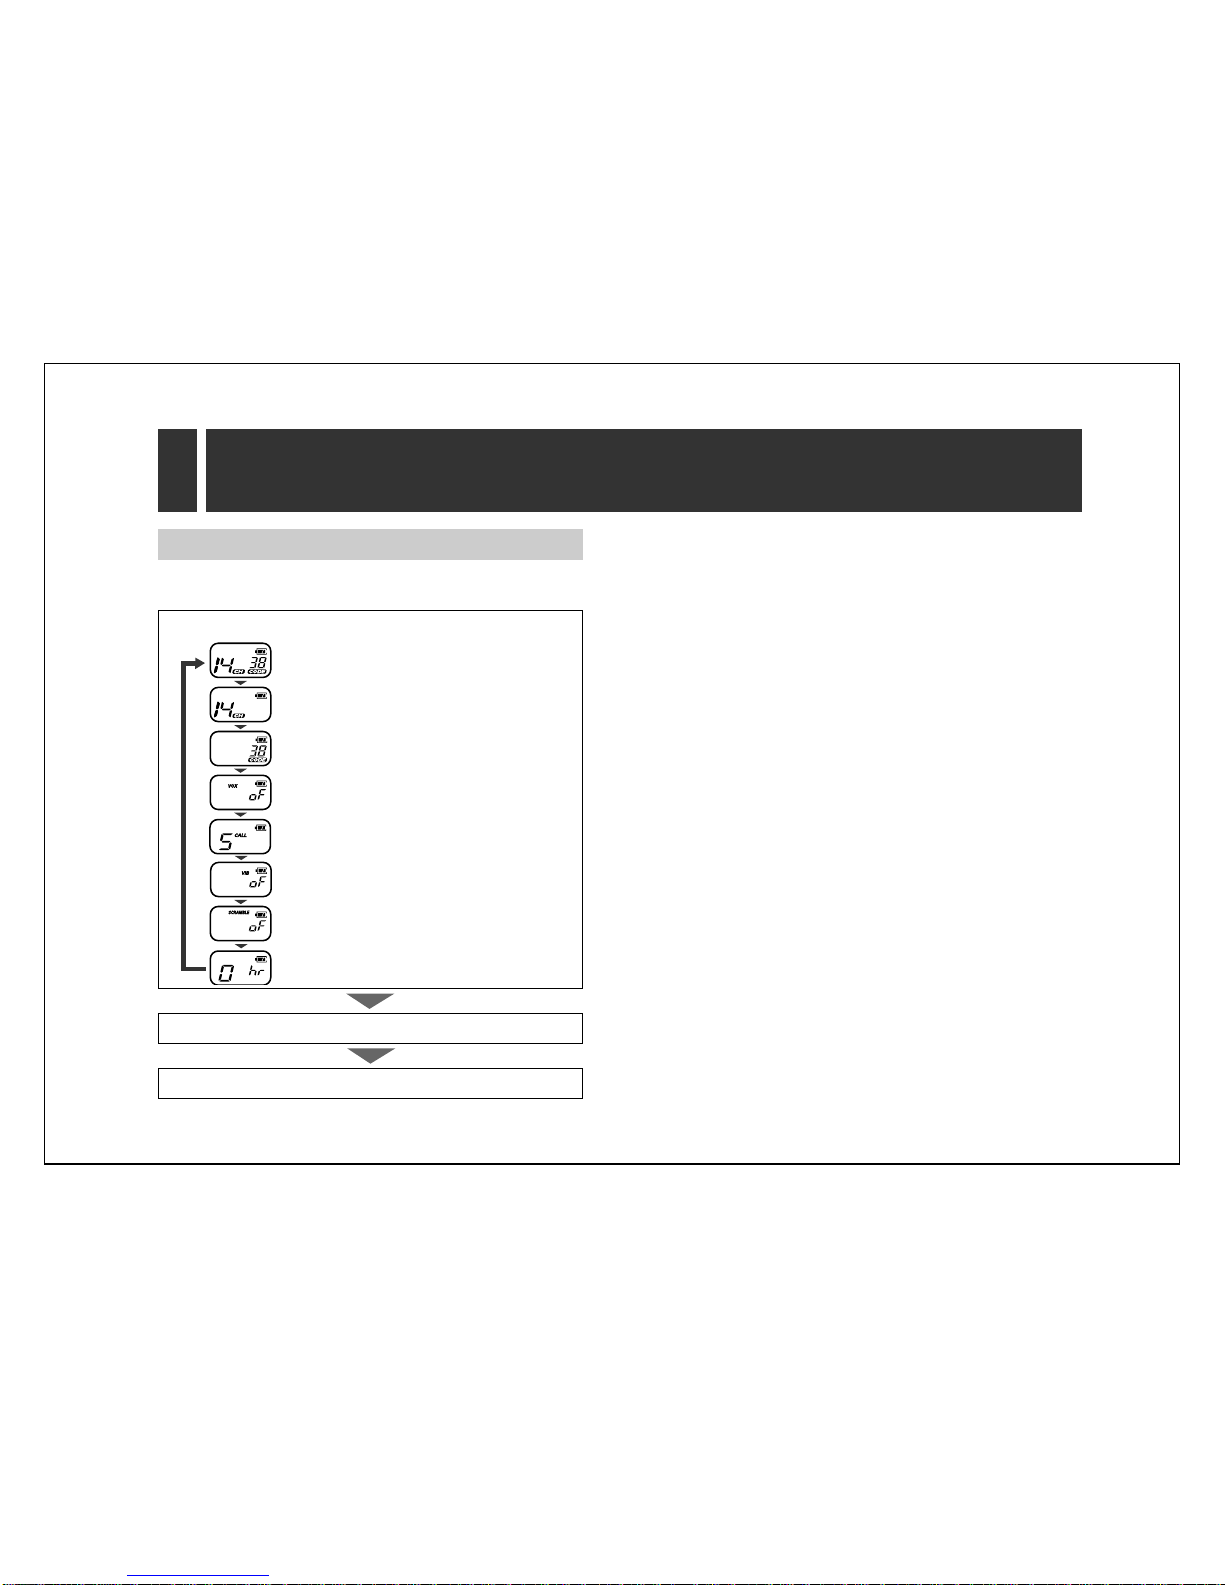
Battery strength:
You can check the battery strength on the display (see below) while
the unit is in use. If the unit
beeps intermittently and “ ”
flashes on the display, replace
all the batteries with new ones.
Full Medium Low
(flashing)
1-F Turning the Power ON/OFF
1Press and hold (POWER).
≥The display will appear.
2To turn the power off, press and hold
(POWER) until the display disappears.
1-E Adjusting the Antenna
The antenna rotates 360 degrees. You can adjust the antenna to
three different click positions. For best performance, the antenna
should be used in the vertical position.
You can hang the unit on your belt or pocket using the belt clip.
1-D Belt Clip
–4–
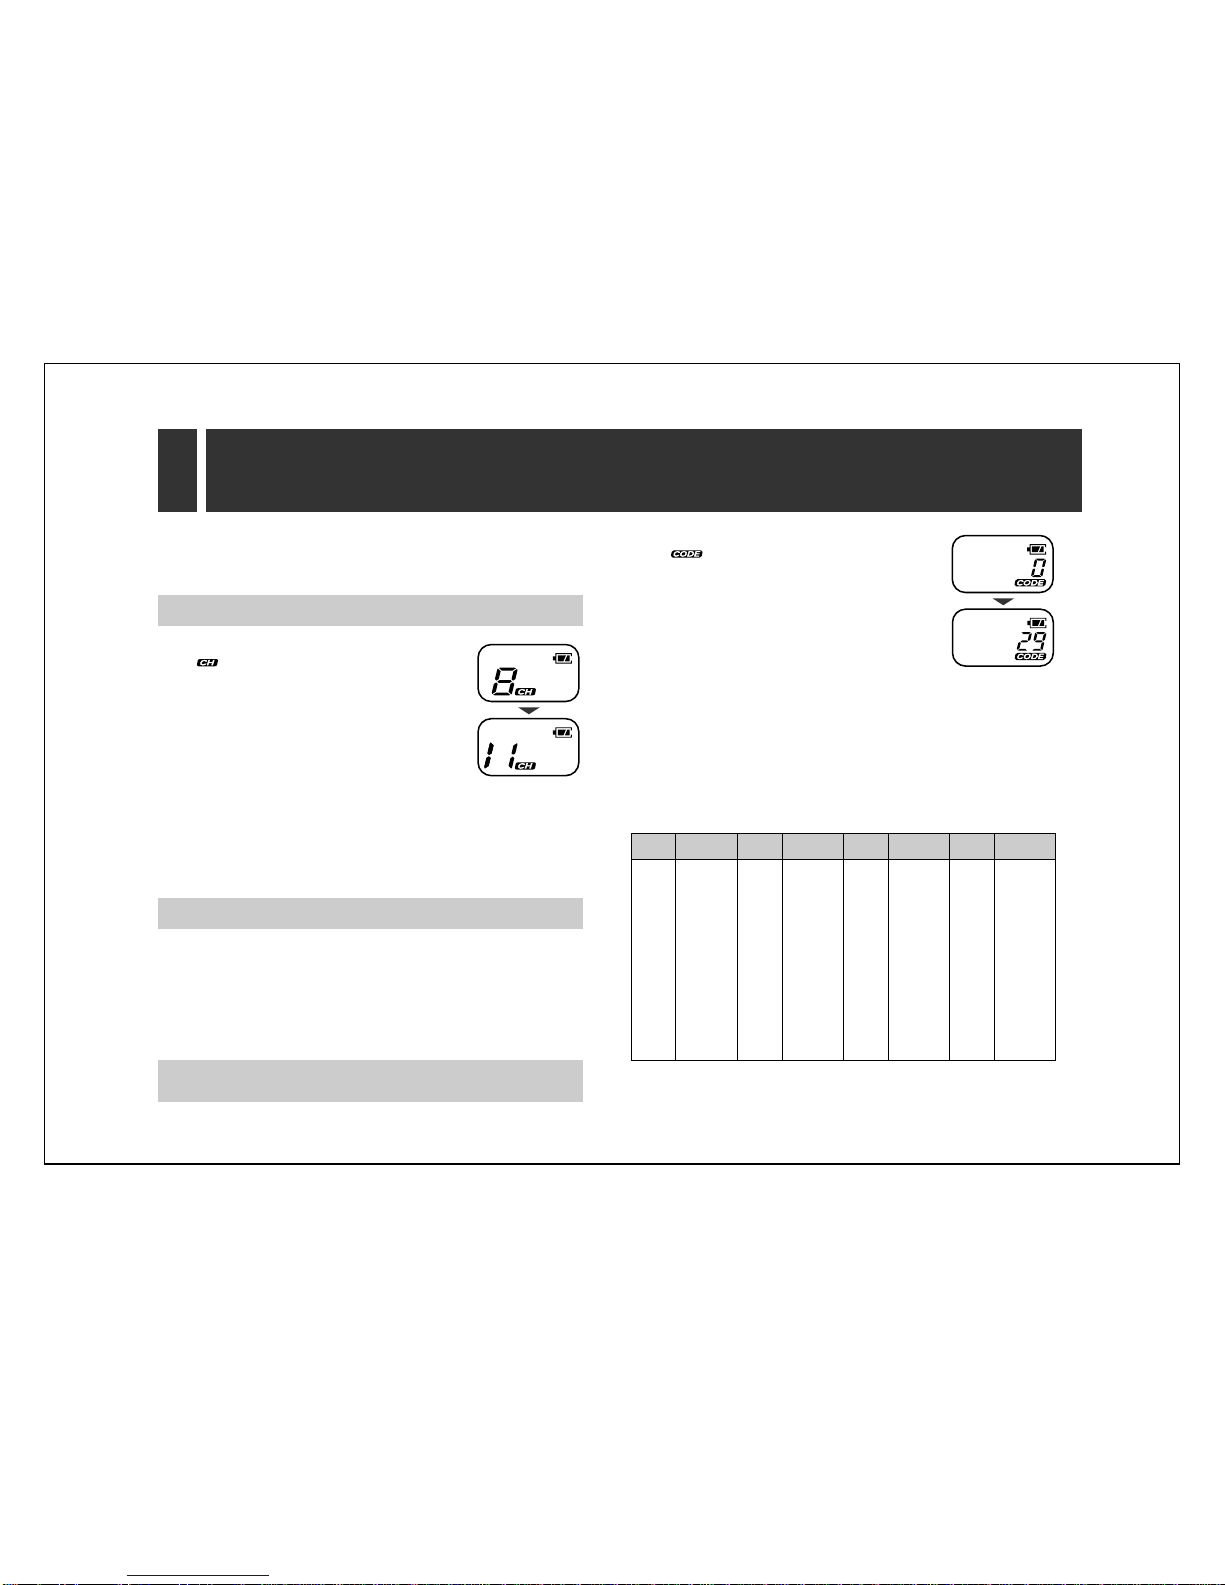
1- Programming Summary
You can program the following functions. See the section number
below for details.
Each time you press (MENU), the display changes as follows.
The display shows the current channel and
group code.
To select the operating channel, see 2-A.
To select the group code, see 2-B.
To select the VOX sensitivity, see 7-B.
To change the call tones, see 4-A.
To turn on/off the vibratory call, see 4-B.
(KX-TR325 only)
To turn on/off the scrambling function,
see 6-A. (KX-TR325 only)
To set the auto power off mode, see 6-C.
Press (›) or (‹) for the desired settings.
Press (TALK) or wait for 10 seconds.
≥
You can exit the programming mode any time by pressing
(TALK)
or wait for 10 seconds.
etting Started
Section 1
1
–5–
2-A Selecting the Operating Channel
1Press (MENU).
≥“ ” and the current channel will flash
on the display.
2Press (›) or (‹) repeatedly until the
desired operating channel (1–14) is
displayed.
3Press (TALK) or wait for 10 seconds.
≥The unit will return to the standby mode.
≥
The selected channel will not be cleared even when you turn off
the unit.
2
Before You Talk
Section 2
The unit has 14 operating frequency channels and 38 group codes.
To talk to others, all users in your group must be using the same
channel and group code.
2-B Selecting the roup Code (CTCSS)
The Continuous Tone Coded Squelch System (CTCSS) allows you
to ignore (not hear) unwanted calls from other persons who are
using the same channel. It provides communication with silent
standby since you will only receive calls from group members using
the same group code. The unit is equipped with 38 group codes. The
factory preset is “1”.
67.0
71.9
74.4
77.0
79.7
82.5
85.4
88.5
91.5
94.8
No. Freq. No. Freq. No. Freq. No. Freq.
1
2
3
4
5
6
7
8
9
10
97.4
100.0
103.5
107.2
110.9
114.8
118.8
123.0
127.3
131.8
11
12
13
14
15
16
17
18
19
20
136.5
141.3
146.2
151.4
156.7
162.2
167.9
173.8
179.9
186.2
21
22
23
24
25
26
27
28
29
30
192.8
203.5
210.7
218.1
225.7
233.6
241.8
250.3
OFF
31
32
33
34
35
36
37
38
0
(unit: Hz)
CTCSS code
The CTCSS does not make your conversation private. It only
allows you to not to listen to unwanted conversations.
1Press (MENU) twice.
≥“ ” and the current group code will
flash on the display.
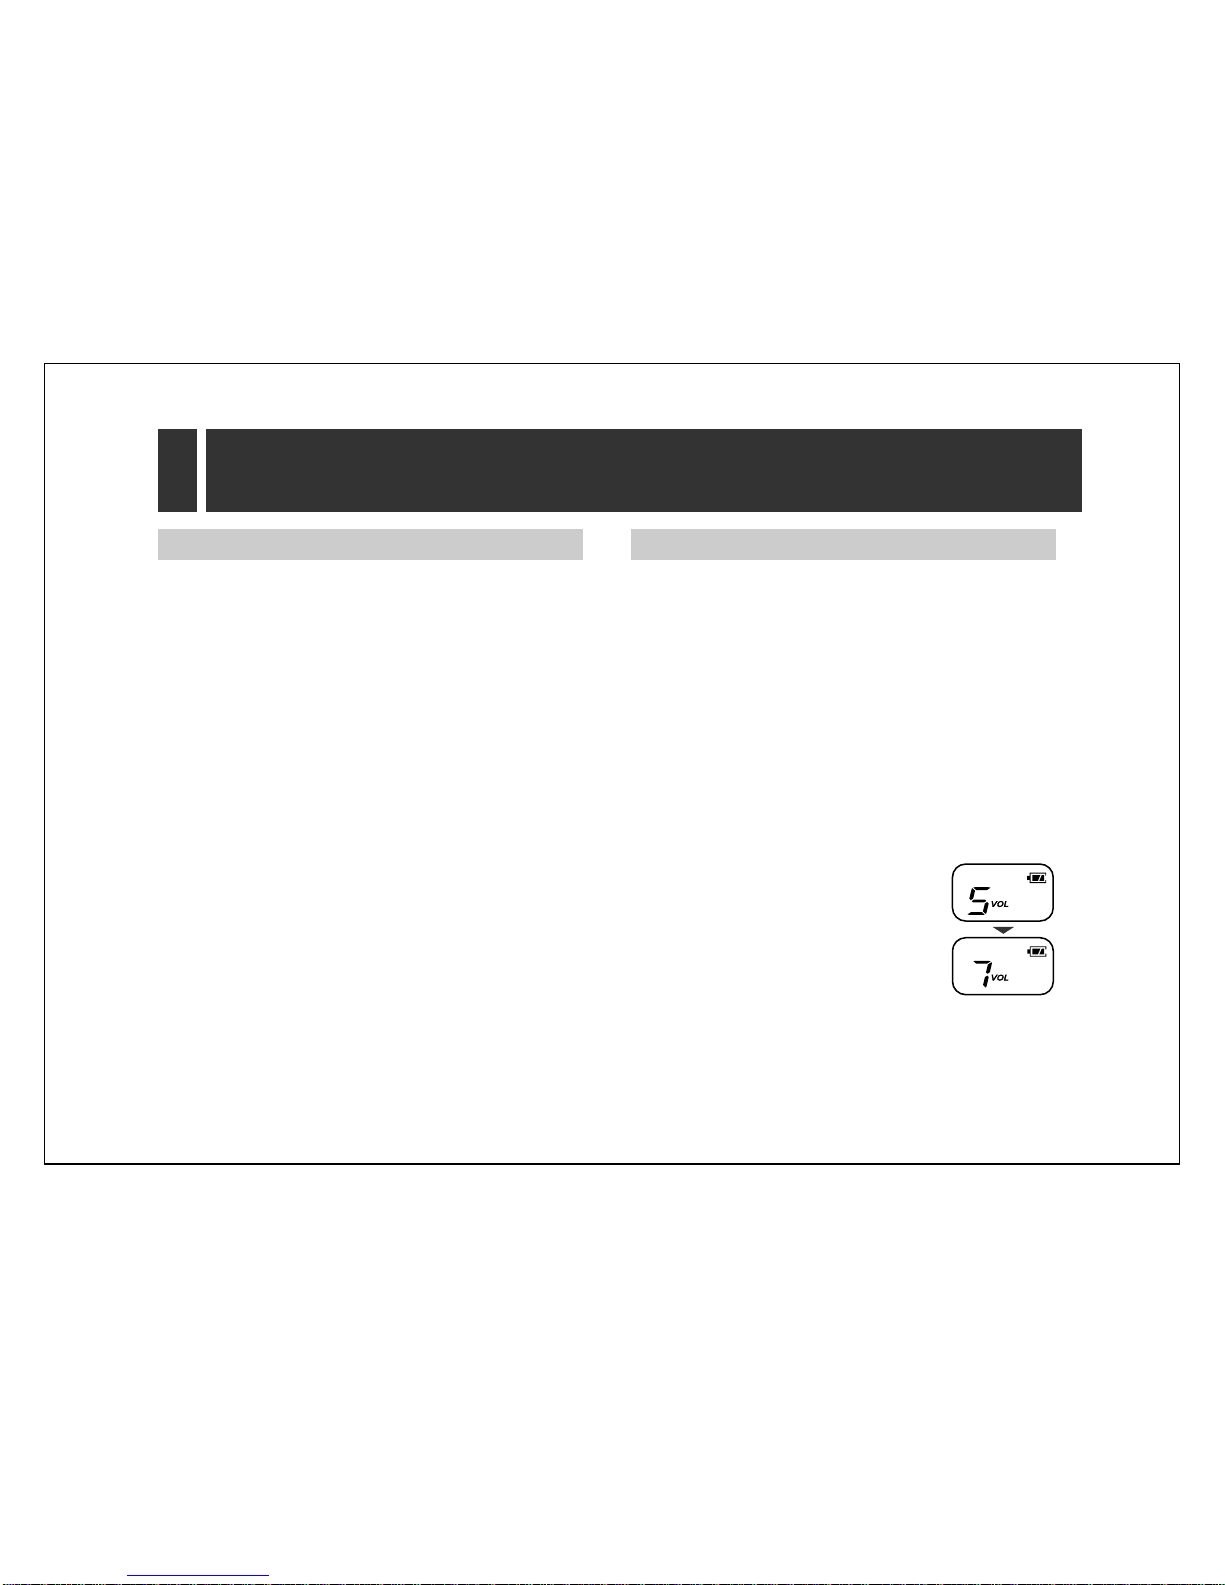
2Press (›) or (‹) repeatedly until the
desired group code (0–38) is displayed
(see below).
3Press (TALK) or wait for 10 seconds.
≥The unit will return to the standby mode.
≥
The selected code will not be cleared even when you turn off the
unit.
≥
To communicate with others without a group code, select “0” (OFF)
in step 2.
–6–
3-B Sending/Receiving Messages
1Check the current channel activity (3-A).
≥Do not talk if someone is already on the channel.
2Press and hold (TALK) to transmit and speak into the MIC
(microphone).
≥The TALK/BUSY indicator lights green.
3To receive, release (TALK).
≥The TALK/BUSY indicator lights red.
≥Repeat steps 1 and 2 to continue communication.
≥
To maximize readability of your transmitted signal, pause a few
seconds after pressing
(TALK)
, hold the unit 2 to 4 inches (5 to
10 cm) from your mouth and speak at a normal voice level.
The monitor function unmutes the speaker in any situation. Use this
function when received signals are too weak to recognize.
You can use the monitor function to check activity on the current
channel before transmission.
1Press and hold (MONITOR) to open the squelch.
≥The TALK/BUSY indicator lights red.
≥You will hear static if the channel is clear for use.
2Release (MONITOR) to close the squelch.
≥The TALK/BUSY indicator light goes out.
≥
If you want to use the monitor privately, open the flip before
pressing
(MONITOR)
. When finished, close the flip.
3-A Monitor
3
To Communicate
¤
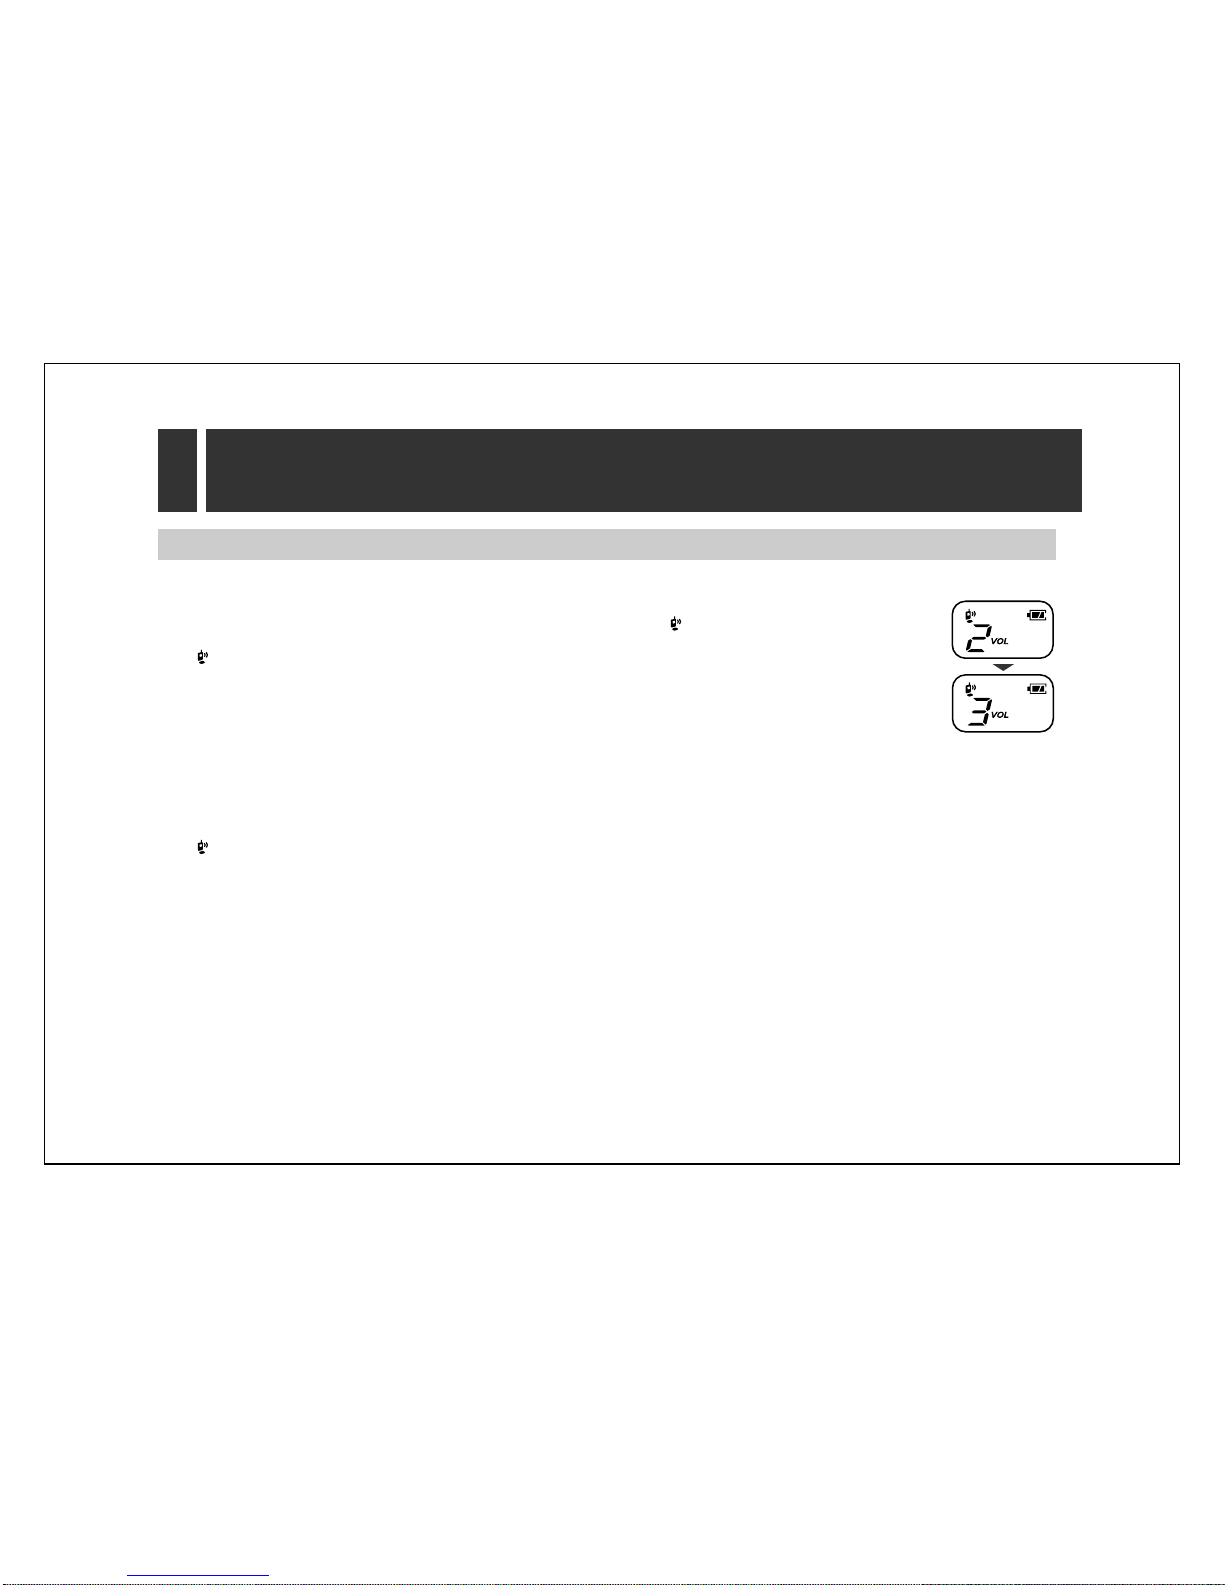
To select the receiver volume
1Press (›) or (‹).
≥“
VOL
” and the current volume level will
flash on the display.
2Press (›) or (‹) repeatedly until the
desired volume level (0–8) is
displayed.
≥Each time you press the button, the
selected volume will ring.
≥To turn the ringer off, select “0”.
≥
The key-touch tone will automatically change with the selected
receiver volume.
3
To Communicate
Section 3
–7–
If you want to talk privately during transmission, open the flip.
You can transmit without using (TALK) by holding the unit near your
ear.
1Open the flip and check the current channel activity (3-A).
≥“ ” is displayed.
≥Do not talk if someone is already on the channel.
2Speak into the MIC (microphone).
≥The TALK/BUSY indicator lights green.
3To receive, stop talking while the other party is talking.
≥You can hear the other party’s voice through the sub speaker.
≥The TALK/BUSY indicator lights red.
4When finished, close the flip.
≥“ ” will disappear.
≥
There will be a brief delay between starting/stopping talking and
radio transmission in the private talk mode.
≥
Even if the flip is open, you can switch to the PTT (Push-To-Talk)
mode by pressing
(TALK)
.
3-C Private Talk Mode
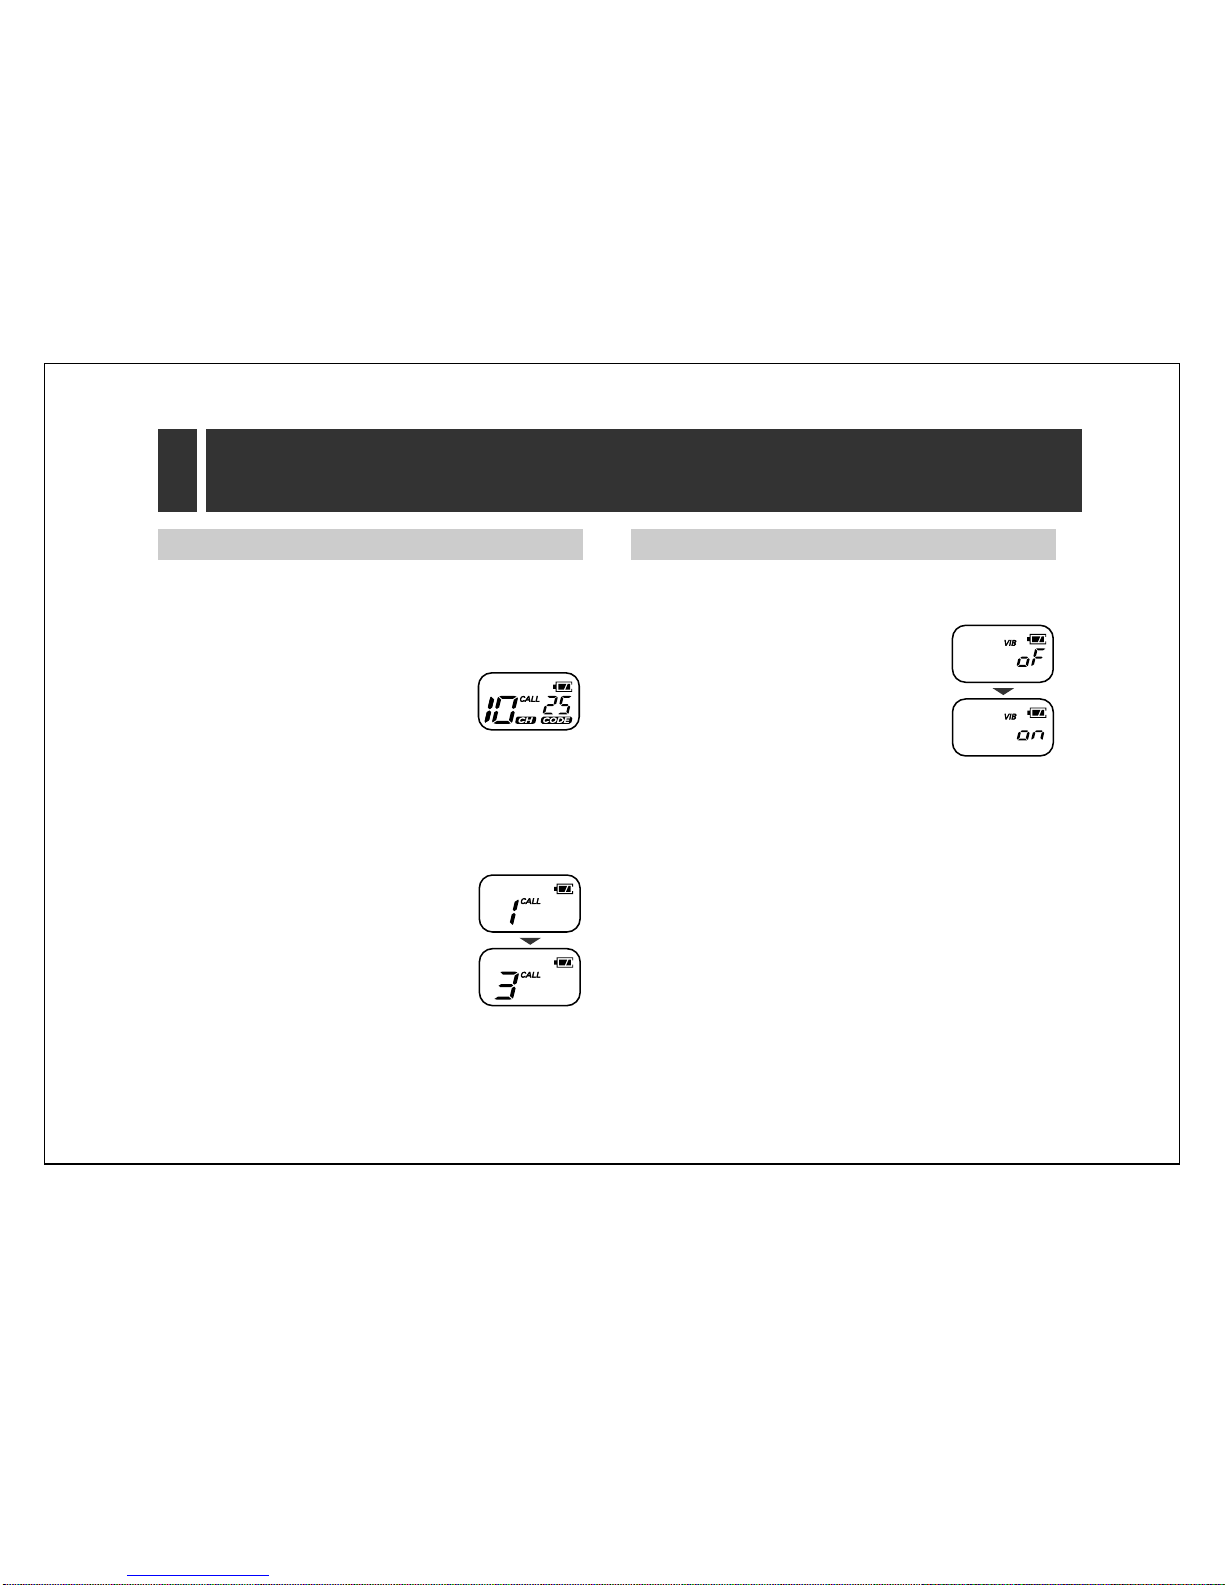
To select the private talk mode volume
1Open the flip and press (›) or (‹).
≥“ ”, “
VOL
” and the current volume level
will flash on the display.
2Press (›) or (‹) repeatedly until the
desired volume level (1–3) is displayed.
≥1: Low 2: Medium 3: High
≥Each time you press the button, you can hear the selected
volume through the sub speaker.
3When finished, close the flip.
≥The unit will return to the standby mode after 10 seconds.
–8–
Call Tones
Section 4
4
4-A Call Tones
The unit has five unique call tones to identify each user and alert
others that you intend to transmit. When you press (CALL), all users
on your channel and code will be alerted with your tones.
To send the call tones
1Press (CALL).
≥The TALK/BUSY indicator lights green.
≥“
CALL
” is displayed and the call tones
sound.
≥The other party will be alerted with the call
tones for about 5 seconds.
≥
If you want to send the call tones privately, open the flip before
pressing
(CALL)
. When finished, close the flip.
To change the call tones
1Press (MENU) four times.
≥“
CALL
” and the current setting will flash
on the display.
2Press (›) or (‹) repeatedly until the
desired setting (1–5) is displayed.
≥Each time you press the button, the
selected call tones will sound.
3Press (TALK) or wait for 10 seconds.
≥The unit will return to the standby mode.
4-B Vibratory Call (KX-TR325 only)
KX-TR325 allows you to receive a vibratory call. This is useful in
noisy locations, or when quiet is required.
The factory preset is OFF.
1Press (MENU) five times.
≥“
VIB
” and the current setting will flash on
the display.
2Press (›) or (‹) to turn on/off the
vibratory call mode.
3Press (TALK) or wait for 10 seconds.
≥The unit will return to the standby mode.
≥When set to ON, “
VIB
” will remain on the display.

–9–
5
Channel Scan
Section 5
5-A Finding a Busy Channel
Channel scan allows you to monitor 14 channels and a selected
group code. When the unit detects channel activity on your selected
code, it stops scanning and locks in on the busy channel. You can
listen and talk back (within 5 seconds of the end of a transmission)
on the displayed channel without having to change your settings.
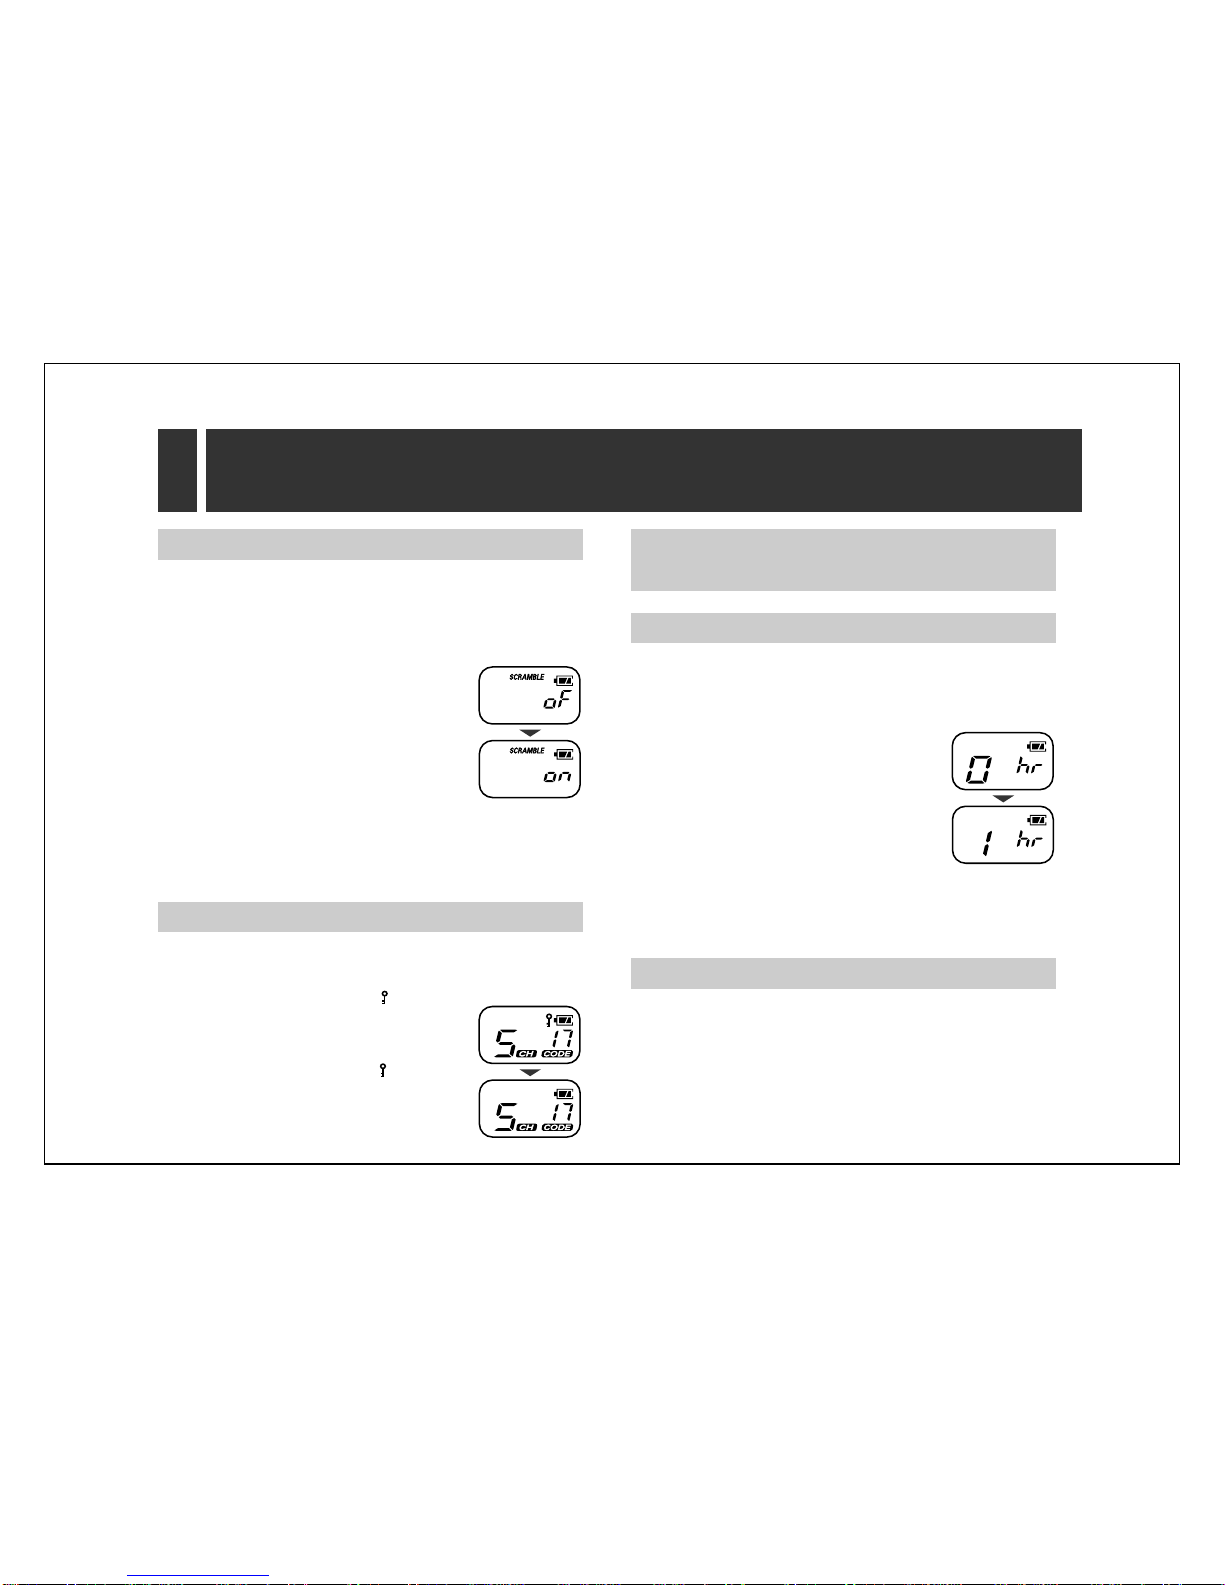
1Press (SCAN).
≥
“SCAN”
will flash on the display.
≥Channel scan starts and monitors the channels in the order as
below.
1-.2-.3- - - - - - - .14
^_______n
2The unit stops scanning when it finds a busy channel, and
you will hear a message.
≥The TALK/BUSY indicator lights red.
If you want to scan other busy channels, press (›) or (‹).
≥Channel scan starts again.
3To transmit on the busy channel, press and hold (TALK)
within 5 seconds after the message.
To receive, release (TALK).
≥If no response is received or there is no key operation for about
30 seconds, channel scan starts again.
4To end the channel scan, press (SCAN).
≥The unit will return to the standby mode with the preset channel
and group code.
≥
If you want to scan privately, open the flip before pressing
(SCAN)
.
When finished, close the flip.
≥
In the channel scan mode, you can always transmit on the
displayed channel.
≥
To communicate in channel scan mode, your unit must be set to
the same group code as the other user(s) in your group. If your unit
is set to a different code, the channel scan function will not detect
channel activity in your group.
≥
To scan for radios without a group code, change your group code
to “0” (OFF) before using the channel scan function.
≥
In the channel scan mode, you cannot change the preset channel
or group code settings. To change the preset channel or group
code settings, see section 2.
≥
To scan for radios without a group code, set your group code to “0”
(OFF) before using the channel scan function.
–10–
6
Special Features
Section 6
While using the group code, you do not hear unwanted calls on your
selected channel, but others on the same channel may hear your
conversation. KX-TR325 also allows you to scramble your calls so that
others will not understand your conversation. This is only possible
between Panasonic transceivers. The factory preset is OFF.
1Press (MENU) six times.
≥“
SCRAMBLE
” and the current setting will
flash on the display.
2Press (›) or (‹) to turn on/off the
scrambling function.
3Press (TALK) or wait for 10 seconds.
≥The unit will return to the standby mode.
≥When set to ON, “
SCRAMBLE
” will remain on the display.
≥
If the group code (2-B) is set to “0” (OFF) you cannot turn the
scrambling function ON.
6-A Scrambling (KX-TR325 only)
6-B Key Lock
Key lock allows you to lock some buttons ((MENU), (SCAN) and
(›),(‹)) to prevent accidentally changing any transceiver settings.
1Press and hold (LOCK) until “ ” is
displayed.
2To turn the key lock function OFF,
press and hold (LOCK) until “ ”
disappears.
While Key Lock function is ON, you can still do the following.
≥Receiving/Transmitting ≥Sending call tones
≥Monitor ≥Private talk mode
The unit can be programmed to turn itself off after a certain period of
inactivity. This is useful to preserve the battery life. You can select
the time period for the auto power off mode. The factory preset is “0”
(OFF).
1Press (MENU) five times (seven times
If your model is a KX-TR325).
≥The current setting will flash on the
display.
2Press (›) or (‹) to select the desired
setting (0–3).
≥1: 1 hour 2: 2 hours 3: 3 hours
0: OFF
3Press (TALK) or wait for 10 seconds.
≥The unit will return to the standby mode.
6-C Auto Power OFF
The lighted display will remain on for about 5 seconds after pressing
a button except (TALK), or opening and closing the flip.
6-D Backlit LCD Display
Questo manuale è adatto per i seguenti modelli
4
Indice
Altri manuali Panasonic Ricetrasmettitore

Panasonic
Panasonic Panafax UF-5300 Manuale utente

Panasonic
Panasonic CCR24PNA Toughbook Arbitrator Manuale utente

Panasonic
Panasonic SH-FX60 - Wireless Audio Delivery System Manuale utente

Panasonic
Panasonic RJ-3600 Manuale utente

Panasonic
Panasonic Toughbook Arbitrator ARB-HT3G TX Manuale utente

Panasonic
Panasonic KX-G2200A Manuale utente


