
Planet Audio PNV9650 Manuale utente

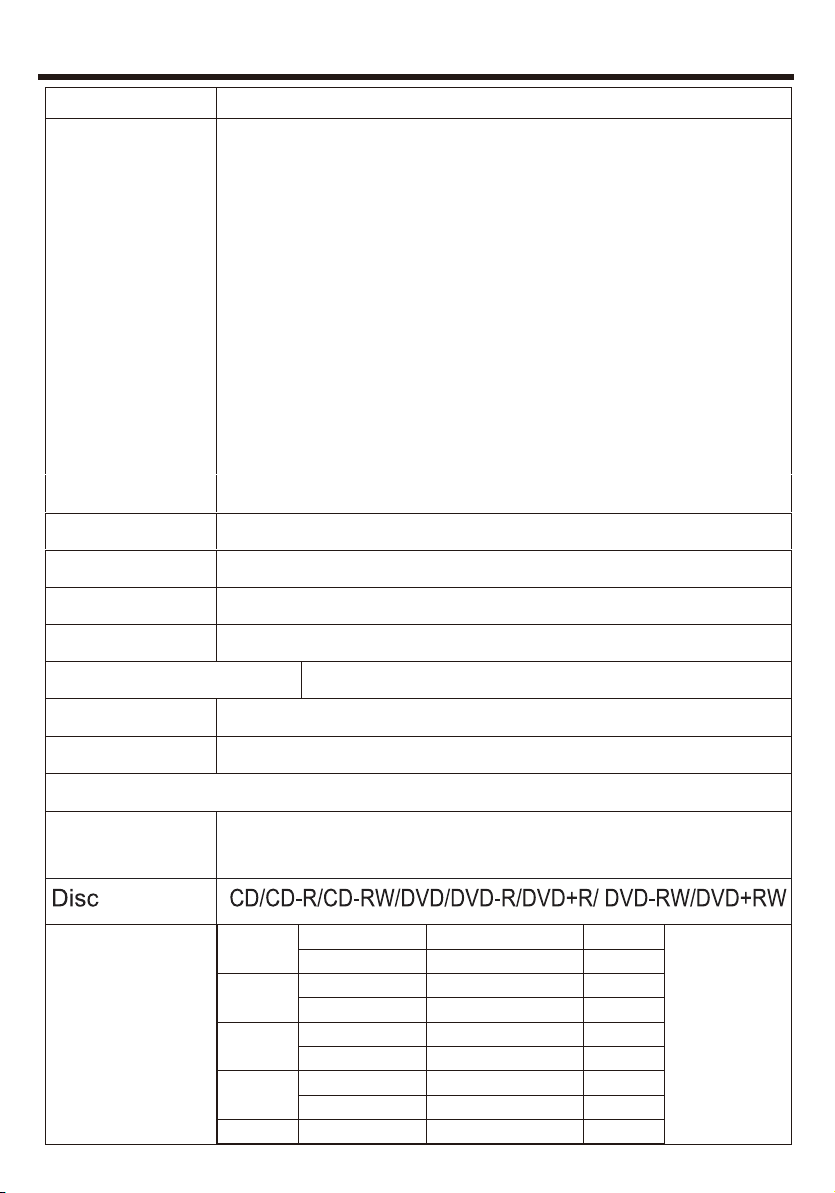
SPECIFICATIONS
Model No. PNV9650
General
features
TFT screen 6.5TFT(800*480 Resolution)
SD 64G
Working power 11-16V DC Allowable,Negative Ground
Max Output 4*80Watts
Working Temperature -20°C~70°C
Size 96.5*170.5*144mm
Weight 1.92kg / 4.23lbs
Compatible Media
Video file
.AVI MPEG/AC-3 MPEG-4 O
MPEG/AAC AVC X
MP4 MPEG/AAC MPEG-4 Visual O
AAC AVC X
MPG MPEG/AC-3 MPEG-1/2 O
AAC AVC X
RM Cooker RealVideo1 X
Cooker RealVideo3 O
RMVB Cooker RealVideo3 O
NOTE:
O-YES
X-NO
DVD ±R/RW Audio & Video
CD ±R/RW Audio & Video
FM/AM Tuner (Switchable Tuner)
USB Port
SD Port (64GB Max)
USB Charging (1A)
A/V In/Out
Rear Camera Input
Front, Rear, Sub Pre-Amp Outputs
Steering Wheel Control Input
JPEG, BM
Picture/Audio
formats P, PNG, MP3,AAC,WAV

SAFTY NOTICE
Please read and understand the following safety information before
operating this unit.
The device is suitable for 12V power supply (requires grounding).
Do not connect it to 24V power supply in trucks or buses, or else it will
be damaged.
Please use genuine discs, instead of incompatible and poor discs,
or else it will damage the device or shorten the service life.
Without the guide of qualified personnel, do not replace the fuse,
or else it may damage the device or cause fire.
Please follow the traffic laws and regulations and do not watch
program or operate the device when you are driving, to avoid
accidents (excluding passengers watching through rear monitor).
To ensure safety and operate the device normally, please ask
qualified personnel to install the device. do not disassemble or repair
the device without authorization, to avoid damage and accidents.
Please contact local car audio distributor for details.
Do not put the device in moist environment or water, to avoid
electric shock, damage and fire due to short circuit.
The mechanical drive part of the monitor uses automatic precision
transmission component. Do not pull, push or rotate the device by
force or impact the TFT screen to avoid damaging the device.
Do not insert the audio plug of the vehicle into the master unit
directly. please convert with the dedicated end cable provided by our
company.
When install the unit, prevent metal objects falling into the master
unit from the vents to avoid short circuit and damaging the device.
Safety Statement
For the safety of you and others, do not watch programs or operate
the device when you are driving. It is prohibited by the laws and
regulations.
The backing monitor function should be used as auxiliary means.
we are not responsible for any accidents occurred during backing.

Remote Control GPS Antenna
Power CableRCA Cable

REMOTE CONTROL OPERATION
1.TURN ON/OFF
Press to turn on or turn off
the unit.
2.EQ mode
Press to set EQ mode.
3.EJECT Key
Press to eject the Disc in
the unit. And press again to
load the Disc if you do not
take out it.
4.CLK key
Press to show CLK,and
press again back the last
source.No working when
video is playing.
5.MODE key
Press to change mode of the
unit.
4 3 2 1
5
6
9
7
8
10
11
13
12
14
15
19
16
17
18

REMOTE CONTROL OPERATION
6.MENU key
Press Menu to return to the
home menu.
7.Audio KEY
Press to change switch
language in DVD mode,and
switch left、right or stereo in
VCD mode.
8.SUBTITLE Changing Key
Switch the subtitle during
playing if the Disc have
multiple subtitle.
9.Direction and OK key
If there is a Disc with root list
menu,press direction key to
move up/down/left/right, and
press OK to confirm.
10.MUTE key
Press to mute the unit and
press again to restore the
volume.
11.REPEAT key
Under DISC/Music/Video
mode, press to set the repeat
mode.
12.Play/Pause
Press to switch play pause.
13.ROOT key
DVD playing mode, press to
go into root list menu; VCD
playing mode, press to turn
on/off PBC function.
14.TITLE key
Under DVD playing mode,
press to enter into title list
menu.
15.Under Disc/music/video
mode, press to choose
previous/next song.
Under music list menu, press
to choose PRE/NEXT music.
Under RADIO mode, press to
search frequency
forward/backward.
16.VOLUME UP/DOWN key
Press to adjust volume up
and volume down.
17.Receiving calls/call out;
hang up.
18.STOP/C/BAND
In disc playing mode, press to
STOP, press “ok” to start;
In radio mode press to
change band between
FM1/FM2/FM3/AM1/AM2;
Press to enter RADIO mode,
except DVD mode.
Delete wrong number when in
phone mode.
19.Number key
Enter phone number in phone
mode.

UNIT INSTALLATION
Bracket
1.Put the 2 brackets to the left and right side of the unit;
Bracket
Screw
2.Use screws to fix the brackets to the unit.
3. Once the screws are attached, the brackets can be adjusted
forward or aft depending on the installation requirements.

WIRES CONNECTION DESCRIPTION
The Description of the Input/Output Interface
Description of the Wiring Diagram for Socket A

PANEL INTRODUCTION
1.Eject key
When there is a Disc in the unit, press EJECT to remove the Disc. And
press again to load the Disc if you do not take out it.
2.MODE key
Press to select system mode (RADIO/DISC/PHONE/VIDEOS/MUSIC/
PICTURES/AUX IN/AV INPUT/CAMERA/NAVI)
3.NAVI key
Press to enter into GPS function, or back media from GPS.
4.TURN ON/OFF & VOLUNE UP/DOWN
Long touch to turn ON/OFF the unit. Short touch to activate the MUTE
function and silence the audio output. Touch again to restore sound.
Rotate to adjust the output volume UP or DOWN.
5.BAND key
For radio band conversion between FM1/FM2/FM3/AM1/AM2
6.Open to see GPS card slot, AUX IN jack, SD slot, USB port and
reset key.
1
2
3
4
5
6

MAIN MENU OPERATION INSTRUCTION
1.Shows the present time of the unit.
2.Shows the present date and week .
3.Press to go into main menu 2.
4. NAVI: Navigation Interface 5. Disc Interface
6. Radio Interface 7. Phone setup Interface
8. BT Music Interface 9. Music Interface
6145
9 10
23
7 8
MAIN MENU 1
Indice


