Pyle view PLDBT30U Manuale utente

www.pyleaudio.com
PLDBT30U
3'' TFT Touch Screen DVD/ VCD/ CD/ MP3/ CD-R/ USB/ AM/ FM/ BlueTooth

1
PLAY/PAUSE
Eject
Source/Power
Mute
Volume
Select charter/Foward /Backward
Repeat
Release
Display position adjustment
Band
Band tuner
APS/ST
Safety Precautions......................................................2
Electric Connection ............................................... .....3
Installation.................................................................4
General Features........................................................5
System setting.....................................................9
Radio Operation..................................................12
Remote Control....................................................13
Accessories........................................................16
Specifications.....................................................17
Trouble Shooting.................................................18
Video
Audio
System
Contents
Reception collection
Speaker collection
Install the unit
Remove the unit
Loading and Replacing the battery
Basic operation
USB/SD operation......................................................8
USB/SD PLAYER
Bluetooth............................................................10
2
Safety precautions
CAUTION
Be sure the unit is connected to a 12V
DC power with a Negative Ground.
Do not install the unit in places where
it is exposed to direct sunlight, high heat
or humidity, water splash or dust.
To change fuse, please use the same
one in specification and capacity.
When changing fuse, please do it
after pulling down power wires to avoid
short circuit.
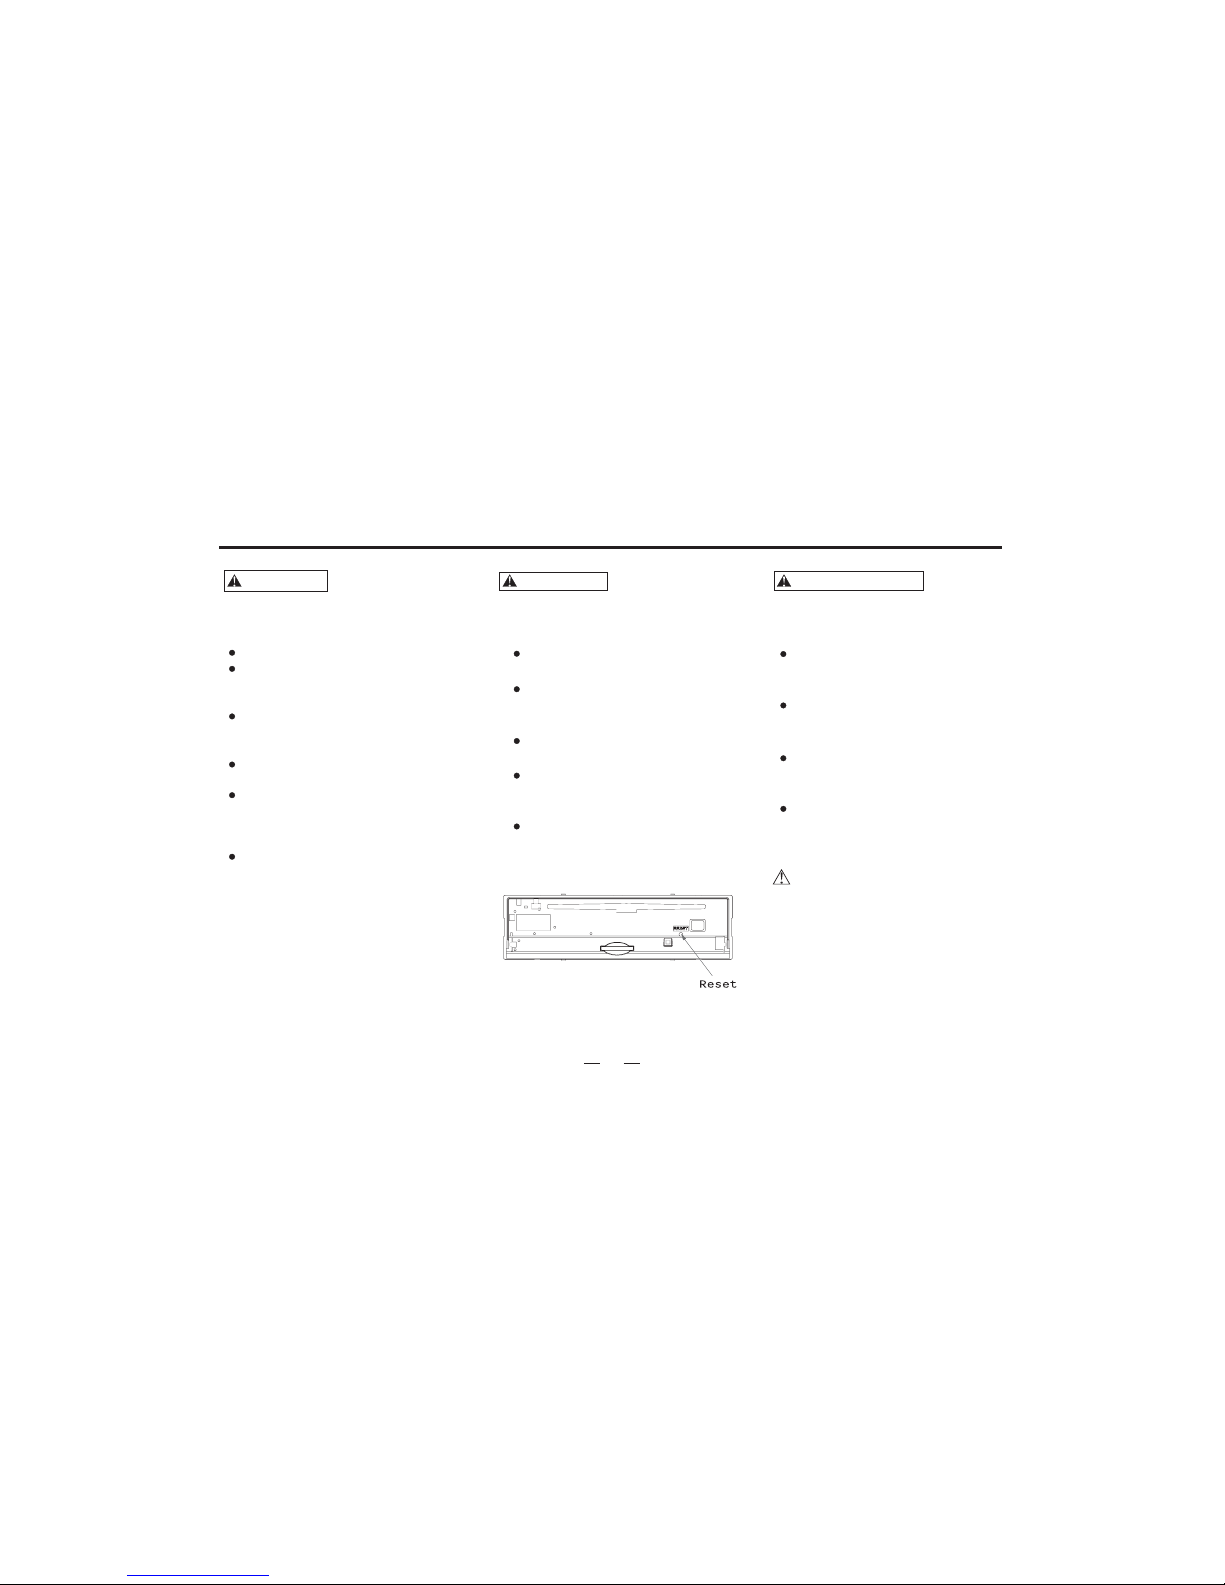
If the unit does not seem to be working
properly, please press the reset button to
resume the function.
Do not watch videos when driving.
To prevent electric shock, etc. please do
not let
If you smell or see smoke, turn off the
power immediately and consult the place
of purchase.
Be careful not to drop or shock the unit
strongly.
Do not touch the liquid crystal to avoid
hurting yourself. If your clothes are stained
by it, please clean them with soap
immediately.
For your driving safety, please link your
brake detecting wire with low power
level, and keep it controlled by manual
brake switch. wire should be high power
level and the unit can not play DVD or
VCD disc.
the metal goods(silver,coin,tools..)
fall into the installation.
To prevent damage to the machine,
take the following precautions:
WARNING
To prevent injury or fire, please
take the precautions:following
PRECAUTIONS
When driving a car, reduce the
volume to be more aware of the
road traffic.
Avoid getting the speakers and
disc wet from water or dampness
while cleaning the car.
Do not park your car in the direct
sunlight and turn on the unit after it is
cooling down in the car.
Protect your mechanism, and do not
put it close to magnet, screwdriver or
other cohere stuff.
If you do not comply with the above
items, it may cause abnormal running
and system trouble.
Please Note:

Electric Connection
33
White/Black
Gray
To front left speaker
To front right speaker
To rear left speaker
To rear right speaker
Green
Ignition wire(Red)
Battery wire(Yellow)
Ground wire(Black) (To car chassis)
Fuse(10A)
Battery
Car fuse box
(Main fuse)
Ignition key
sw tchi
White
Gray/Black
Green/Black
Purple
Purple/Black
10
(RED)
(WHITE)
Light wire
Gray
Gray
BROWN
SUBWOOFER
AUXLEFTIN
AUX RIGHT IN
VIDEO IN
(YELLOW)
BACK A CAR VIDEO IN ()YELLOW
Connect control for antenna
Detecting wire for back a car
Brake detecting wire
Remote control for amplifier.
FRONT RIGHT RCA OUT
FRONT LEFT RCA OUT
(WHITE)
(RED)
VIDEO OUT
(YELLOW) Gray
Gray
Brown
Pink
BLUE
Orange
Front.L
Front.R
Rear.L
Rear.R
FM/AM antenna input

4
Before installing the receiver, fit it in the suitable place of your car.
Then connect the corresponding speakers and electrical connections.
When your system is operated properly, follow the instructions installation
1) Adapter
(not supplied)
2)Bend over the slices
(supplied)
Slices
(supplied)
3) Two keys for releasing
the unit (supplied)
INSTALL THE UNIT
1)Install the bracket
2)Bend over some slices to secure the
installation of bracket inside of dash.
3)To avoid shake of the receiver, make
sure to install the fixation strap behind
the receiver.
Insert the keys into the small gaps in
the right and left sides of the unit at
the same time. Link the keys to the
slices and then pull out the unit lightly
to remove it from your car, and then
pull out the connection plugs.
REMOVE THE UNIT
Installation

VOL
SOURCE APS/
BAND CLK/
MUTE ST/RPT
MIC MENU
IR
General Features
5
VOL
SRC/PWR
/APS
MENU
MUTE
CLK/
ST/RPT
BAND

VOL
SOURCE APS/
BAND CLK/
MUTE ST/RPT
MIC MENU
IR
6
General Features
SRC/PWR
Press[ ] to eject the disc.
Eject
EJECT:
About 10 seconds after the disc ejected ,if not taken out,
the disc will be absorbed in again.
NOTE:
Press [SRC] button shortly will turn the unit on. Hold [SRC]
button down will turn the unit off.
Volume
Increasing Volume:
Decreasing Volume:
Rotate the VOL button in .counterclockwise direction
NOTE: When the power is on, press [SRC] button will show the
follow picture, touch the certain icon to select the exact function
needed.
Rotate the VOL button in anticlockwise direction.
Press [APS/ ] button to play or pause.
Play/pause:
Play/pause
NOTE:
Press [VOLUME] button can play too.
VOL MENU
ST/RPT
/APS
Gray icon can not use.
NOTE:
:In the play mode,press[ ]button once to pause,press it agaiin
to stop
CLK/

REP ONE REP DIR REP ALL REP OFF
7
Play operation
Hold [ ] button down;
Select chapter or section: In the DVD mode, press[ ]to
Choose last chapter; press [ ] to choose next chapter.
Forward:
Rewind: Hold [ ] button down.
In the play mode, press[ RPT ]button to
transit among the following status.
Repeat
Repeat:
TIT
Title:
In play mode, press this icon to return to
the title menu, and re-select the items.
R/L
R/L:
In play mode, press this icon to return and switch among
mono L mono R or stereo.
ESC
Esc:
In play mode, press this button to exit the playing.
Insert MP3 disc, and TFT will show menu as follows:
In this menu, the menu on the right side is the sub-menu.
You can press tu button to select the file and items
you like.
[][]
1-001_______MP3
2-002_______MP3
3-004_______MP3
01
XXXXX_______XXX
XXXXX_______XXX
XXXXX_______XXX
Insert DVD/VCD/CD disc,touchscreen will show menu
as follows:

VOL
SOURCE APS/
BAND CLK/
MUTE ST/RPT
MIC MENU
IR
SD/USB operation
8
UnderUSBorSDplaymode,press[ ]buttontoselect
tracks.
Touch or press [ST/RPT] button to repeat the playing.[TFT]
Play operation
Press [ ] button to play or pause.
,
REP ONE REP DIR REP ALL
Press button can play the disc randomly.[BAND]
RDM OFF RDM ON
SD mode
PLAY/PAUSE:
Select:
REPEAT:
BAND:
REP OFF
USB/SD mode
USB mode
Insert SD card, the unit will switch to SD playing mode automatically
Insert USB, the unit will switch to USB playing mode automatically
USB
SD

9
Press[ MENU ]button
MENU
V d o mode:ie Menu operation
Audio mode:
System mode:
Bright Color Contrast Tint
Vmode
STAN USER
BRIG SOFT
Audio setup Bass Treble Balance Fader
setup between 0~14.
EQ setting
NORM ROCK
CLAS POP
Loud ON and OFF
Beep ON and OFF
TOPIC: can set the receive toping as RED /YELLOW
BLUE /GREEN .
Time Display ON and OFF
Time Adjust press [ ] or[ ] button to select hour/minute
then press [ ]or [ ]button to setup.
System setting
ENTER MENU:
Menu operation
Menu operation
15
VIDEO AUDIO SYSTEM
BRIGHT
COLOR
CONTRAST
TINT
VMODE
13
14
14
15
STAN
ESC
Vd oie Audio System
0
0
0
0
NORM
ESC
Vd oie Audio System
ESC
Press[ ] to adjust.
Press to confirm and exit.[]
Clicks on the menu option
ESC
Press[ ] to adjust.
Press to confirm and exit.[]
Clicks on the menu option
ESC
Press[ ] to adjust.
Press to confirm and exit.[]
Clicks on the menu option
ESC
BASS
TREBLE
BALANCE
FADER
EQ
LOUD
BEEP
TOPIC
TIME DISP
TIME ADJ
OFF
ON
GREEN
OFF
00:00
Indice
Altri manuali Pyle view Ricevitore per auto


