RCA CC417 Manuale utente

USER‘S
GUIDE
CC417
CAMCORDER

i
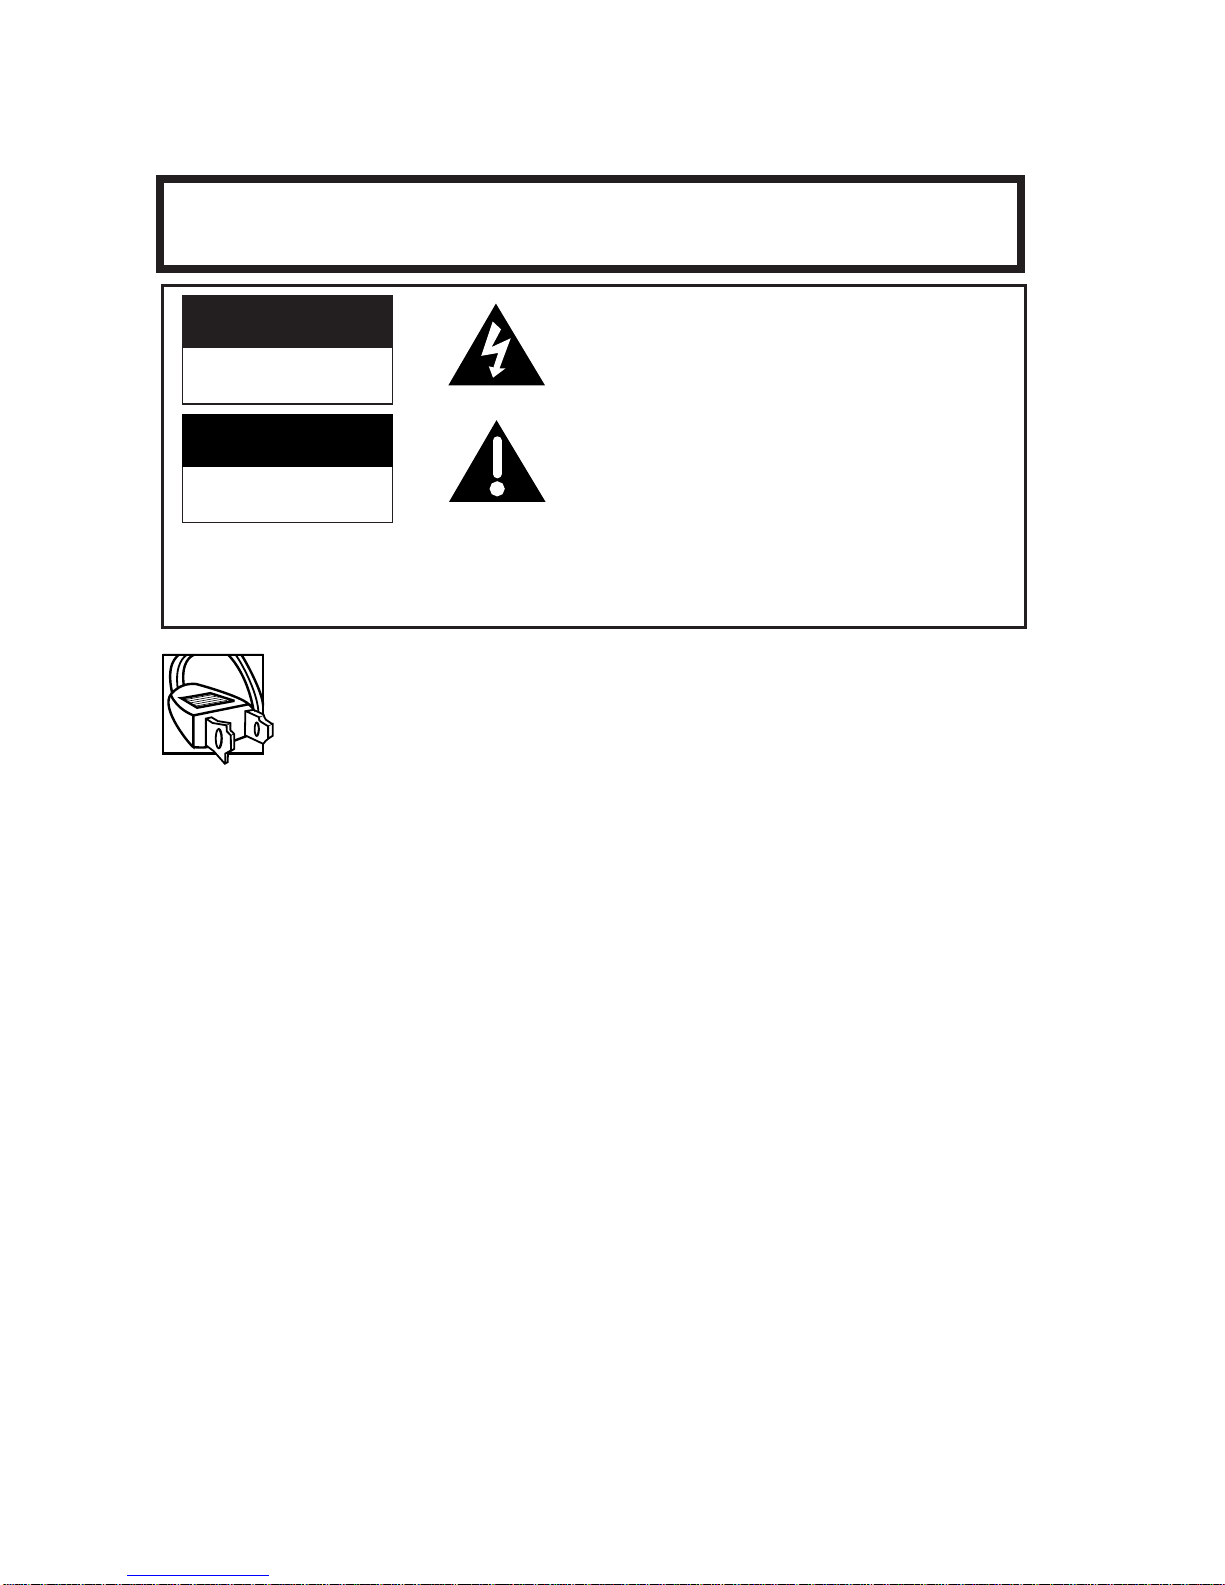
CAUTION: To prevent electric shock, match wide blade of plug
to wide slot, fully insert.
ATTENTION: Pour éviter les chocs électriques, introduire la lame
la plus large de la fiche dans la borne correspondante de la prise et
pousser jusqu au fond.
To reduce risk of injury, charge only rechargeable batteries recommended by the
manufacturer for this camcorder. Other types of batteries may burst causing
damage and personal injury.
CAUTION: Avoid operating your camcorder immediately after moving it from
a cold location to a warm location. Give the camcorder 2 to 3 hours to reach a
stable temperature before inserting a video cassette. When moved from a cold
area to a warm location, moisture may condense on the head drum inside the
machine. This moisture could cause the tape to stick to the headwheel and
damage the headwheel or tape.
FCC Regulations state that unauthorized changes or modifications to this
equipment may void the user’s authority to operate it.
Product Registration
Please fill out the product registration card and return it immediately. Returning
this card allows us to contact you if needed.
Keep your sales receipt for proof of purchase to obtain warranty parts and service
and attach it here. Record the serial and model numbers located on the bottom of
the camcorder.
Model _______________________________________________________
Serial No:_____________________________________________________
Purchase Date: ________________________________________________
Purchased From: ______________________________________________
Important Safety Information
Be sure to read all the safety information before you begin to use this product.
WARNING: To reduce the risk of fire or shock hazard, do not expose
camcorder or AC adapter/charger to rain or moisture.
RISKOF ELECTRICSHOCK
DO NOT OPEN
This symbol indicates “dangerous voltage”
inside the product that presents a risk of
electric shock or personal injury.
This symbol indicates important
instructions accompanying the product.
RISQUEDE CHOC
ELECTRIQUENE PAS OUVRIR
CAUTION
ATTENTION
TO REDUCE THE RISK OF ELECTRIC SHOCK, DO NOT REMOVE THE
COVER (OR BACK). NO USER-SERVICEABLE PARTS ARE INSIDE. REFER
SERVICING TO QUALIFIED SERVICE PERSONNEL.
CC417

1
Assistance
Table of Contents
We want to make sure you enjoy your new camcorder. If you have any
questions, call:
Camcorder Exchange Warranty...... 800-283-6503 (Pages 58-59)
Customer Service..................................... 800-336-1900 (Page 57)
Accessories......................................... 800-338-0376 (Pages 44-51)
(continued on next page)
Safety Information................................i
Product Registration.............................i
Contents.............................................1-2
First-Time Operation
• Assistance............................................3
• Unpack Camcorder and
Accessories ......................................3
• Attach the Adapter/Charger ................4
• Remove Lens Cap and Attach
to Handstrap.....................................5
• Turn on the Camcorder .......................5
• Insert a Cassette ..................................6
• Position Viewfinder and
Adjust Eyepiece Focus Control .......6
• Start and Stop Recording ....................7
• Play Back What You Have
Recorded..........................................7
• Review the Camcorder’s
Operating Controls .......................8-9
Powering the Camcorder
• Using the Adapter/Charger ...............10
• Using the Rechargeable Battery
• Charging.........................................11
• Attaching and Removing................12
• Care and Storage ............................13
• Safety Precautions..........................13
• Battery Level Indicator...................14
• Using the Optional Thomson
Car Cord Adapter.........................15
Video Cassettes
• Erase Protection..............................16
• Recording and Playback Times......16
• Inserting and Removing
Cassettes.....................................17
• Cassette Care and Storage..............17
Traveling Tips ....................................18
Cassette Tips.......................................18

Table of Contents
2
Recording Features
• Quick Review....................................19
• Tape Positioning ...............................19
• Microphone.......................................19
• AI (Artificial Intelligence) ................19
• Program AE (Auto Exposure)...........20
• Auto Focus........................................20
• Macro Focus......................................20
• Electronic Indexing...........................21
• Time Remaining Display ..................21
• Viewfinder...................................22-23
• Displays in Viewfinder................24-25
• Date and Time Display
• Set the Date and Time....................26
• Record the Date and Time
(or Date) on Your Tape.............27
• Charging the Clock Cell.................27
• Tape Counter with
Memory Stop .......................28-29
• Zooming............................................30
• ProEdit®Features
• Flying Erase Head..........................31
• Edit Search .....................................31
• Titler..........................................32-34
Recording Tips...................................35
Playback
• Viewfinder Playback.........................36
• Playback Features
• Stop-Action Pause.....................36-37
• Picture Search ...........................36-37
• Tracking .........................................37
• Playback on TV (or VCR) with
AUDIO/VIDEO IN Jacks.......38-39
• Playback on TV without
Audio and Video Inputs.........40-41
Attaching the Shoulder Strap...........42
Specifications......................................43
User Information................................43
Optional Accessories.....................44-51
• Accessory Order Form.................49-51
Care and Maintenance.................52-53
Trouble Checks.............................54-56
Assistance............................................57
Limited Warranty.........................58-59
Index (Alphabetical).....................60-61

3
First-Time Operation
• Save the box and packing materials in case you ever need to store or ship
your camcorder.
• The items shown below are packed with your camcorder. If any of them are
missing or appear damaged, contact your dealer immediately.
TRACKING
REC/PAUSE
OFF
OWER VCR REW PLAY F.FWD STOP/EJECT
TITLESEL
–+EDIT– ADV
AC Adapter/Charger:
Stock No. 221355 or 221356
DC Cable: Stock No. 209342
Rechargeable 10-Volt Battery
Stock No. EP096FS
WARNING: LEAD-
ACID BATTERY.
MUST BE DISPOSED
OF PROPERLY.
Camcorder
Model CC417
POWER CHARGE
Shoulder Strap
Stock No. 227327
This section describes only the basic steps necessary to set up your camcorder to
record. Refer to the other sections for detailed operation and feature options.
Assistance
The toll-free numbers are available to help you with any problem you may encounter.
Camcorder Exchange Warranty . . . . .800-283-6503
Customer Service . . . . . . . . . . . . . . . .800-336-1900
Accessories . . . . . . . . . . . . . . . . . . . .800-338-0376
1. Unpack the camcorder and accessories.
Caution: Do not use this adapter/charger for any
purpose other than charging the EP096FL or EP096FS
battery pack or supplying power to the camcorder.

4
First-Time Operation
2. Attach the adapter/charger.
Since the battery must be charged
before it can be used the first time,
attach the adapter/charger to the
camcorder.
• Attach one end of the
adapter/charger’s DC cable to the
DC OUTPUT jack on the
adapter/charger.
POWER CHARGE
BATTERY
Adapter/
Charger
DC OUTPUT
Jack
Adapter/Charger’s
DC Cable
DC IN 9.6V Jack on
Back of Camcorder
• Attach the other end of the cable to
the DC IN 9.6V jack on the
camcorder.
• Plug the adapter/charger’s plug into
an operating outlet.
•Details are on page 10.

5
TRACKING
REC/PAUSE
OFF
OWER VCR REW PLAY F.FWD STOP/EJECT
TITLESEL
–+EDIT– ADV
First-Time Operation
POWER (CAMERA/OFF/VCR)
Switch and Indicator
Lens Cap
Handstrap
3. Remove the lens cap and attach
it to the handstrap.
4. Turn on the camcorder.
The position of the POWER
(CAMERA/OFF/VCR) switch tells
the camcorder whether you want to
record (CAMERA), play back tapes
(VCR), or turn off the power (OFF).
(continued on next page)
• Press and hold the small button on
POWER while sliding it in
CAMERA. The POWER indicator
will light when the camcorder is
turned on.

BATTERY
First-Time Operation
Lens Cap on
Handstrap
Cassette Door
Press Here to Close
Tape Window
Safety Tab
REC (Record)
/PAUSE
Button
6
5. Insert a cassette.
•Press STOP/EJECT to open the
cassette compartment.
• Insert the cassette with the safety tab
facing up and the tape windows
facing out.
• Press the cassette down gently until
it locks into place, and close the
cassette compartment door.
•Details are on page 17.
6. Position viewfinder and adjust
eyepiece focus control.
• Grasp the viewfinder and rotate it
horizontally.
• Pull the viewfinder out from the
camcorder and rotate the eyepiece
into a comfortable viewing position.
Caution: Pulling on the eyepiece may
cause damage to the eyepiece or
camcorder.
• If the image in the viewfinder is
blurry, adjust the eyepiece focus
control for your vision. Details are
on page 22.

7
First-Time Operation
7. Start and stop recording.
Start and stop recording by pressing
and releasing REC/PAUSE. REC
appears in the viewfinder. You do not
have to hold the button to record.
Notes: If you do not record within five
minutes, the camcorder will automatically
shut off to prevent excessive tape wear.
Press REC/PAUSE to turn on the
camcorder.
Any material recorded on the tape will
automatically be erased if you record
over it.
8. Play back what you have
recorded.
•Press REC/PAUSE to stop recording.
• Press and hold the small button on
POWER while sliding it in VCR.
• Press REW (rewind) to rewind the
tape.
• Press PLAY to play back the tape in
the viewfinder.
• Press STOP/EJECT when you are
finished playing back the tape.
• Details on viewfinder playback are
on page 36.
(continued on next page)
TRACKING
REC/PAUSE
OFF
OWER VCR REW PLAY F.FWD STOP/EJECT
TITLESEL
–+EDIT– ADV
STOP/EJECT
PLAY
REW (Rewind)
POWER (CAMERA/OFF/VCR)
Switch and Indicator
Eyepiece
Electronic
Viewfinder
(Grasp Here
to Move)
REC (Record)
/PAUSE
Eyepiece
Focus
Control

8
TRACKING
REC/PAUSE
OFF
OWER VCR REW PLAY F.FWD STOP/EJECT
TITLESEL
–+EDIT– ADV
REVIEW DISPLAY RESET DATE TITLER CAMERA OFF VCR
POWER REW PLAY F.FWD
TITLE SEL STOP/EJECT
EDIT – ADV
– +/TIME
First-Time Operation
9. Review the camcorder’s operating controls.
VIDEO, AUDIO, and RF DC OUT
Jacks (Located Behind Small Cover)
Lens
Lens
Hood
Microphone
Eyepiece
Focus
Control
Viewfinder
STOP/EJECT Button
Also EDIT–ADV Button
F.FWD (Fast Forward) Button
Also TITLE SEL + Button
PLAY Button
Also TITLE SEL Button
REVIEW Button
DISPLAY Button
RESET Button
DATE/TIME Button
TITLER Button
POWER
(CAMERA/OFF/VCR) Switch
and Indicator
REW (Rewind) Button
Also TITLE SEL – Button
Indice
Altri manuali RCA Videocamera

RCA
RCA CC6351 Manuale utente

RCA
RCA CPR 250 Manuale utente

RCA
RCA Autoshot CC6163 Manuale utente

RCA
RCA CC4393 Manuale utente

RCA
RCA Small Wonder EZ2100 series Manuale utente

RCA
RCA EZ2120BK Manuale utente

RCA
RCA EZ219 Manuale utente

RCA
RCA EZ5000R Series Manuale utente

RCA
RCA Small Wonder EZ3000 Series Guida rapida

RCA
RCA EZ2000 Small Wonder Manuale utente

RCA
RCA CC6254 Manuale utente

RCA
RCA CC632 Manuale utente

RCA
RCA EZ219BL Manuale utente

RCA
RCA CC174 Manuale utente

RCA
RCA Small Wonder EZ3100 Series Manuale utente

RCA
RCA Small Wonder EZ2120 series Manuale utente

RCA
RCA CC6364 Manuale utente

RCA
RCA CC543 Manuale utente

RCA
RCA Small Wonder EZ1010 Series Manuale utente

RCA
RCA EZ217GR Manuale utente


