
RJM Mini Amp Gizmo Manuale utente

Mini Amp Gizmo
User’s Manual
RJM Music Technology, Inc.


Mini Amp Gizmo
User’s Manual
Version 1.1
March 15, 2012
RJM Music Technology, Inc.
2525 Pioneer Ave #1
Vista, CA 92081
E-mail: [email protected]
Web: www.rjmmusic.com

Copyright © 2009-2012 RJM Music Technology, Inc.
All Rights Reserved.
Amp Gizmo, Effect Gizmo, Mini Amp Gizmo, MasterMind, RG-16 and
the RJM logo are trademarks of RJM Music Technology, Inc.

v
Table of Contents
INTRODUCTION 6!
FRONT PANEL 7!
BACK PANEL 8!
MIDI USAGE 10!
Continuous Controllers 11!
Bank Selection 12!
Backing Up Your Settings: SysEx Dump 12!
CONTROLLING MULTIPLE DEVICES 14!
SETUP MODE 15!
Selecting MIDI Channel and MIDI Options 15!
MIDI Channels 15!
Continuous Controller Ranges 16!
GCX Compatibility Mode 16!
Bank Select Enable 16!
Saving MIDI Channel and Options 17!
Invert Mode 17!
Momentary Mode 17!
Group Mode 18!
Quick Setup Buttons 18!
TROUBLESHOOTING 21!
SPECIFICATIONS 22!
AMPLIFIER CONNECTOR PINOUT 23!

Introduction
Thank you for purchasing a Mini Amp Gizmo. This product is
designed to connect your amplifier, effects devices or other
electronic equipment to other MIDI-enabled equipment. The Mini
Amp Gizmo can control any device that uses short-to-ground
switching. This means that virtually any function that is controlled by
a footswitch can be MIDI controlled using the Mini Amp Gizmo. A
wide variety of interface cables are available, from our standard ¼”
adapter cable to custom cables for a wide variety of amps. With these
interface cables, the Mini Amp Gizmo can control most any amplifier
out there – more than any other switcher on the market – and we are
always developing new cables for other amplifiers and equipment.
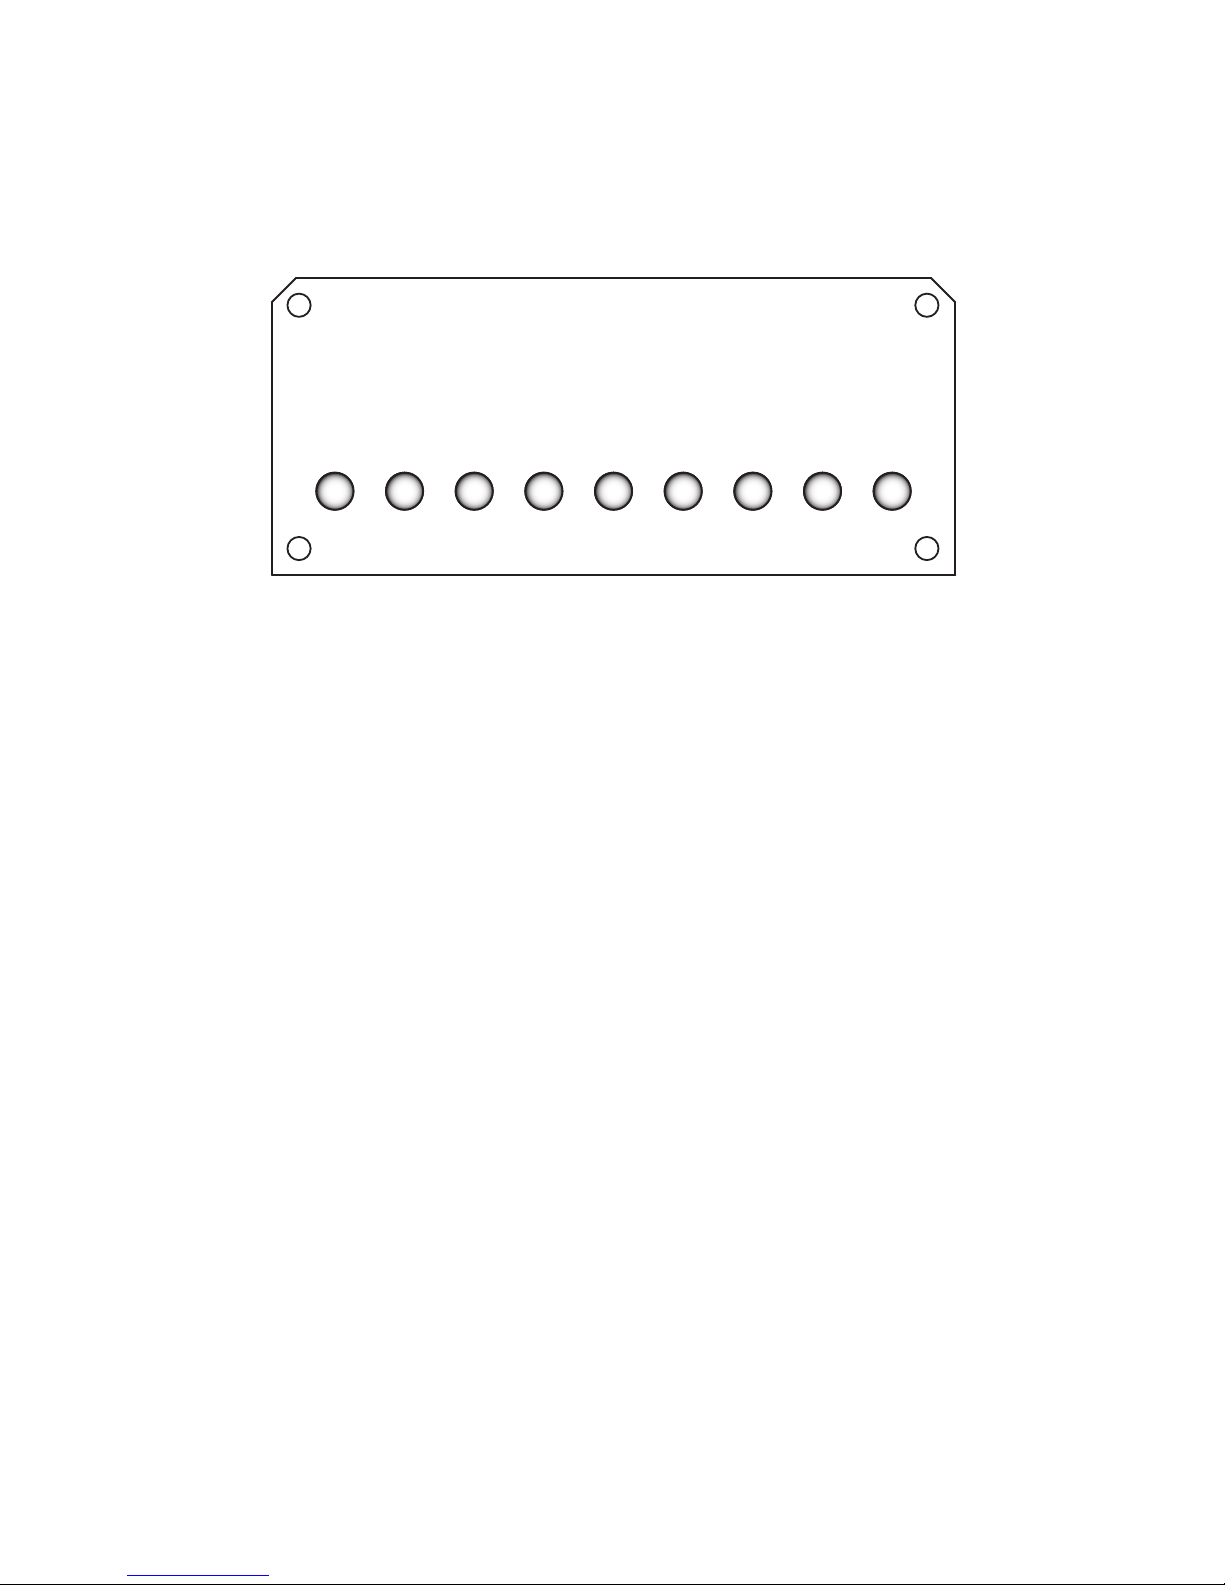
Front Panel
Buttons 1 through 8 - These buttons turn function switches 1
through 8 on and off. The button lights up when the corresponding
function switch is on.
These function switches will control all footswitchable features of an
amplifier connected to the Mini Amp Gizmo. These features may
include channel, boost, effects loop or others – whichever features
are normally controlled using the amp’s footswitch.
The interface cable you use determines which button controls which
function. Please consult the instruction sheet that was included with
your cable to find the button to function mapping for your amp.
Write – When held down for 3 seconds, this button saves the current
switch state to non-volatile memory. This function is not active until
a Program Change message is received at the MIDI In jack. See the
MIDI Usage section for more details.
The Write button is always lit up with a green LED to indicate that the
Mini Amp Gizmo is on.
Mini Amp Gizmo
MIDI Amplier Controller
1 Write8765432
RJM Music Technology, Inc.
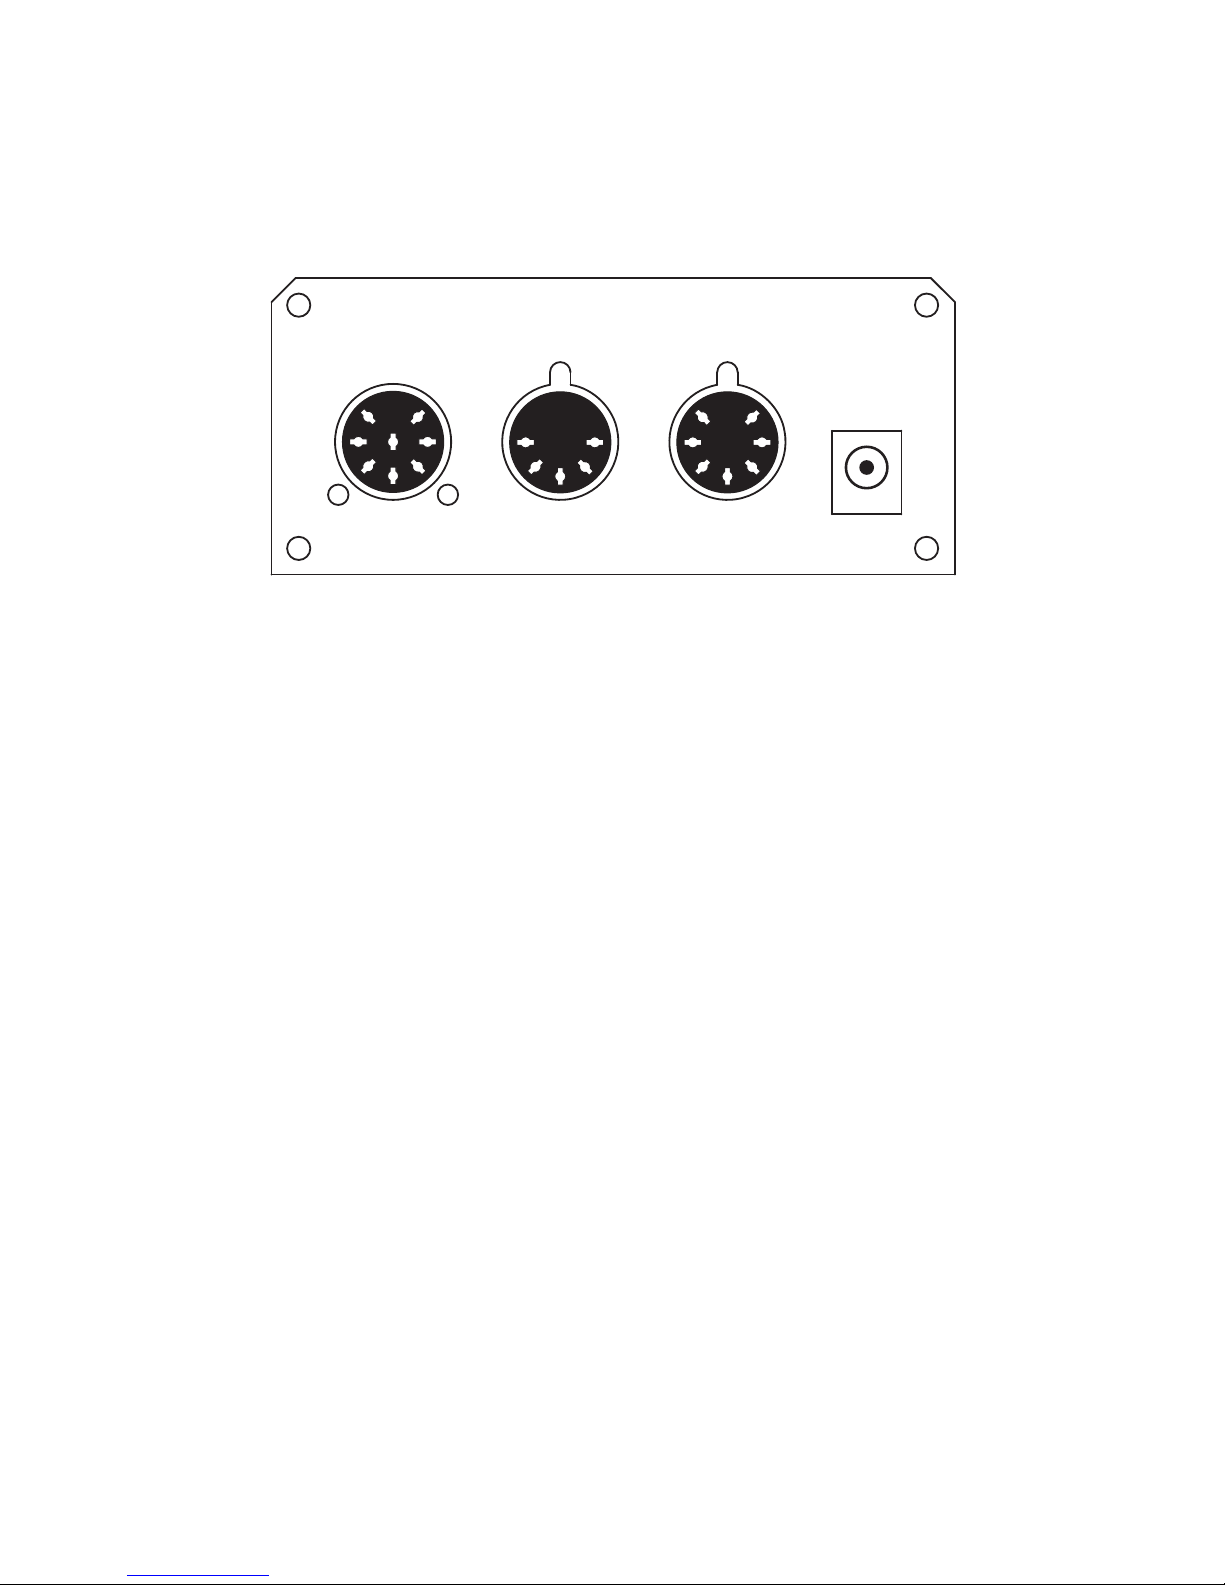
Back Panel
To Amplifier – Connect your custom amplifier interface cable here.
Use the cable end that has a yellow label reading “Rack Gizmo / Amp
Gizmo.” The other end of the cable plugs into your amp’s footswitch
jack. Before connecting, make sure that you have the cable that’s
made specifically for your amp, or the ¼” adapter cable if your amp
has ¼” footswitch jack(s). Cables are available for a variety of
amplifiers. Check our website for a list of currently available cables.
MIDI Thru/Out – All of the MIDI commands that are received at the
MIDI In jack are sent out through this jack. This jack also doubles as a
MIDI output when transferring SysEx data over MIDI. See the MIDI
Usage section for more details.
MIDI In – Jack for incoming MIDI commands. Connect your MIDI foot
controller here. The Mini Amp Gizmo will phantom power a
compatible MIDI controller if you use a 7-pin MIDI cable. The AC
adapter provided with the Mini Amp Gizmo can phantom power
many MIDI controllers provided that they can run on a 9V DC supply
and draw 250mA or less. Moving to a higher capacity power supply
will allow you to phantom power MIDI controllers with higher
current requirements – just add the current requirement of the
device with the Mini Amp Gizmo’s requirement (250mA) and make
sure your adapter can supply at least that amount of current.
MIDI InMIDI Thru/OutTo Amplier
Power In/Out
9V AC/DC
RJM Music Technology, Inc. www.rjmmusic.com

Power – This unit requires power supply in the range of 9 to 12 volts,
AC or DC. The plug should be a 5.5mm/2.1mm barrel connector,
similar to those used in most effects pedals. The Mini Amp Gizmo
requires a minimum of 250mA of current.

MIDI Usage
The Mini Amp Gizmo can receive MIDI messages from any MIDI
controller. You can store different switch settings for MIDI program
numbers 1 through 128 in MIDI banks 0 and 1. When a Program
Change message is received on the correct channel, the Mini Amp
Gizmo will automatically recall the saved settings for the given
program number.
To set up for MIDI use, simply connect your MIDI controller to your
Mini Amp Gizmo’s MIDI In jack. The Mini Amp Gizmo is set for MIDI
Channel 1 by default. Either make sure your MIDI controller is set up
to transmit commands on Channel 1, or use the Mini Amp Gizmo’s
setup mode to change which MIDI channel the Mini Amp Gizmo
responds to. See the Setup Mode section for more details.
To save a program setting, perform the following steps:
1. Using your MIDI controller, select a MIDI program number.
2. Using the Mini Amp Gizmo buttons, select your amp’s
channel and functions.
3. Hold down the Write button on the Mini Amp Gizmo until
the LEDs flash. This should take about 3 seconds.
That’s all it takes. You can repeat this for any or all of MIDI program
numbers 1 though 128.
If the lights don’t flash after a few seconds of holding down the Write
button, it means that your Mini Amp Gizmo did not receive the MIDI
Program Change message. Check your MIDI cable connection, and
make sure that the MIDI controller and Mini Amp Gizmo are set to
the same MIDI channel.
Now that your settings have been saved, you can recall your settings
by using your MIDI controller to send a Program Change message
again. The Mini Amp Gizmo will call up your saved settings and set
Indice
Altri manuali RJM Accessori


