Roberts 10-66 Manuale utente

18 in. Pro Flooring Cutter
OWNER’S MANUAL
Cisaille pro pour revêtement
de sol de 460mm
MANUEL D’UTILISATION
Cortador profesional
para pisos de 460mm
MANUAL DE OPERACIÓN
WARNING Read and
understand all instructions. Failure
to follow all instructions listed below
may result in serious bodily injury.
SAVE THESE INSTRUCTIONS
FOR FUTURE REFERENCE.
AVERTISSEMENT Lire et comprendre
toutes les directives. Le non-respect
des directives décrites ci-dessous
peut causer des blessures graves.
VEUILLEZ CONSERVER CES DIRECTIVES
POUR RÉFÉRENCE ULTÉRIEURE.
ADVERTENCIA Lea y comprenda todas
las instrucciones. Si no se cumplen todas
las instrucciones enumeradas a continuación
se puede producir lesiones físicas graves.
CONSERVE ESTAS INSTRUCCIONES PARA
CONSULTARLAS EN EL FUTURO 10-66

1. READ AND UNDERSTAND THIS INSTRUCTION MANUAL BEFORE
OPERATING THE 18" PRO FLOORING CUTTER.
2. If you are not thoroughly familiar with the operation of the 18" Pro Flooring
Cutter, obtain advice from a qualified instructor or call 866-435-8665
3. Stay alert. Do not operate while under the influence of drugs, alcohol,
or medication.
4. Always wear safety approved eye protection with side shields (ANSI Z87.1)
5. Keep work area free of debris.
6. Keep children and unauthorized persons away from the 18" Pro Flooring
Cutter and work area.
7. Make sure tool is secure. Operate only on a firm substrate or solid stand.
8. Use the right tool. Do not force the 18" Pro Flooring Cutter or use it for a
job for which it was not designed; use only on approved materials.
9. Keep the blade sharp. A dull blade will not perform properly.
10. Always keep hands away from blade while operating or carrying.
11. Do not alter or misuse this tool. The 18" Pro Flooring Cutter is precision
built; modifications not specified in this manual may result in a
dangerous condition.
12. Maintain the 18" Pro Flooring Cutter with care. Keep blade clean.
Follow instructions for lubricating and changing accessories.
13. Use only recommended accessories. The use of improper accessories may
cause hazards or injury.
14. Never leave the 18" Pro Flooring Cutter unattended. Secure the handle with
the lock chain when not in use.
SAFETY RULES FOR THE 18" PRO FLOORING CUTTER
WARNING: FAILURE TO FOLLOW THESE RULES MAY RESULT IN SERIOUS
INJURY! USING THIS MACHINE WITH RESPECT AND CAUTION WILL
CONSIDERABLY LESSEN THE POSSIBILITY OF PERSONAL INJURY.
-2-

Set Up of the Cutter
Install the table to the cutter base with
provided screws and bolts as shown.
Warning: Do not put your fingers
against the sharp edge of the blade at
any time.
Pull up the lock pin on the aluminum
handle and insert the handle base into
the handle as shown.
Warning: Do not put your fingers
against the sharp edge of the blade at
any time.
SET UP
-3-

Cutting Preparation
Adjust the angle attachment to desired
angle as needed.
The angle attachment can be used
on the left side of the table as shown.
Warning: Do not put your fingers
against the sharp edge of the blade at
any time.
CUTTING
Straight Cutting
Insert material between the cutting
blade and the base, flush with the
angle attachment as shown and hold
the material with foot then push
handle down to complete a cut.
Warning: Maintain control of the
handle. Do not allow handle to
slam back after making a cut.
45° Cutting
Swing the angle attachment to 45°.
Insert material between the cutting
blade and the base, against the angle
attachment as shown, then push the
handle down to complete a cut.
Warning: Maintain control of the
handle. Do not allow handle to slam
back after making a cut.
-4-

MAINTENANCE
Carry
Hook the chain to the ring on
the handle and carry the cutter
as shown.
Changing the Blade
Use Roberts 10-466 18" Replacement
Blade. Use the provided Allen
wrench to remove the six screws,
then hold the blade by each end and
carefully move the blade out of
blade holder.
Note: The flat side of the blade
should face the table.
Warning: Do not put your fingers
against the sharp edge of the
blade at any time.
-5-

PART LIST
-6-

PART LIST
Parts Q’ty Parts Q’ty
1 Side Frame A 1 29 Hex Head Screw M8×8 4
2 Customized Bolt M8 2 30 Hook B 1
3 Spring Washer Φ8 2 31 End Table Frame 1
4 Hex Head Bolt M8×66 4 32 Carrying Handle 1
5 Nylon Board 3 33 Thin Nut M5 3
6 Nylon Bar Holder 1 34 Nut Curve Locating Slot 1
7 Hex Head Screw M6×14 6 35 Nylon Lock Nut M5 5
8 Hex Head Screw M5×16 6 36 Blind Rivet Φ5 4
9 Hex Head Screw M12×30 1 37 Rubber Feet-1 2
10 Nylon Bar 2 38 Nut Base 1
11 Aluminum Eccentric Cam 1 39 Hex Nut M5 2
12 Hex Head Screw M5×10 1 40 Cross Bar 3
13 Side Frame B 1 41 Working Table Frame 2
14 Rotating Shaft A 1 42 Cross Head Screw M5×10 2
15 Handle Base 1 43 Plain Washer Φ5 2
16 Pull Pin 2 44 Rubber Feet-2 2
17 Handle-1 1 45 Guide Rod 2
18 Handle-2 1 46 Spring 2
19 Right ABS Handle 1 47 Blade Holder 1
20 Thin Nut M4 2 48 Rotating Shaft -B 1
21 Hook A 1 49 Blade 1
22 Left ABS Handle 1 50 Blade Cutting Base 1
23 Cross Head Screw M4×31 2 51 Cross Head Screw M6×16 2
24 Chain 1 52 Knurled Pin M5 1
25 Hex Head Screw M5×20 6 53 Cutting Guide 1
26 Working Table 1 54 Allen Wrench M5 1
27 Hex Head Screw M5×8 10 55 Allen Wrench M6 1
28 Hex Head Screw M5×12 8 56 Allen Wrench M8 1
-7-

1. LISEZ ATTENTIVEMENT CE MODE D’EMPLOI AVANT D’UTILISER
LE CISAILLE PRO POUR REVÊTEMENT DE SOL DE 460MM
2. Si le fonctionnement du Cisaille pro pour revêtement de sol de 460mm ne vous
est pas complètement familier, demandez conseil à un instructeur qualifié.
3. Restez vigilant. N’utilisez pas la machine alors que vous vous trouver sous
l’influence de médicaments, d’alcool ou d’autres traitements.
4. Portez toujours des lunettes de protection agréées disposant de protections
latérales.
5. Débarrassez toujours l’espace de travail des débris.
6. Gardez le Cisaille pro pour revêtement de sol de 460mm ainsi que la zone de
travail hors de portée des enfants et des personnes non autorisées.
7. Assurez-vous que l’outil est bien fixé. Ne travaillez que sur un sol ferme ou un
socle solide.
8. Utilisez l’outil adéquat. Ne forcez pas avec le Cisaille pro pour revêtement de
sol de 460mm et ne l’utilisez pas pour un travail pour lequel il n’a pas été
conçu. Ne l’utilisez que pour des matériaux prévus.
9. Maintenir la lame aiguisée. Une lame émoussée ne coupera
pas correctement.
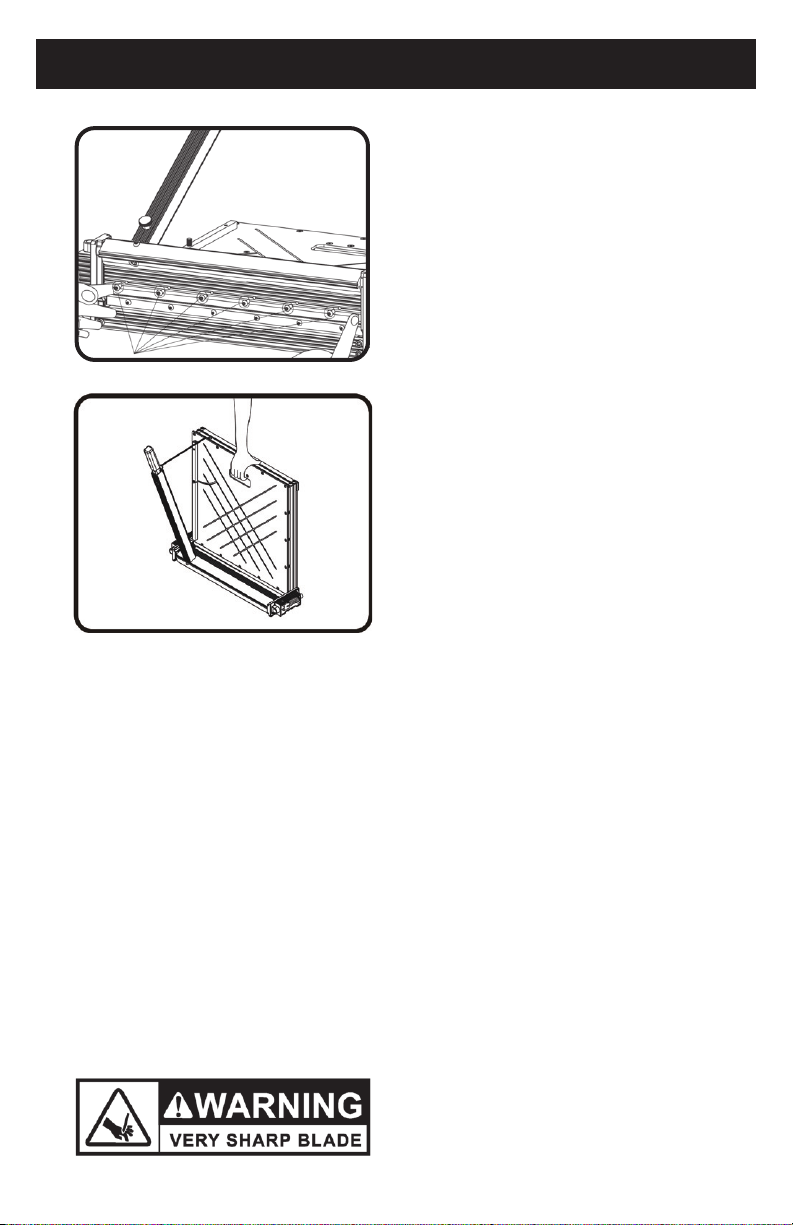
10. Faites attention à garder toujours vos mains à distance de la lame quand vous
travaillez avec le massicot ou que vous le transportez.
11. Évitez toute modification ou mauvaise utilisation de cet outil. Le Cisaille pro
pour revêtement de sol de 460mm a été fabriqué avec des tolérances très
serrées ; toute modification non indiquée dans ce mode d’emploi est
susceptible de provoquer un environnement dangereux et peu sûr.
12. Entretenez le Cisaille pro pour revêtement de sol de 460mm avec soin. Veillez à
ce que la lame soit propre. Respectez les instructions concernant le
remplacement des accessoires.
13. N’utilisez que des accessoires recommandés. L’utilisation d’accessoires
inadéquats peut présenter un risque et provoquer des blessures.
14. Ne laissez jamais le Cisaille pro pour revêtement de sol de 460mm sans
surveillance. Fixez la poignée avec la chaîne de verrouillage quand vous ne
l’utilisez pas.
AVERTISSEMENT : LE NON-RESPECT DES RÈGLES SUIVANTES PEUT
PROVOQUER DES BLESSURES GRAVES ! L’UTILISATION DE CETTE
MACHINE AVEC PRUDENCE ET EN RESPECTANT CES RÈGLES RÉDUIT
CONSIDÉRABLEMENT LE RISQUE DE BLESSURES CORPORELLES
RÈGLES DE SÉCURITÉ POUR LA CISAILLE
PRO DE 460MM
-8-

Montage de la cisaille
Fixer la table à la base en utilisant les vis et
boulons fournis, comme illustré.
Avertissement: Ne jamais poser les doigts
sur le bord tranchant de la lame.
Tirez vers le haut la goupille de
verrouillage sur l'aluminium poignée et
insérez la base de la poignée dans la
poignée comme indiqué.
Avertissement: Ne jamais poser les doigts
sur le bord tranchant de la lame.
MONTAGE
-9-

Préparation pour couper
Ajustez la fixation angulaire à l'angle
désiré, au besoin.
Le renvoi d'angle peut être utilisé sur le
côté gauche de la table, comme indiqué.
Avertissement: Ne jamais poser les
doigts sur le bord tranchant de la lame.
COUPE
Coupes droites
Insérrer le matériau entre la lame et la
base, affleurant l’attachement d’angle
comme illustré et tenir le matériau sous le
pied puis pousser le manche vers le bas
pour couper le matériau.
Avertissement: Maîtriser le manche. Ne
relâcher pas le manche en claquant après
la coupe.
Coupe en angle de 45°
Pivoter l’attachement d’angle à 45°.
Insérrer le matériau entre la lame de coupe
et la base, contre l’attachement d’angle
comme illustré, puis pousser le manche
vers le bas pour couper le matériau.
Avertissement: Maîtriser le manche. Ne
relâcher pas le manche en claquant après
la coupe.
-10-
Indice
Lingue:
Altri manuali Roberts Taglierina

Roberts
Roberts 10-900 Manuale utente

Roberts
Roberts 10-68 Manuale utente

Roberts
Roberts 10-60 Manuale utente

Roberts
Roberts 10-60 Manuale utente

Roberts
Roberts 10-63 Manuale utente

Roberts
Roberts 10-35 Manuale utente

Roberts
Roberts 10-146 Manuale utente

Roberts
Roberts 13 PRO Manuale utente

Roberts
Roberts 10-91 Manuale utente

Roberts
Roberts 10-95 Manuale utente


