Sealey 20QJ Manuale utente

TROLLEY JACK
MODEL NO: 20QJ
Thank you for purchasing a Sealey product. Manufactured to a high standard, this product will, if used according to these
instructions, and properly maintained, give you years of trouble free performance.
IMPORTANT: PLEASE READ THESE INSTRUCTIONS CAREFULLY. NOTE THE SAFE OPERATIONAL REQUIREMENTS, WARNINGS & CAUTIONS. USE
THE PRODUCT CORRECTLY AND WITH CARE FOR THE PURPOSE FOR WHICH IT IS INTENDED. FAILURE TO DO SO MAY CAUSE DAMAGE AND/OR
PERSONAL INJURY AND WILL INVALIDATE THE WARRANTY. KEEP THESE INSTRUCTIONS SAFE FOR FUTURE USE.
1. SAFETY
9Ensure the jack is in sound condition and good working order. Take action for immediate repair or replacement
of damaged parts.
9Use genuine parts only. The use of unauthorised parts may be dangerous and will invalidate the warranty.
9Locate the jack in a suitable, well lit work area.
9Keep work area clean and tidy and free from unrelated materials.
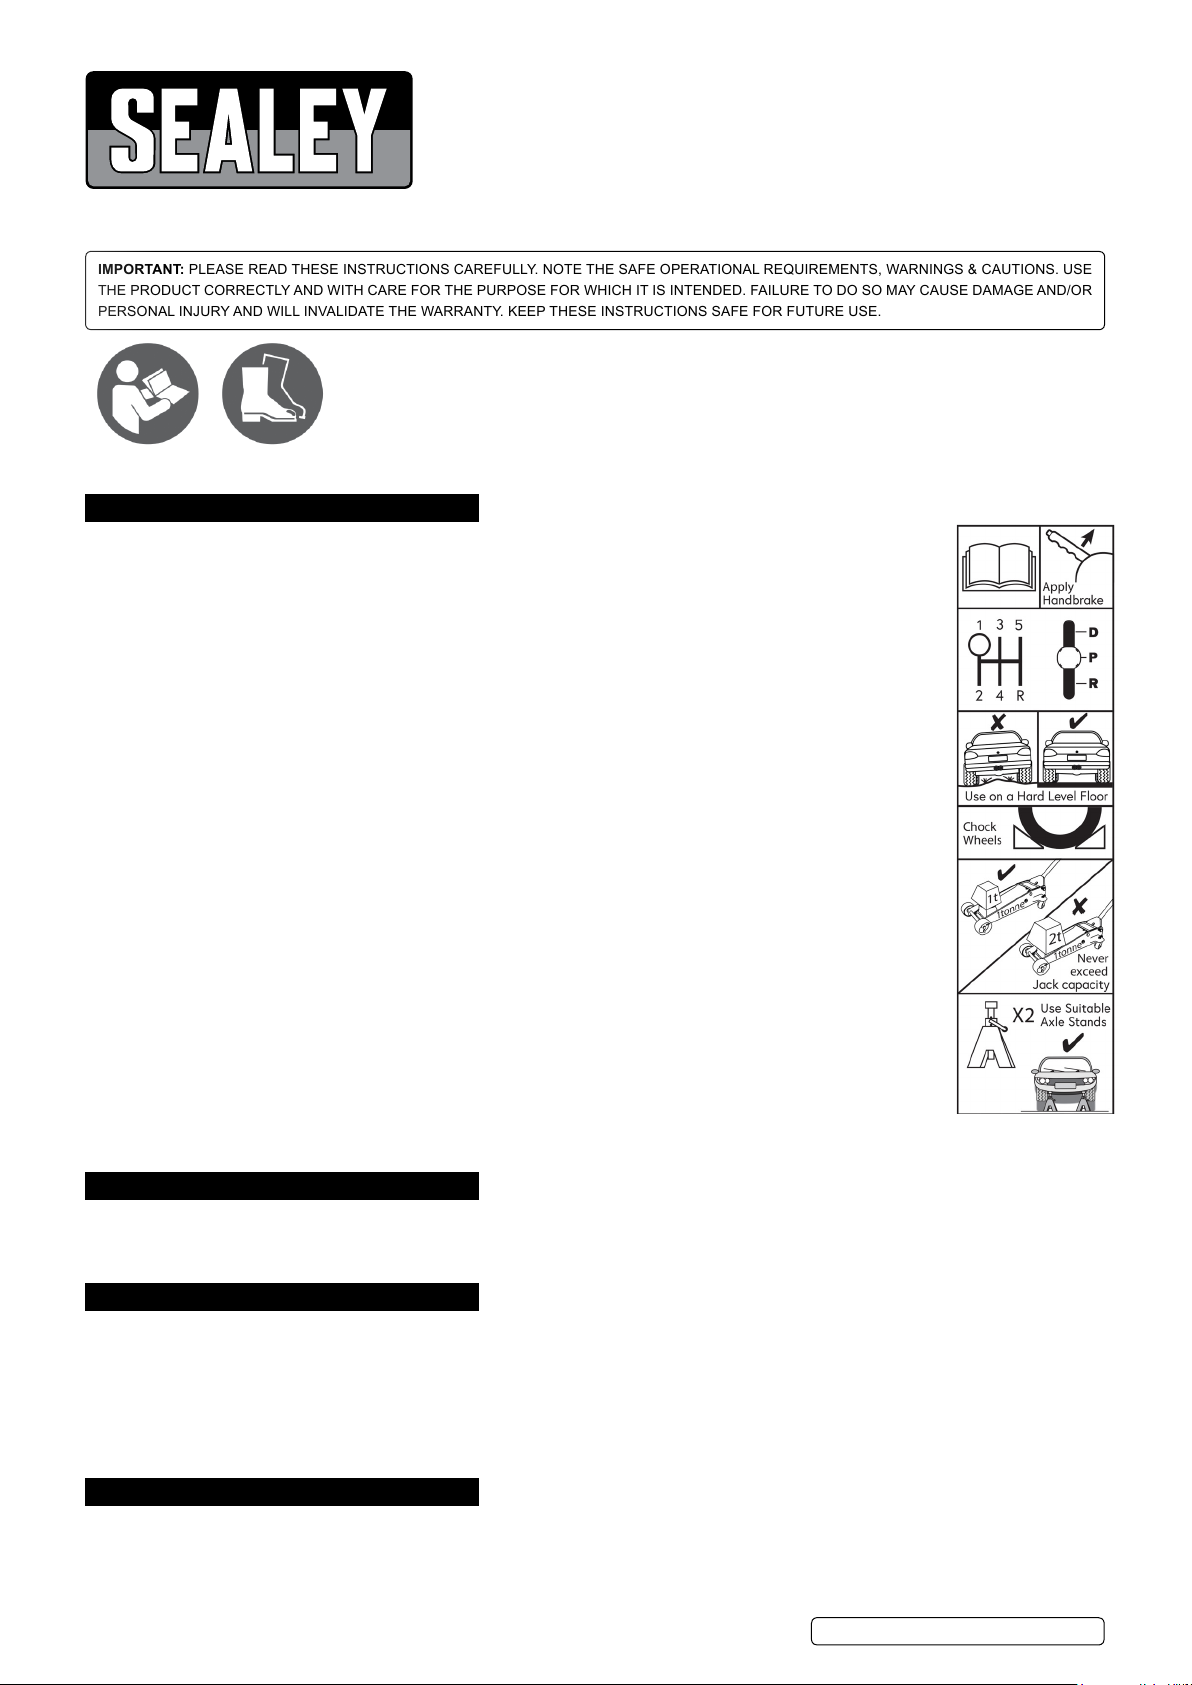
9Use jack on level and solid ground, preferably concrete. Avoid tarmacadam as jack may sink in.
9Place wedges under wheels of vehicle (but ensure wheels of jack can move freely).
9Ensure the vehicle handbrake is engaged, engine is switched off and transmission is in 1st or reverse gear
(“PARK” if automatic).
9Ensure minimum distance of 0.5m between vehicle and static objects such as doors, walls, etc., to allow for
vehicle tilting.
9Ensure there are no passengers in the vehicle.
9Ensure all non-essential persons keep a safe distance whilst the jack is in use.
9Only place jack under those lifting points recommended by vehicle manufacturer (see vehicle handbook).
9Check the lifting point is stable and centred on the jack saddle.
9Ensure the jack wheels are free to move and that there are no obstructions.
▲DANGER: Use the jack for lifting only, NOT for supporting the lifted load.
9Use suitable capacity axle stands under the vehicle before proceeding with any task.
9Ensure there are no persons or obstructions beneath the vehicle before lowering.
9Use a qualified person to maintain or repair the jack hydraulic system.
8DO NOT operate the jack if damaged.
8DO NOT allow untrained persons to operate the jack.
8DO NOT exceed the rated capacity of the jack.
8DO NOT allow the vehicle to move while supported by the jack, nor use the jack to move the vehicle.
8DO NOT jack vehicle if there is a risk of spillage of fuel, battery acid, or other dangerous substance.
8DO NOT work under the vehicle until axle stands have been correctly positioned.
8DO NOT use the jack for purposes other than that for which it is designed.
8DO NOT top up hydraulic system with brake fluid. Use hydraulic jack oil only.
8DO NOT adjust the safety overload valve.
9When not in use store jack, fully lowered, in a safe, dry, childproof area.
2. INTRODUCTION
Heavy-duty chassis with one-piece hydraulic unit. Handle mounted safety release, prevents inadvertent lowering. Fitted with foot operated
quick lift system. Includes large diameter saddle for easier positioning under the jacking point. The jack has twin wheels on the front axle for
added strength, stability and for smoother mobility. Fitted with safety overload valve. Fully CE approved.
3. SPECIFICATION
Model No:...................................................................... 20QJ
Capacity:................................................................... 20tonne
Length:..................................................................... 1800mm
Maximum Chassis Height:.......................................... 300mm
Maximum Saddle Height: ........................................... 610mm
Minimum Saddle Height: ............................................ 190mm
Nett Weight: ................................................................. 241kg
4. ASSEMBLY
4.1. Fit handle by pushing it into the clamp and turning the handle until the key engages with the release valve rod. Tighten the clamp
bolt. Make sure the locking lever is turned to engage in the top of the three holes to keep the handle in the vertical position.
Seeg.1.
20QJ Issue 2 (HF) 27/12/18
Original Language Version
© Jack Sealey Limited
Refer to
instructions
Wear safety
footwear

4.2. Before initial operation, purge any air from the system by fully opening the pump release valve (turn release valve handle
anticlockwise). Then, while holding the saddle down, pump the handle rapidly several times.
4.3. Place a few drops of hydraulic jack oil on the pump piston and pump the handle several times to distribute the oil. Thoroughly lubricate
all moving parts.
5. OPERATION
5.1. Refertogs.1&2
NOTE: Locking lever must be in the upper (jacking) position
before handle can be pumped. Ensure that it is left in the
locked position afterwards.
WARNING! Before lifting, ensure Section 1 safety instructions
are strictly followed.
5.2. Prepare vehicle as described in safety instructions ensuring the
ground on which jack is to stand is level and solid (not tarmacadam).
We recommend concrete.
5.3. Position the jack saddle under the vehicle manufacturer’s
recommended lifting point (see vehicle handbook).
5.4. RAISING THE JACK.
NOTE: The jack saddle may be raised quickly up to the load using the foot pedal.
8DO NOT attempt to raise the load with the foot pedal.
5.4.1. Turn the release valve handle clockwise until resistance is felt to close the
release valve. DO NOT over-tighten.
5.4.2. Place the jack directly under the object to be lifted. Make sure the saddle
accepts weight firmly and centrally. Check positioning under
slight load to confirm jack or load will not slip, or move suddenly.
5.4.3. Raise jack by moving locking lever to the jacking position pump handle
until the desired height is reached. After lifting, secure and transfer load
to axle stands or other appropriate means. DO NOT use jack as the only
means of support.
5.5. LOWERING THE JACK.
5.5.1. Slowly turn the release valve handle anticlockwise. Speed of descent is
controlled by amount release valve is turned.
SAFETY WARNING! Always lower in a slow and controlled manner and
ensure that there are no persons or obstacles beneath the vehicle, or in the path of descent.
6. MAINTENANCE
IMPORTANT: Only fully qualified personnel should attempt maintenance or repair.
6.1. When the jack is not in use, the ram should be in the lowest position to minimise corrosion.
6.2. Keep the jack clean and lubricate all moving parts with oil on a regular basis.
6.3. Every 3 months grease the lifting arm pivot pin and the rear castors via the grease nipples provided.
6.4. The pump and cylinder form a closed hydraulic system and refilling with oil is only necessary in exceptional cases. To check oil level:
1) Place jack on a level surface with the saddle fully lowered.
2) Remove the top cover by pulling up.
3) The oil is topped up via the rubber bung which is situated on top of the cylinder nearest to the ram end of the pump.
NOTE: Use a good quality jack oil, such as SEALEY HYDRAULIC JACK OIL.
WARNING: DO NOT use brake fluid, or any fluid other than hydraulic jack fluid as this will cause serious damage to the jack
and will invalidate the warranty!
6.5. Before each use check for broken, cracked, bent, or loose parts, or any visible damage to ram, pump, saddle, lifting arm, frame and all
parts including nuts, bolts, pins and other fasteners. If any suspect item is found, remove jack from service and take the necessary
action to remedy the problem.
8DO NOT use the jack if it is believed to have been subjected to abnormal or shock loading. Inspect and take appropriate action.
6.6. Periodically check the pump piston and the ram for signs of corrosion. Clean exposed areas with a clean cloth and jack oil.
IMPORTANT: NO RESPONSIBILITY IS ACCEPTED FOR INCORRECT USE OF THIS PRODUCT.
Hydraulic products are repaired by local service agents only. We have service/repair agents in all parts of the UK.
DO NOT return jacks to us. Please telephone us on 01284 757500 to obtain the address and telephone number of your local agent.
If jack is under guarantee you can also contact your local dealer.
6.7. DE-COMMISSIONING.
6.7.1. Should the jack become completely unserviceable, draw off the oil into an approved container and dispose of the jack and the oil
according to local regulations.
7. TROUBLESHOOTING
PROBLEM POSSIBLE CAUSE REMEDY
Jack will not lift the load properly or will not
hold raised load.
1) Overloaded
2) Release valve not closed
3) Air in system
4) Low oil level
5) Internal defect
1) Be sure to use jack with adequate
capacity.
2) Check and close release valve.
3) Purge system as described in section 3.2.
4) Check level and replenish if necessary.
5) Contact Service Agent.
g.1
g.2
20QJ Issue 2 (HF) 27/12/18
Original Language Version
© Jack Sealey Limited

Sealey Group, Kempson Way, Suffolk Business Park, Bury St Edmunds, Suffolk. IP32 7AR
01284 757500 01284 703534 sales@sealey.co.uk www.sealey.co.uk
ENVIRONMENT PROTECTION
Recycle unwanted materials instead of disposing of them as waste. All tools, accessories and packaging should be sorted, taken to
a recycling centre and disposed of in a manner which is compatible with the environment. When the product becomes completely
unserviceable and requires disposal, drain any fluids (if applicable) into approved containers and dispose of the product and fluids
according to local regulations.
Note: It is our policy to continually improve products and as such we reserve the right to alter data, specifications and component parts without prior
notice.
Important: No Liability is accepted for incorrect use of this product.
Warranty: Guarantee is 12 months from purchase date, proof of which is required for any claim.
Parts support is available for this product. To obtain parts, please log on to
www.sealey.co.uk, email sales@sealey.co.uk or telephone 01284 757500
Jack will not lower 1) Unit requires lubrication
2) Piston rod bent or damaged
3) Jack frame/link system distorted due
to overloading/poor positioning
4) Air in system
5) Release valve partially closed
6) Release valve blocked
1) Oil all external moving parts.
2) Contact local Service Agent.
3) Replace damaged parts or contact Service
Agent.
4) Purge system as described in section 4.2
5) Check and fully open release valve.
6) Clean release valve.
20QJ Issue 2 (HF) 27/12/18
Original Language Version
© Jack Sealey Limited
Indice
Altri manuali Sealey Jack

Sealey
Sealey 300ETJ Manuale utente

Sealey
Sealey 1015CX Manuale utente

Sealey
Sealey SJ50 Manuale utente

Sealey
Sealey YAJ30H.V2 Manuale utente

Sealey
Sealey RJAS1500.V2 Manuale utente

Sealey
Sealey PFJ200 Manuale utente

Sealey
Sealey 10000LQ Manuale utente

Sealey
Sealey FJ40 Manuale utente

Sealey
Sealey TJ150E Manuale utente

Sealey
Sealey 20QJ Manuale utente

Sealey
Sealey 57M.V3 Manuale utente

Sealey
Sealey 1002.V2 Manuale utente

Sealey
Sealey Quality Machinery SJ50 Manuale utente

Sealey
Sealey RJAS2500.V3 Manuale utente

Sealey
Sealey HI-VIS Manuale utente

Sealey
Sealey SJBEX200LP Manuale utente

Sealey
Sealey 3000ES Manuale utente

Sealey
Sealey YAJ20B.V3 Manuale utente

Sealey
Sealey 14HT Manuale utente

Sealey
Sealey VS2002HV Manuale utente