| Installation sequence 8
4.8 For standard accessories. Set switch to zone 1
(fig. 15)
The green zone 1 light will flash. Then activate the relevant accessory
and 1 beep will confirm that the code is learned for activation in
zone 1. Other accessory codes can also be learned and 1 beep will
confirm that the new code has been learned. If the code has already
been learned no beep will occur. It will only beep for new codes.
4.9 For standard accessories. Set switch to zone 2
(fig. 16)
The green zone 2 light will flash. Then activate the relevant accessory
and 2 beeps will confirm that the code is learned for activation in
zone 2. Other accessory codes can also be learned and 2 beeps will
confirm that the new code has been learned. If the code has already
been learned no beeps will occur. It will only beep for new codes.
4.10 For standard accessories. Set switch to zone 3 (Zones 1 + 2)
(Do not re-code accessories already coded in zone 1 & 2)
(fig. 17)
The green zone 1 & 2 lights will flash. Then activate the relevant
accessory and 3 beeps will confirm that the code is learned for
activation in zone 1 & 2 combined. Other accessory codes can also be
learned and 3 beeps will confirm that the new code has been
learned. If the code has already been learned no beeps will occur. It
will only beep for new codes.
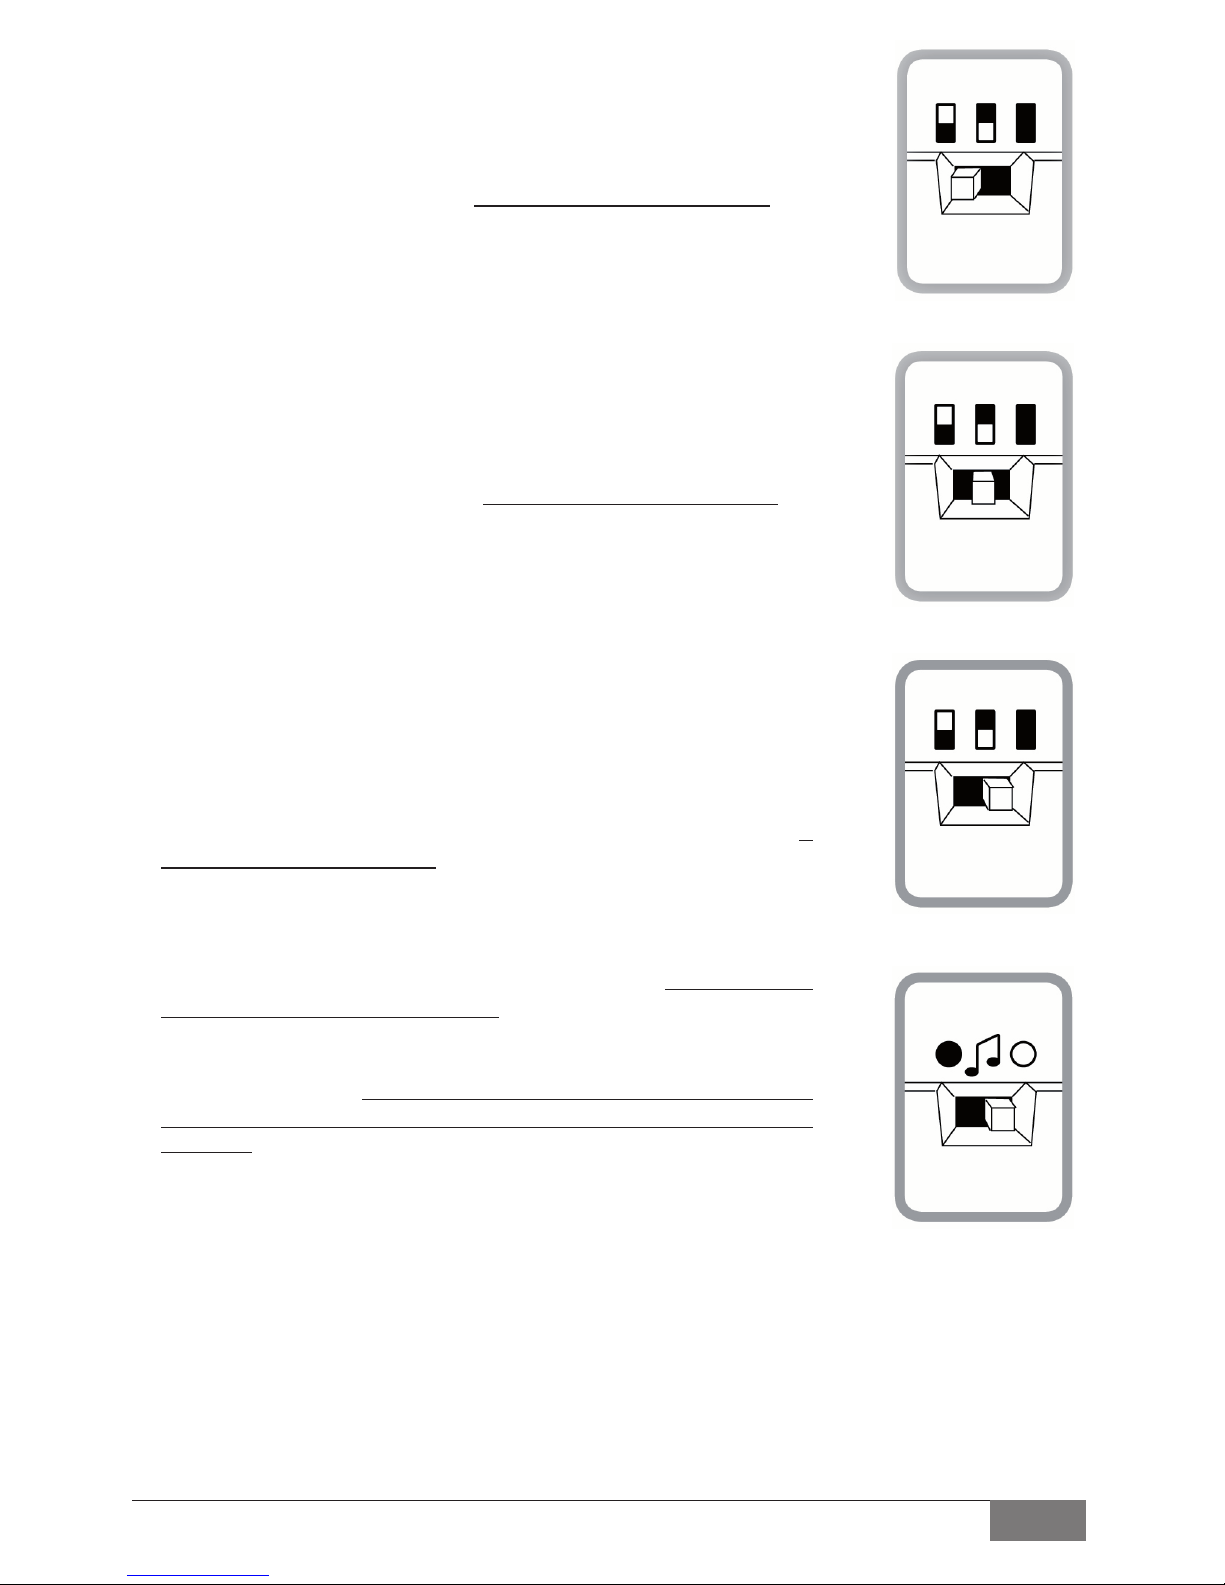
4.11For smoke and other specialaccessories which must be
constantly active 24 hours a day. Set switch to Accessories only
(fig.18).
The green Test light and the zone lights 1 & 2 will flash.
Then activate the relevant accessory and 5 beeps will confirm that
the code is learned. It is not necessary to place the zone switch in
anyspecific position as the 24 hour activitywill over-ride all the zone
selections.
fig.18
fig.17
fig.16
fig.15