
Seiki T Series Manuale utente
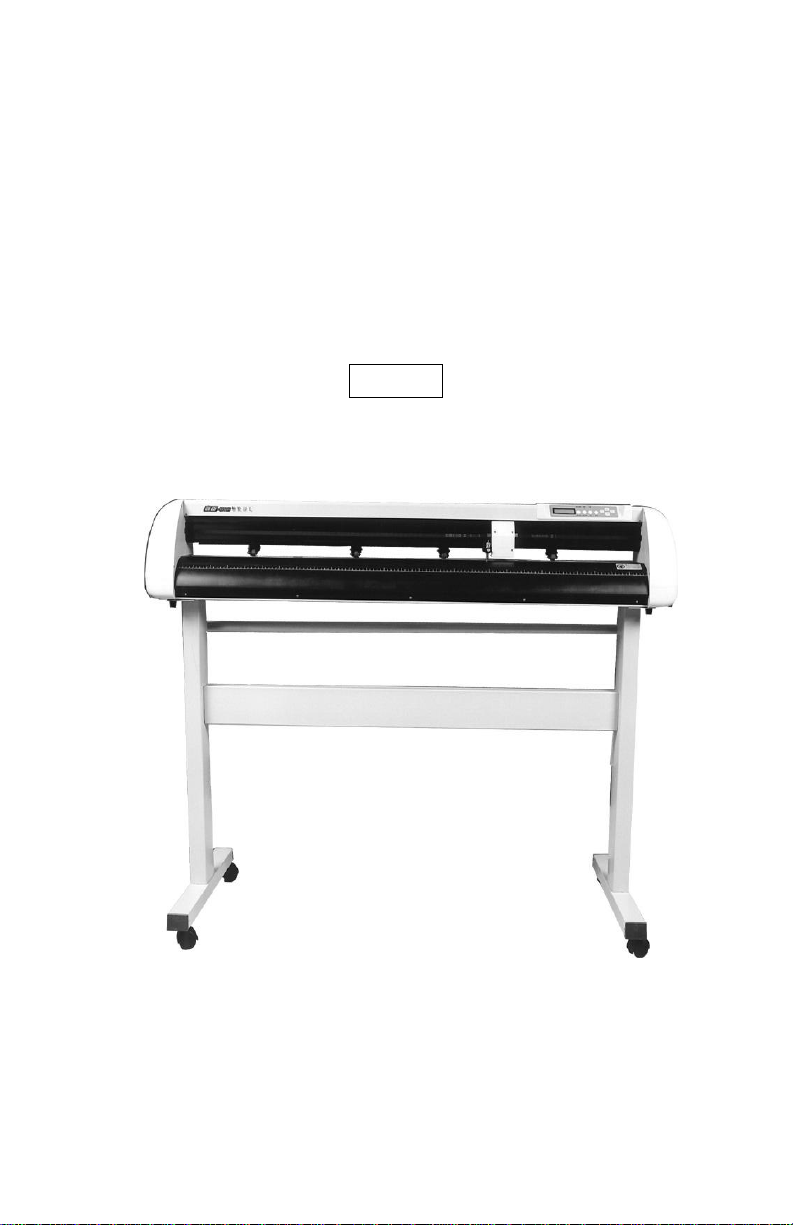
Seiki Vinyl Cutter Plotter
User’s Manual
T Series


TABLE OF CONTENTS
SECTION I GENERAL INFORMATION .......................1
1. INTRODUCTION ................................................................1
2. GENERAL PRECAUTIONS..................................................2
3. PACKAGE CONTENTS .......................................................3
SECTION II INSTALLATION..........................................4
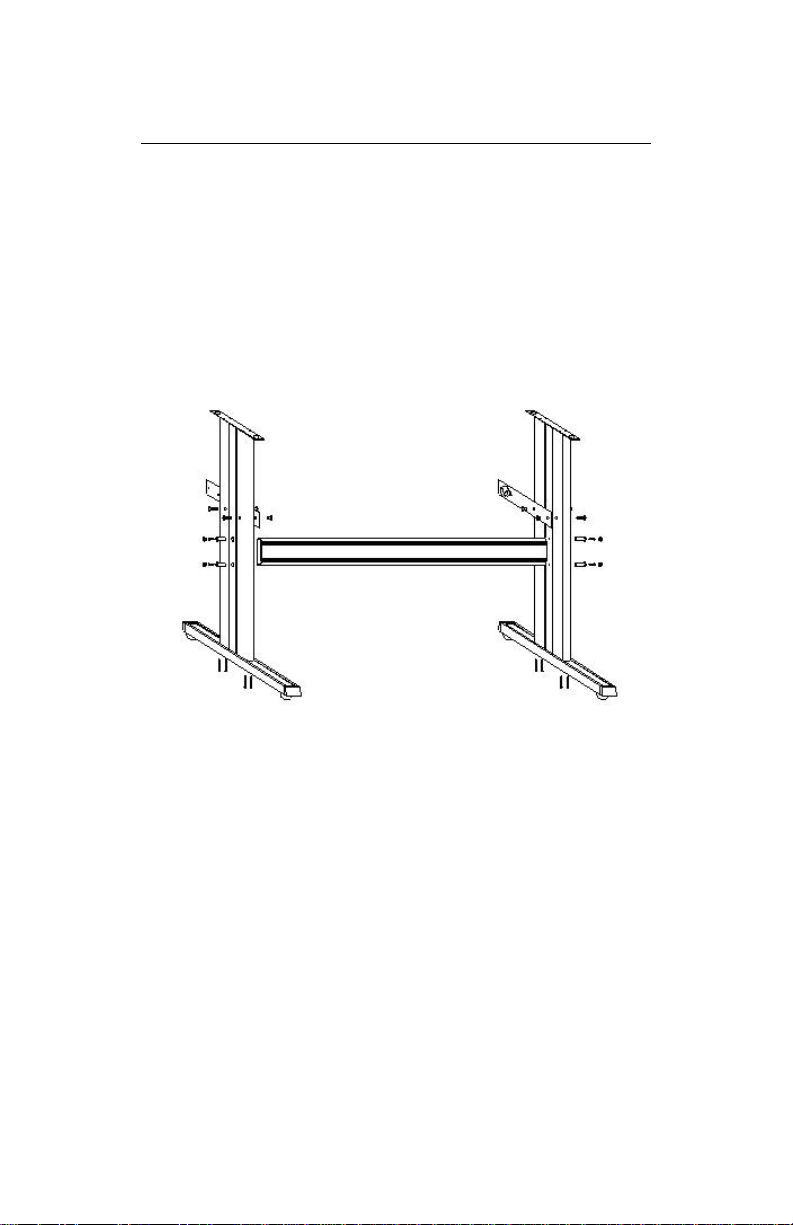
1. INSTALLATION OF STAND ................................................4
2. INSTALLATION OF PEN.....................................................5
3. INSTALLATION OF BLADE ................................................5
4. INSTALLATION OF PEN/BLADE HOLDER...........................7
SECTION III OPERATION ..............................................8
1. CUTTING PLOTTER COMPONENTS....................................8
2. OPERATION OF CONTROL PANEL .....................................9
3. LOADING MEDIA............................................................10
4. FIRSTLY TESTING...........................................................10
SECTION IV FEATURES OF FUNCTIONS.................12
1FUNCTIONS REALIZATION ...............................................12
2LOCAL FUNCTIONS..........................................................12
3SPECIFICATIONS..............................................................14
SECTION V TROUBLESHOOTING GUIDE ...............15

Section I General Information
1. Introduction
Thank you for purchasing the Seiki cutting plotter. Now
you can take advantage of this great new technology and gain
the freedom design. Your new Seiki T Series is a vinyl cutter
that connects to your computer, enabling you to quickly and
easily cut professional custom design sign that you have
created on you computer using the sign editing software
provided. It has superior quality and reliable performance in
the line of electrical machines. In order to make full use of this
machine, please be sure to read through this user manual
completely, learn the method of manipulation well, and
operate the product according to the user manual.

Seiki Cutting Plotter
2
2. General Precautions
Read all instructions before using Seiki cutting plotter
WARNING: TO REDUCE THE RISK OF FIRE OR
ELECTRIC SHOCK:
•Connect to properly grounded outlet only.(Figure 1-1)
Figure 1-1
•When the machine is on, DO NOT connect or disconnect
cables.
•Keep hand and hair away form the metal roller.
•Turn the power off, do not press the pinch rollers on the
metal roller when the machine is not used.
•Do not press top beam or lift up black rail.
•Do not expose the cutting plotter to direct sunlight
•Do not place or store the cutting plotter near heaters or
other hot appliances, in any location exposed to extremely
high or low temperatures, high humidity.
•Do not use with damaged cord or plug.
•Do not place any heavy objects or objects containing
water on top of the cutting plotter. If water or any foreign
object enters into it, the machine may be damaged or
electric shock could result.
•Do not insert any objects into or block the vinyl output
slot.
•The blade should not extend the necessary range. If the
blade extends too much ,it will damage the protection
strip and affect the quality of output. The stretch of the
blade is usually about 3 to 4 mils.
•Don’t move the tool carriage rapidly with hands.

Seiki Cutting Plotter
3
3. Package Contents
Check that the package contains the following before using
your cutting plotter. If any item is missing or damaged, please
contact your vendor or distributor where the cutting plotter
was purchased.
Document
User’s Manual
Cutting Plotter
1
Software
(Optional)
Power Cord
1
Serial Cable
1
Blades Holder
1
Pen Holder
1
Stand
1
Blades
3
Seiki Cutting Plotter
4
Section II Installation
1. Installation of Stand
Figure 2-1
Seiki Cutting Plotter
5
2. Installation of Pen
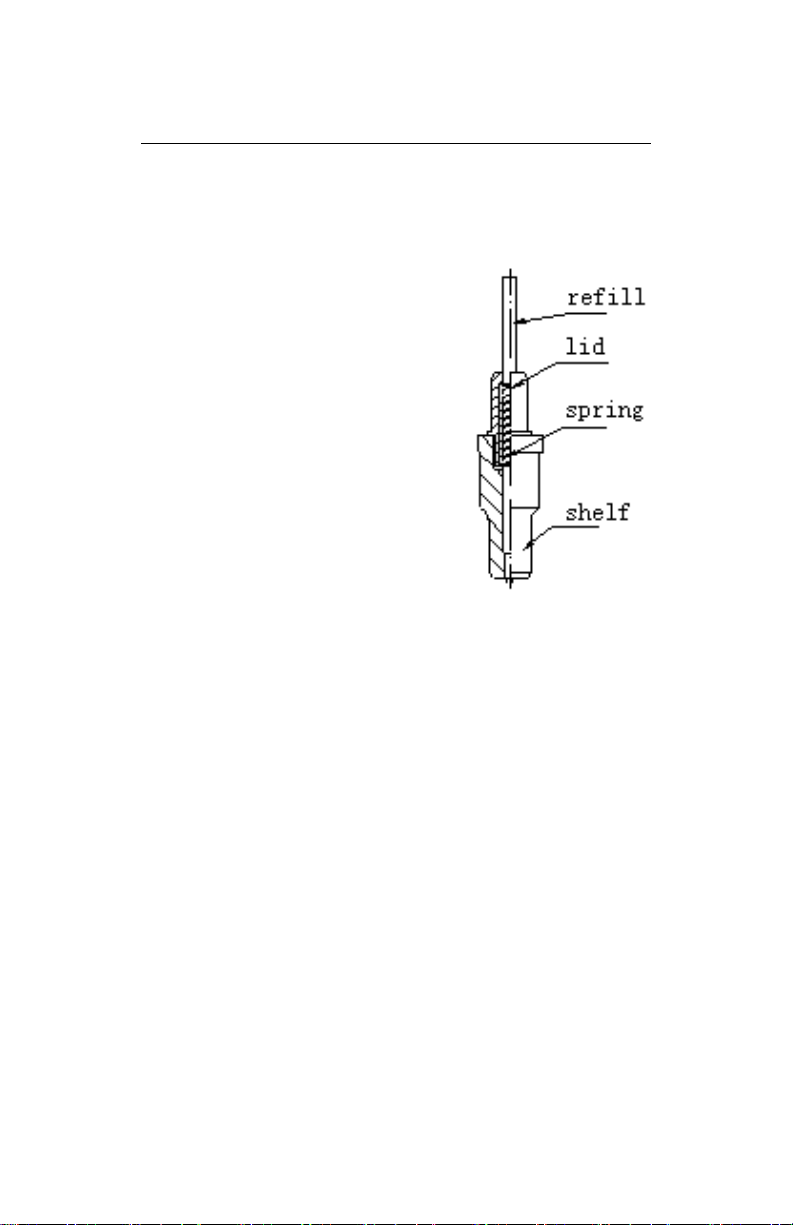
①Using pen you can plot the
characters or graphics that you
have designed on the paper,
when plotting, you should reduce
the down force in order to avoid
damaging the paper. Meanwhile
you should give up the
compensation in the software,
and increase the cutting
speed.(Figure 2-2)
②Pen Installing:
1. Loose the screw on the
holder anti-clockwise.
2. Insert a ballpoint pen and let
the refill tip out of proper
length.
3. Clockwise fasten the screw.
Figure 2-2
3. Installation of Blade
①Three blades are included in the machine. They are
Roland compatible. Diameter is 2mm.
Seiki Cutting Plotter
6
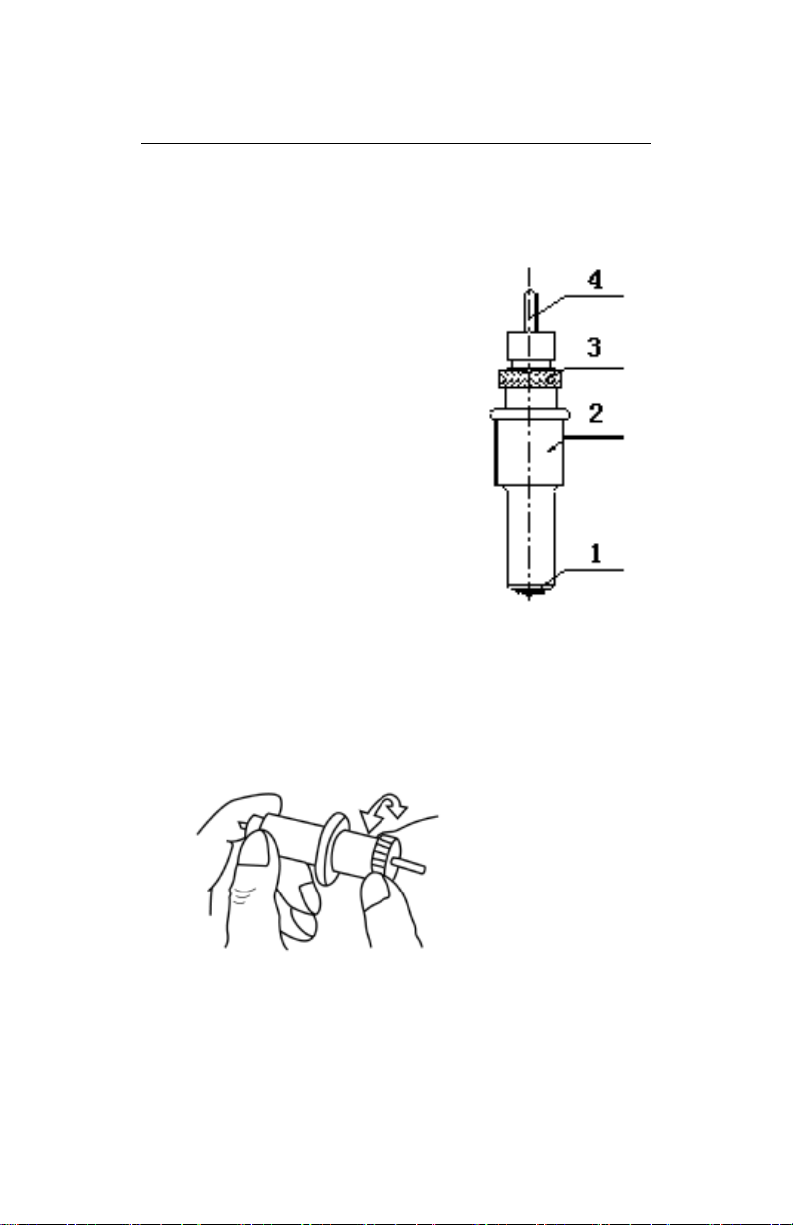
②Install the blade as (Figure 2-3).
1. Blade (Diameter is 2mm)
2. Blade holder body
3. Blade holder shell
4. Blade–exiting pole
Figure 2-3
③Adjusting the stretch of the blade extending outside
(Figure 2-4)
Figure 2-4
Seiki Cutting Plotter
7
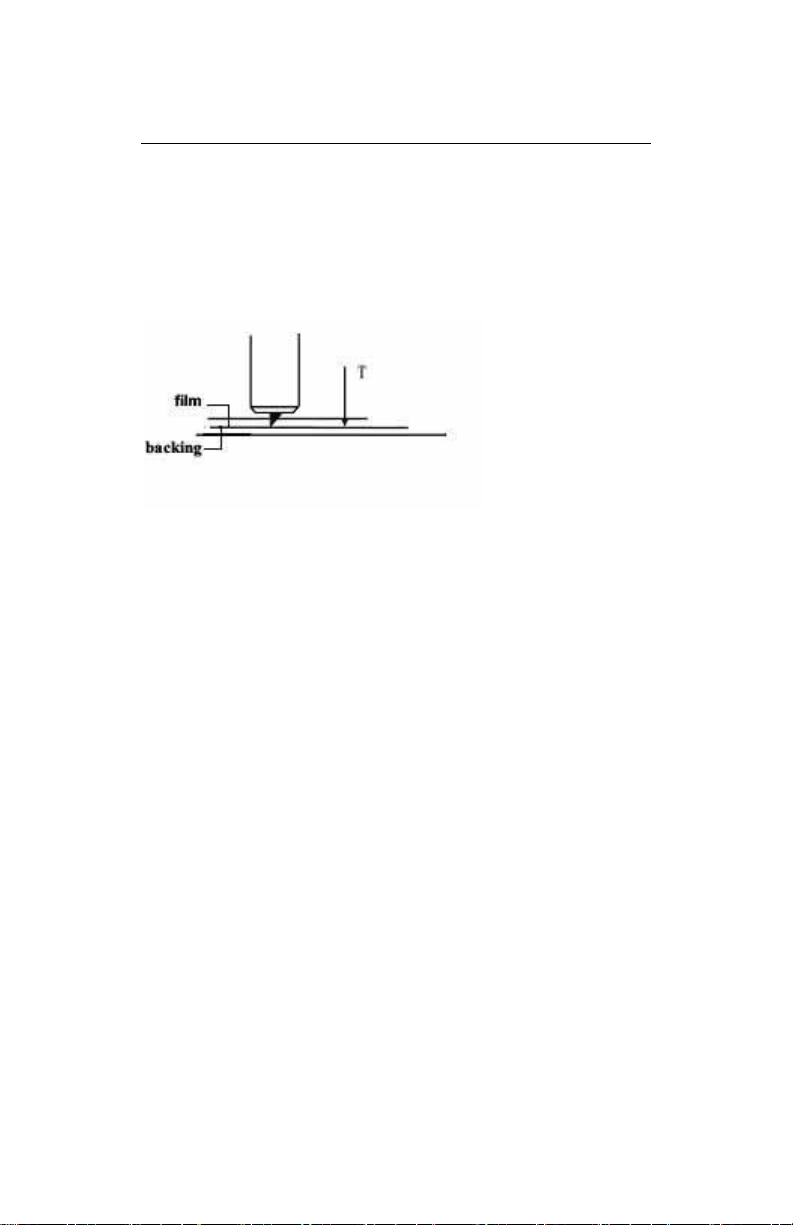
④Extend the tip of blade by the stretch required for the
desired cutting media (T<5mils) as (Figure 2-5).
Figure 2-5
4. Installation of Pen/Blade Holder
①Turn off the power.
②Loose the locking-screw of the holder bracket, then put
the blade holder or pen holder in the V breach and ensure
the blade tip or refill to reach to the protection-strip.
Fasten the locking-screw clockwise at last.
③After turning on the machine, the tip should raise around
1/8 inches away from protection-strip.
Questo manuale è adatto per i seguenti modelli
4
Indice


