4
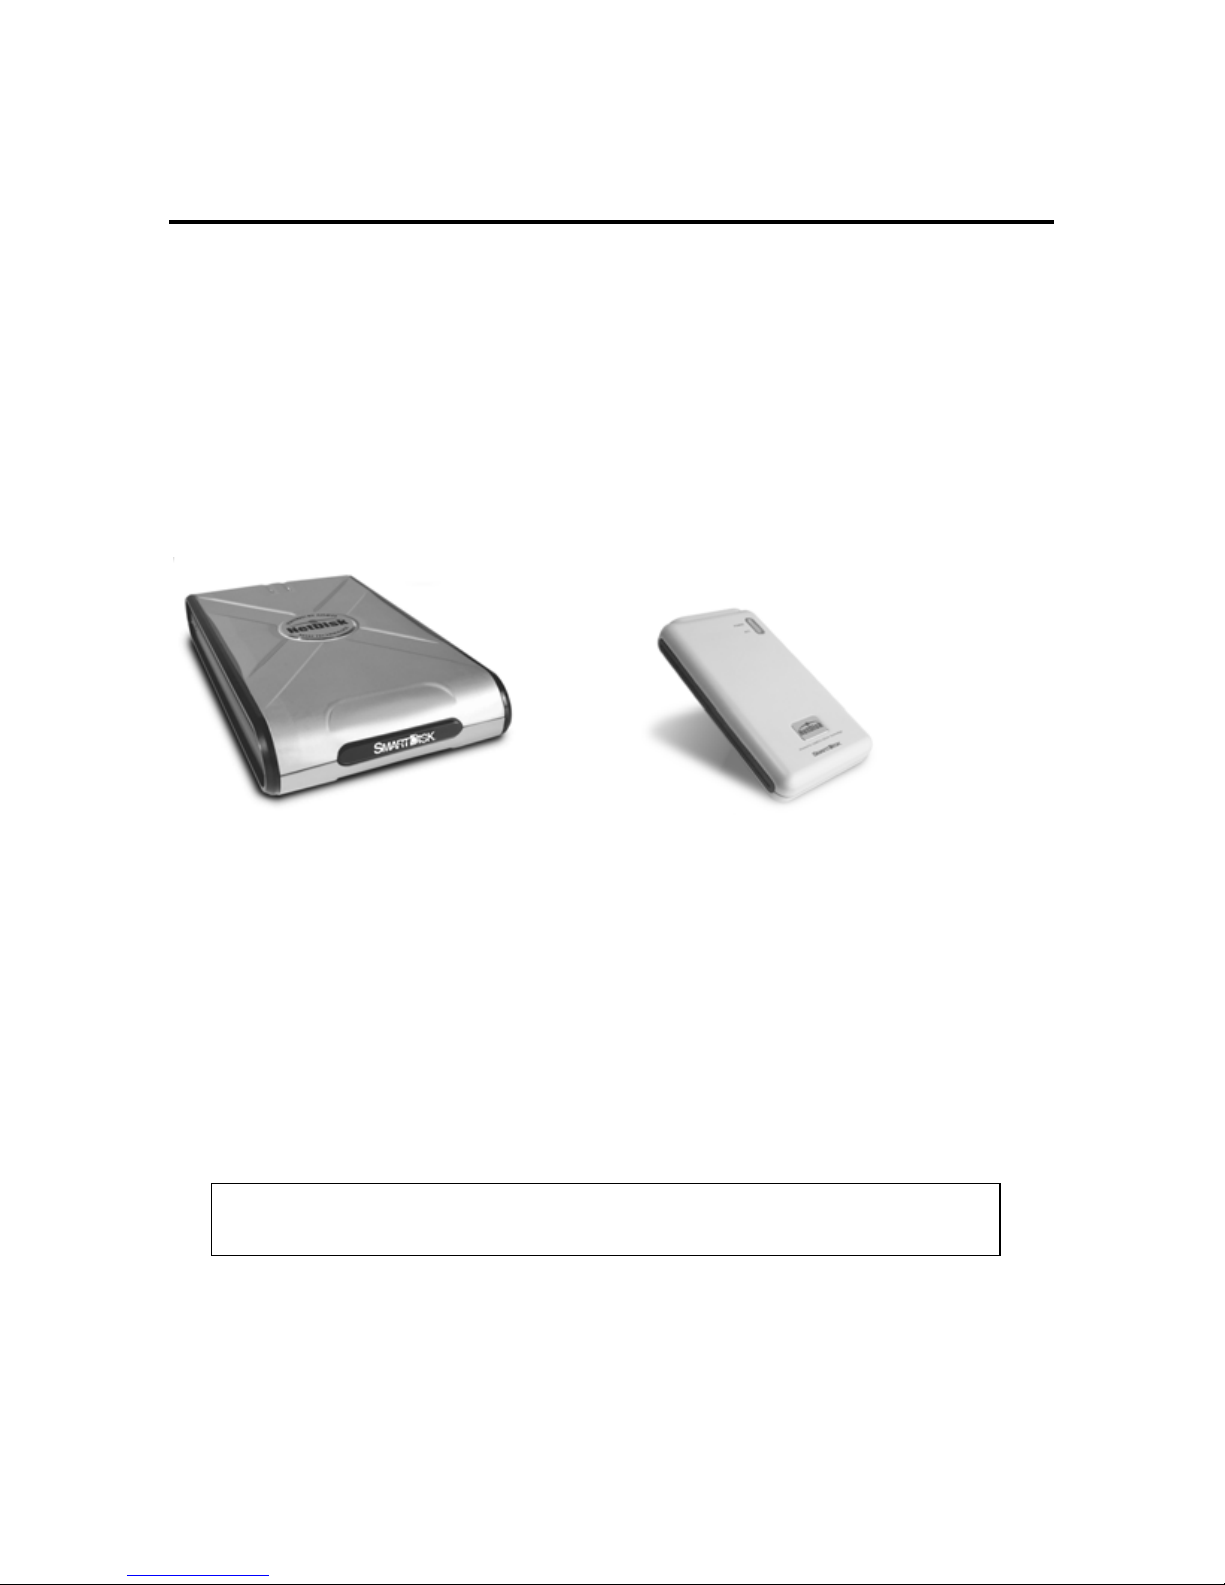
NetDisk Desktop Drive:
1. Connect the included AC Adapter to NetDisk, and then to a
wall outlet using the included power cord.
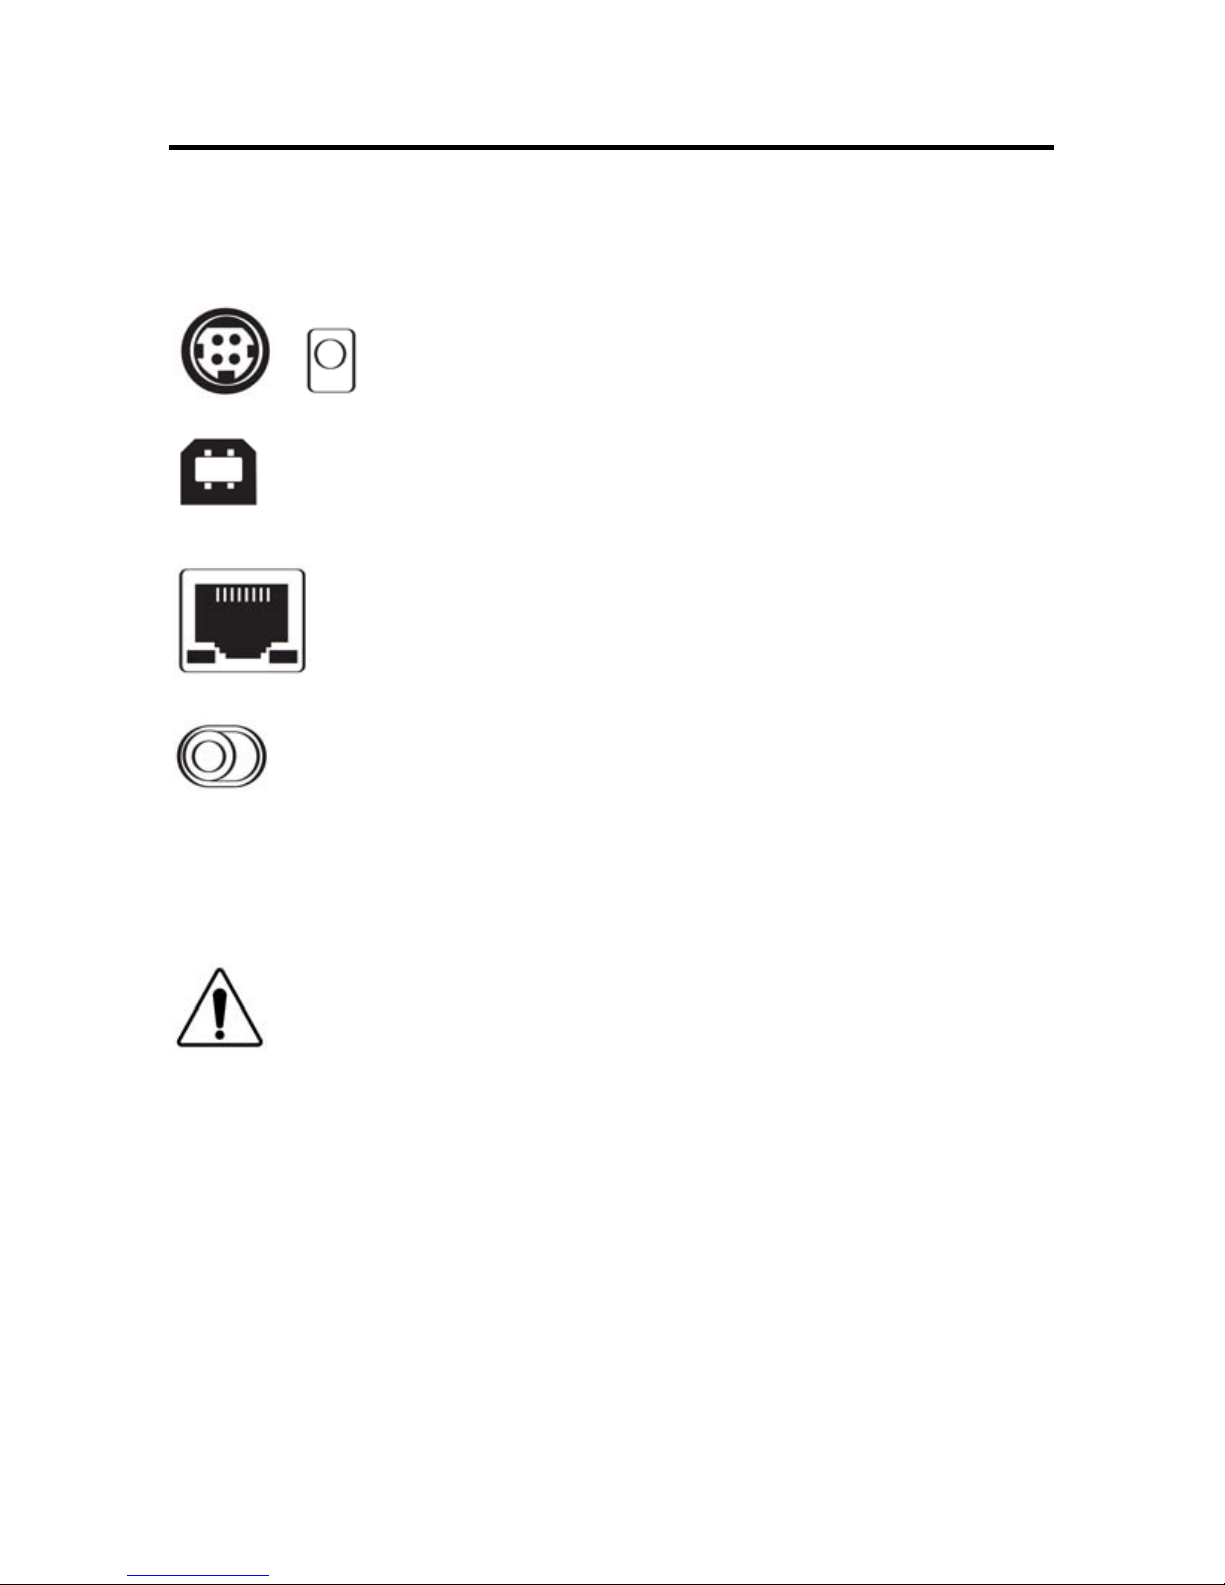
2. Then locate the power switch on the back of the NetDisk,
and slide it to the ON position.
3. Finally, connect the included USB cable from the USB port
on NetDisk to the USB port on your PC.
NetDisk will mount automatically, and a new icon will appear in My
Computer representing your NetDisk.
NetDisk Portable Drive:
The NetDisk portable drive can be operated either in bus-powered
mode, or in self-powered mode using the included AC Adapter,
depending on the amount of power available from your computer.
Bus-Powered Mode:
This mode uses the power provided over the USB cable and does
not require use of the optional AC Adapter.
1. Locate the power switch on the back of your NetDisk
and slide it to the OFF position.
2. Next connect the included 3-connector USB cable from
the USB port on NetDisk to the USB port on your PC
(one connector of the 3-connector USB cable will be
unused).
If there is adequate power being supplied from your PC, the
NetDisk will mount automatically, and a new icon will appear in
My Computer representing your NetDisk.
If it does not mount automatically, you may need to connect
BOTH USB connectors of the supplied 3-connector USB cable
to available USB ports on your PC. If your NetDisk still fails to
mount, you will need to use the included AC Adapter in self-
powered mode, as explained below.