PRODUCT MANUAL
Glide Wireless LED Dimmer and Receiver Toll Free. 866-592-3873
www.SolidApollo.com
sales@SolidApollo.com
page 3
Glide LED Dimmer and Receiver
™
Synchronizing the Glide Remote and Receiver
1. To synchronize your Glide Wireless LED Dimmer and receiver, rst ensure that your receiver has power and is on.
2. Your Glide Wireless LED Remote comes with a plastic tab in the battery compartment to prevent power drain during shipping. To operate your
remote, simply slide o the cover to the battery compartment, and remove the clear plastic tab. Once you slide the cover back on, your remote is
ready to be synchronized with your receiver.
3. Once the plastic tab has been removed from the battery compartment, you can synchronize your lights. Press down and release the learning key
on your receiver once. You can now tap or slide your nger on the Glide Dimmer portion of your remote, synchronizing your system. When you
have synchronized your system successfully, your lights should ash once, then show a response to your actions.
This section will show you how to synchronize your Glide Wireless LED Dimmer and receiver, use your remote to control your lights.
Synchronizing your Remote and Receiver
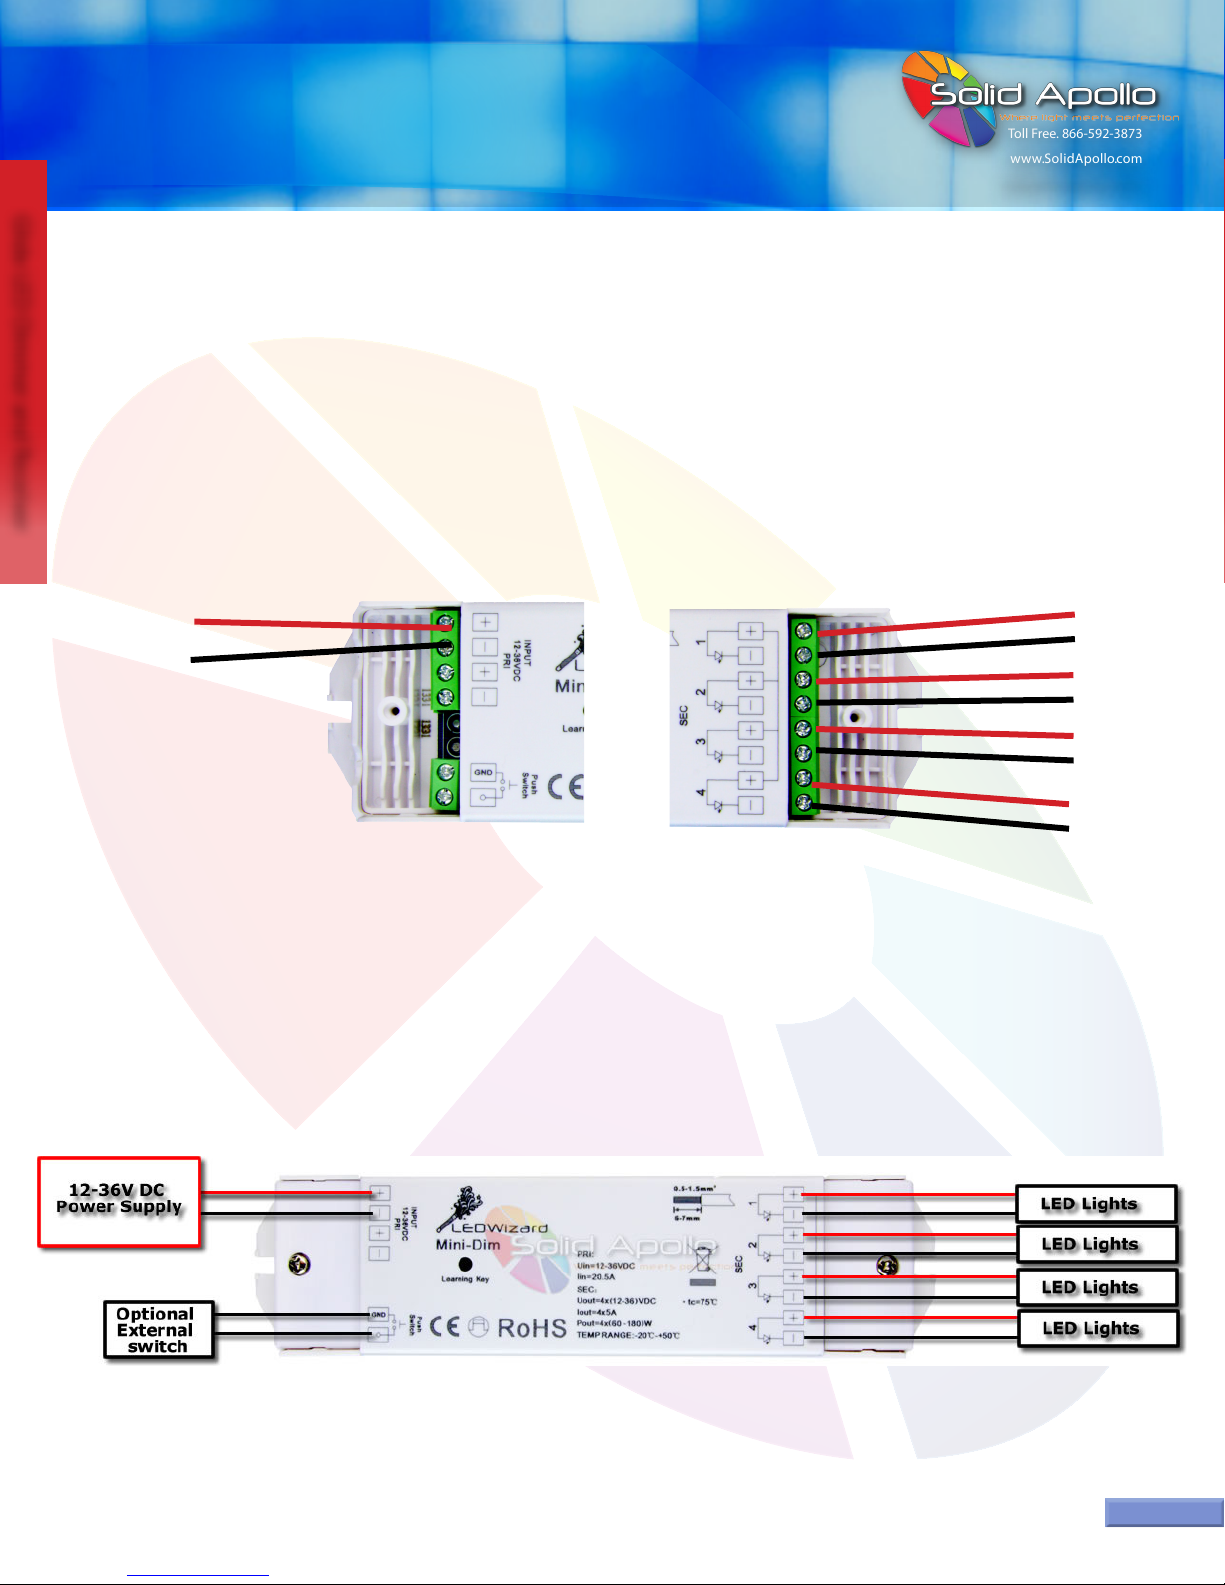
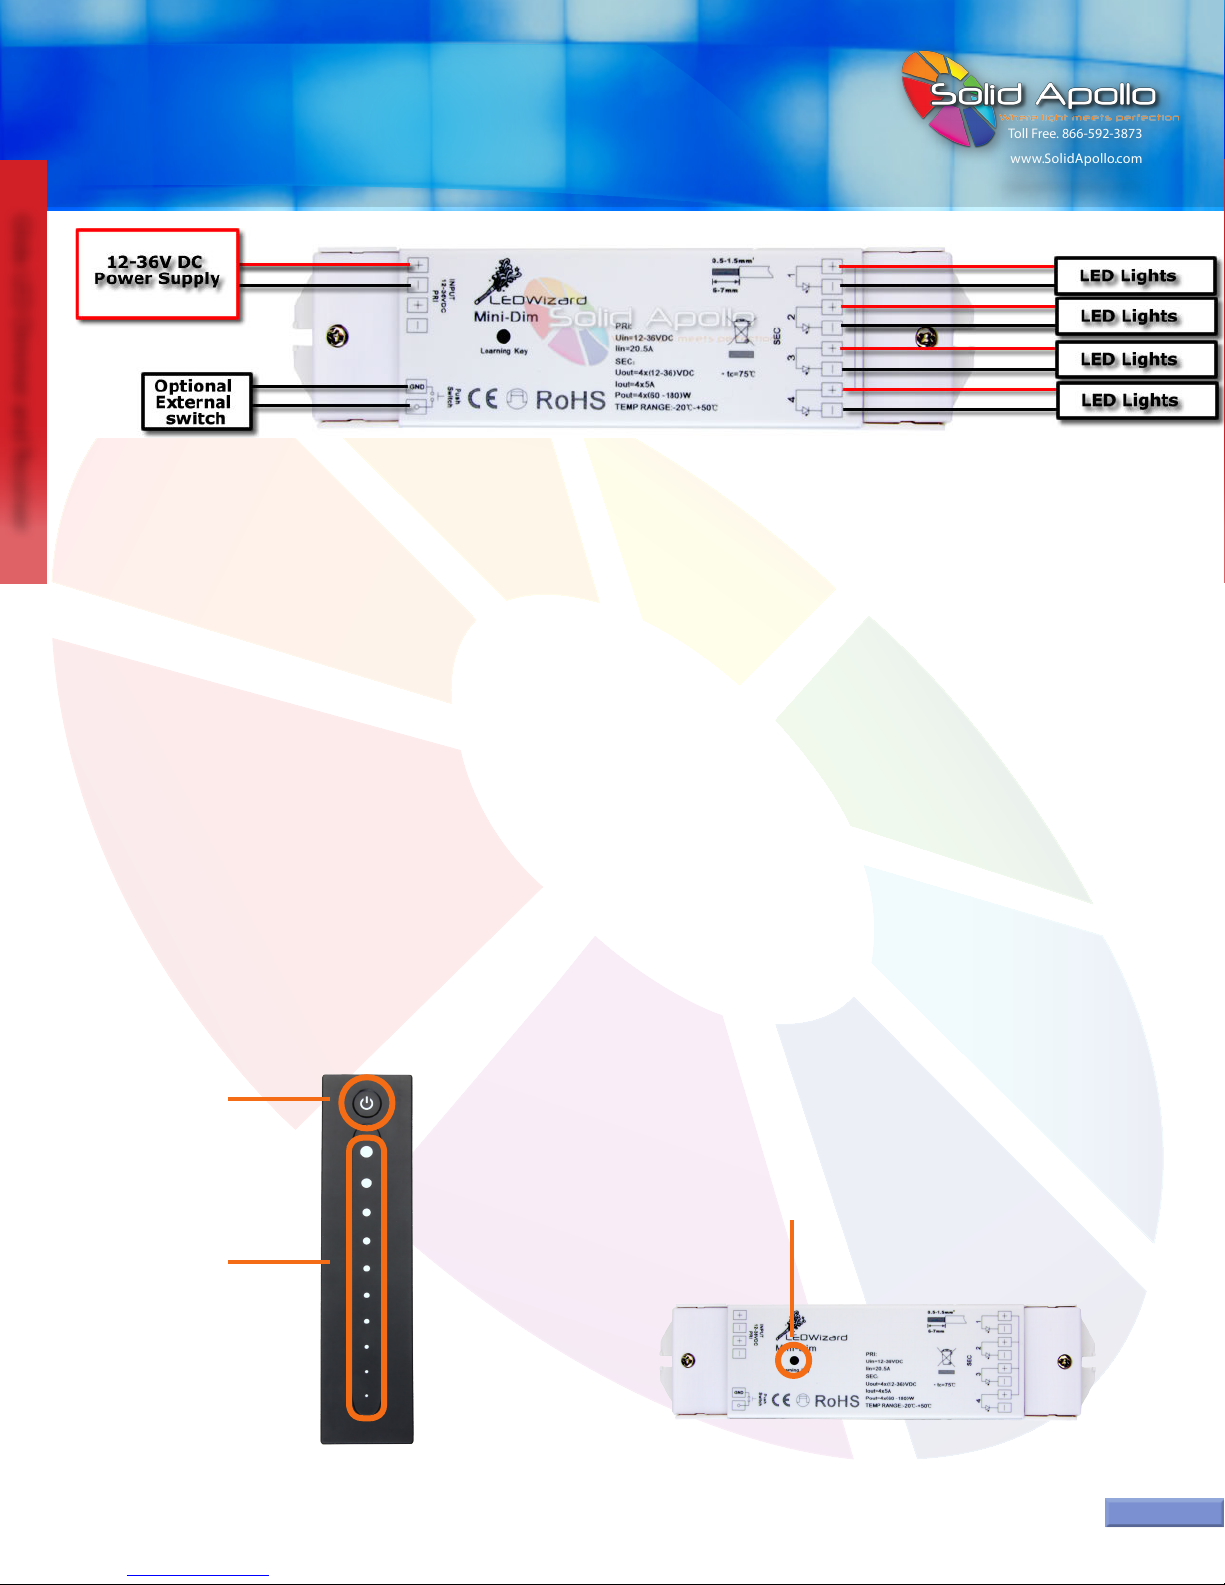
“Mini-Dim” Glide Receiver
Glide Remote
1. Your remote is always on, meaning at any point you can touch the touch sensitive Power Button, or Glide Dimmer to control your lights.
2. When operating the remote, you can control all of the LED strips or lighting xtures attached to the receiver. Any selection on the Glide Dimmer
portion of the Glide Receiver will aect all of the lights attached to the receiver.
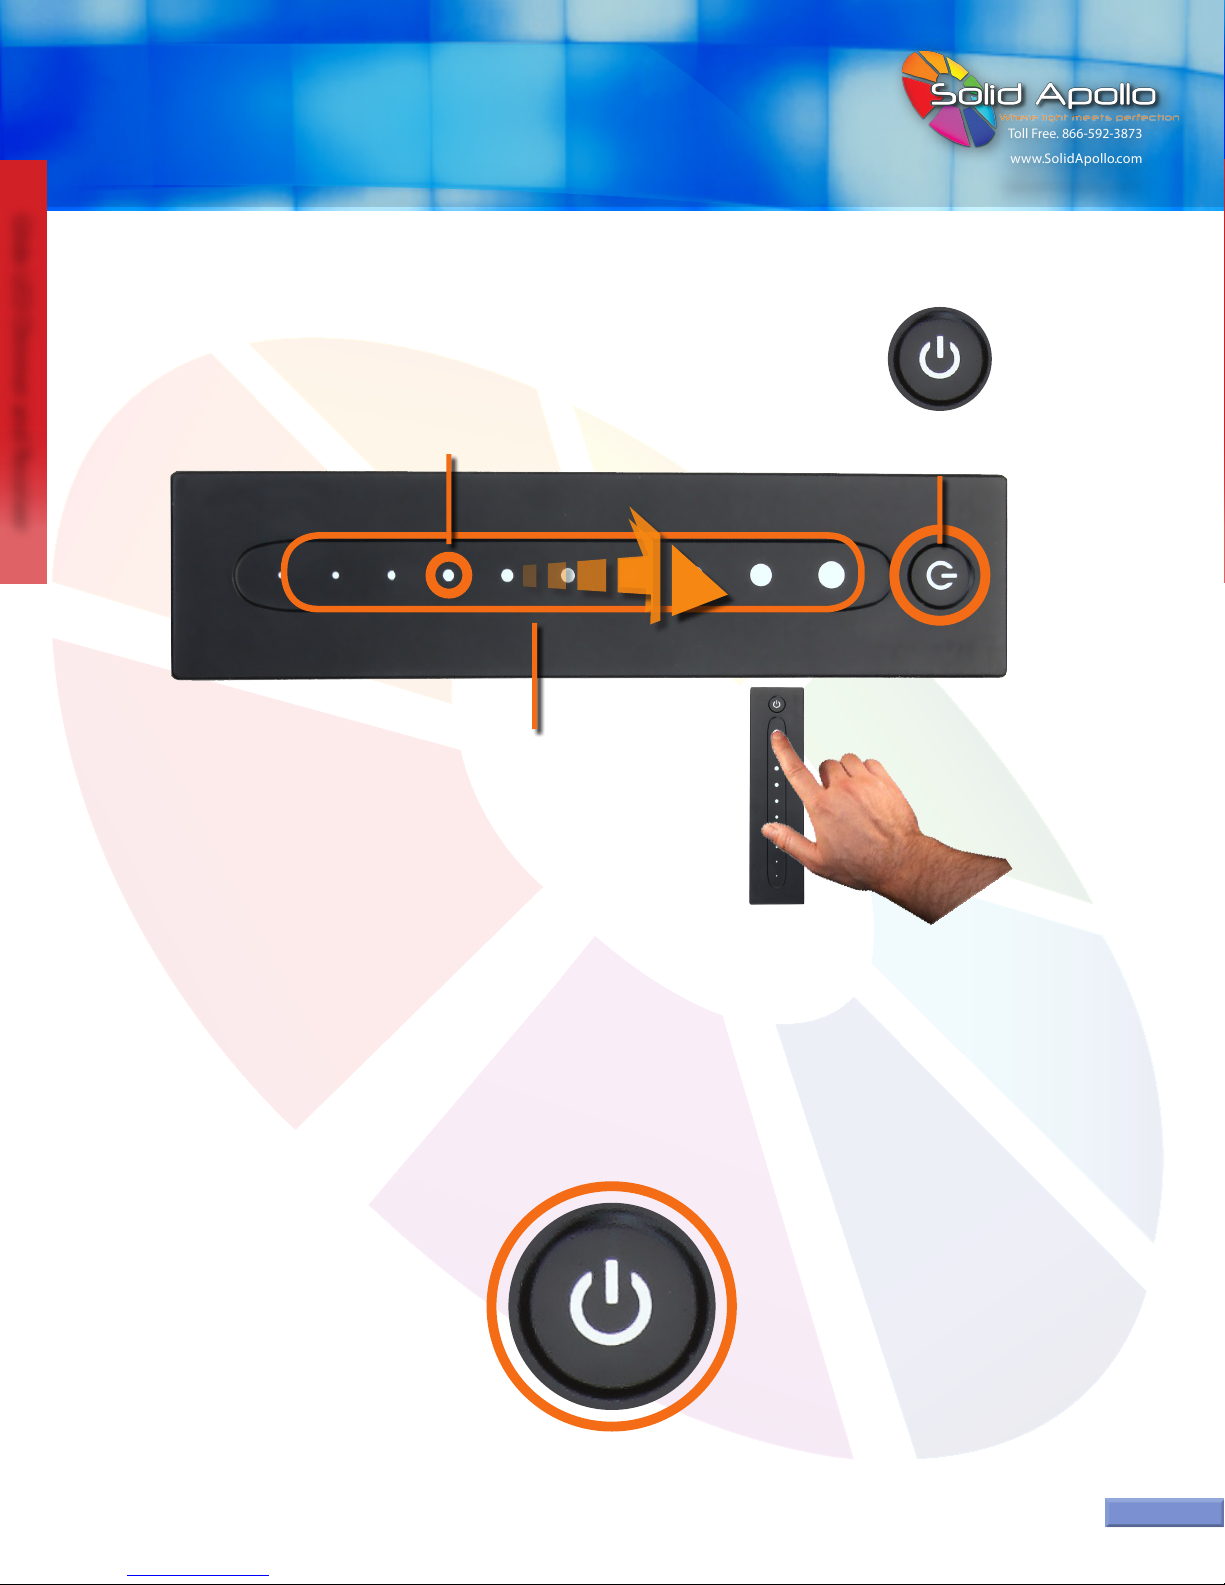
Operating your Glide LED Dimming Remote
Figure 3. Synchronizing your System
Learning Key
Power Button
Glide Dimmer
Figure 2. Wiring the “Mini-Dim” Glide
Receiver