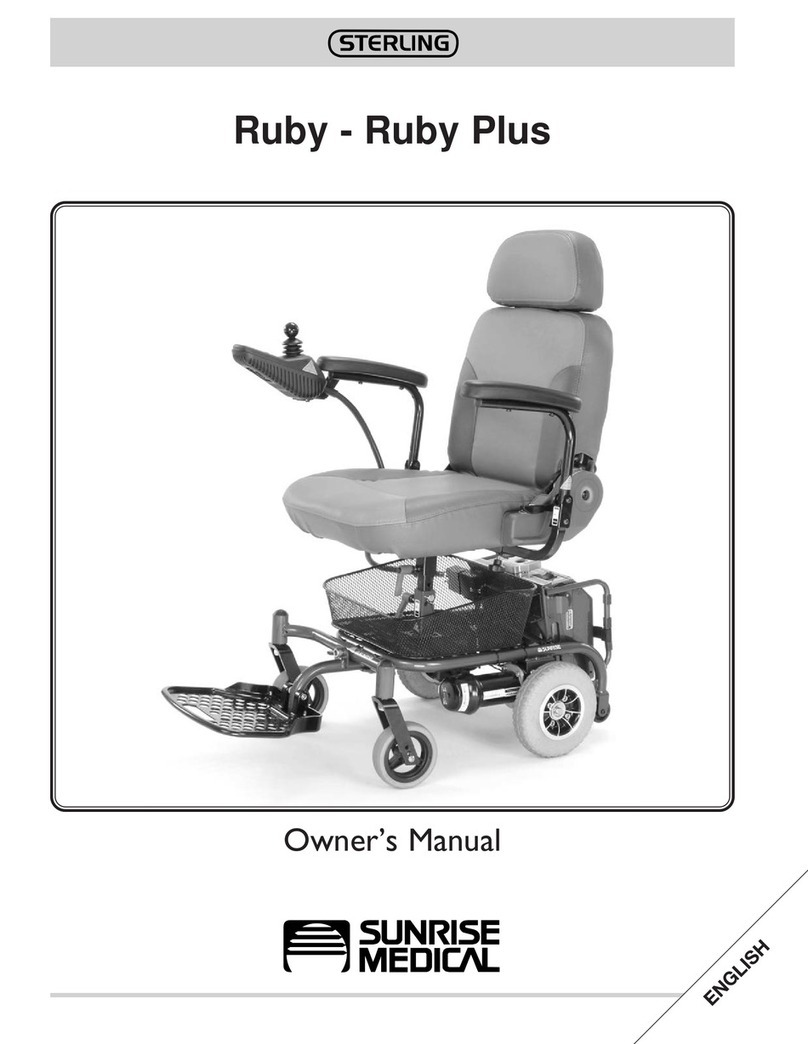
Sterling Mobility Scooter Manuale utente

Owner’s Manual
SAPPHIRE 2
ENGLISH
4 Wheel Scooter
®
®

Iss 1
How to use this manual
Sunrise Medical Limited want you to get the best out of your scooter. This Owner’s
Manual will familiarise you with the scooter and its features. It contains guidance on
everyday usage and general care in addition to information on the high quality standards
which we adhere to and details about the warranty.
Your scooter will reach you in excellent condition having been personally inspected
before leaving the factory. By following the guidelines for maintenance on page 30 your
scooter will maintain its rst class condition and give you years of complete reliability
and satisfaction.
Note: Sunrise Medical Limited will later be referred to as “we” in this document.
How to use this manual

5Iss 1
Contents
Introduction page 1
General Warnings page 2
Quick Start Guide page 3 - 4
Features page 5
Getting On and Off your Scooter page 6
Tiller Control Functions page 7 - 8
Freewheel Mechanism page 9
Seat Removal and Adjustment page 10
Tiller Adjustment and Battery Removal page 11
Batteries and Charging page 12 - 13
Transportation page 14
Guidance for Safe Operation and Use page 15 - 19
Battery and Charging Information page 20 - 22
General Warnings page 23 - 26
EMC (EMI) Warnings page 27 - 28
Specications page29
Routine Maintenance page 30
Service History page 31
Trouble Shooting Guide page 32 - 33
Guarantee page 34

1Iss 1
With over 30 years experience, we are one of the longest established mobility equipment
manufacturers in the UK. All of our Scooters, Wheelchairs and Power Chairs undergo
rigorous tests to ensure they meet our requirements for comfort, safety and durability.
Our success is based on the strong traditions of quality, value for money and genuinely
caring for our customers. We pride ourselves not only on designing and building the
most innovative products, but also on our commitment to offer an excellent standard of
customer service both during and after sale.
Before using your scooter please read this manual carefully. It will provide you with
all the information you will require. However, if you have any queries about the use,
maintenance or safety of your scooter, please contact your local dealer. If you have any
other questions please write to the address below.
The scooter is classied as a category B vehicle under the European wheelchair
standard EN 12184.
It is intended for the use of people of all ages who may have difculty walking distances or
for periods of time. It is ideal for outdoor use and suitable for users up to 150kg in weight,
330lbs. Differing user weights can cause performance variation. Maximum user weight
tested using a 150kg test dummy.
The scooter is designed to be driven on footpaths and to cross roads.
It has been manufactured to comply with the requirements of the
Medical Device Directive 93/42/EEC, the radio interference requirements of EEC
Directive 89/336/EEC and the battery charger requirements of EEC Directive 73/23/EEC
and
89/336/EEC. Electro Magnetic elds, such as those emitted by shop alarms may be
disturbed by use of the scooter. The function of the scooter may also be disturbed by
Electro Magnetic elds emitted by shop alarms.
We are dedicated to providing products of exacting quality that conform fully and reliably
to the requirements of their intended use. We are BS/EN ISO 9001 accredited which is
the internationally recognised standard for quality management systems. This approval
ensures we provide quality in all areas of our business from development through to nal
delivery. Should you require any further assistance then please contact your local dealer.
CUSTOMER SERVICES
SUNRISE MEDICAL LIMITED
SUNRISE BUSINESS PARK
HIGH STREET WOLLASTON
WEST MIDLANDS DY8 4PS
ENGLAND
Intern. Telephone +44 1384 44 66 22 Fax +44 1384 44 66 44
E-Mail: [email protected]
Introduction

2Iss 1
GENERAL WARNINGS
DO NOT OPERATE THE SCOOTER BEFORE READING AND UNDERSTANDING
THIS INSTRUCTION MANUAL.
IF YOU ARE IN DOUBT ABOUT THE MEANING OF THESE INSTRUCTIONS, OR ANY
OF THE CAUTIONS AND WARNINGS, PLEASE CONSULT YOUR HEALTHCARE
PROFESSIONAL, DEALER OR RELEVANT TECHNICAL PERSONNEL.
FAILURE TO FULLY UNDERSTAND THE SCOOTER OPERATION MAY RESULT
IN AN UNEXPECTED RESPONSE FROM THE EQUIPMENT WHICH CAN IN TURN
LEAD TO POSSIBLE INJURY OR DAMAGE.
NOTES
Warning and Caution notices used in this manual, apply to hazards and unsafe practices
that could result in personal injury or damage to property.
WARNING
We supply an extensive range of mobility scooters to meet the varying needs of
individual users. It is the responsibility of the individual user and their healthcare advisor
qualied in making such choices, to decide which scooter is suitable for the user’s
intended purpose.
With regards to restraints, seat positioning straps, posture correction or other positional
aids and accessories, it is the obligation of the qualied healthcare professional in
conjunction with the dealer to ensure the suitability of such equipment for the safe
operation of the scooter.
Serious injury can occur in the event of a fall from a mobility scooter.
We DO NOT RECOMMEND that a scooter user is transported in any type of vehicle
when seated in the scooter.
At this time, there are no approved Tie-down Systems for the transportation of a user in
ANY moving vehicle whilst seated in a scooter.
It is our opinion that users of mobility scooters should be transferred into the appropriate
vehicle seating system and use should be made of the restraints available to the auto
industry.

3Iss 1
Quick Start Guide
Assembly
When lifting always keep the back straight, bend the knees and use the lifting handles
provided.
Ensure your rear drive unit is locked in position by checking the rear docking handle
(back light bracket) is fully engaged.
Set the tiller by holding the Tiller Adjustment Lever clockwise while moving the tiller
upwards. Remove the basket from the footboard and place on the bracket located on
the front of the tiller.
Lift battery “B” into the battery tray marked “B Insert First”, then lift battery “A” into
the battery tray marked “A Insert Last”. Ensure battery “A” is located onto the locking
post then lower onto the contacts. Insert the Battery Locking Pin into the locking hole
located at the rear of Battery “A”.
Note:Whenttingthebatteriesputthelargerhandletowardsthefrontofthe
scooter.
Lift the seat onto the seat post and press down to ensure it is fully engaged.
Battery Charging
The battery MUST be charged for 12 hours before rst use. Do not be tempted to use
the scooter unless the battery has been fully charged as failure to do this will result in
battery damage.
Connect the battery charger to the mains supply and the charging socket located on
the left hand side of the tiller fascia panel. Switch on the mains supply and then switch
on the battery charger. RED light = Power On, YELLOW Light = Charging and GREEN
Light = Charge Complete. Charge the scooter overnight after each use to maintain
battery condition (Approx cost 0.20 euros, 15 pence).
If you are in any doubt then please turn to pages 12 and 13 of this manual.
Typical Use
Designed for use on footpaths, for crossing roads and shopping. It should not be
driven through mud, water, snow, sand, loose gravel, long grass or any other unsound
surfaces.

4Iss 1
Quick Start Guide
Control Functions
Transporting
Your scooter is equipped with the following features that can be found on the tiller
fascia panel:
On/ Off Switch, Battery Gauge, Battery Charging Socket, Speed Control “Min to Max”,
Front / Rear Light, Horn and Directional Control Levers.
If you have previously used or owned a scooter before you MUST still read the
Owners Manual carefully to fully understand the controls and safety warnings.
If you are in any doubt of their functions then please turn to pages 7 and 8 of this
manual.
Your scooter may be disassembled quickly and simply for transportation:
1. Lift off the front basket.
2. Remove the seat, leaving the seat stem in position.
3. Remove the battery locking pin and batteries “A” then “B”.
4. Place the basket in the battery wells.
5. Lower the tiller, using the adjustment lever, to its lowest setting locking in the basket.
This will stop the tiller from moving during lifting operations and transportation.
6. De-dock the rear drive unit by lifting the docking handle (rear light) and moving the
front frame forwards. Note: Batteries MUST be removed before the scooter can be
de-docked.
7. Using the lifting handles provided carefully lift the scooter safely and securely into the
luggage compartment of the vehicle.
TIP:
Lift the front wheels in rst and use these to roll the frame along. Use the step at the
boot opening to rest parts if required.
To reassemble the scooter reverse the sequence above.
Important:
When reassembling the scooter, remember to insert the battery locking pin,
because failure to do so may result in the batteries disengaging during use.
Always secure your scooter parts before transportation. Remember to engage
the drive unit by pushing the freewheel lever forwards to stop the scooter from
moving.

5Iss 1
Features
Fig. 1
SEATING
Page 10
WIDTH ADJUSTABLE
ARMRESTS
Page 10
TILLER FASCIA
PANEL
Page 7 - 8
BASKET
Page 14
BATTERIES
Page 12 - 13 & 20-22
LIGHTS
Page 7 - 8
TYRES
Page 19 and 30
ADJUSTABLE
TILLER
Page 11
FREEWHEEL
LEVER
Page 9

6Iss 1
Getting On and Off your Scooter
Getting on to your scooter
1. Ensure that the key switch is turned to the
off position (Photo 6.1).
2. Push forward the seat swivel lever located
under the seat on the right-hand side and
rotate the seat to face you (Photo 6.2).
3. Put the armrests into the fully down
position and use them to steady yourself
as you gently lower yourself into the seat
(Photo 6.3).
4. Push forward the seat swivel lever and
gently swivel the seat to face forward
(Photo 6.4).
5. Ensure that both feet are placed rmly on
the oorboard of the scooter and the seat
is secure (Photo 6.5).
Getting off your scooter
1. Bring your scooter to a stop and turn
the key switch to off .
2. Push forward the seat swivel lever
located under the seat on the right-
hand side and rotate the seat 90
degrees to exit (Photo 6.2).
3. Put BOTH feet on the ground and
gently leave the seat using the arm
rests to assist you out of the chair
(Photo 6.3).
Photo 6.1
Photo 6.2
Photo 6.3
Photo 6.4
Photo 6.5

7Iss 1
Tiller Control Functions
Throttle
Lever
Control
Handle
Bars
Throttle
Control
Lever
Hand Controls
All of the drive controls for the scooter are to be found on the Tiller Control Box (Photo
7.1).
The Preset Speed Knob
Turning this knob to the left, “MIN”, reduces your available maximum speed. Turning it
to the right, “MAX”, increases the available maximum speed.
The Battery Gauge
This gives an approximation of battery charge and is illuminated for clarity.
The gauge is “RED” empty, to “YELLOW” charge required, to “GREEN” charged.
As the scooter moves over differing terrain, the Battery Gauge will dip up and down,
this is normal. For a more accurate indication, stop the scooter and note the reading. In
cold, damp weather the gauge will dip more often as the capacity and efciency of all
batteries drops in such conditions.
TIP: If your battery gauge has gone into the “RED” section you can increase your
remaining range by reducing your maximum speed. Remember you MUST charge your
battery overnight as soon as you can to prevent battery damage.
Operating the Lights
The lights are operated by pressing the blue button on the front fascia panel. Press the
button once to illuminate the lights, press the button again to switch the lights off. Switch
the lights on to make yourself more visible in low levels of light, day or night.
Pre-set
Speed Knob
Battery
Gauge
Light
Switch
Horn
Button
On-Off
Key
Throttle
Control
Lever
Battery
Charging
Socket
Photo 7.1
Altri manuali per Mobility Scooter
1
Questo manuale è adatto per i seguenti modelli
2
Indice
Altri manuali Sterling Scooter

Sterling
Sterling Pearl Manuale utente

Sterling
Sterling S400 Manuale utente

Sterling
Sterling Elite2 RS Manuale utente

Sterling
Sterling Little Gem Manuale utente

Sterling
Sterling Mobility Scooter Manuale utente

Sterling
Sterling Fortress Calypso Manuale utente

Sterling
Sterling Scooter Manuale utente

Sterling
Sterling DIAMOND Manuale utente

Sterling
Sterling Little Star Manuale utente

Sterling
Sterling SAPPHIRE 2 Manuale utente