Titan Pro 15 HP Manuale utente

1
THE TITAN PRO 15 HP PETROL CHIPPER/SHREDDER/MULCHER
OPERATORS MANUAL AND PARTS LIST
Spares & Support: 0845 6800 962
Important: Please fully read and understand this manual before using
this machine paying particular attention to the safety instructions.

2
CONTENTS
SAFETY INSTRUCTIONS & WARNING
LABELS
3-4
ASSEMBLY 5-9
FUEL & OIL 10
OPERATION 10-
11
MAINTENANCE & STORAGE 11-
13
EASY START UP GUIDE 14-
16
SPECIFICATIONS 17
PARTS DIAGRAM & LIST 18-
19
EC DECLARATION OF CONFORMITY 20

3
SAFETY INSTRUCTIONS
Read and understand this owner’s manual and labels that are affixed to the chipper
/shredder. Learn the chippers applications and limitations as well as the specific
potential hazards. Please retain these instructions for future reference.
Use sturdy footwear also eye and ear protection, wear heavy duty
gloves.
Do not operate the machine if you are tired, ill or under the
influence of alcohol or drugs.
Do not smoke when using the chipper/shredder and use caution
when you are handling fuel. We recommend that you re fuel the
machine at least 3 Metres away from where you wish to work in
case any split fuel ignites when starting the engine. Always ensure
the fuel cap in tight and correctly fitted before starting.
Ensure bystanders, children or pets are at least 15 meters away
when starting the machine or chipping.
Keep the operator area clear of other objects.
Examine the machine to ensure its in good condition, check all the screws, nuts
and other fasteners are properly secured and the screen is in place.
If the fuel tank needs to be drained, it should be done outdoors.
Be aware of the hot exhaust, when the machine is in operation touching the
exhaust can cause burns.
Keep a proper balance and footing at all times. Do not over reach. Never stand
at a higher level than the base of the machine when feeding material into it.
Keep your face and body away from the feed intake opening.
Do not allow hands or any other parts of the body or clothing inside the feed
hopper, side chute, discharge chute, or other rotating parts.

4
Make sure your work area is clear and the machine is on level ground before
starting the machine; do not operate in an enclosed area.
Ensure that the plastic protection cover on the top hopper is intact and closed
when the chipper shredder is running to avoid any debris coming out.
NEVER put your hands into the hopper or side chute to push
material through. If necessary use a wooden stick.DO NOT use a
metal implement.
Important additional safety instructions for machine with bagging attachment
Before attaching or removing the bag, the engine should be turned off.
Cover the discharge opening with a fabric bag and tighten the cord in the mouth
of the bag. When the machine is working, all the chips are collected in the bag.
Empty bag when full
Wood Shredder operation
Never attempt to move or clear any blockage in the machine whilst
the engine is still running.
Please recycle the cardboard packaging that the chipper was
packed in.
WARNING LABELS

5
ASSEMBLEY
Unpack and check contents.
Remove all the items from the box.
Some items are stored in the hopper for ease of Transport. Be sure to remove all
loose parts from Hopper, by removing M8 Flange bolts and lifting hopper lid.
Photo1&2
1
Make sure Hopper is empty before securing lid on hopper
2
Assembly should be carried out on a clean, level surface with a helper.
1. Take out the body from the box and place it on a level
surface
2. Attaching front foot to the basic machine, see figure 2

6
Figure 2
Remove the nuts from bolts 1, 2,
Remove the bolts and pipe spacer.
Pull Down chute from the TRANSPORT position to the correct
operational position.
Attach front foot 5, to the side plate of the cutting chamber
and align the mounting holes with holes 1, 2.
Put the pipe spacer that was removed in step 1 back in
place. Insert the bolts and secure them tightly.
Please ensure Lower discharge chute is facing towards the ground and is
BELOW the pipe spacer as shown in the photographs in this section
Correct Fitting position of Bottom Discharge Chute

7
3. Fitting of Outer Discharge Safety Grill
Safety Grill
3.1. Fit hooks over top bar inside chute.
3.2. Attach side brackets to the bolts on sides and tighten bolts.
3.3. Place support rod through holes and slide pipe spacer over &
tighten nuts.

8
Correct fitting of bottom discharge chute (outer grid not yet
installed)
Incorrect fitting of Bottom Discharge Chute
4. Attach axle bracket/axle and tyres. See picture 3.
Picture 3
4.1. Put the rear axle bracket in place and align the mounting holes.
4.2. Insert M8*20 bolts in holes from outside to inside and secure
them with washers and nuts.

9
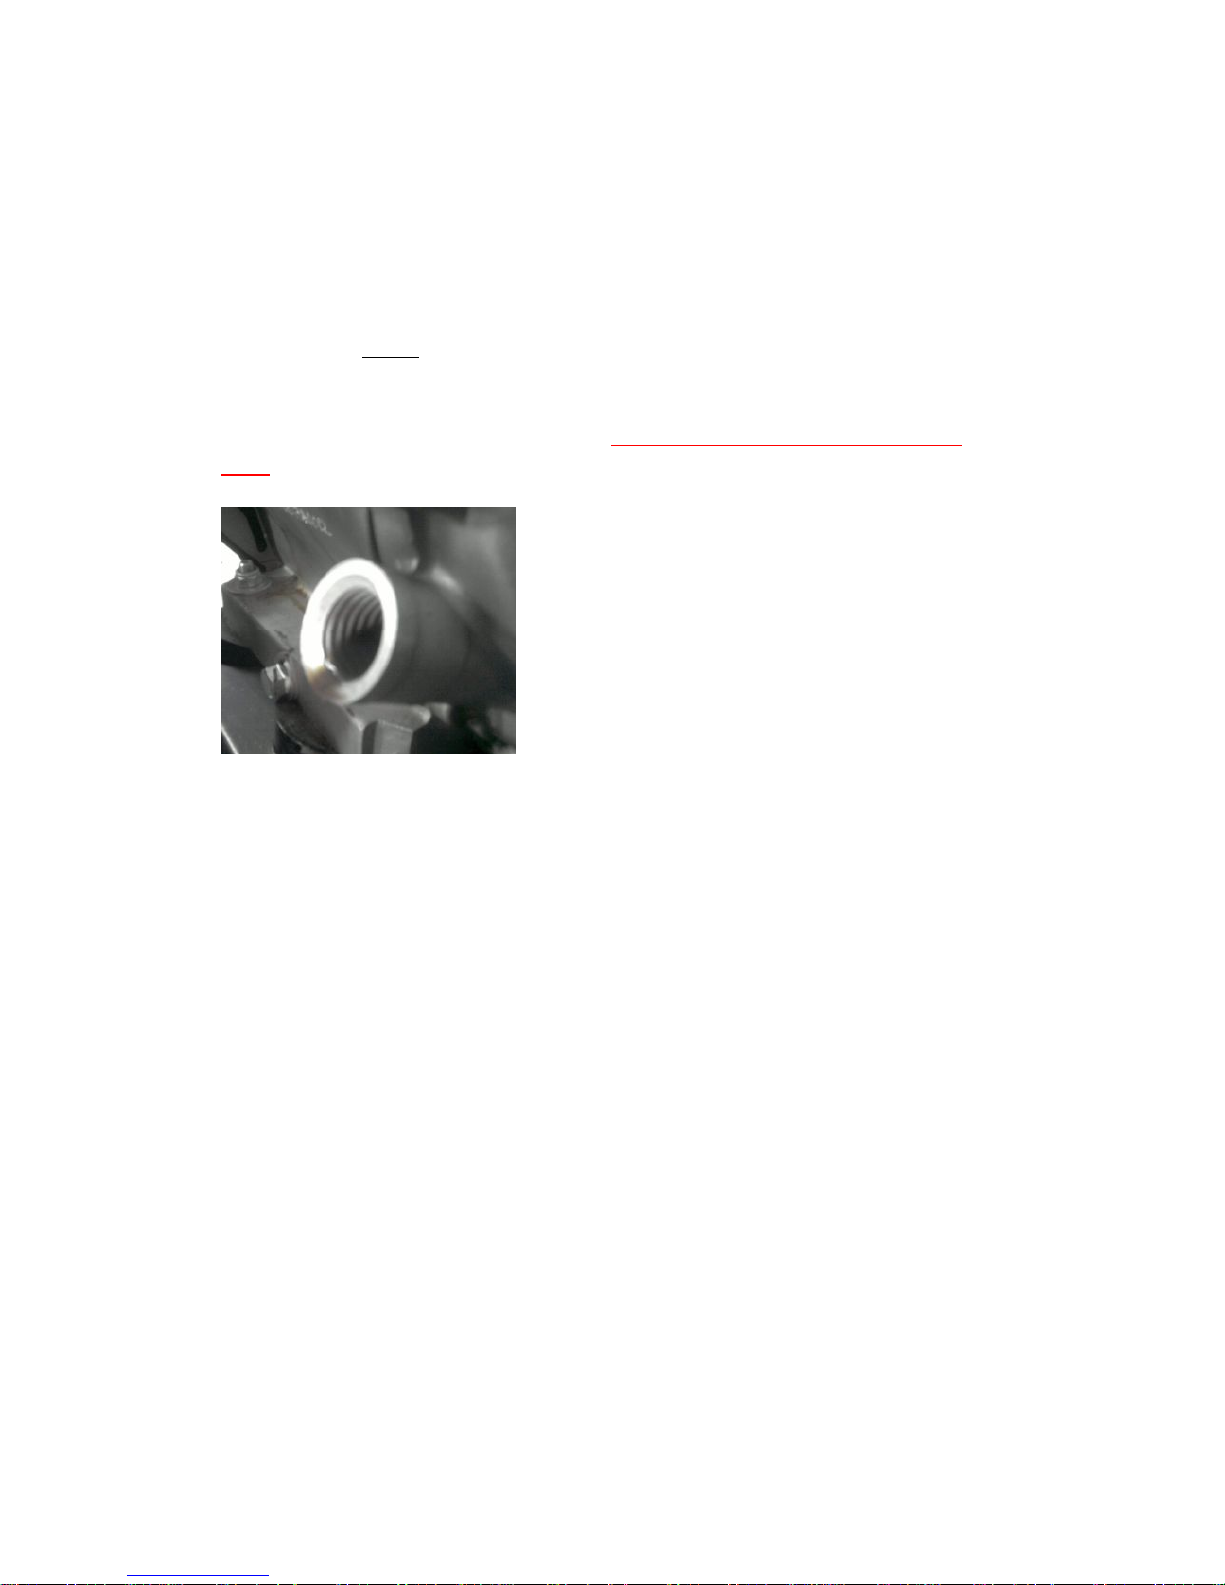
5. Attaching the side chipper tube to the cutting chamber.
Figure 4
5.1. Remove protective cover plate.
Put the chipper tube in place on the side of the machine. Align the
three mounting holes in the flange.
5.2. Secure the flange with M8 washers and nuts. Make sure the chipper
tube is in the correct position before tightening up the nuts.
6. Mounting the two handles
6.1. Secure the 2 hopper handles as shown Tighten M6 nuts from the
inside of hopper. Bolt down hopper lid when completed.
7. Check all screws, bolts, and nuts and tighten them if loose.
10
FUEL & OIL
1. Add unleaded fuel to engine.
1.1. There is no oil in the new engine.
1.2. Unscrew the black cover and pull the dipstick out. Use quality oil
with a rating of 15W-40. Fill to the top of the threads. There is a low oil
cut out in the sump of this machine, IT WILL NOT START IF THE OIL IS
LOW
1.3. Refer to “starting the engine” for the instructions regarding adding
fuel.
OPERATION
After each use ensure that the cutting chamber and the top and side chutes are
completely clear, run machine until all produce is expelled from the machine
Failure to do this may cause premature belt failure, which is not
covered under warranty.
1. Make sure the plastic cover on upper hopper is closed when your shredder is
running. Flying chips are very hazardous.
2. Use a rough wooden stick to push the material in to the feed hopper. Do not
use your hands or metal tools.
3. Big branches must be fed comparatively slowly into the machine side chute.
4. Do not allow processed material to build up in the discharge zone; this may
prevent proper discharge and can result in kickback of material through the feed
intake opening and may cause the drum to stop and belt to overheat
Indice


