Wharfedale Pro KM-1 Guida

www.wharfedalepro.com
KM
MICROPHONES
KM-1 KM-2 KM-3 KM-4 KM-5
OPERATING MANUAL AND USER GUIDE
Series


Important Warnings & Safety Instructions.................. 1
Introduction............................................................... 3
Features .................................................................... 4
Line Drawings of the KM Series ................................. 5
Dimensional drawings............................................... 5
Microphone use and placement................................. 6
Connections / Wiring ................................................ 7
Specifications ............................................................ 8
Warranty ................................................................... 8
TABLE OF CONTENTS

OPERATING MANUAL
1
IMPORTANT WARNINGS & SAFETY
INSTRUCTIONS
1. READ ALL INSTRUCTIONS carefully and become
familiar with the features and functions of these
products before operating them.
2. RETAIN THESE INSTRUCTIONS for future reference.
3. COMPLY WITH ALL WARNINGS – All warnings and
instructions for this product should be adhered to.
4. USE WITH MIXERS & AMPLIFIERS – In order to avoid
damage to drivers and other equipment, it is advisable
to establish and follow a routine for powering up
and powering down a sound system. With all system
components connected, turn on source equipment
(mixers, signal processors, record and playback
units, etc.) BEFORE powering up amplifiers. Transient
voltages from powering up source equipment can
damage speakers (HF Drivers) if amplifiers are
already turned on. Make sure that amplifier volumes
are set to their minimum settings and power up any
system amplifiers LAST. It is recommended that all
system components be allowed to stabilize for several
seconds before any source signals are introduced or
level setting adjustments are made. Similarly, when
shutting systems down, turn all amplifiers off first,
before powering down any other system components.

2
KM
5. CABLES – Always use shielded or microphone cables
for connection between source equipment (i.e.
microphones, mixers, EQ, crossovers) and amplifiers.
Use only approved speaker cables with proper
connectors between amplifiers and speakers.
6. CAUTION – Professional sound systems are capable of
generating very high sound pressure levels. Use care
with placement and operation to avoid exposure to
excessive volume levels. Permanent hearing damage
can result when operated to extreme levels.
7. SERVICE – There are no user serviceable parts inside
this product. Users should not attempt to service this
product. Warranty nullification could result if this is
attempted.

OPERATING MANUAL
3
INTRODUCTION : KM SERIES
The KM Series Microphones are hand held dynamic
(KM-1, KM-2, KM-4 & KM-5) super-cardioid &
condenser (KM-3) cardioid microphones featuring
super-cardioid & cardioid patterns to minimize
feedback and to reject signals not originating in front
of the microphone. The microphones have extended
frequency response for optimum reproduction. They
are designed to provide exceptionally clear, articulate
sound. A shock mounting system isolates the
microphone element from external forces to greatly
reduce handling noise. The well-balanced zinc-alloy
die cast body ensures reliable performance in even
the most demanding applications. Designed for high
SPL use, the KM Series Microphones are ideal for
mic'ing drums or other purcussion instruments, but fit
into a wide range of applications. The high sensitivity
capsule picks up all of the nuances of a performance.
The lightweight neodymium magnet provides 6dB
of additional sensitivity/gain compared to other
magnetic materials.
A microphone must have very low distortion at
intended sound pressure levels. Distortion has a
profound effect on the way we hear the material
being auditioned. Our ears can be fooled by
harmonics and undertones that are a product of
distortion (Distortion, by a simple definition is the
difference between the input sound and the sound
coming out of the speakers). Another important

4
KM
factor is the microphone’s ability to work within an
extreme dynamic range. Many microphones that may
sound acceptable with a low sound pressure, have
problems with high sound pressure.
High quality professional drum microphones
High tech zinc finish
5 models to choose the best tool for the job(KM-4
& KM-5: easily mounted on drums)
Unidirectional dynamic microphones with
exceptional feedback rejection
Neodymium magnet for high output low distortion
Dent-resistant spring-steel grill
Rugged cast Zinc alloy body
On/off switch
Gold-plated XLR connector
■
■
■
■
■
■
■
■
■
FEATURES

OPERATING MANUAL
5
Line Drawings of the KM Series
Ø51.5mm
Ø22mm
178mm
KM-1
Ø45.5mm
Ø23mm
178mm
KM-2
Ø27mm
Ø58.6mm
92mm
77.8mm
KM-4
Ø45.2mm
79mm
Ø24mm
61.3mm
KM-5
Ø30mm
Ø21mm
154mm
KM-3

6
KM
MICROPHONE USE/ PLACEMENT
When mic’ing, the position of the instrument
microphones is not trivial. If the microphone does
not have a smooth polar pattern, it is difficult to mic
vocals, instruments or instrument amplifiers.
The uniform dispersion of the KM SERIES makes
it easy to place the microphones where you need
them. For best results use the included stand and
mounting adapters to place the microphone on the
0 degree axis (i.e. point it directly at the source).
The dynamic microphones exhibit increased low
frequency response when placed close to the source.
When using KM1 or KM2 or other dynamic vocal
mics for vocals, instruct the user to get close to the
windscreen. If you speak into the mic more that a
few centimeters (inches) away, the sound will be thin
and “tinny”; no bass. Using the mic “off-axis” (not
dead center to the source) will likely result in a “tinny”
sound. The microphones are most sensitive “on-axis”.
Condenser microphones do not exhibit this feature.
You may place a condenser mic farther away
from the source and still maintain good full range
frequency response.This makes them especinlly well
suited to drum over head applications. Using the
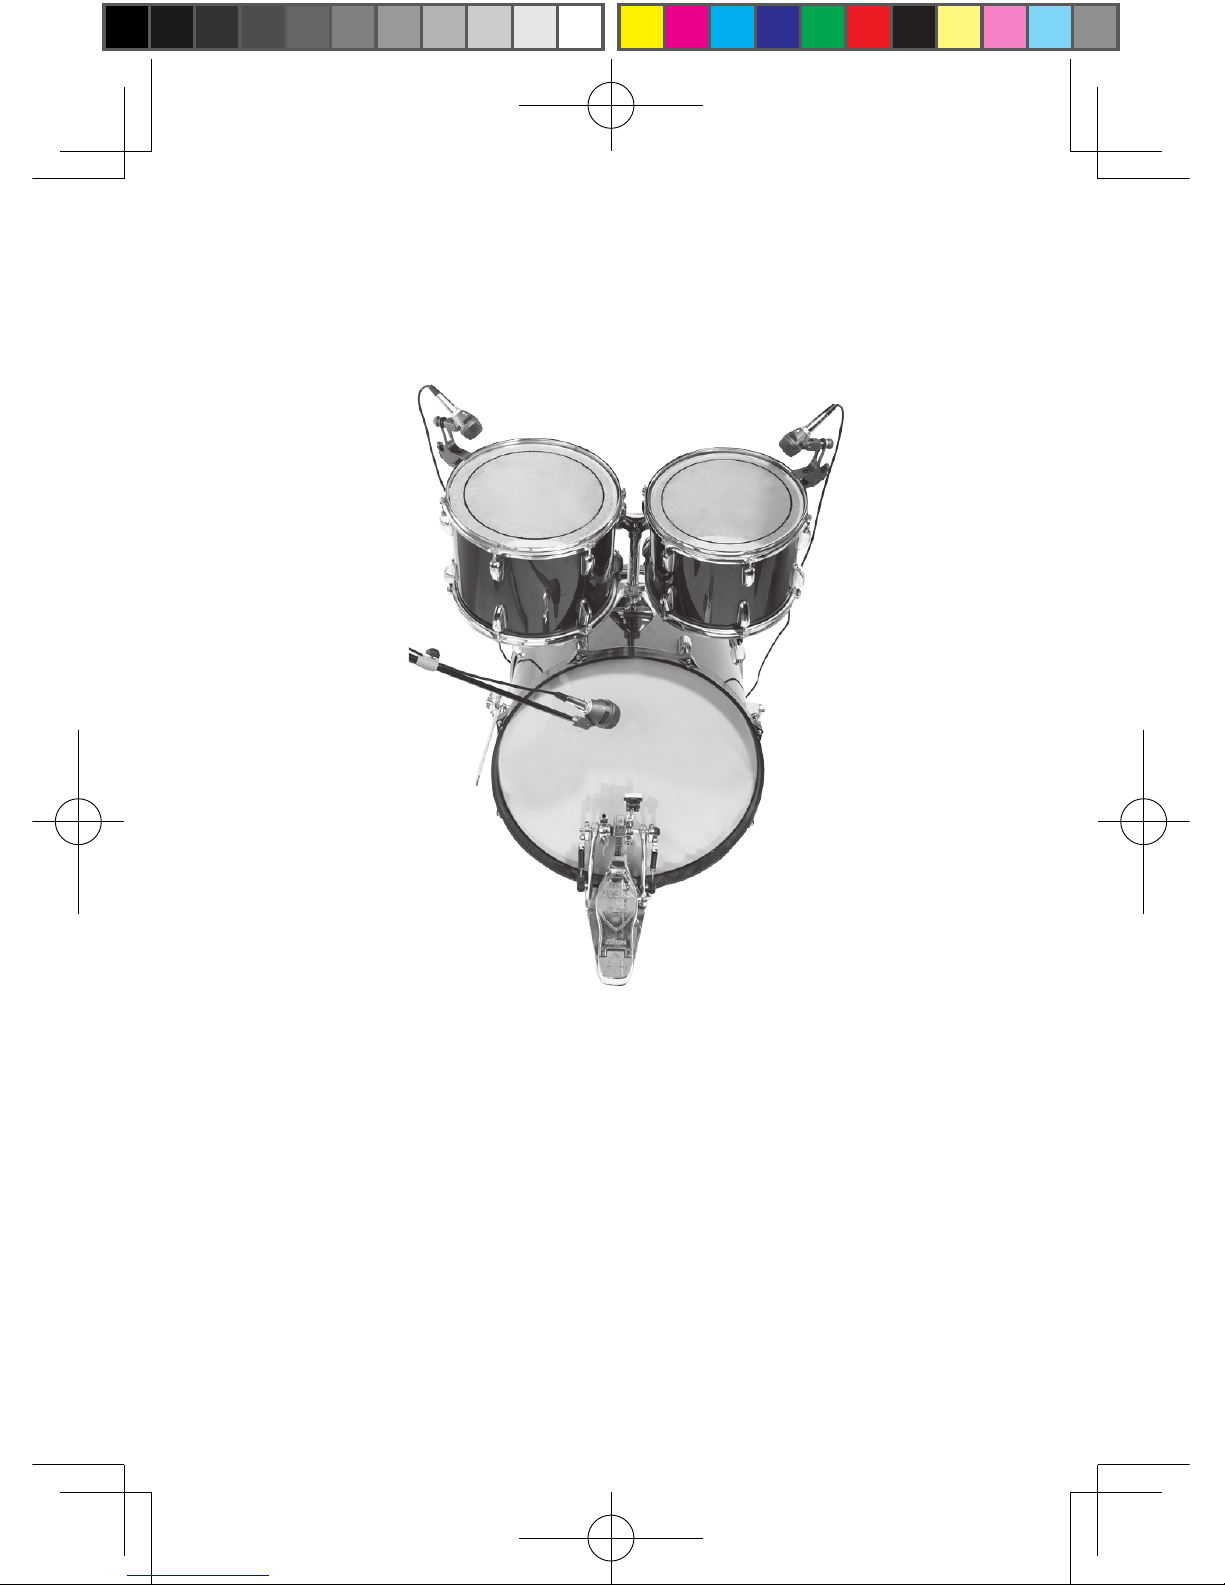
mounting brackets, you can place the KM-4 & KM-5
mics on drums and other instruments easily and
with flexibility. Try to place them so they will not get

OPERATING MANUAL
7
CONNECTIONS / WIRING
Connecting the KM Series to your system is easy.
You simply plug in the microphone cable to your
mic and then to the mixer. Always use good quality
microphone (2 conductor + shield) cable. After you
plug in the mic, you must adjust the sound level to
produce the best sound. A good place to start is the
the first channel of your mixer, or the section the
drums mics plug into. Its a good idea to group like
instruments to allow easy gain adjustments.
Plug the mic in and position the volume control at '0'
(zero) dB. Keep the main output volume down as well
as the amplifiers' volume control. Whilst watching
the meters, speak, play the instrument, beat the
drums in the same sequence you have plugged them
into the board or sing (it's always good to warm up
your voice) into the mic at the same level of your
performance and adjust the GAIN control, usually at
struck by wild drummers as this can result in a very
loud "crack" through the PA! The KM-3 is a great
over head Mic and the KM-1 & KM-2 are your all
purpose mics. You can use them for vocals, acoustic
instruments (winds, brass, strings,etc.) and drums.
Next adjust the MIC trim output so that the meters
are at the ‘0’ (zero) position most of the time, or at
the loudest part of your performance. This takes time
and practice to get the best sound.
Questo manuale è adatto per i seguenti modelli
4
Indice
Altri manuali Wharfedale Pro Microfono

Wharfedale Pro
Wharfedale Pro KM Series Guida

Wharfedale Pro
Wharfedale Pro USX 800 Manuale utente

Wharfedale Pro
Wharfedale Pro DM 3.0 Manuale utente

Wharfedale Pro
Wharfedale Pro DM4.0 Manuale utente

Wharfedale Pro
Wharfedale Pro DM 2.0 Manuale utente

Wharfedale Pro
Wharfedale Pro WF-300 Manuale utente

Wharfedale Pro
Wharfedale Pro DM-6.0 Manuale utente

Wharfedale Pro
Wharfedale Pro USX 800 Manuale utente