X-Micro XMP3-Y Manuale utente

X-VDO MP4 F610
User’s Manual
V1.0

1
INFORMATION TO USER
Product Name: X-Micro X-VDO MP4 F610
Model Name: XMP3Y-F512, XMP3Y-1G, XMP3Y-2G
This device complies with Part 15 of the FCC Rules.
Operation is subject to the following two conditions:(1)this
device may not cause harmful interference,and (2) this device
must accpt any interference received, including interference
that may cause undesired operation. Conforms to the following EMC Product
Testing Specifications FCC part 15.109, Class B-Residential Emissions at 3
meters. Testing was performed in a FCC Listed 3 meter semi-anechoic
chamber. FCC Part 15.107, Class B-Residential Emissions at shield Room.
Testing was performed in a FCC Listed shield Room.
The referred test report(s) show that the product complies
with standard(s) recognized as giving presumption of
compliance with the essential requirement in the above listed
EU Directive(s). Other relevant Directives have to be
observed.

2
Copyright
Copyright 2006 by X-Micro Technology Corp., All rights reserved. No part of
this publication may be reproduced, transmitted, transcribed, stored in a
retrieval system, or translated into any language or computer language, in
any form or by any means, electronic, mechanical, magnetic, optical,
chemical, manual or otherwise, without the prior written permission of X-Micro
Technology Corp.
Disclaimer
X-Micro Technology Corp. makes no representations or warranties, either
expressed or implied, with respect to the contents hereof and specifically
disclaims any warranties, merchantability or fitness for any particular purpose.
Any software described in this manual is sold or licensed "as is". Should the
programs prove defective following their purchase, the buyer (and not this
company, its distributor, or its dealer) assumes the entire cost of all
necessary servicing, repair, and any incidental or consequential damages
resulting from any defect in the software. Further, X-Micro Technology Corp.,
reserves the right to revise this publication and to make changes from time to
time in the contents hereof without obligation to notify any person of such
revision or change.
All brand and product names mentioned in this manual are trademarks and/or
registered trademarks of their respective holders.

3
Index
1. Introduction……………………………………………………….………………….…….P.4
2. Function Keys and Display Icons annotations………..…………………….…….…..P.5
3. Specifications …………………………………………………………………….…….…..P.6
4. Installing the MP3 Player…………………………………….………………….…….…..P.6
5. Transfer data to and from the MP3 Player…………………..……………….…….…..P.7
6. Turning the player on / off…………………………………………….……….………….P.8
7. Listening to your WMA/MP3 music………………….……………………….……….…P.8
8. Playing your music……………………………………………………………….………...P.9
9. Video…………………………………………………………………………………………P.10
10. Voice Recorder…………………………………………………………………………...P.12
11. FM Tuner……………………………………………..……....................………………..P.13
12. Photo.....................................................................................……………….............P.17
13. Advanced Setting………………………………..……………..…………….……….…P.17
14. To Format the MP3 Player……………………………………………………………...P.19
15. Hold Function……………………………………………………………..……………...P.19
16. Removing the MP3 Player from your computer………………….………………...P.19
17. DRM……………………………………………………....……………................……….P.19
18. Trouble Shooting………………………………………………………………….……..P.20
19. Safety............................................................................................................…........P.21

4
1. Introduction
This device incorporates a portable WMA/MP3 Player, Video player, FM Radio, Photo
Viewer, Voice Recorder and USB 2.0 Mass Storage Device; it will bring you pleasure and
enjoyment in this digital era.
1.1 MP3 Player Features:
•WMA/MP3 player
•MTV Player
•Photo viewer
•Synchronous lyric display with WMA/MP3 music
•Voice recorder
•FM Radio with 20 presets
•FM Recording
•USB mass storage device
•Integrated USB connector
•Backlit display
•Superb audio quality
1.2 System support:
•Supports Windows 98Se/Me/2000/XP
Note for Windows 2000 users: Windows Service Pack 3 must be installed before
installing MP3 Player drivers
•Supports Windows 98 SE after installation of drivers (see below)
•Supports Mac OS X (version 10.2.6 or above) without driver
Note: To minimize damage from static electricity, avoid operating the player in an
extremely dry household environment. The product may malfunction and require
user to reset the product.
1.3 Battery management
Battery: Built-in Rechargeable Li-ion battery
Charge: Connect the MP3 Player to the computer. Press and hold "Power on/off” button
for few seconds until a battery icon appear on the top of the MP3 Player's screen. The
battery is charging. When the battery icon stays fully indicating that means the battery is
fully charged.
Note: Please recharge the battery when the screen displays
picture as follow.

5
2. Function Keys and Display Icons annotations
2.1 Function Keys:
A. Power On / Off
B. Earphone jack
C. Menu button
D. Play / Pause /Up
E. Skip Next / Fast forward
F. Skip Previous / Fast Rewind
G. Hold Switch
H. Stop / Down
I. Microphone
J. Volume up
K. Volume down
L. USB Port cover
M. Enter / A-B
2.2 Display Icons:
1. Play / Pause
2. Equalizer
3. ID3 Tag
4. Volume level
5. Process bar
6. Elapsed Time/ Track Time
7. Hold
8. A-B repeat / Repeat Mode
9. Battery Indicator
10. Current track number / Total track number
11. Music information

6
3. Specifications
Product name X-MICRO X-VDO MP4 F610
Model name XMP3Y-F512, XMP3Y-F1G, XMP3Y-F2G
Capacity 512MB/1GB/2GB
Music support MP3/WMA
Equalizer Normal, XBass, Rock, Jazz, Classical, Pop
Display 128 x 128 Dot-Matrix 262K OLED display
Bus interface USB 2.0 High Speed
FM Tuner (Option) 87.5 ~ 108 MHz ; 20 presets
Signal to Noise Ratio > 90dB
Frequency Response 20 Hz ~ 20 kHz
Format type FAT/FAT16
Power Supply Built-in high capacity rechargeable Li-ion battery
Dimension 44 x 76 x 16.5 mm
OS support Windows 98SE/ME/2000/XP
4. Installing the MP3 Player
4.1 Windows ME/2000/XP
Installation of drivers for computers using Windows ME/2000/XP is not necessary. For
Windows 2000 users: Windows Service Pack 3 must be installed before installing MP3
Player drivers.
4.2 Windows 98 SE
Windows 98 SE users will need to install the USB driver for PC to recognize the MP3
Player on system.

7
Step of Installation:
1. Insert the bundle CD into the CD-ROM of PC.
2. The install selection will appear automatically.
3. Click on the “Windows 98 Driver” to begin the installation.
4. Follow the on-screen instructions to complete the installation.
5. Transfer data to and from the MP3 Player
1. Make sure that the MP3 Player is turned off.
2. Remove the USB port cover of the player. Disconnect the
earphone.
3. Plug the MP3 Player into the USB port of your computer. The
built-in screen displays "USB Connected", indicating that the
player is in USB mode. The player is then automatically
recognized (in 'My Computer') as removable media devices.
4. Transfer files to or from the internal Flash RAM using Windows
explorer
•Right click on the start button
•Choose Explore to open Windows Explore on PC
•Select the data file to save, drag and drop it into the player
5. Unplug the MP3 Player from your computer, WMA/MP3 files can
now be listened to and all data stored can be transferred to another
computer
Note: Other types of data such as Word, Excel, PowerPoint,
JPEG, etc. can be stored and transferred

8
6. Turning the player on / off
To turn the player on, press the power button.
To turn the player off, press and hold the power button for about 5 seconds.
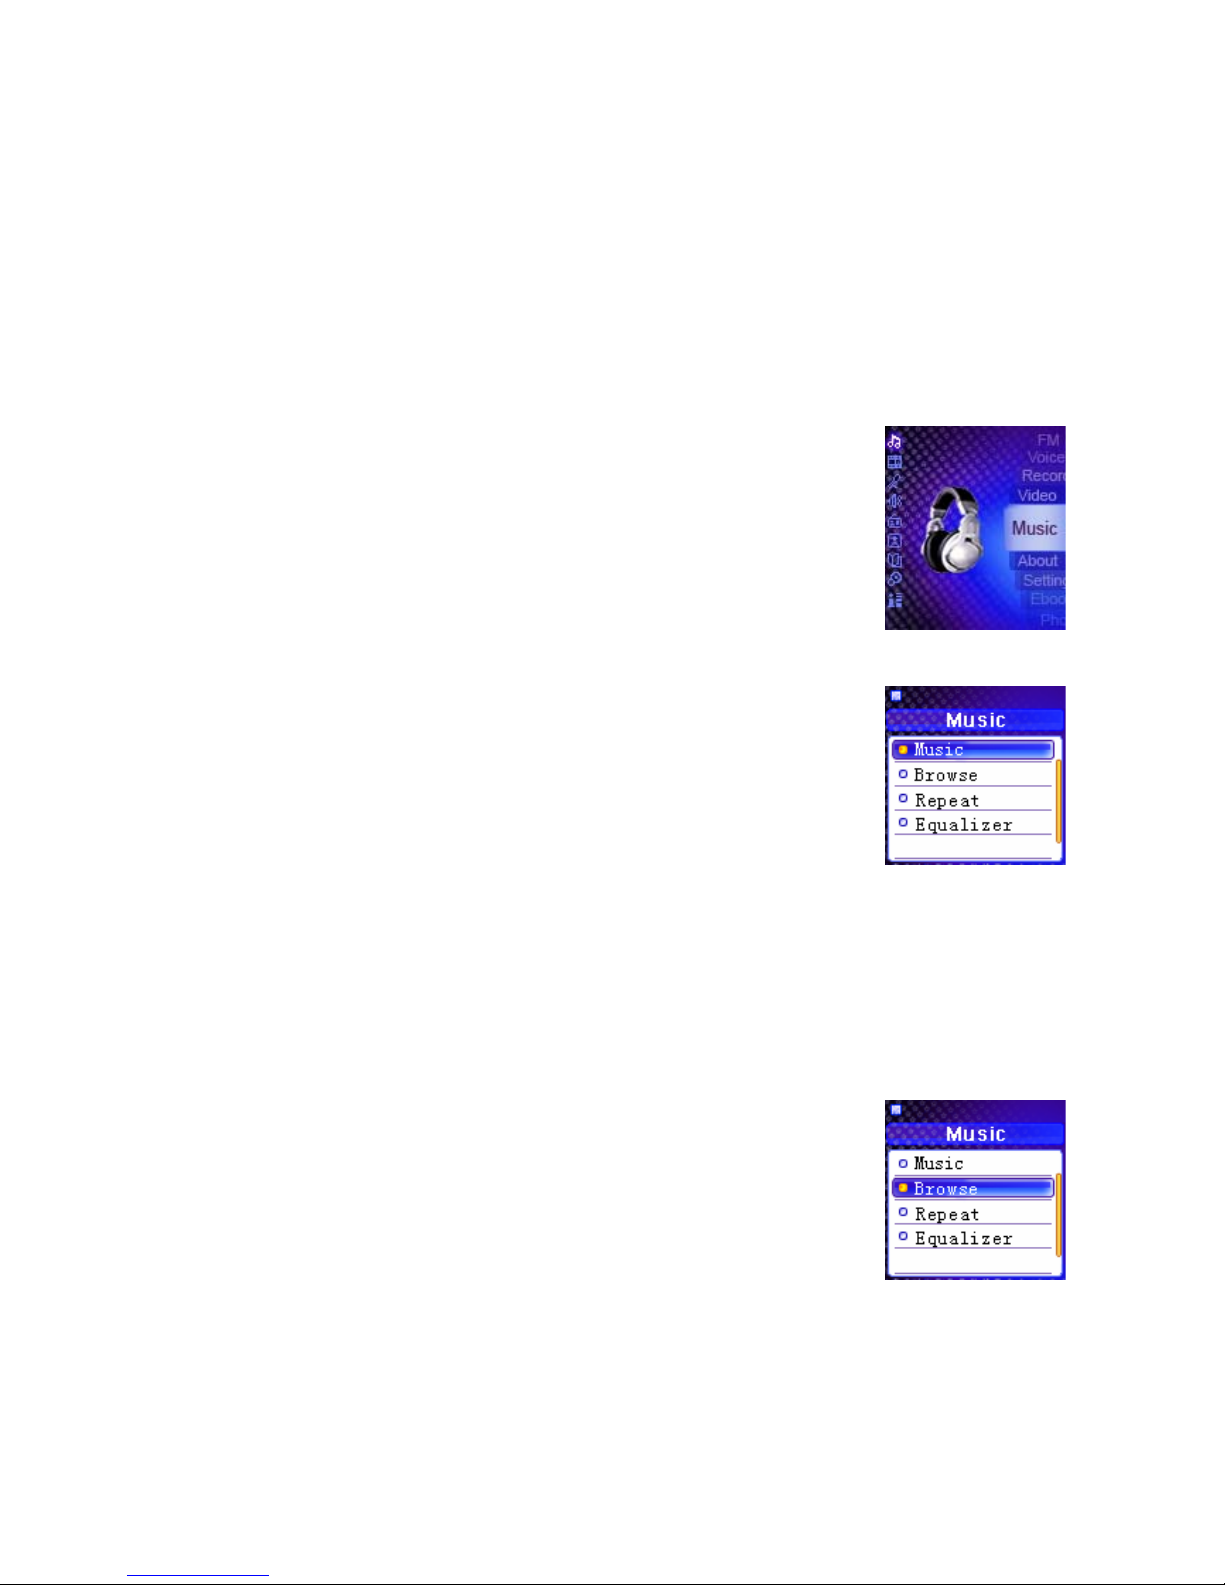
7. Listen to WMA/MP3 music files with the MP3 Player
1. Follow the instructions for the transfer of data to and from
the MP3 Player to copy WMA/MP3 music files to the MP3
Player.
2. Connect the supplied headphones to the earphone jack.
3. Press the Power button to turn on the player.
4. Press the Play button to play the music.
5. Use the MP3 Player controls to adjust playback and volume
level to listen to your WMA/MP3 music.
7.1 A-B Repeat function
If you want to listen to one section of the music
repeatedly, you may use this A-B repeat function.
In the mode of playing music, press the A-B
button to set up the starting point (A point) of the
music, press the A-B button again to set up the ending point (B point)
of the music. And then the A-B section will be played repeatedly on
the player.
You may press and hold the A -B button again to cancel this A-B repeat function.
Note: The interval between A point and B point must be more than 3 seconds.
7.2 Lyric display function
The MP3 Player supports lyric files in LRC format.
1. Prepare a MP3 or WMA music, for example, happymusic.mp3;
2. Download a lyric file from internet. The lyric file must be with an extension file name
LRC. For example, happymusic-2004.lrc.
3. Rename the lyric file. For example, happymusic.lrc. It is to make sure the lyric filename
is same as the corresponding music filename.
4. Copy the lyric file & music file to the MP3 player.
5. Disconnect the MP3 player.
6. Use Up and Down buttons to select the music file, for example, abc.mp3. Press Play
button to play.

9
7. The lyric displays synchronously on screen while the music is being played.
Note: The MP3 player supports LRC format only.
Note: If the lyric does not synchronize with the music, please download one better
lyric file from Internet and try again.
Note: Make sure the MP3 music and LRC file is located in same directory and the
filename is same. If not, the MP3 player cannot recognize the lyric file.
8. Playing your music
In the main menu select music and press Enter button to enter the
submenu, you can use the Up and Down buttons to select one option
and press Enter button to enter the submenu or confirm your selection.
Use the Menu button to go back to previous menu.
Music
Select Music in the submenu of the Music and press the Enter button to
play the music.
Browse
You can find and play the music quickly by using this browse
function.Use Menu button to enter main Menu.
1. Select Music and press Enter button to enter submenu
2. Select Browse and press Enter button to enter the browse mode.
3. Press Up and Down buttons to select a file or folder and use Skip
Next button to play the music or enter the folder.
4. Select the Back icon at first row in Browse menu and press Menu
button to backward to upper level.
Note: When a folder is selected in browse mode, presses on Enter
button, sub-menu windows will pop-up. To enter the folder, select
Enter. To play music located in the folder, select Play.
When a file is selected in browse mode, presses on Enter button, sub-
menu windows will pop-up. To play this file, select Play. To erase, select
Delete.
Altri manuali per XMP3-Y
1
Questo manuale è adatto per i seguenti modelli
3
Indice
Altri manuali X-Micro Lettore multimediale


