ZEPCAM T2 Series Manuale utente

DSUM-1.4
zepc
More information and FAQ on: www.zepcam.com 2
Thank you for buying a ZEPCAM T2 series Docking Station. We hope you will enjoy our product as
much as we enjoyed creating it.
Before starting please check:
●If the product or the packaging is not visibly damaged.
●Make sure all the packaging content is complete ( Zepcam T2 series Docking Station, Power
brick, RJ-45 Gigabit Ethernet cable, Zepcam certified HDMI cable )
●Do not attempt to use the device with missing or damaged parts.
●Use Zepcam certified HDMI cable only
[Note] The information contained in the document are subject to change without notice. For any
question, please check www.zepcam.com

More information and FAQ on: www.zepcam.com 3
PRODUCT DESCRIPTION
●Abbreviations
●Functionality
●Prerequisites
●Zepcam T2 series Docking Station
●Dimensions
●Indicators
CONFIGURING YOUR DOCKING STATION
●Placement
●How to install the docking station
●How to use
●Configuring docking station with USB
ONBOARD WEBSITE
●Overview
●System log
●Settings
●Backup / Update
●Server Pairing
●Monitor sharing
●T2(+) Firmware upgrade
DYNAMIC OFFICER ID
●Setup
●Monitor sharing
●How to use

More information and FAQ on: www.zepcam.com 4
OVERVIEW
Product description for the Zepcam T2 Docking Station
PRODUCT DESCRIPTION
Abbreviations
DS
Docking Station
CP
Camera Position
PIL
Position Indicator Light
CIL
Connection Indicator Light
SIL
System Indicator Light
ZM
Zepcam Manager
ZC
Zepcam Cloud
Functionality
The Zepcam T2 series Docking Station (DS) makes recharging of T2(+) Bodycams and data offload
easy, secure and fast. Simply dock the T2(+) in the DS to transfer recordings and GPS data from T2(+)
bodycams to the DS. The files are then offloaded from the DS to the server or cloud using an Ethernet
cable. By transferring the data to the DS first and later to the server we can ensure a safe and reliable
data transfer.
The DS can be used in combination with a HDMI monitor and keypad to assign a user to a bodycam
when the bodycam is removed from the docking.

More information and FAQ on: www.zepcam.com 5
Prerequisites
Before starting with setting up your DS there are a couple of prerequisites. In order for your DS to
be functional you’ll need to have access to either Zepcam Manager (ZM) or Zepcam Cloud (ZC)
with admin rights or someone who can tell you the pairingcode. Recordings from the T2(+) camera
will be sent to either one of those servers for the end user to watch and manage. This also means you
will need to have a local network setup if you are using a OWN server or an active internet connection
if you are using the Zepcam Cloud. During the setup process you will also need a pc or laptop for
configuring and installing the DS.
[NOTE]: Target TCP Port 12945 is used by the DS to reach the ZM, your network must allow transfers
on this TCP port. TCP port 1194 is optional for VPN.
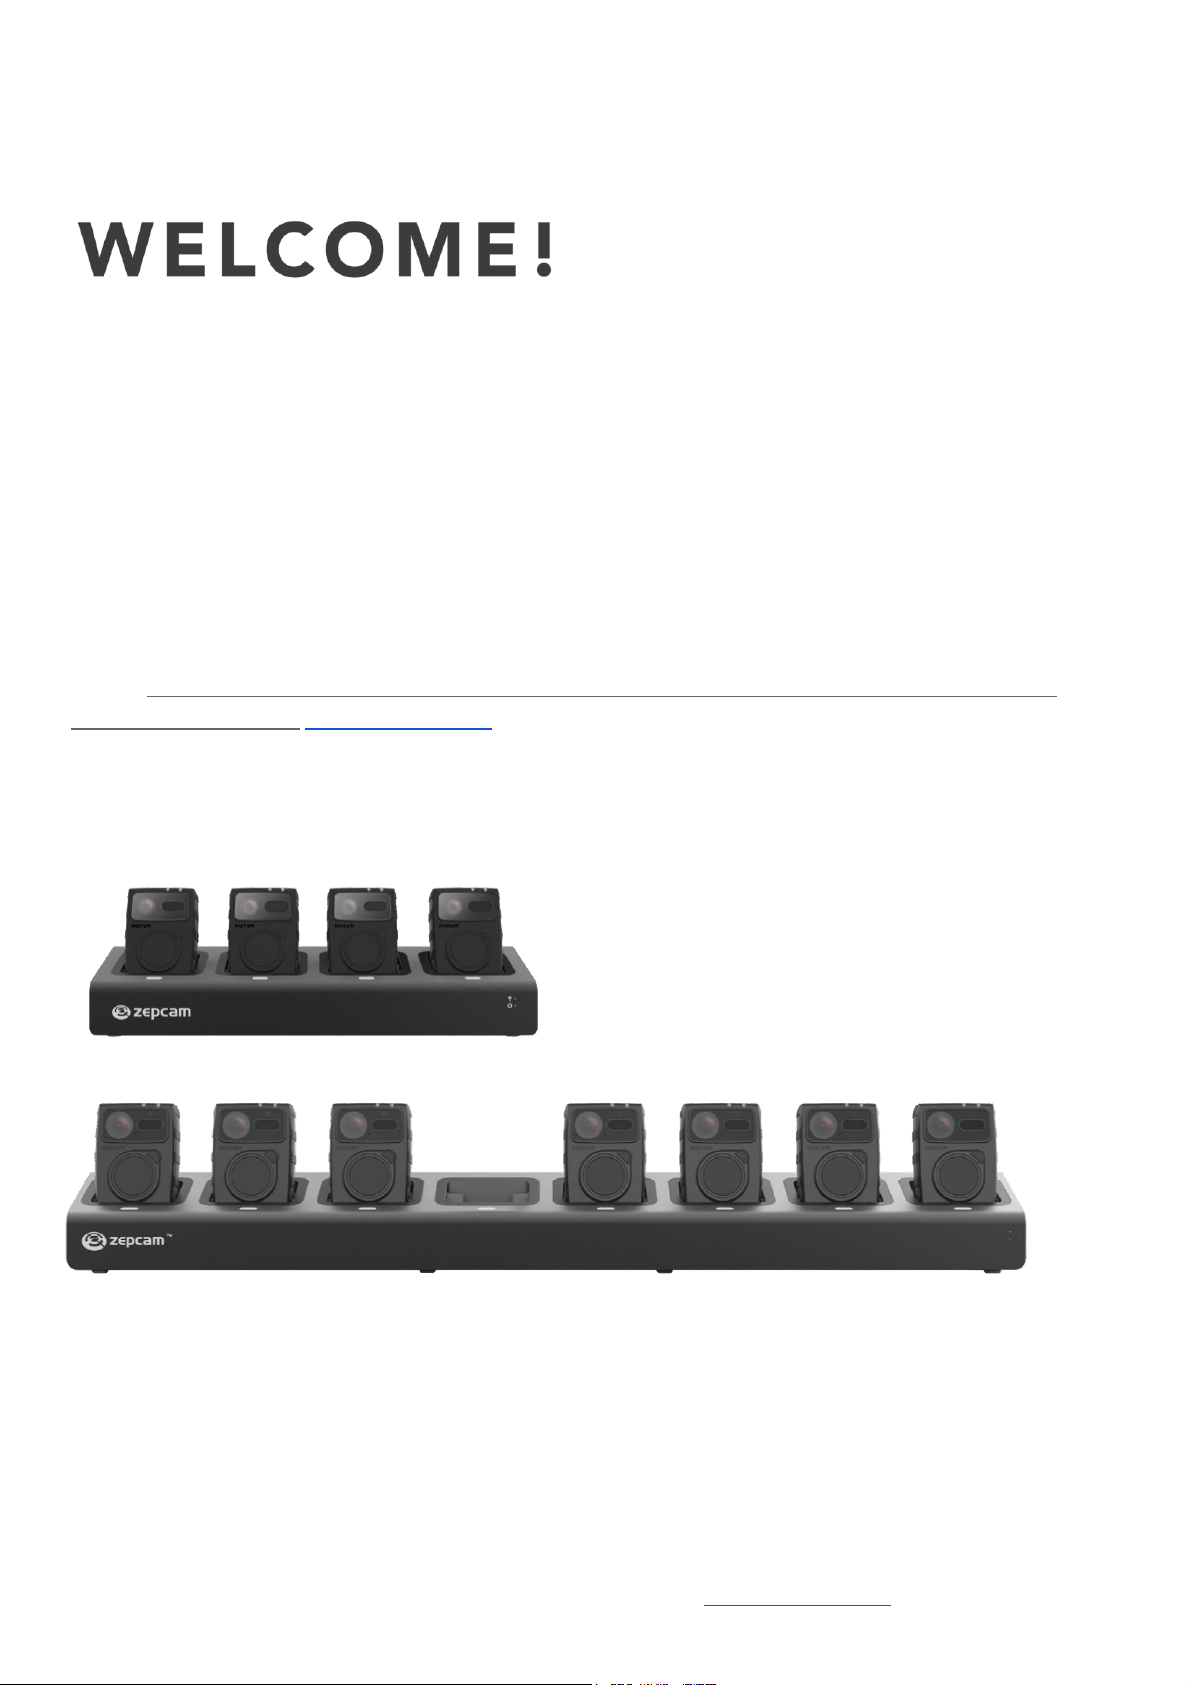
Zepcam T2 series Docking Station
Figure 1
1. Docking pod
2. Position Indicator LED (PIL)
3. Connection Indicator LED (CIL) and System Indicator LED (SIL)
4. Reset button*
5. 2x USB3.0
6. HDMI**
7. Power connector.
8. RJ45 gigabit ethernet.
9. Wall fixation
[NOTE]: *When pressed more than 10 seconds the DS will factory reset.
[NOTE]: **Only use the included extra slim Zepcam HDMI cable

More information and FAQ on: www.zepcam.com 6
Dimensions
8 position docking station:
L = 642mm
W = 92mm
H = 70mm
Weight = 3200g
4 Position docking station:
L = 332 mm
W = 92 mm
H = 70 mm
Weight = 1600g
Indicators
Every T2(+) position has a Position Indicator LED (PIL) as shown in the figure above. In the table
below you can see the different indicators and their meaning.

More information and FAQ on: www.zepcam.com 7
Indication
Meaning
Off
No T2(+) inserted or T2(+) is done with data transfer and
fully charged
Red pulsating
T2(+) is busy with a data transfer. Do not remove T2(+)
during this process.
Red solid
T2(+) is done with data transfer, only charging now.
Blinking red and green
Denied state; action is needed, please check ZM or DS
monitor for info.
Blinking red and green
without a T2 inserted
Overcurrent detected, DS needs to be rebooted.
Yellow solid
T2(+) Error state, remove the T2(+) from the DS and
press the reset button on the T2(+).
All PILs are solid RED
The DS is not paired with a server.
Chasing Yellow
The DS is performing a factory reset
The DS also has two status LEDS as shown in the figure below.
LED
Colour
Pattern
Status
CIL
Red
Off
No link
On
Linked to server
Pulsating
Offloading to the server
SIL
Green
Off
No power
On
Power
Blinking
Booting system

More information and FAQ on: www.zepcam.com 8
CONFIGURING YOUR DOCKING STATION
Placement
●To reduce the possibility of heat related issues or overheating the DS. It should be placed on a
hard and flat surface with enough cool air to ventilate. Also make sure the side air vents have
enough space to suck in air.
●When placing more than one DS next to each other, make sure some room is kept between the
stations. It will allow the side mounted cooling fan to expel air.
●When mounting to a wall, please make sure it is mounted real solid.
How to install the Docking Station
1. Connect an RJ45 network (UTP) cable to the DS and the network.
2. Connect the power adapter to the DS and a power outlet.
3. Get the IP address of the DS, to do this you’ve got 3 different options:
a. If you have a pc in the same network as your DS install and launch the Zepcam Finder
program. When it has launched search for your DS serial (D2-XXXX-XXXXX-XX) and look
for the IP address.
[NOTE]: If you don’t already have Zepcam Finder, please download it from
www.zepcam.com

More information and FAQ on: www.zepcam.com 9
b. If you have a monitor and a USB keyboard or numpad hooked up to your DS. Press the *
key to show the network information and the IP address.
c. If option a and b do not apply, connect your DS directly to a laptop or pc. Configure your
laptop to a fixed IP address in the 192.168.251.x range. The fallback IP address of the DS
is 192.168.251.2 which should now be accessible.
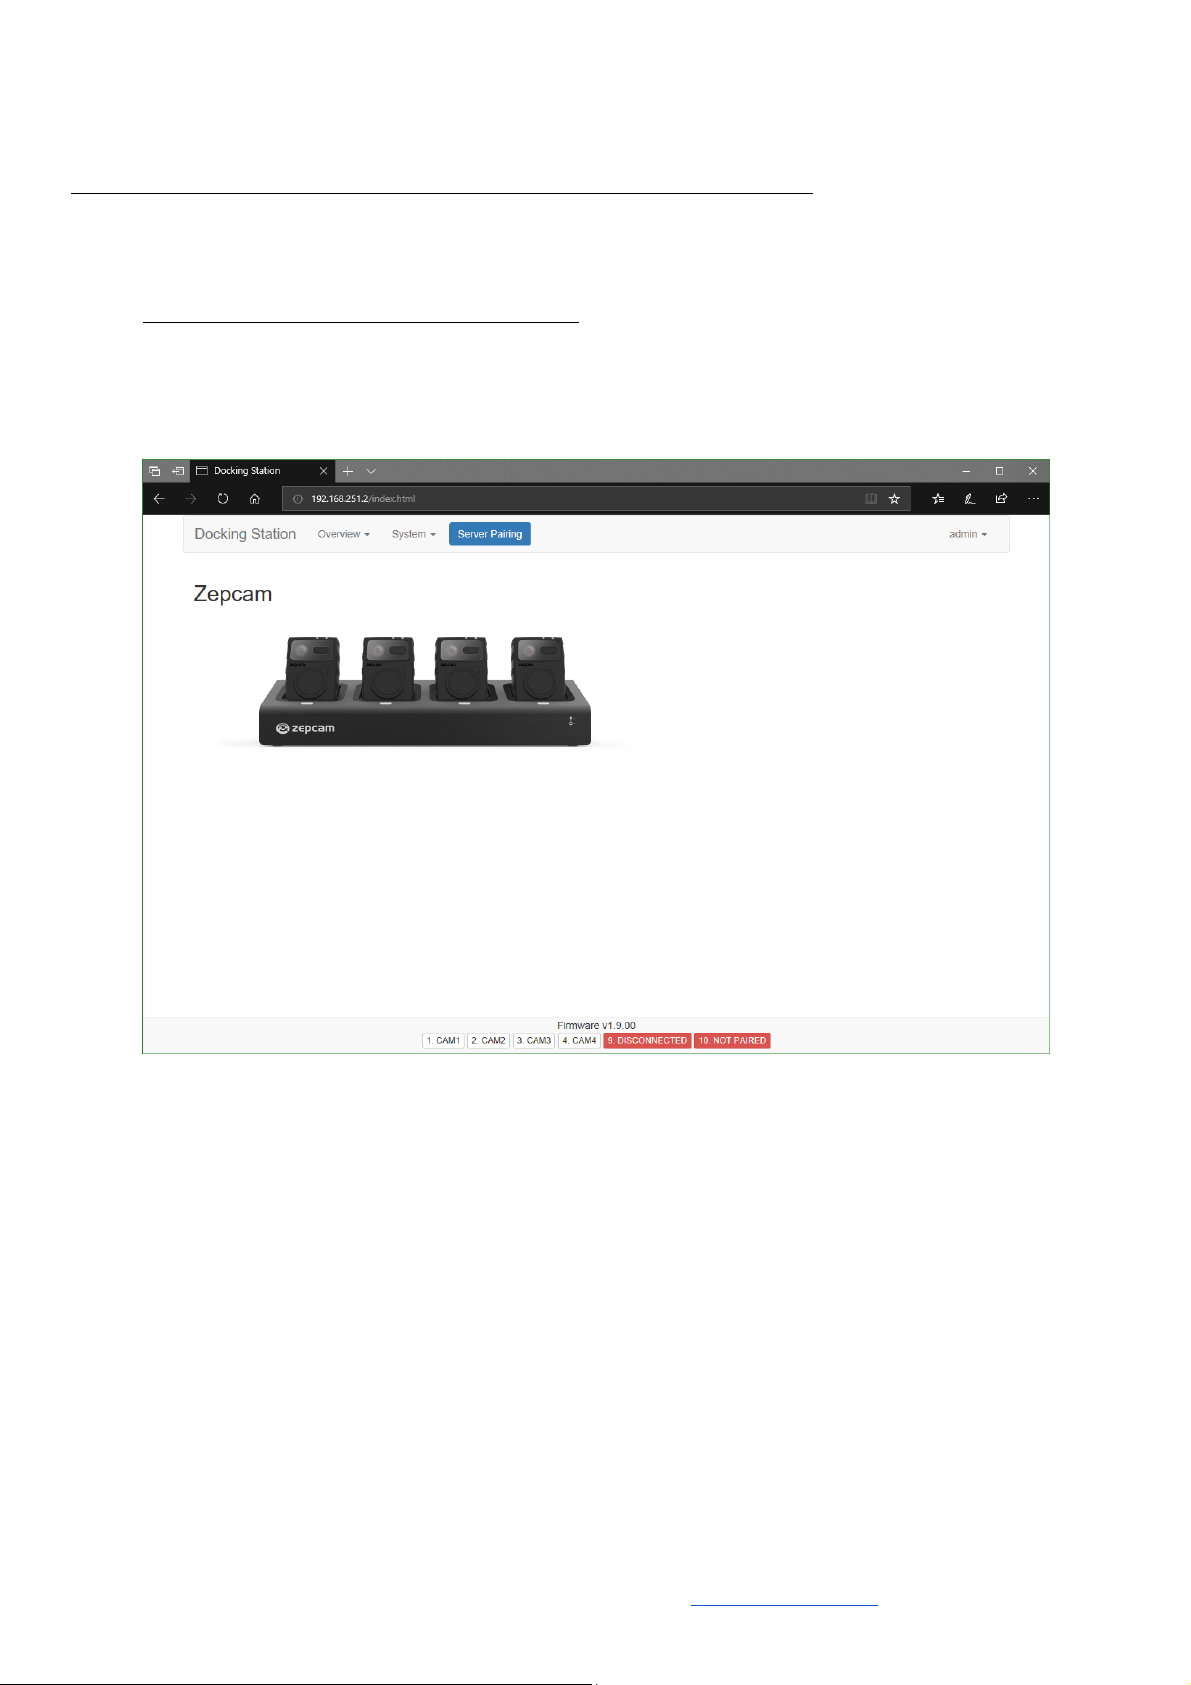
More information and FAQ on: www.zepcam.com 10
4. Now open up a web browser and type in the IP address.
5. Log in with the default username “admin” and the default password “admin”
[NOTE]: Do not forget to change the password when configuring your DS
6. Now, within your browser open a new tab and login the ZM (Cloud or Server Software). You
need to login with admin rights to add a new DS and create a pairing code.
7. Go to Admin-> Devices -> Docking Stations
8. Press Add Docking Station, in the pop up menu fill in a name for your DS and press submit.
9. Copy the pairing code returned by the server.
10. Go back to the webpage of your DS and click “Server Pairing”
Altri manuali per T2 Series
2
Indice


