ARITCO HomeLift Manuale utente

Congratulations on
your new li.
Aritco HomeLi
User manuAl
paGe 2

INTRODUCTION................................................................... 4
Congratulations on your new lift.................................. 4
Intended use of the home lift......................................... 4
SAFETY..................................................................................... 5
Warning texts ........................................................................ 5
Safety features ...................................................................... 5
Sound pressure level.......................................................... 5
OPERATION INSTRUCTIONS.........................................7
Control panel.......................................................................... 8
EMERGENCY AND FAULT FINDING ........................10
Emergency lowering and opening .............................10
Power failure .........................................................................10
Simple fault finding............................................................10
Alarm button and emergency stop ............................ 11
CARE AND MAINTENANCE..........................................12
Cleaning................................................................................... 12
Service intervals...................................................................12
Disposing of the lift parts ...............................................12
Oil, drive screw lubrication.............................................12
Lift no longer in use...........................................................12
TOOLS......................................................................................13
LABELING ..............................................................................15
The information in this document is subject to
alteration without prior notice and should not
be regarded as an undertaking from Aritco Lift
AB. Aritco Lift AB is not responsible for damage
incurred due to misuse of this document.
The document or parts thereof, may not be repro-
duced or copied without prior permission. It may
not be imparted to a third party or otherwise be
used without authorisation. Infringement hereof
will be subject to action in accordance with appli-
cable laws.
paGe 3
index
IntrOduction
paGe 4
CONGRATULATIONS ON YOUR NEW LIFT
You have chosen a home lift from Aritco Lift
AB. A modern, user-friendly and safe product
that will give you years of service. We will do
everything in our power to justify the confi-
dence you have placed in us.
To make the best possible use of the home lift,
it is important that you read these instructions
carefully before using the lift.
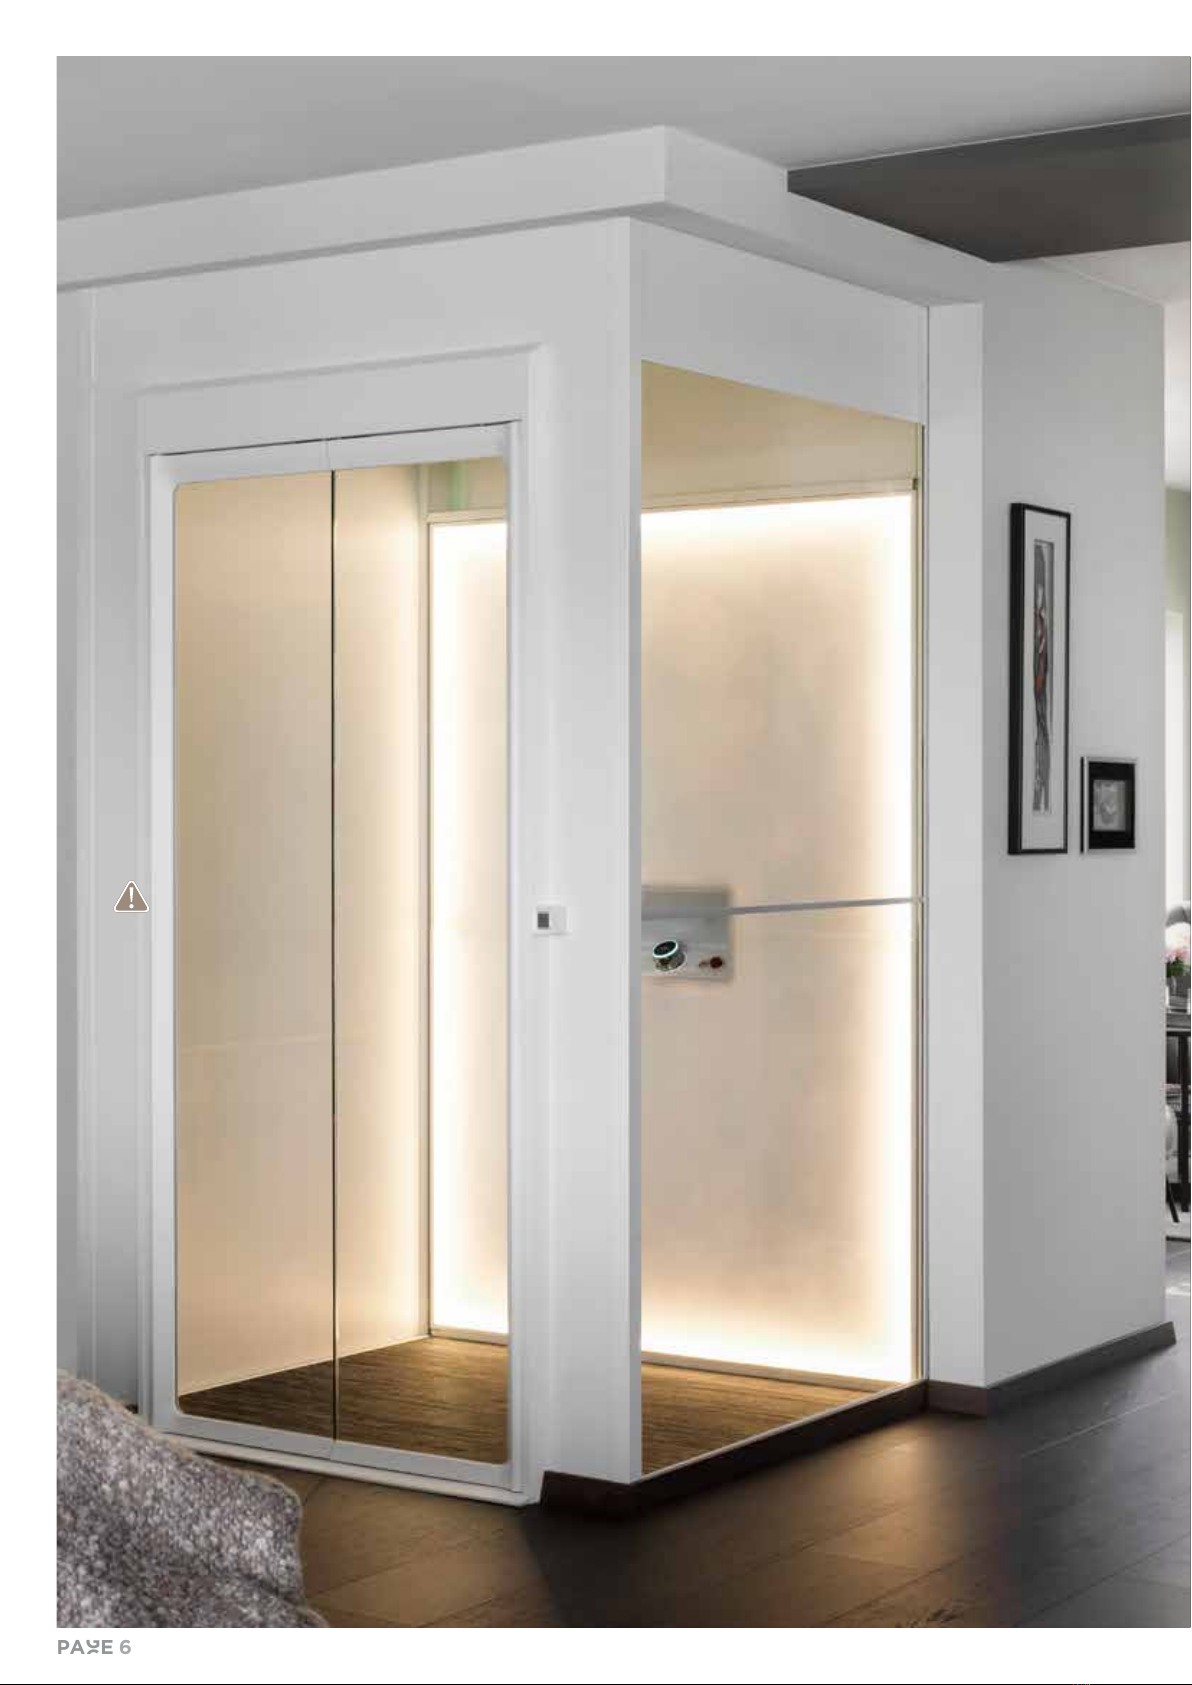
INTENDED USE OF THE LIFT
Aritco HomeLift is intended for use by persons
in private homes in an indoor environment.
The lift shall only be used within the temper-
ature range +5°C to +40°C. Do not exceeded
the rated load specified on the control panel
and in the technical specification.
paGe 5
sAfety
WARNING TEXTS
Warning texts in this manual are used to point
out extra critical instructions. Warning texts are
marked as follows:
CAUTION
Describes a hazardous situation which, if not
avoided, can result in minor or moderate injury on
persons or equipment.
WARNING
Describes a very hazardous situation which, if not
avoided, will result in death or serious injury.
SAFETY FEATURES
Safety edges are placed along the edge of the
carrier floor and above the lift DesignWall. If a
safety edge is pressed the lift will stop as a pre-
ventive action. When the safety edge returns to
its normal position the lift can be used again.
The doors will lock automatically when the lift
leaves the floor.
The lift will automatically stop if the pressure on
the SmartControl is not maintained (i.e. you let go
of the SmartControl) or the lift has reached the
selected floor level.*
Emergency stop button on carrier control panel.
On-board alarm button which is connected to an
automatic telephone dialer.
CAUTION
Do not leave children unattended in the lift.
CAUTION
The lift is not designed for transporting heavy
goods, and do not bring long or bulky items
(eg ladders) into the lift.
WARNING
Do not interfere with the lift’s safety devices.
SOUND PRESSURE LEVEL
The sound pressure level generated by the lift is
expected to be less than 70 dB (A).
* “Hold to run” = The SmartControl has to be kept pushed
during the ride. For installations outside Europe the lift has
one touch operation.
operation
instruCtions
Press the call button located
next to the door. The lift will stop
automatically at the floor level
and the doors will open.
Enter the carrier and wait for
the door to close. The automatic
door opener will close the doors
after a time delay or once you
have chosen what floor to go to.
Constant pressure should be
applied to the SmartControl on
the control panel until the lift ar-
rives and stops automatically at
that floor level. For installations
outside Europe the lift has one
touch operation.
Once the lift reaches the chosen
floor level, the doors are un-
locked and opens allowing exit
from the carrier.
CAUTION
Do not lean against the shaft
walls or doors, and do not let
any object touch the shaft walls
when the lift moves.
paGe 6
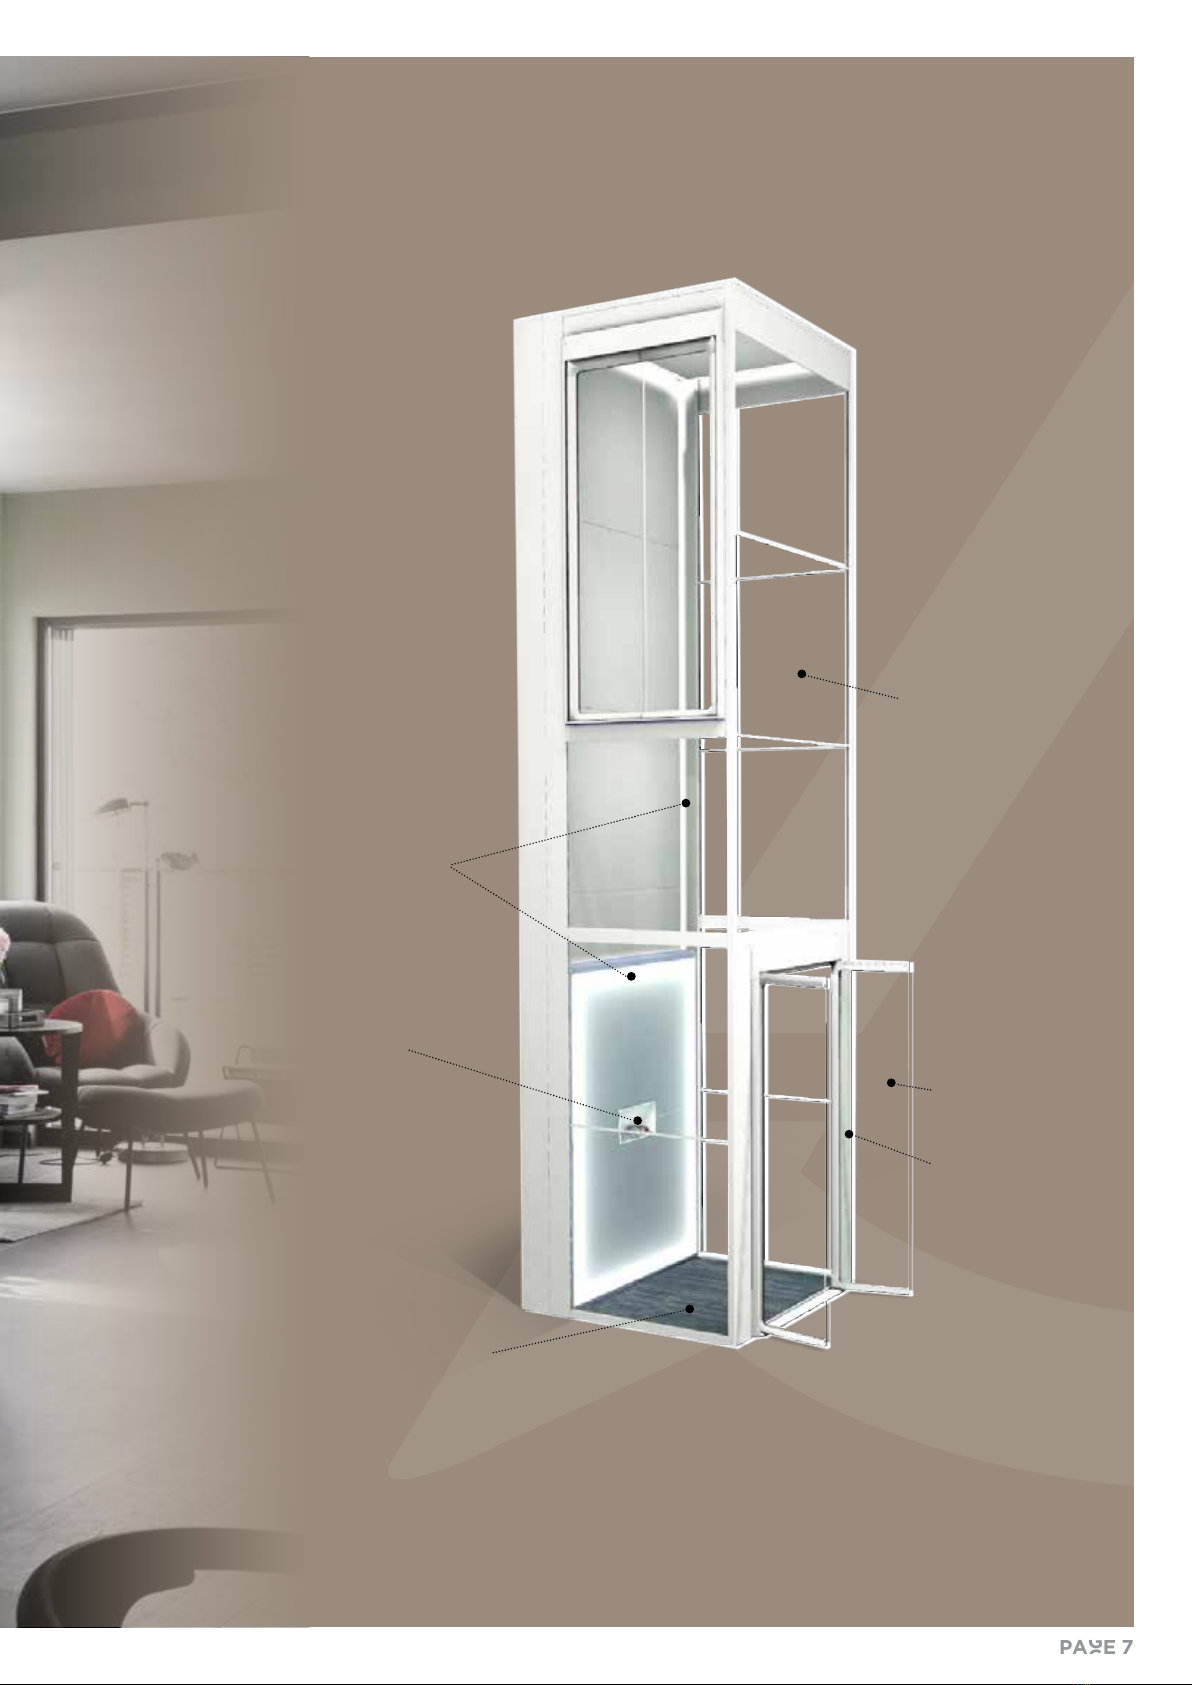
paGe 7
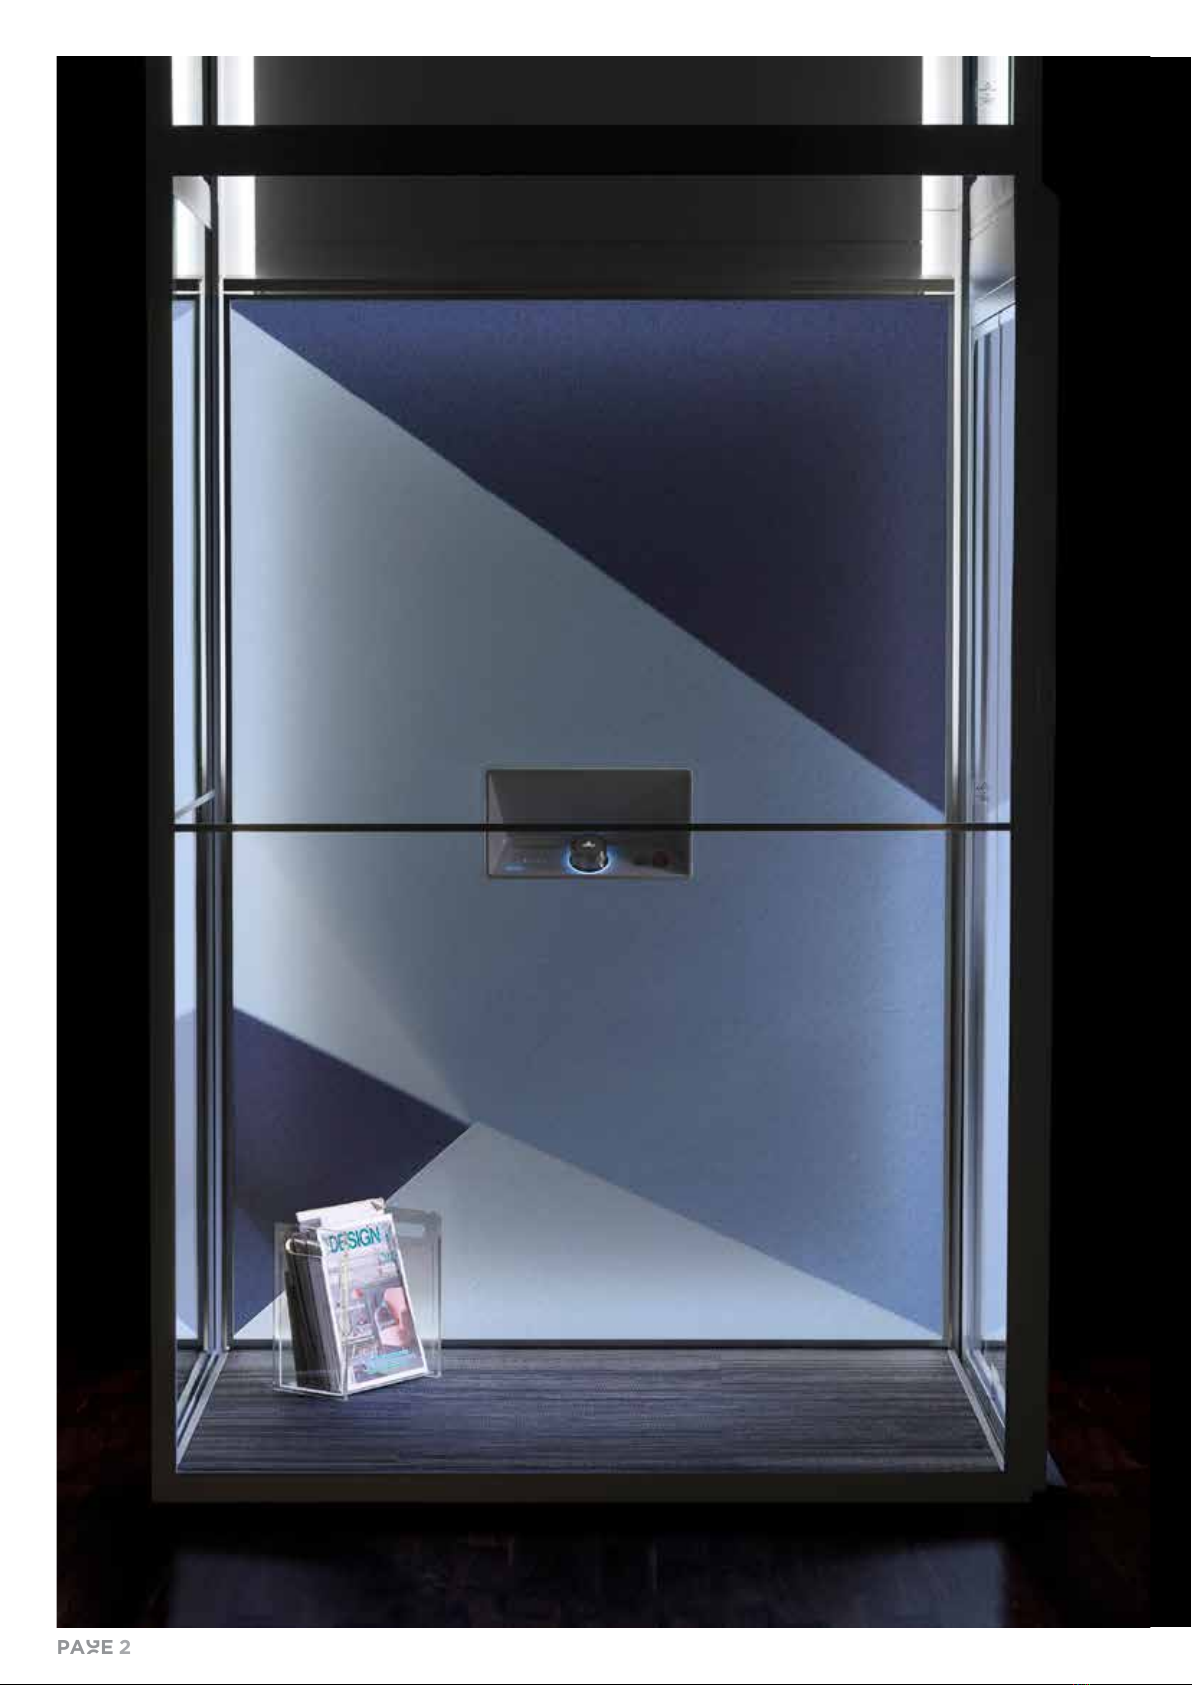
DESIGNLIGHT
CARRIER/PLATFORM
DOORS
CONTROL
PANEL
with SmartControl
button
WALL
PANELS
solid or glass
CALL
BUTTON

paGe 8
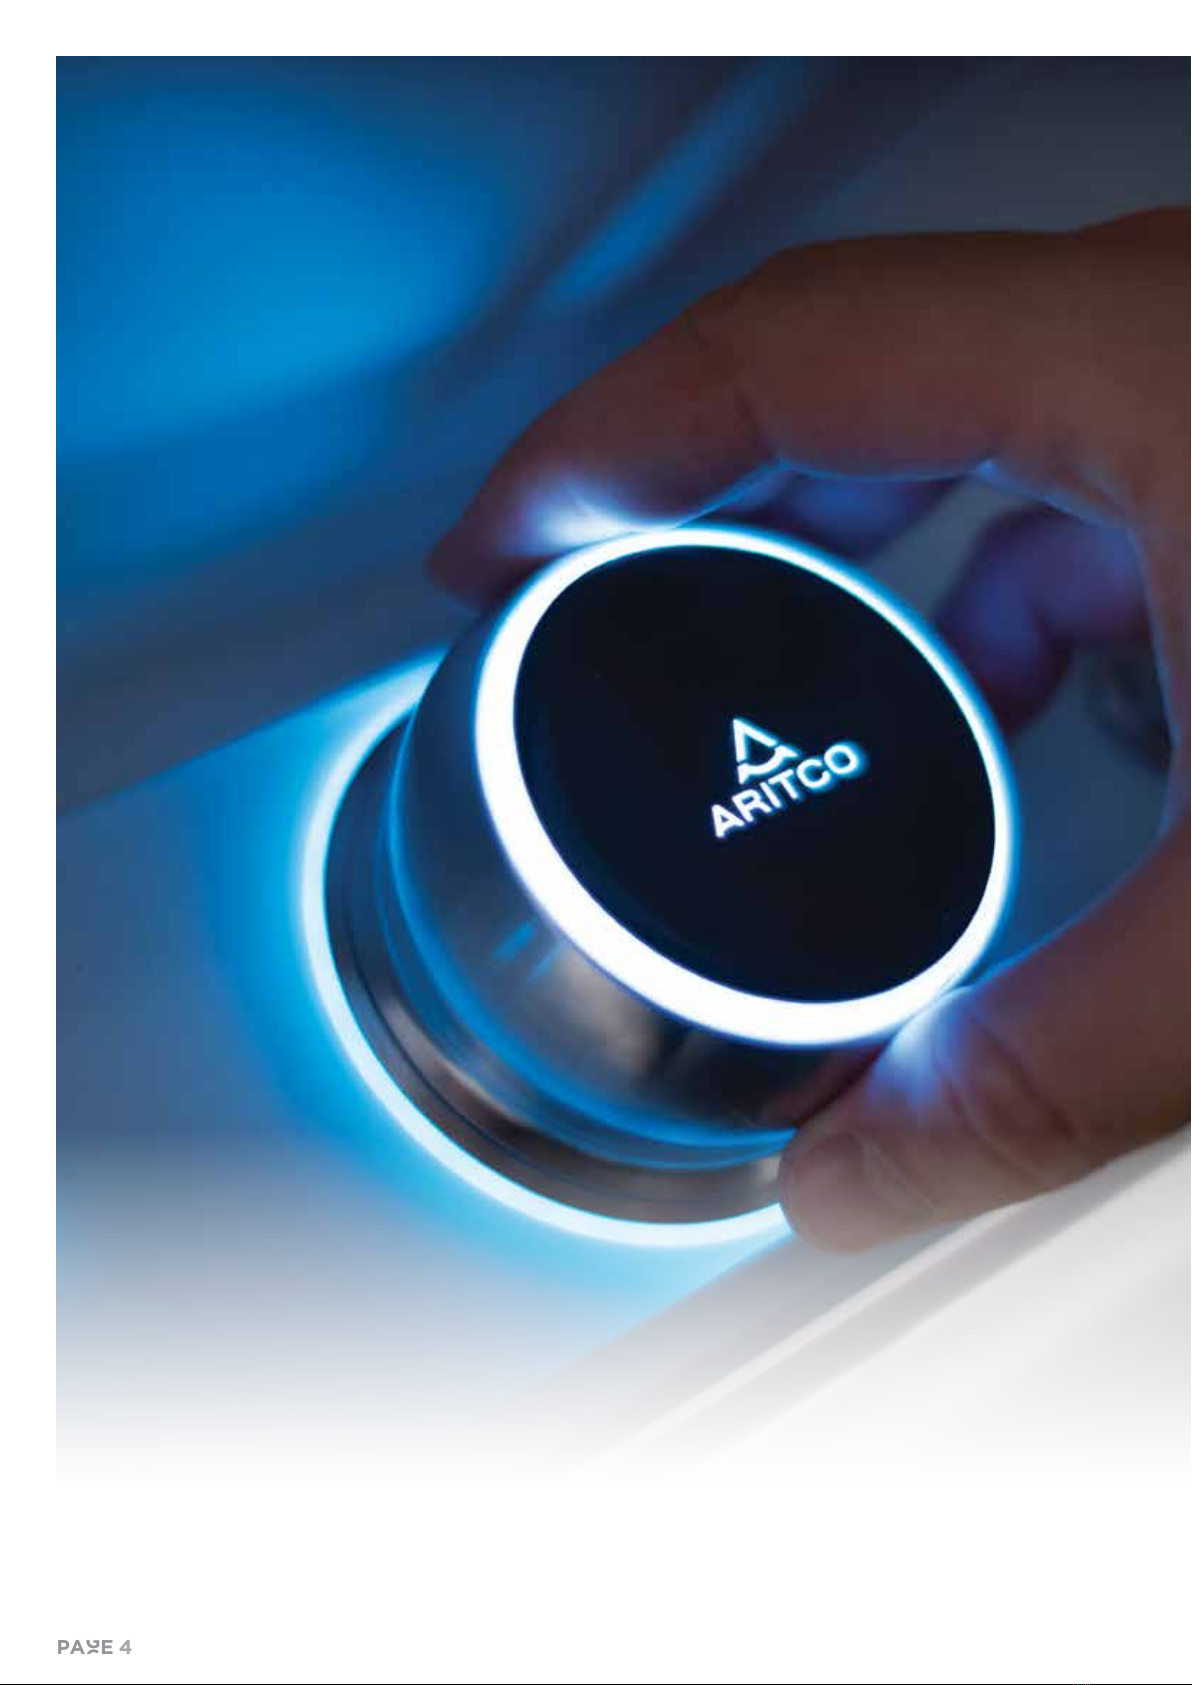
contrOl panel
e control panel is placed in
the middle of the DesignWall,
and is used to control the li.
SMARTCONTROL
The SmartControl is a unique way of
controlling the lift that has been special-
ly developed to be more user-friendly
and ergonomic than standard lift but-
tons. It comprises a stainless steel ring,
which is turned to select a floor. The
plastic top part is pressed to start the
lift.
Turn counterclockwise to
select a lower floor, i.e. to
go down.
Turn clockwise to select a
higher floor, i.e. to go up.
CONTROL PANEL SYMBOLS
FLOOR INDICATOR
The floors are indicated on the control panel with
the numbers 1, 2, 3, 4, 5 and 6. The numbers are
backlit using a white light, which tells you which
floor you are currently on and which floor you have
chosen to go to. The current floor is indicated with
100 % brightness, while the other floors are indicat-
ed with 50 % brightness.
KEY – FOR LOCKING THE CONTROL PANEL
It is possible to lock the control panel to prevent
the lift from being used. A key symbol indicates
whether or not the lift is locked. The lift can still
be called from another floor when locked and is lit
until the lock is turned off.
Locking the lift: Turn the SmartControl
counterclockwise until the key symbol is shown.
Then press and hold the SmartControl for five
seconds. A second key symbol will then light up
(red light) next to the max. weight symbol. This
symbol indicates that the lift is locked.
To unlock the lift: Turn the SmartControl counter-
clockwise until the key symbol is shown. Press and
hold the SmartControl for five seconds. The red
key symbol will turn off, indicating that the lift is no
longer locked.
RATED LOAD, MAXIMUM NUMBER OF PERSONS
AND OVERLOAD
The control panel features symbols indicating the
rated load and maximum number of persons that
the lift is designed for. When the lift is loaded with
a heavier load than it is rated for, the rated load
symbol will flash red. It is not possible to use the lift
when it is overloaded.

paGe 9
ALARM BUTTON AND EMERGENCY CALLS
In accordance with EN81-41, two-way communication is man-
datory for safety reasons. All Aritco HomeLifts are therefore
equipped with an autodialer that can be used to make emer-
gency calls.
The alarm button is connected to the autodialer. When the
alarm button is pressed for 10 seconds, the autodialer au-
tomatically calls the first telephone number in the list of
pre-programmed numbers. The numbers are programmed
when the lift is installed. If the first call is not answered after
a pre-defined time, the autodialer will automatically call the
next number in the list.
The autodialer is connected to the fixed PSTN line as stand-
ard. It can be supplied with a GSM module as an option. The
SIM card is not supplied by Aritco.
EMERGENCY STOP BUTTON
The emergency stop button is designed for use in emergen-
cy situations. When the button is pressed, the lift stops. The
button is reset by twisting it.
SERVICE SYMBOL – INDICATES THAT THE LIFT
REQUIRES SERVICING
The service symbol is normally not lit. When a
service is required, the symbol lights up (yellow
light). It is possible for the service partner to set the
intervals for when a service is needed.
STATUS SYMBOL – INDICATES THE STATUS OF
THE LIFT
The status symbol indicates the status of the lift.
When the symbol is not lit, this indicates that the
lift is working normally. When lit, the symbol indi-
cates a fault with the lift. A yellow light indicates
a minor fault, while a red light indicates a serious
fault that must be reset by service personnel.
FIRE SYMBOL – INDICATES A FIRE
The lift can be connected to the building’s fire
alarm system.
If there is no fire, the fire symbol remains off. In
the event of a fire, the fire symbol turns red. In the
event of a fire, the lift will automatically travel to
the floor pre-defined by the homeowner.
A backlit arrow indicates that the emergen-
cy stop function is activated. The white light
will blink until the button is reset.
Yellow light indicates that the alarm button has
been pressed for more than 10 seconds.
Green light indicates connection.

EMERGENCY LOWERING AND OPENING
If the lift needs to be emergency lowered and/
or the doors needs to be emergency opened,
contact a competent person. Instructions can
be found on a label on the outside of the lift.
The key for emergency opening shall be stored
in a safe place outside the lift.
POWER FAILURE
In case of power failure, the lift will automati-
cally go to back-up battery operation and the
lift will travel to the nearest lower level when
you push the SmartControl. When the lift has
arrived to its destination the door will be un-
locked.
The light (emergency light), the alarm but-
ton system and the alarm telephone have an
emergency battery backup which allows them
to function in the event of a power failure. The
battery backup also support the lifts safety
functions.
The lift will automatically go back to main
power without resetting after the power failure.
In case of a long power failure, or if the power
is disconnected more than 7 hours, the backup
battery will be disconnected. This function save
the battery from total discharge. When the
battery is disconnected all the lift functions are
disabled.
If the lift has been out of power or has done an
emergency lowering run it will sometimes run
in the wrong direction as the lift control system
position needs to be updated. The status sym-
bol will be lit with a yellow light. Keep pushing
the SmartContro l and the lift will soon run to
the correct destination.
If there are any problems, call for service per-
sonnel.
SIMPLE FAULT FINDING
Should the carrier lift not work or the call but-
tons flashes, check the following things:
• That the emergency stop button on the con-
trol panel is not pushed in (turn the button
clockwise to deactivate).
• That the doors are closed and the door con-
tacts are undamaged and clean.
• That the power is not switched off.
• That the safety edge around the carrier floor
and above the DesignWall is not stuck in a
pressed position.
If the lift fails to work after you have completed
these checks then you should arrange for a
service personnel to rectify the lift.
EmeRgency
and fault
FInDing
paGe 10
Indice
Altri manuali ARITCO Sistema di sollevamento

Manuali Sistema di sollevamento popolari di altre marche


Genie
Genie Z-60/34 Manuale utente

Screen Technics
Screen Technics INTERFIT Vertical Up Lift Manuale utente

Mortuary Lift
Mortuary Lift ULTIMATE 1000 Manuale utente

Custom Equipment
Custom Equipment Hy-Brid 3 Series Manuale di programmazione

Custom Equipment
Custom Equipment Hy-Brid Lifts 2 Series Manuale di programmazione

Hy-Brid Lifts
Hy-Brid Lifts HB-P3.6 Manuale di programmazione


