Bellman & Symfon BE1284 Manuale utente

BE1284
1

3
Read this rst. Read and retain this booklet carefully for as long as the product is being
used. It contains vital information on the operation and installation of your alarm. This
booklet should be regarded as part of the product. This apparatus should be installed by a
competent person. This booklet must be given to the householder and any subsequent user.
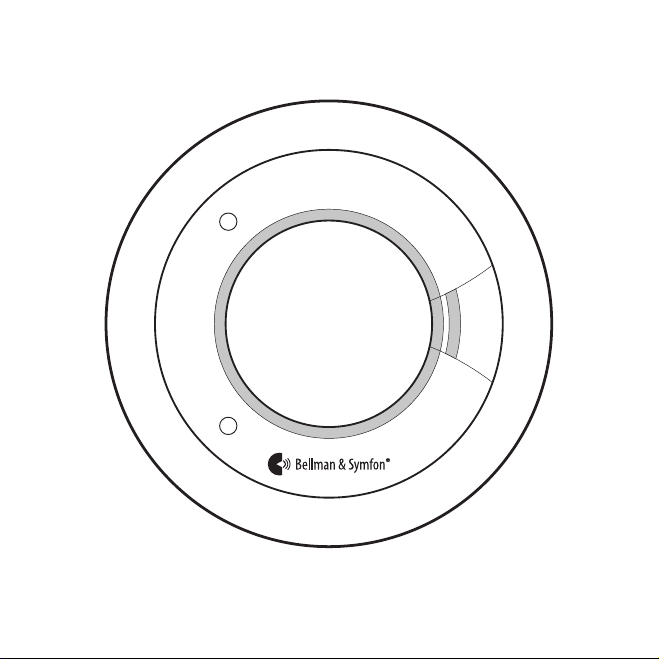
Overview
Test/silence button
2 x 3V lithium batteries
Radio key switches
Heat/smoke sensorRadio LED
Alarm LED
BE1284

EN
Quick start guide 5
Indication summary 6
Using broadcast 9
Changing the radio key 9
Location and positioning 11
Fire safety advice 17
Alarm limitations 19
Installation 21
Testing, monitoring and maintenance 23
Troubleshooting 29
Technical specications 30
4
Please note: This smoke alarm is equipped with a radio module that transmits radio
signals to one or several supplementary Visit receivers*. A Visit receiver will help to ensure
that the alarm is noticed throughout the property. The alert and signal pattern for the
Visit receiver is explained in the product’s user manual.
* The “Visit receivers” in this booklet was specied to Flash receiver (BE1442 & BE1444) or Alarm Clock (BE1380).
Contents

Quick start guide
Make sure to select a location complying with the advice in Location and positioning.
1Lift o the mounting bracket and carefully place your thumb over the batteries and
remove the pull tab to power the smoke alarm.
2Taking care to avoid any electrical wiring, x the mounting bracket to the ceiling or
wall using the supplied screws and plugs. Mount it at least 305 mm (12") from walls
and obstructions, ideally centrally in the room or area.
3Fit the alarm to the bracket by turning it clockwise until it snaps into place.
Testing the connection
1Press the test/silence button and release
it when the alarm sounds. The alarm
transmits a radio signal to the receiver.
2The red Visit LED on the receiver lights up
to show that the signal was received. In
addition, it starts to sound, ash or vibrate
depending on the receiver.
Note: The alarm will stop sounding after the
button is released and the Visit receiver will
time out in less than a minute.
PULL THIS TAB
1
1 2
32
5

EN
6
Indication summary
Normal operation Action LED Sounder
Power up Pull battery tab 1 red + 1 yellow blink O
Standby O O
Sensing re Red + green Full sound
Silence alarm Press test button 1 red blink / 8 s O for 10 mins
Fault mode Action Alarm LED Sounder
Low battery 1 yellow blink / 48 s 1 beep / 48 s
Faulty smoke sensor 2 yellow blinks / 48 s 2 beeps / 48 s
Faulty heat sensor 2 yellow blinks / 48 s 2 beeps / 48 s
End of life 3 yellow blinks / 48 s 3 beeps / 48 s
Silence end of life
for up to 30 days
Press test button O for 72 h O for 72 h
Contaminated
chamber
4 yellow blinks / 48 s O
Test mode Action Alarm LED Sounder
Test smoke alarm Press test button Red + green Full sound
Alarm memory Action Alarm LED Sounder
24 h memory* 2 red blinks / 48 s
for 24 hours
O
Memory reset* Press & hold button Rapid red blinking Rapid chirping
Note: During test and in case of re, the red LED on the Visit receiver lights up and it
starts to sound, ash or vibrate depending on the receiver.
* See Alarm memory on page 27.

Indicators explained
Normal operation
Power up. Twist o the alarm from the mounting
bracket, see the 'Quick start guide'. Remove the
battery tab to power the alarm. The alarm LED will
blink in red and yellow once to show that the alarm
has been powered up and is now in standby mode.
Standby. In standby mode, there are no active visible or
audible indications to the occupant. To conrm that the
alarm is operational, perform a weekly button test.
Weekly button test. To test the alarm, see the section 'Manually testing your alarm'.
Sensing re. As soon as the smoke alarm senses smoke or heat, it will sound the
alarm, the alarm LED will blink rapidly in red and the radio LED will light up in green.
In addition, the red LED on the Visit receiver lights up and it starts to sound, ash or
vibrate depending on the receiver. Follow the instructions in the section 'What to do in
the event of a re' and evacuate the building.
Silence false / nuisance alarms. Occasionally smoke alarms can be activated by
phenomena other than re, such as dust, insects, cooking smoke and shower steam.
Once you are sure it is a nuisance alarm, press the test/silence button to silence the
alarm for 10 minutes. The alarm LED blinks in red every 8 second for 10 minutes and
the Visit receiver LED will time out within 1 minute. Pressing the test/silence button will
make the unit less sensitive, but if a large amount of smoke/steam/dust is observed,
the unit will remain in alarm.
Fault conditions
Low battery. The alarm will emit a short beep and the alarm LED will blink in yellow
when it becomes partially depleted. When electronic self-testing indicates that the
Radio LED
Alarm LED
7

EN
battery is becoming low, the alarm will beep, and the alarm LED will blink in yellow
at the same time about every 48 seconds to warn the user. This indicates that the
batteries must be replaced. Also, make sure to check the smoke alarm expiration date
which is given on the sidewall of the alarm.
Contaminated chamber. If the alarm sounds without any apparent smoke present,
press the test/silence button to silence the alarm for 10 minutes as described above. If
the alarm sounds again it may be dusty. Pressing the test/silence button again, within
4 minutes of the alarm re-sounding, will cause the alarm to compensate for chamber
contamination. This will normally resolve the problem. If the alarm re-sounds for the
third time, it is likely that the alarm may be excessively dusty and must be replaced. If
it is not convenient to replace it immediately, pressing the test/silence button within
4 minutes of it going into alarm (for the third time) will silence the alarm for 8 hours –
however, it will give two short beeps (second apart) every 10 minutes to remind the
user it has been disabled. If the contamination clears, the alarm will return to normal
operation.
Note: This does not reduce the users’ re protection, as a smoke alarm in continuous
alarm due to a fault, is useless and must be silenced – by taking the alarm down or as
described here. This procedure has the added benets that the user is reminded every
10 minutes by two short beeps that the alarm needs to be replaced, and that if the
problem clears the alarm will return to detecting re. If the dust level is too high, the
alarm LED blinks 4 times in yellow. Cleaning or replacing the chamber cover should
only be carried out by suitably trained personnel.
Faulty smoke chamber. In the unlikely event of the smoke sensing chamber becoming
defective, the alarm will give 2 short beeps with 2 alarm LED blinks in yellow every 48
seconds. The alarm must then be replaced. If it is not convenient to replace it imme-
diately, pressing the test/silence button will silence the beeps and stop the alarm LED
from blinking for 12 hours. This can be repeated as required.
End of Life. When the sensor has reached its end of life, the alarm will beep and the
alarm LED will blink 3 times in yellow every 48 seconds.
8

Using broadcast
If you want the smoke alarm radio signal to be transmitted to all Visit receivers within
range, you can activate broadcast mode. This will override the radio key settings.
To activate broadcast, remove the smoke alarm from the bracket
and move the radio switches on the back of the alarm to the
110010 position, see the image to the right.
Changing the radio key
If your Visit system is activated for no reason, there is probably a nearby system that
triggers yours. In order to avoid radio interference, you need to change the radio key
on all units. The radio key switches are located on the back of the smoke alarm, under
the mounting bracket, see the image to the right.
Here is how you change the radio key:
1Remove the smoke alarm from the bracket and move any
of the radio key switches 1 – 6 to the up = on position to
change the radio key.
2Press and hold the test/function button on the receiver until the green and yellow
Visit LEDs blink alternately. Release the button.
3Press the smoke alarm test/silence button until it sounds to sends the new radio key.
4All Visit LEDs on the receiver blink 5 times to show that the radio key has been
changed. It then returns to normal mode.
Note: All Visit units must be set to the same radio key in order to operate as a group.
If broadcast mode is activated, all Visit receivers will respond regardless of the radio
key settings.
9

EN
1
3
2
4
10
x5
x5
x5
x5
x5
Altri manuali per BE1284
1
Indice
Altri manuali Bellman & Symfon Sensore di sicurezza


