1514
Cleaning the earmould
• First, remove the tubing and
earmould from the hearing
instrument. Keep left and right in-
strument separated.
• Remove earwax with the clean-
ing brush and a soft cloth. If
needed, use a mild solution of soft
soap and water or a special clea-
ning solution. Ask your hearing
care practitioner for detailed in-
structions.
• Rinsetheearmouldwithwater.
Note: Do not use water or other liquid on the hearing instrument it-
self.
• Drytheearmouldwithacloth.
• Blow possible water drops from
tubing and earmould. A special de-
vice is available for this from your
hearing care practitioner.
• Ensure that the earmould and
tubing are completely dry before
attaching them to the hearing in-
strument. Take care with left and
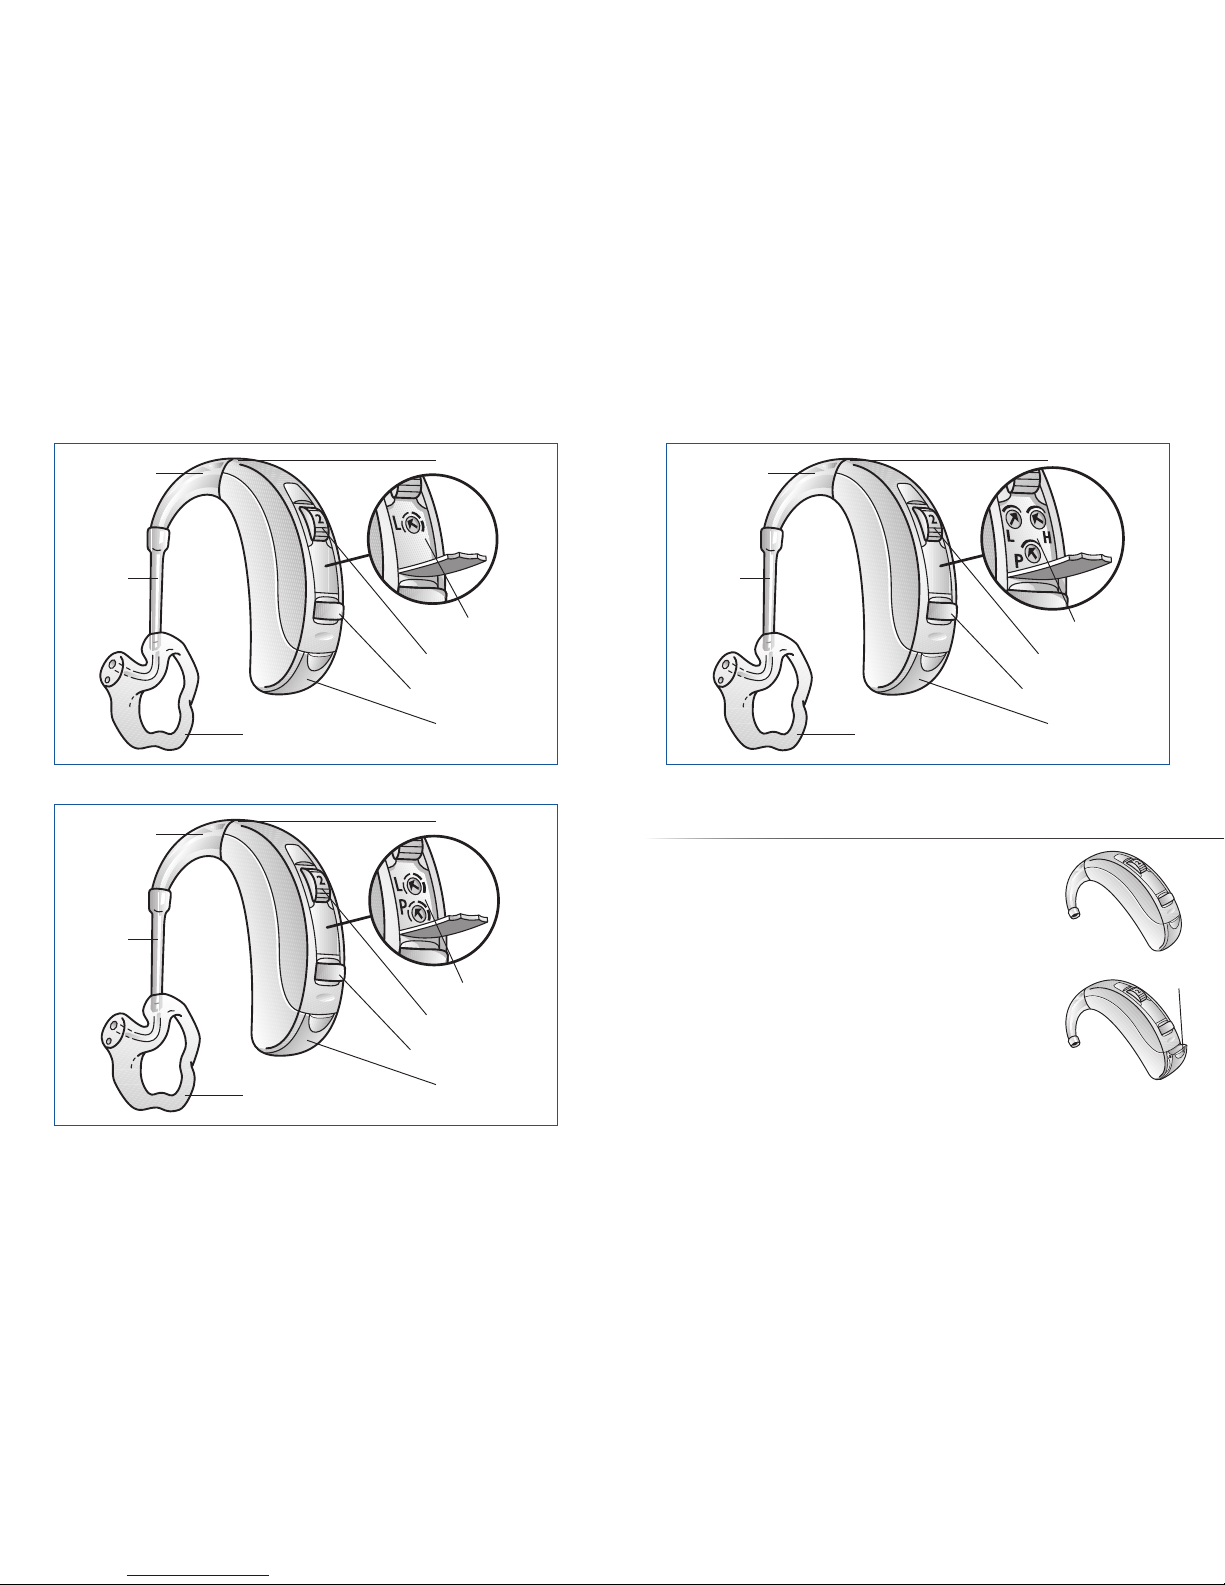
right instruments, check the figures on page 8.
Replacing the tube
Ask your hearing care practitioner to replace the tubing from the instru-
ment to the earmould if it turns stiff or changes colour.
General warnings
• Donotleaveyourhearinginstrumentinthesun,nearanopenreor
in a hot, parked car.
• Donotwearyourinstrumentwhileshowering,swimming,inheavy
rain or in a moist atmosphere such as steam bath or sauna.
• Shouldyourinstrumentbecomemoist,putitinadessicator.Your
hearing care practitioner will be happy to counsel on this.
• Removeyourinstrumentwhenapplyingcosmetics,e.g.perfume,
aftershave, hair spray, suntan lotion.
• Hearing instruments should be used only as prescribed by your
hearing care practitioner. Incorrect use may result in sudden and
permanent hearing loss.
• Donotallowotherstouseyourhearinginstrument.Itmaycause
permanent damage.
• Hearinginstrumentusagebychildrenormentallychallengedper-
sons should be supervised at any time.
• Do not take your instrument into rooms where you receive treat-
ment with X-rays or MRI.
• Wearingahearinginstrumentmightcauseanincreasedproduction
of earwax. In rare cases, the anti-allergenic materials may cause
skin irritation. If so, or if in doubt, consult your physician or ENT
consultant.