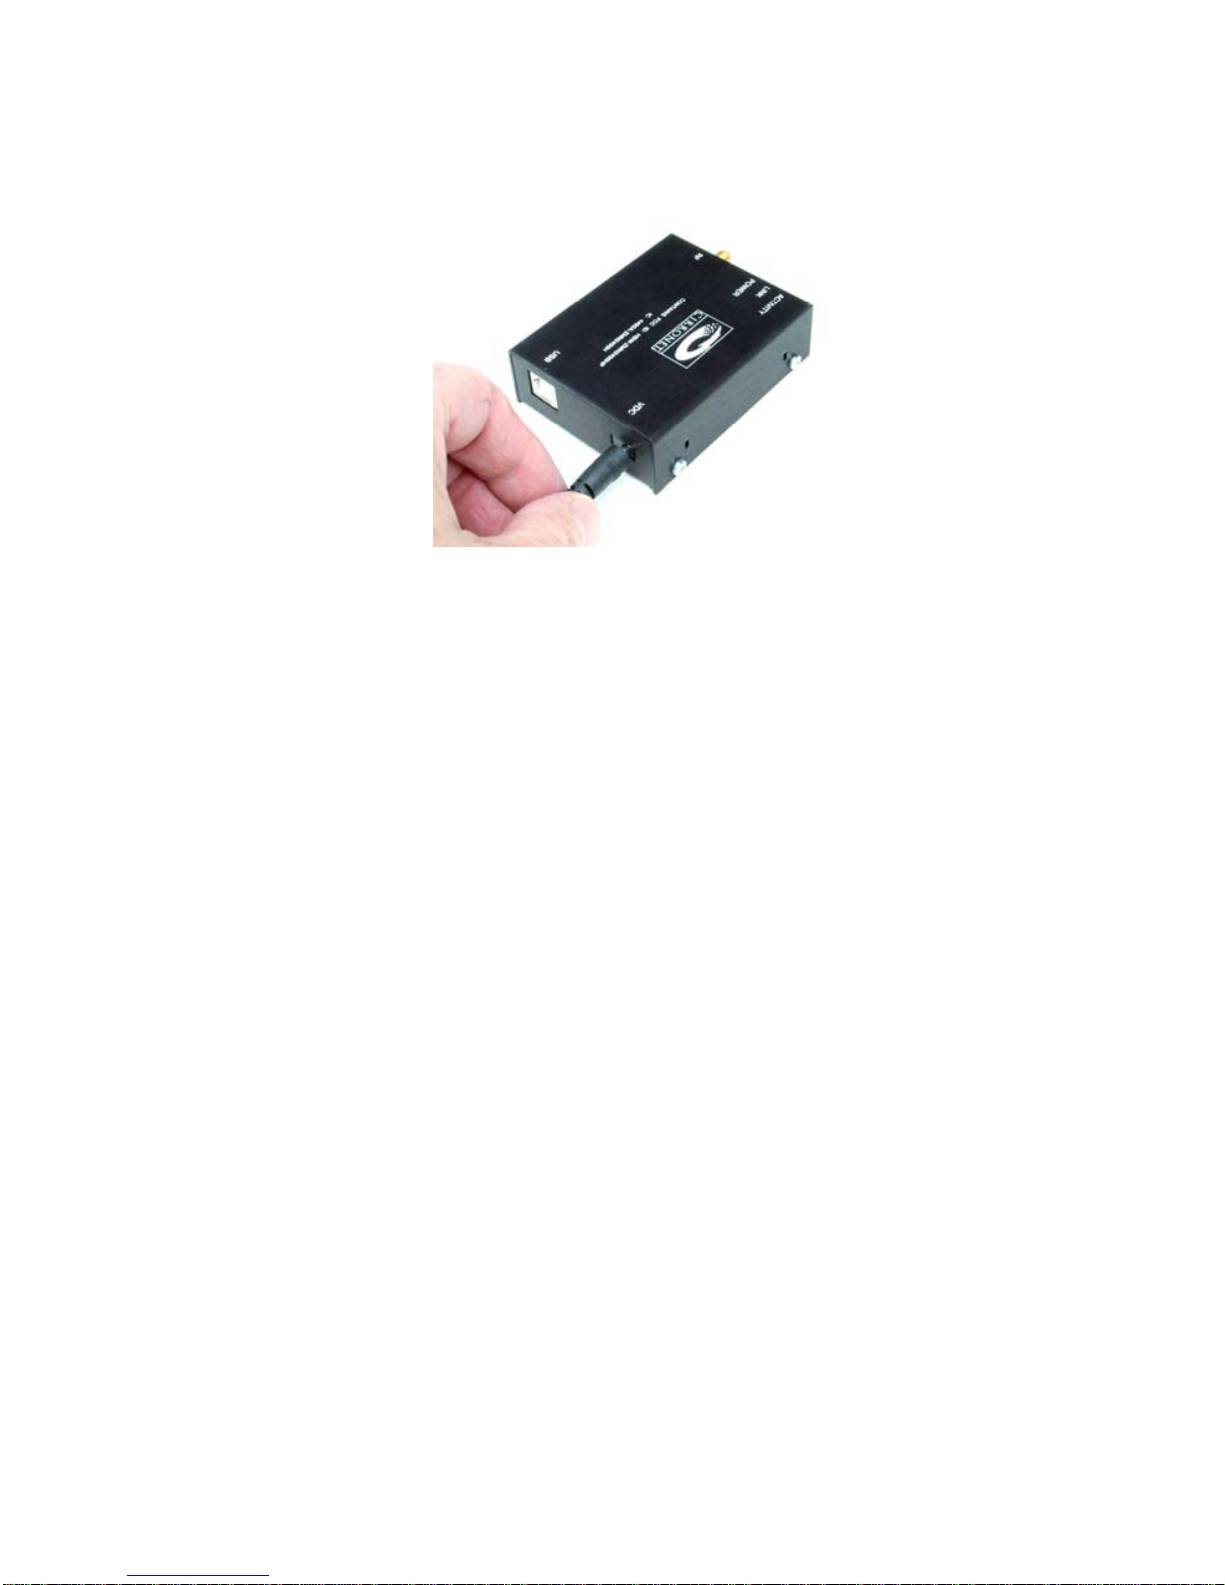
Applying Power to the ZN-241G
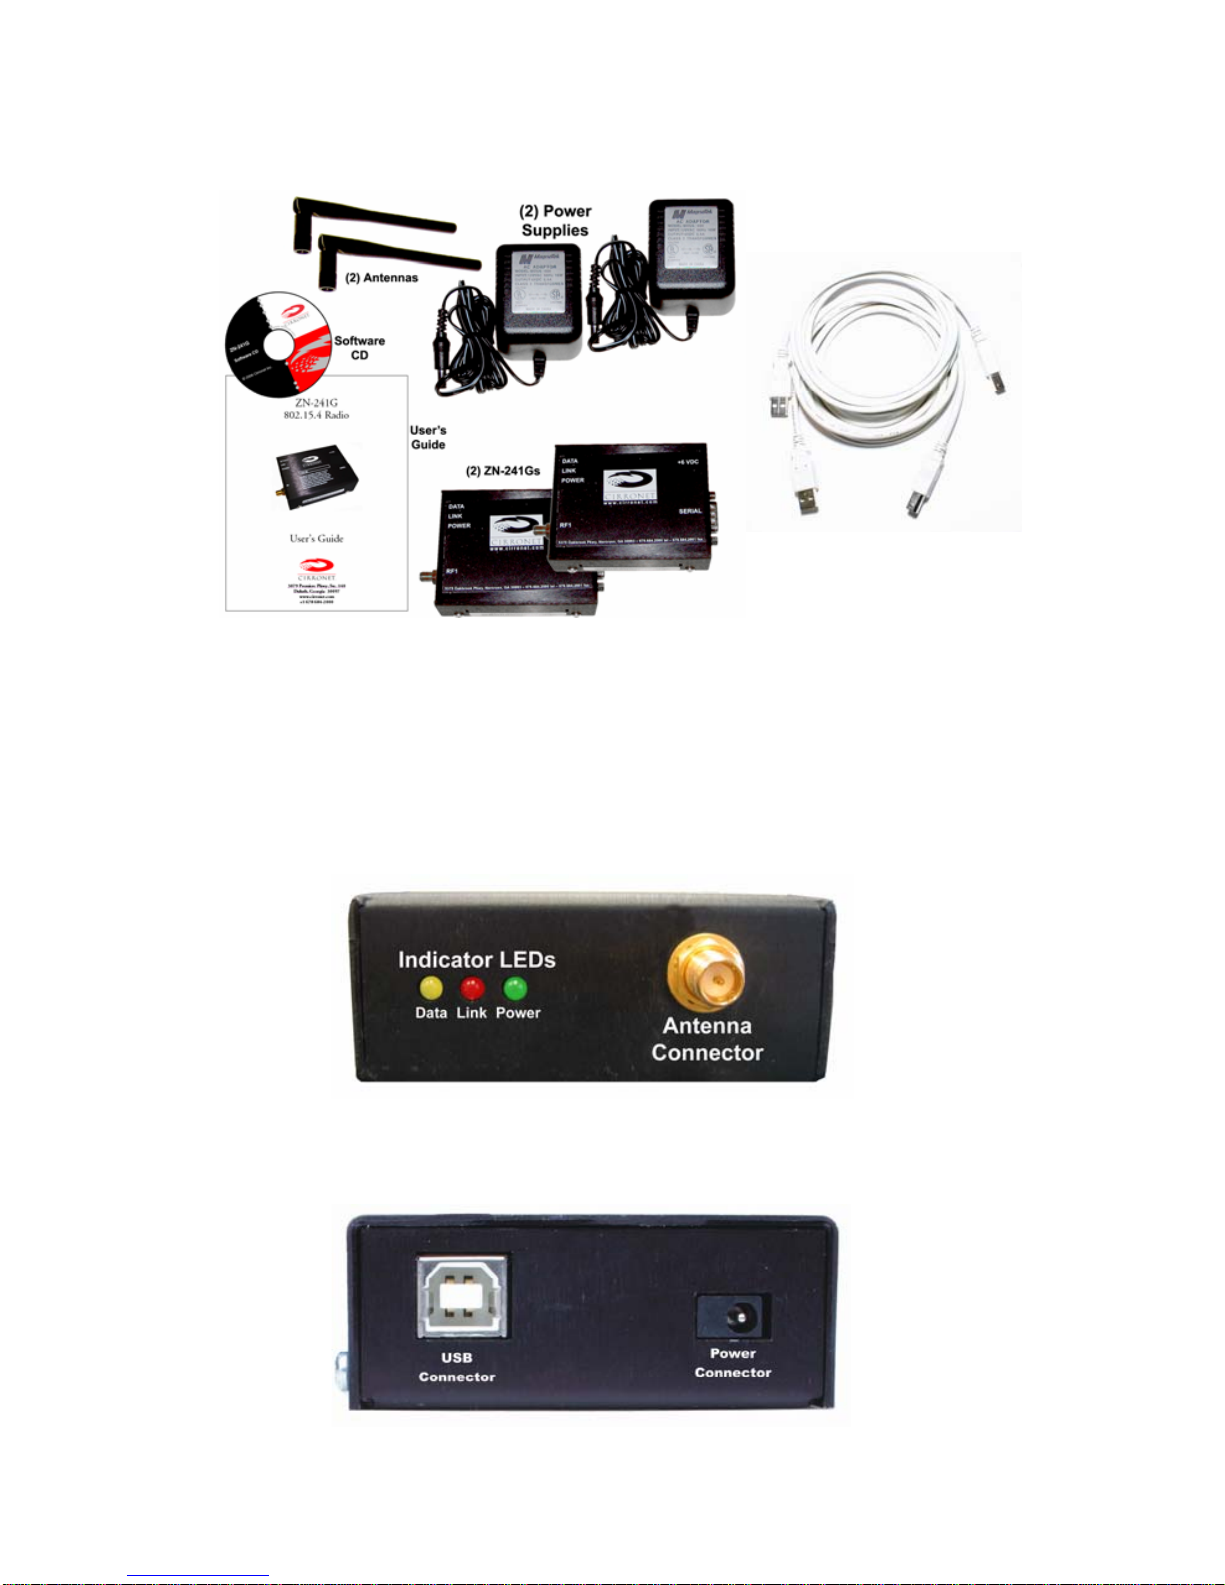
Connect one of the power supplies to one of the ZN-241Gs using the
power supply connector on the rear of the ZN-241G.
Connect the wall-mount end of the power supply to a wall outlet with
either 110VAC or 220VAC. The Power LED on the ZN-241GU will come
on and after a moment the Data LED will blink. The Data LED blinking
means the ZN-241GU is looking for another ZN-241GU to link to.
Repeat this step with the other ZN-241G. After a few seconds, the Link
LEDs on both ZN-241Gs will be lit. This indicates that the two ZN-241Gs
have established a wireless link.
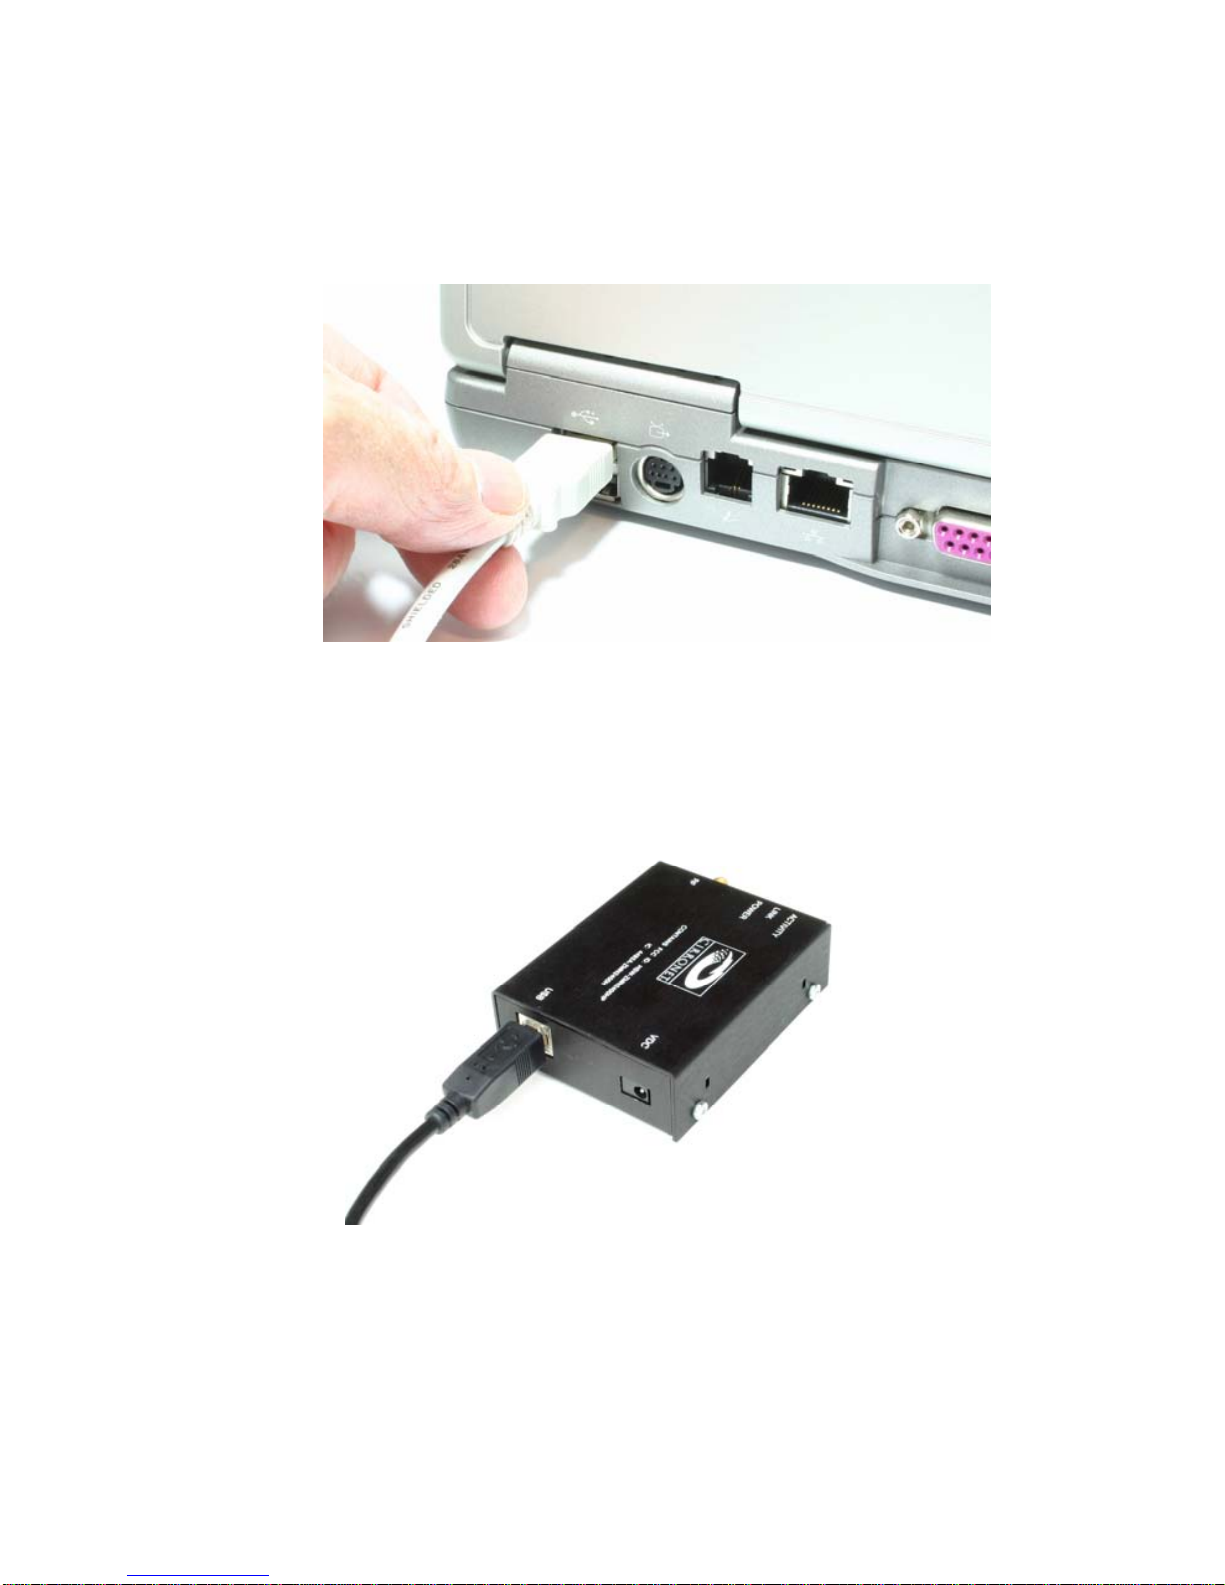
Installing the USB drivers
When the ZN-241GU is attached to the computer and power applied,
your computer will indicate a new device has been found. Follow the
steps of the installation wizard and indicate the drive where you have
inserted the ZN-241G Software & Manuals CD is where the computer
can find the drivers. Complete the installation process before continuing.
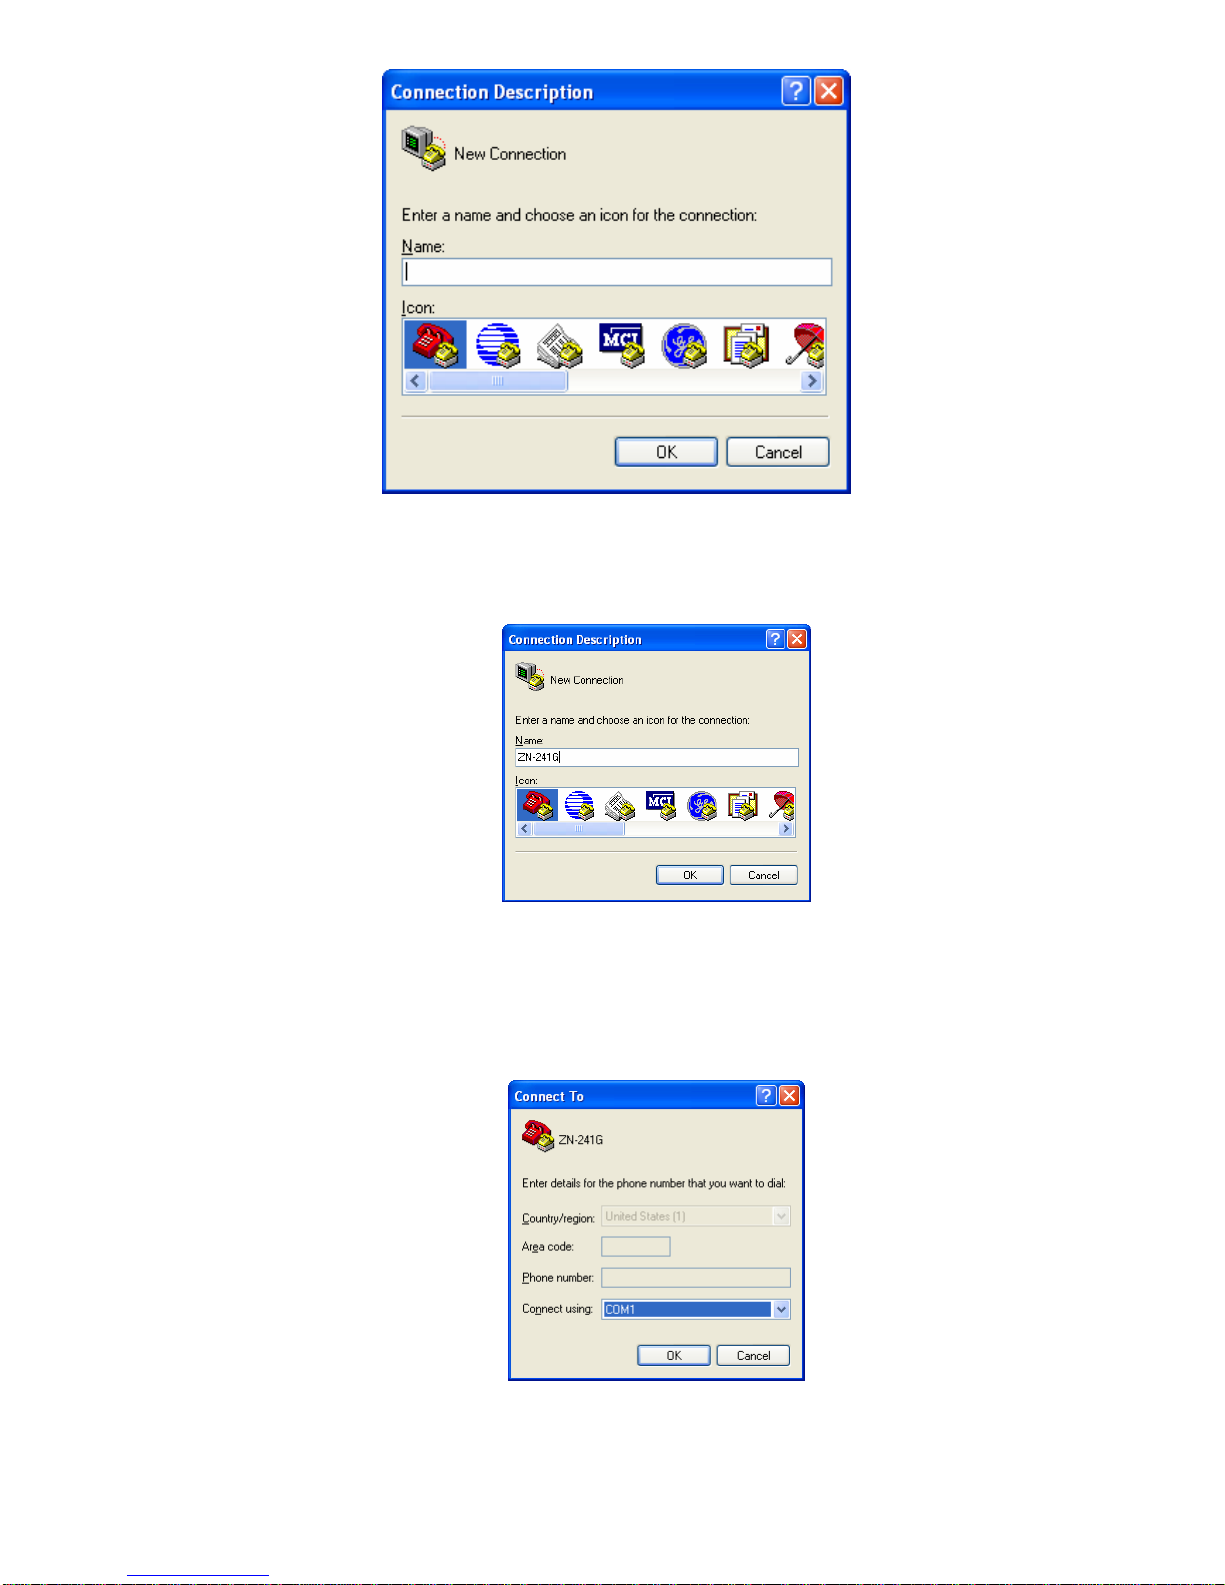
Sending and Receiving Data
To send and receive data, a communications program is required. You
will need two PCs, one for each ZN-241GU. Most PCs come with a
communications program called Hyper Terminal. This can be found by
clicking on Start, then All Programs, then Accessories, then
Communications then Hyper Terminal. The following screen will display.